

Table Layout
Learn how to switch the Inbox to the table layout, read its columns, and update a conversation's status, team, assignee, and tags without opening the chat.
Using the inbox table layout
The Inbox offers two layouts. Chat layout shows one conversation at a time, which suits replying. Table layout shows many conversations as rows, which suits triage - sorting through a backlog, reassigning work, or tagging a batch of conversations. This article walks you through the table layout and what you can change from it.
Switching between the chat and table layouts
The layout switch sits at the top at the top of the Conversations list.
- In the main TextPeak menu, select the Inbox tab.
- At the top of the Conversations list, click Table layout.
- To go back, click Chat layout.
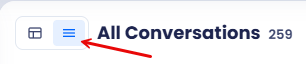
The layout switch, with Chat layout and Table layout.
Your choice of layout does not change which conversations you can see. The folders and teams in the Inbox sidebar filter the table the same way they filter the chat list, so selecting Assigned to me or a team name narrows the rows.
Columns in the table layout
Each row is one conversation. The table includes the columns described below.
| Column | What it shows |
|---|---|
| User | The contact's name or phone number, with the channel marked on their avatar. |
| Last activity | The most recent message in the conversation, or the media type when the last message was an attachment. |
| Activity | The date of the most recent message. |
| Status | Whether the conversation is Active, Unanswered, or Closed. |
| Team | The team the conversation belongs to. |
| Assignee | The agent handling the conversation, or Unassigned. |
| Tags | The tags applied to the conversation. |
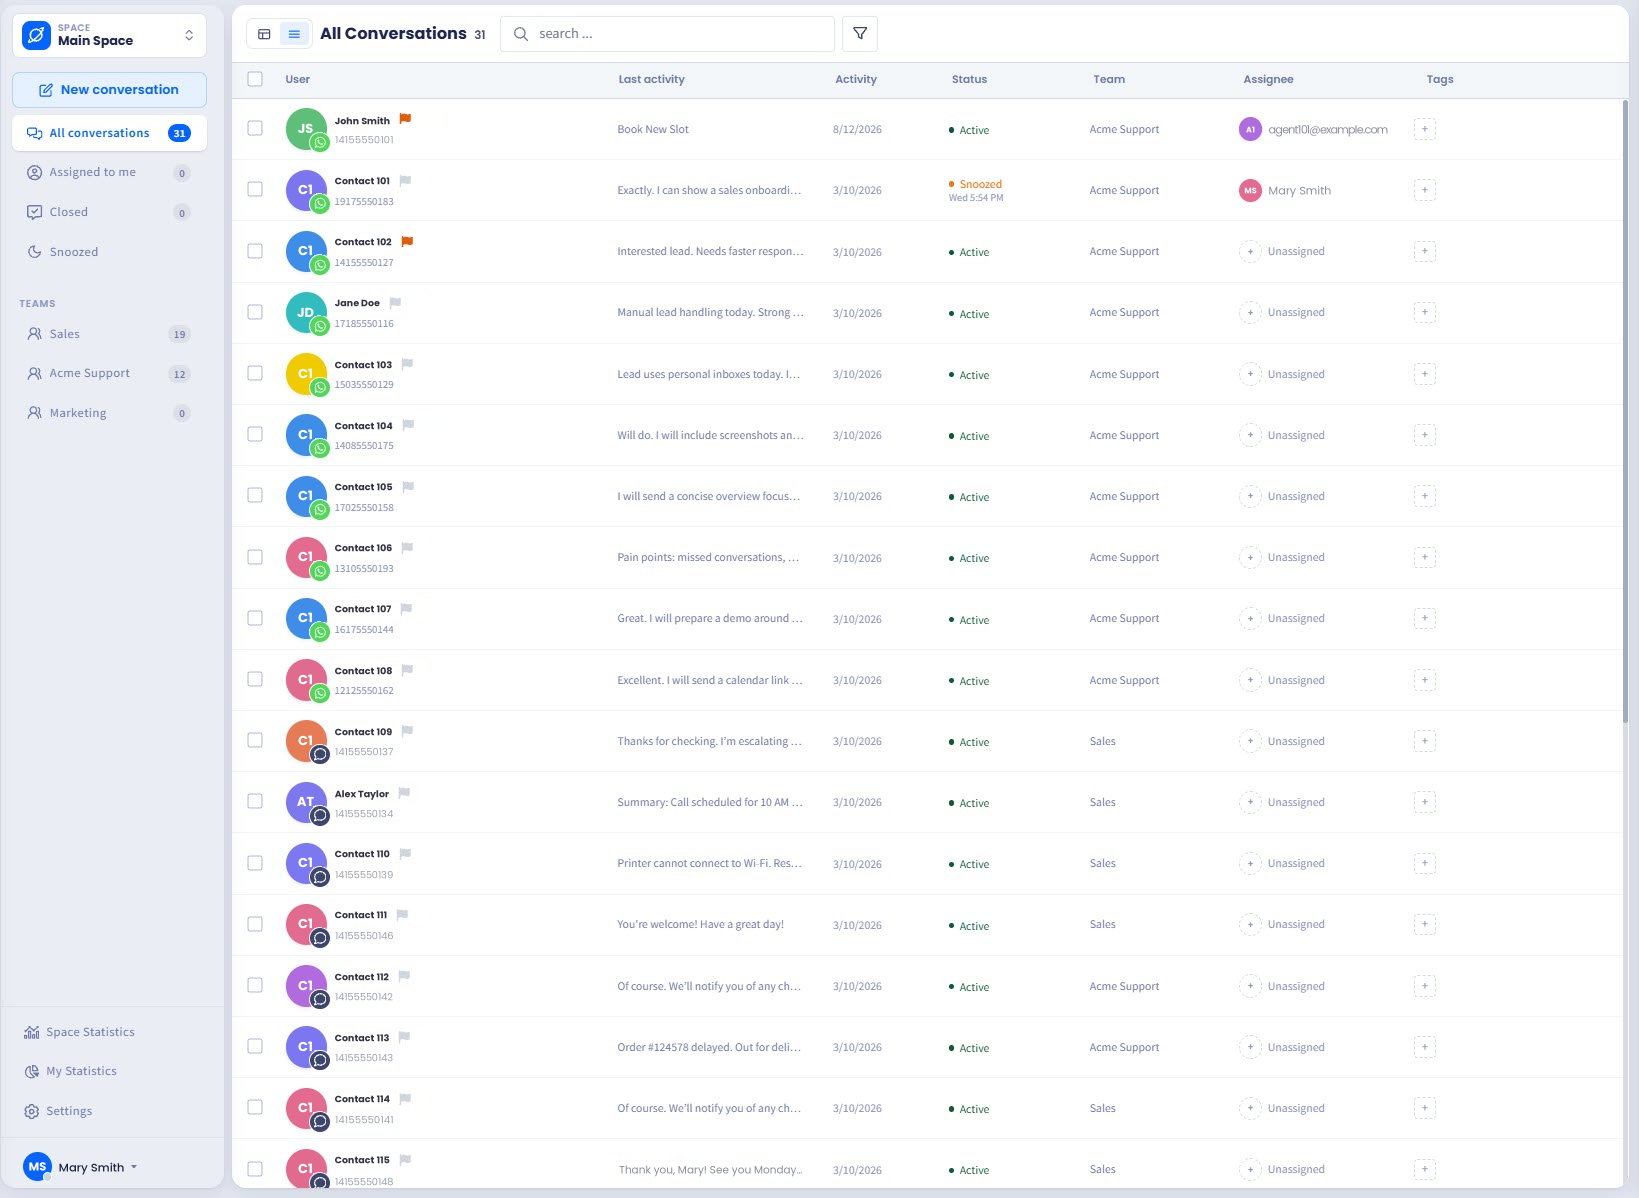
Inbox in Table layout.
Updating a conversation from its row
The Status, Team, Assignee, and Tags cells are editable, so you can work through a list without opening each conversation.
- Click the cell you want to change.
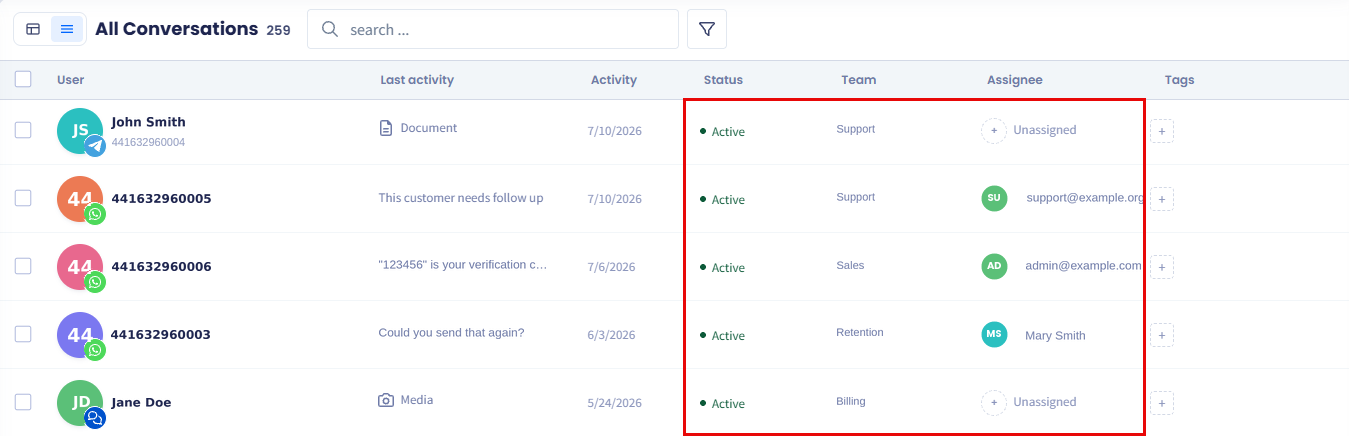
Updating Assignee from the row.
-
Select the new value.
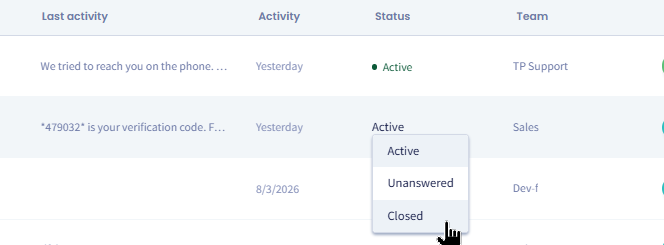
Updating a value
Use the checkboxes at the start of a row to select conversations you want to act on together.
TIPTable layout is the fastest way to clear a queue of unassigned conversations. Filter to Unassigned, then set the Assignee cell on each row.
For what each status means and when a conversation changes status on its own, see the Agent's Guide: Managing Conversations page.
Opening a conversation
Select a row to open the conversation beside the table, where you can read the full timeline and reply. The table stays visible on the left, so you keep your place in the list.
The Details panel opens on the right of the conversation with everything about it grouped into collapsible sections: Contact Data, Conversation Assignment, Conversation tags, and Previous conversations.
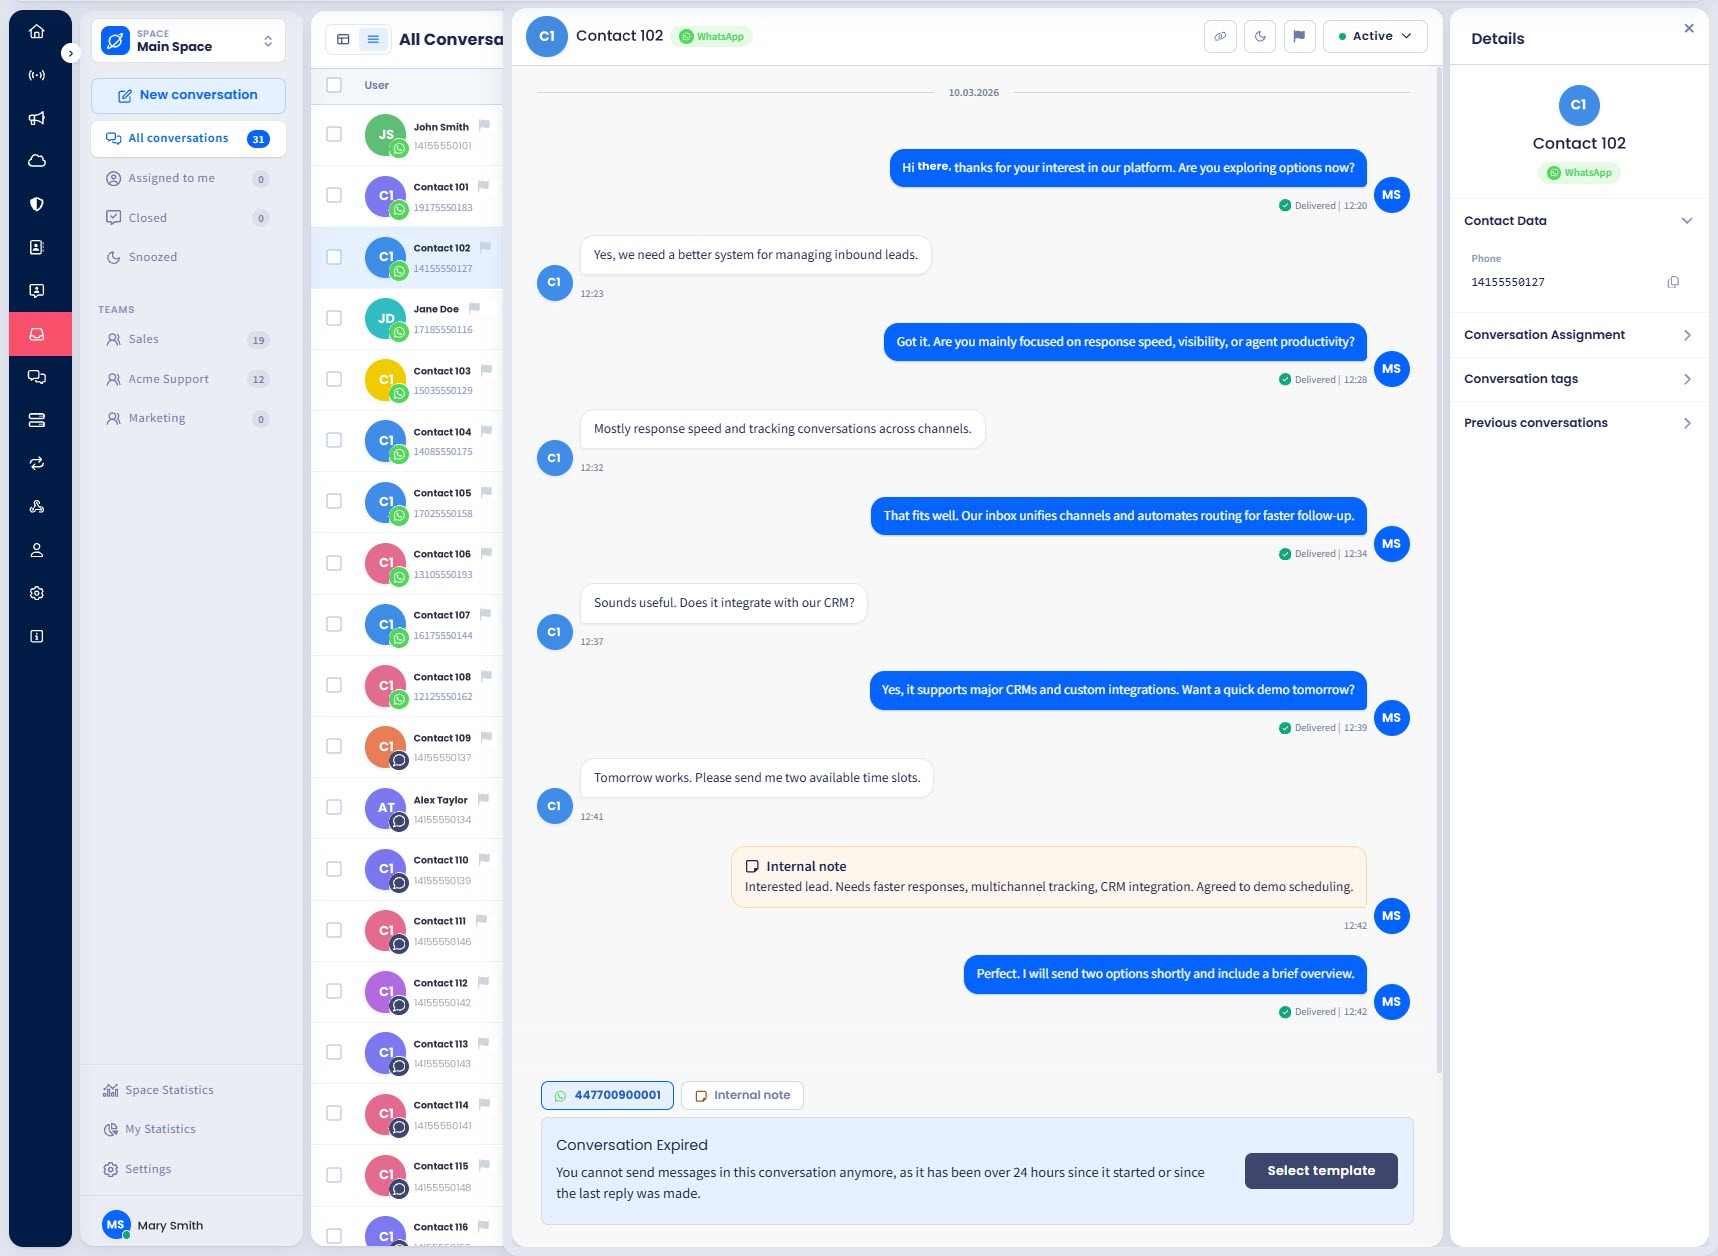
Table layout with Details section open
For the contact's history, see the Previous Conversations page.
Filtering the table
The search field and filter icon above the table work the same in both layouts.
- To find a contact, enter a name or number in the search field.
- To narrow the list, click the filter icon and select the filters you need. Filters are grouped into Conversation status, Channel & status, and Conversation state.
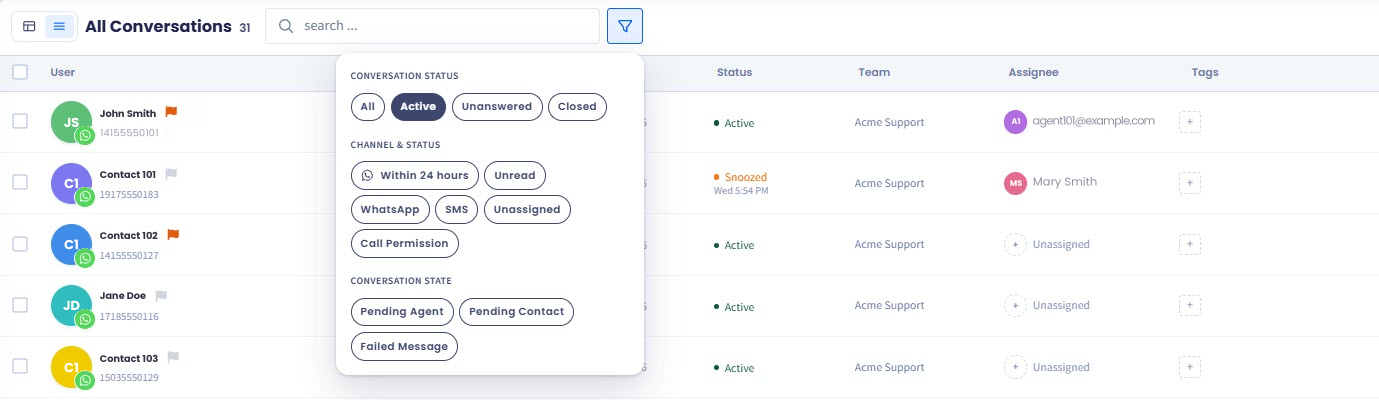
The filter panel, grouped by Conversation status, Channel & status, and Conversation state.
For the full list of filters and what each one matches, see the Agent's Guide: Managing Conversations page.
Updated 1 day ago