DID Verification: How to Verify Your External Caller IDs
Learn how to verify your non-CommPeak DID number as a Caller ID in CommPeak Portal.
Sometimes, you may want to make calls while using a DID number you own outside of CommPeak as your Caller ID for outgoing calls.
To allow this, we require that you verify the possession of the DID you want to add.
Video Tutorial
To verify your DID number:
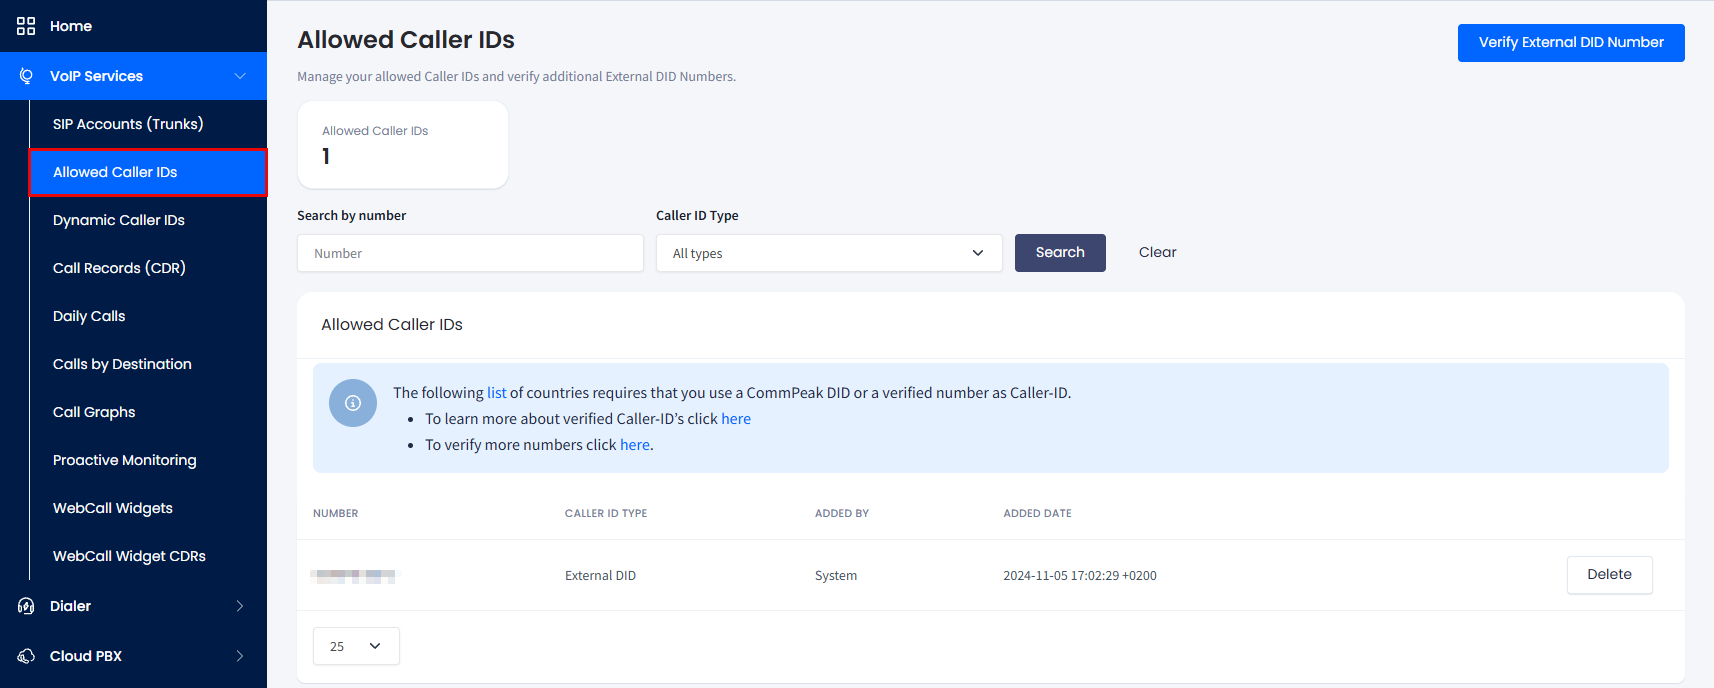
In your CommPeak account, expand VoIP Services in the left pane and go to the Allowed Caller IDs tab.
VoIP Services > Allowed Caller IDs tab
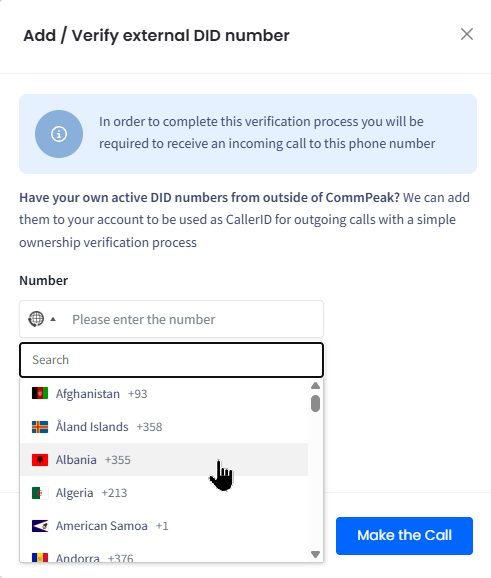
Click Verify External DID Number in the top right. The verification window will open.
In the Number field, pick the country from the flag selector (you can type to search for it).
Add/Verify external DID number verification dialog
Next, enter the phone number you wish to verify.
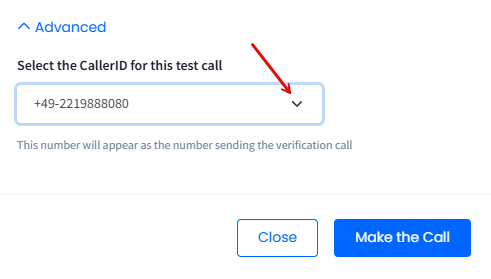
Optionally, under Advanced, from the drop-down list, select the caller ID for this incoming call.
Advanced verification settings
Click Make the Call. You will receive an incoming call to the number you have entered.
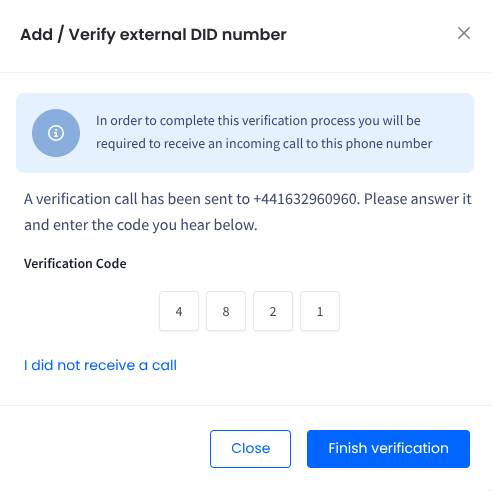
Answer the call and type the code the system reads out, entering one digit per box.
Add/Verify external DID number dialog: entering code
In case you didn't receive a call, make sure your number is configured to receive incoming calls and click the I didn't receive a call link to restart the process.
Click Finish verification.
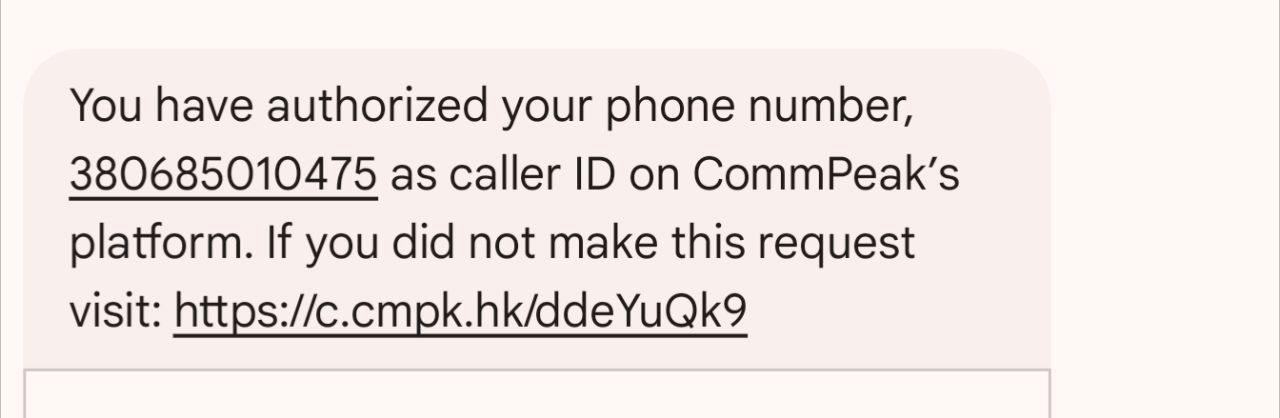
You will also receive an SMS informing you that your phone number has been authorized.
The SMS includes a link to revoke your verification request.
Ignore the link if you want to keep your newly verified phone number as your caller ID.
Phone number authorization confirmation SMS
📘
NOTE
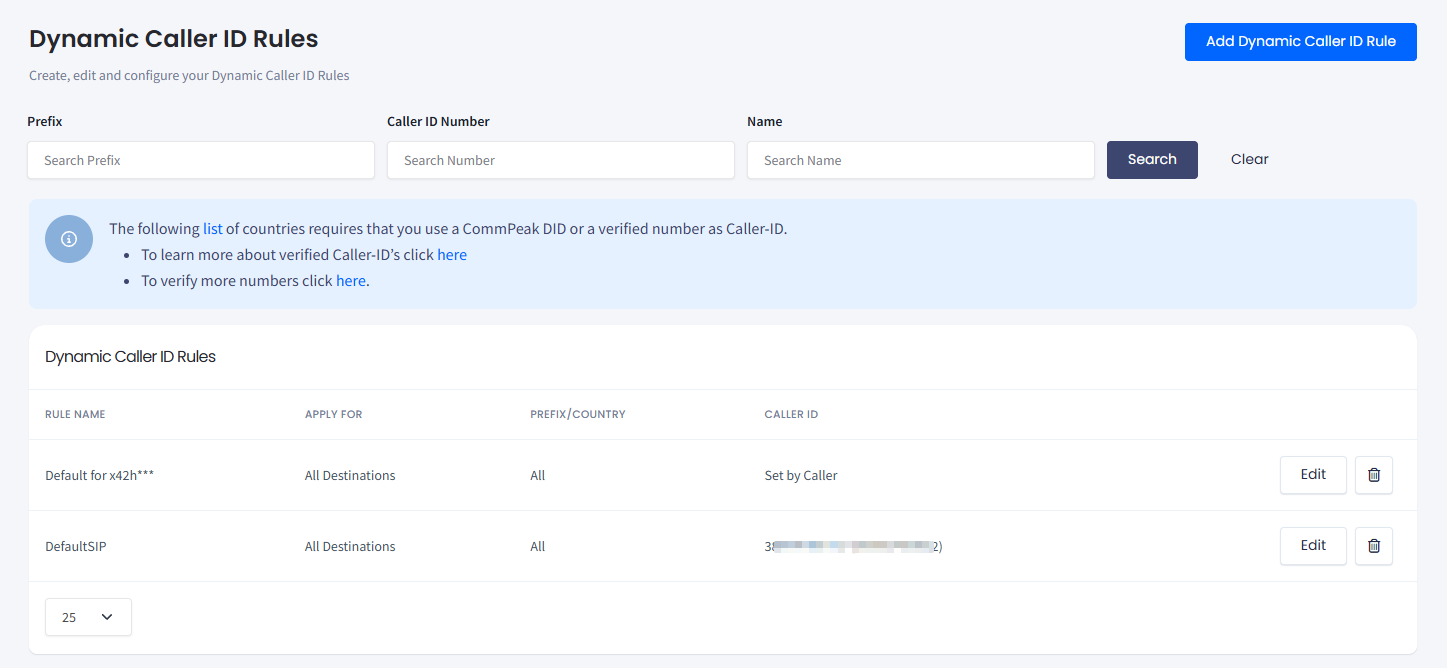
You can also open the DID verification window from the VoIP Services >Dynamic Caller IDs tab.