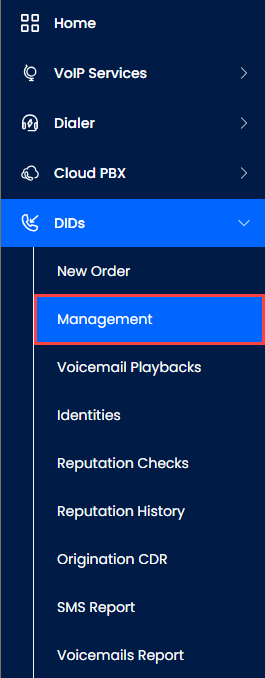
On the main menu on the left, navigate to DIDs and select Management.
DIDs > Management tab
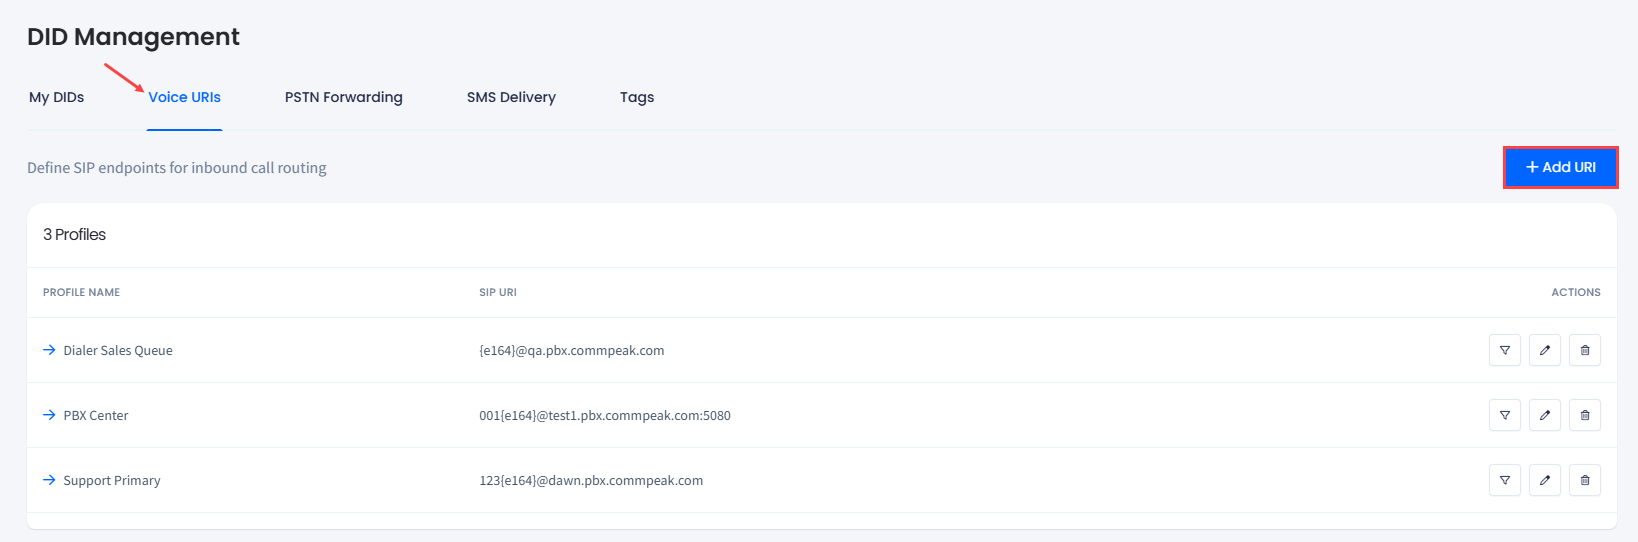
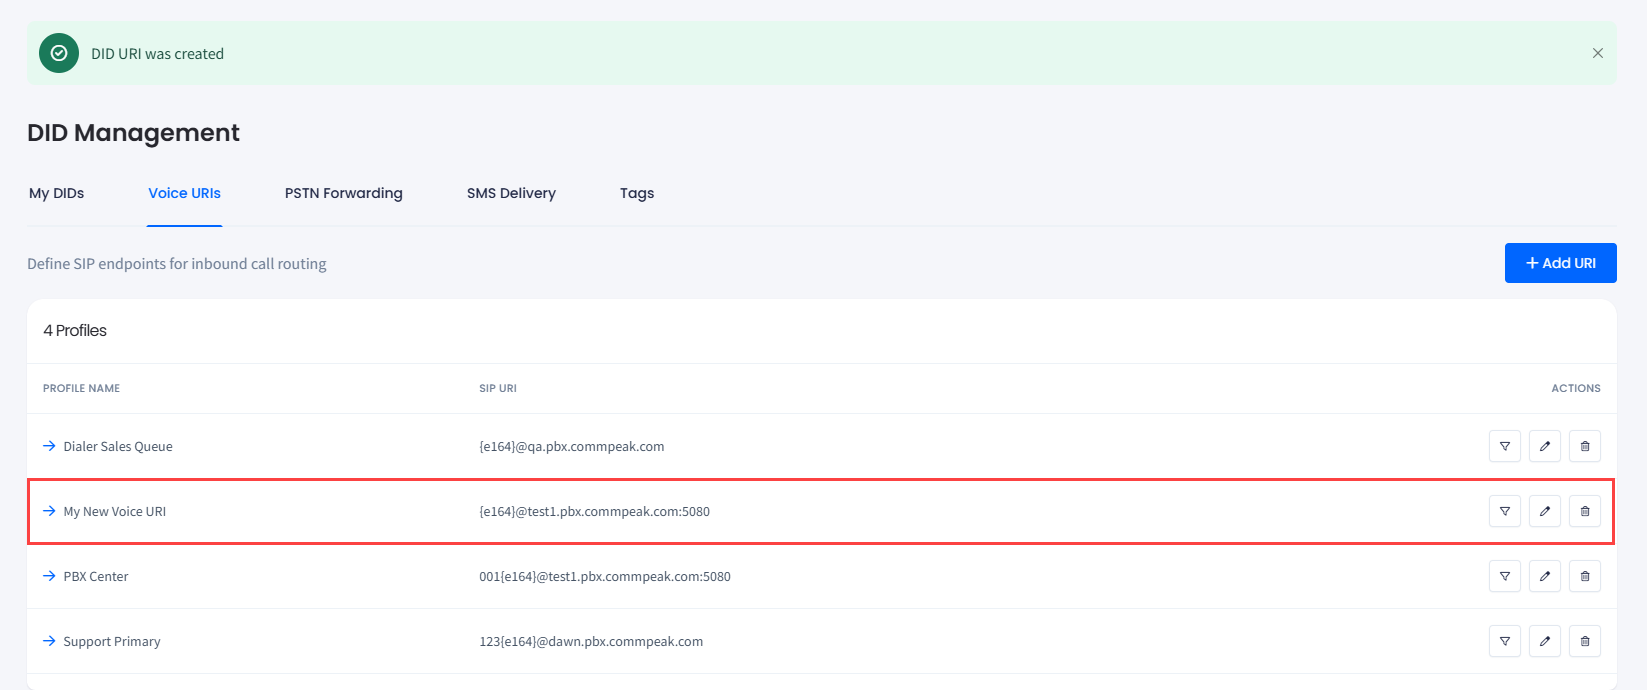
Switch to the Voice URIs tab.
Click + Add URI at the top right of the page.
Voice URI tab
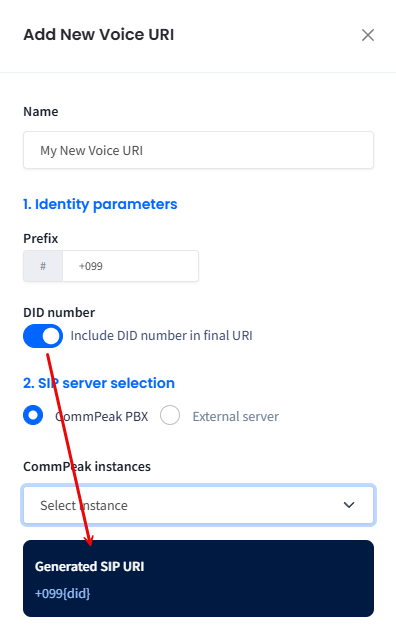
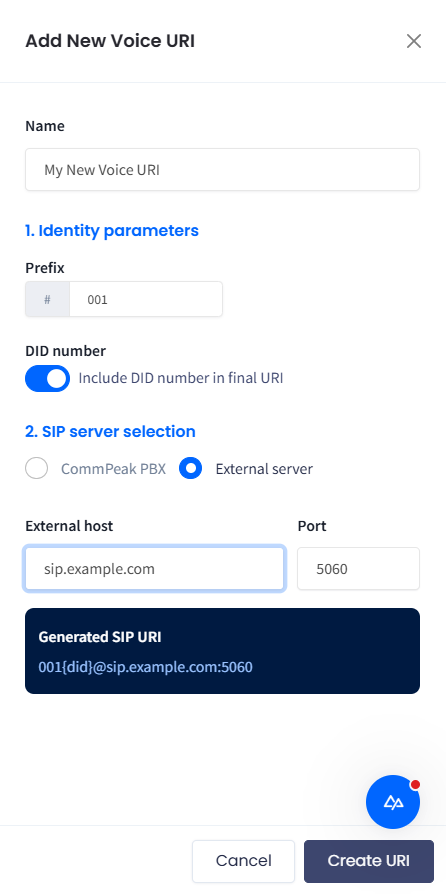
In the side menu that appears, fill out the following fields:
In the Name field, enter the DID voice URI alias (e.g., My New Voice URI).
In the Identity parameters section, specify the routing prefix for your SIP URI.
📘
NOTE
You can add the following parameters to your prefix:
+: the plus sign - optional
999: PBX dial route pattern - optional
Optionally, enable the Include DID number in final URI toggle to show the number in the generated SIP URI.
DID number included in final URI
In the SIP server selection field, proceed with the needed configuration for your PBX server domain: CommPeak PBX or External server.
For the CommPeak PBX option, select the needed CommPeak Dialer or PBX instance.
Selecting CommPeak Dialer or PBX instance
For the External server option, you can also specify the custom host to be used.
📘
NOTE
The default port is 5060.
Add New Voice URI window: External server option
👍
NOTE
Destination phone number must be 8-16 digits.
Click Create URI.
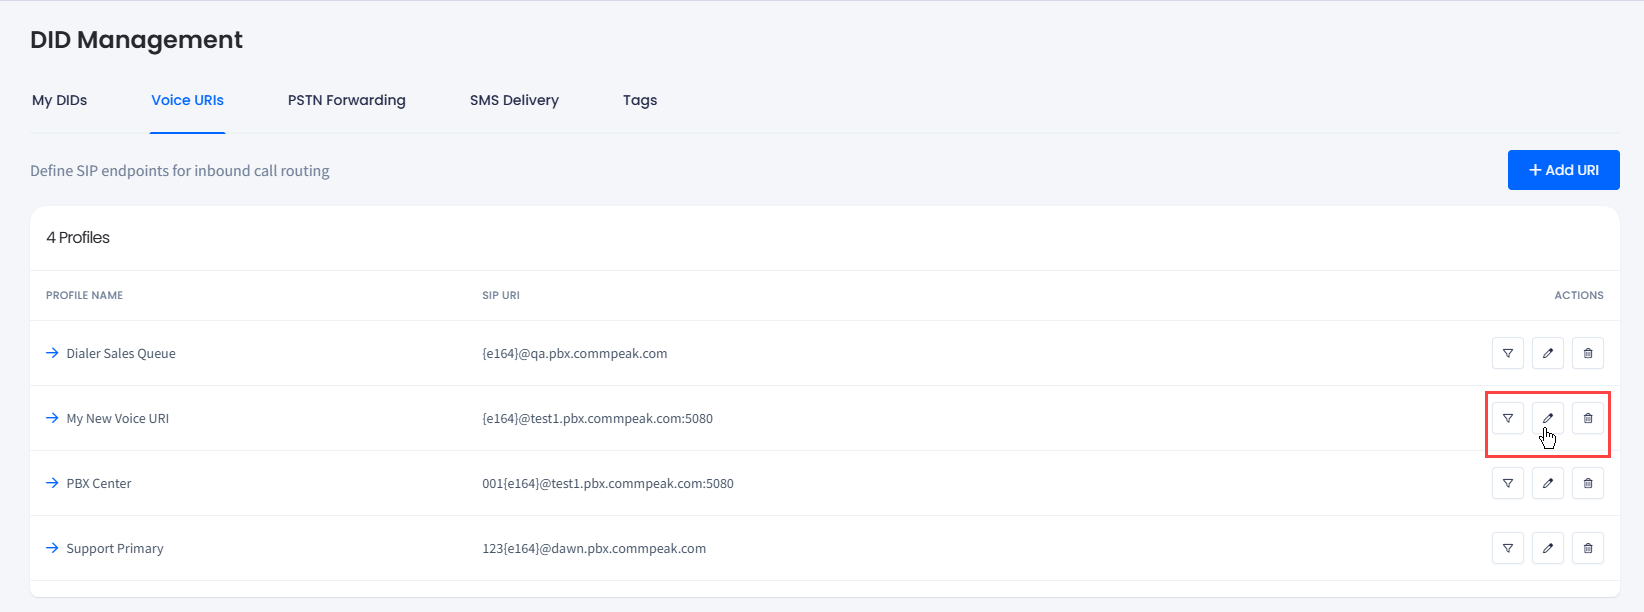
A new profile record is added to the table.
New profile record added
Configuring Voice URI Forwarding
To set up Voice URI forwarding:
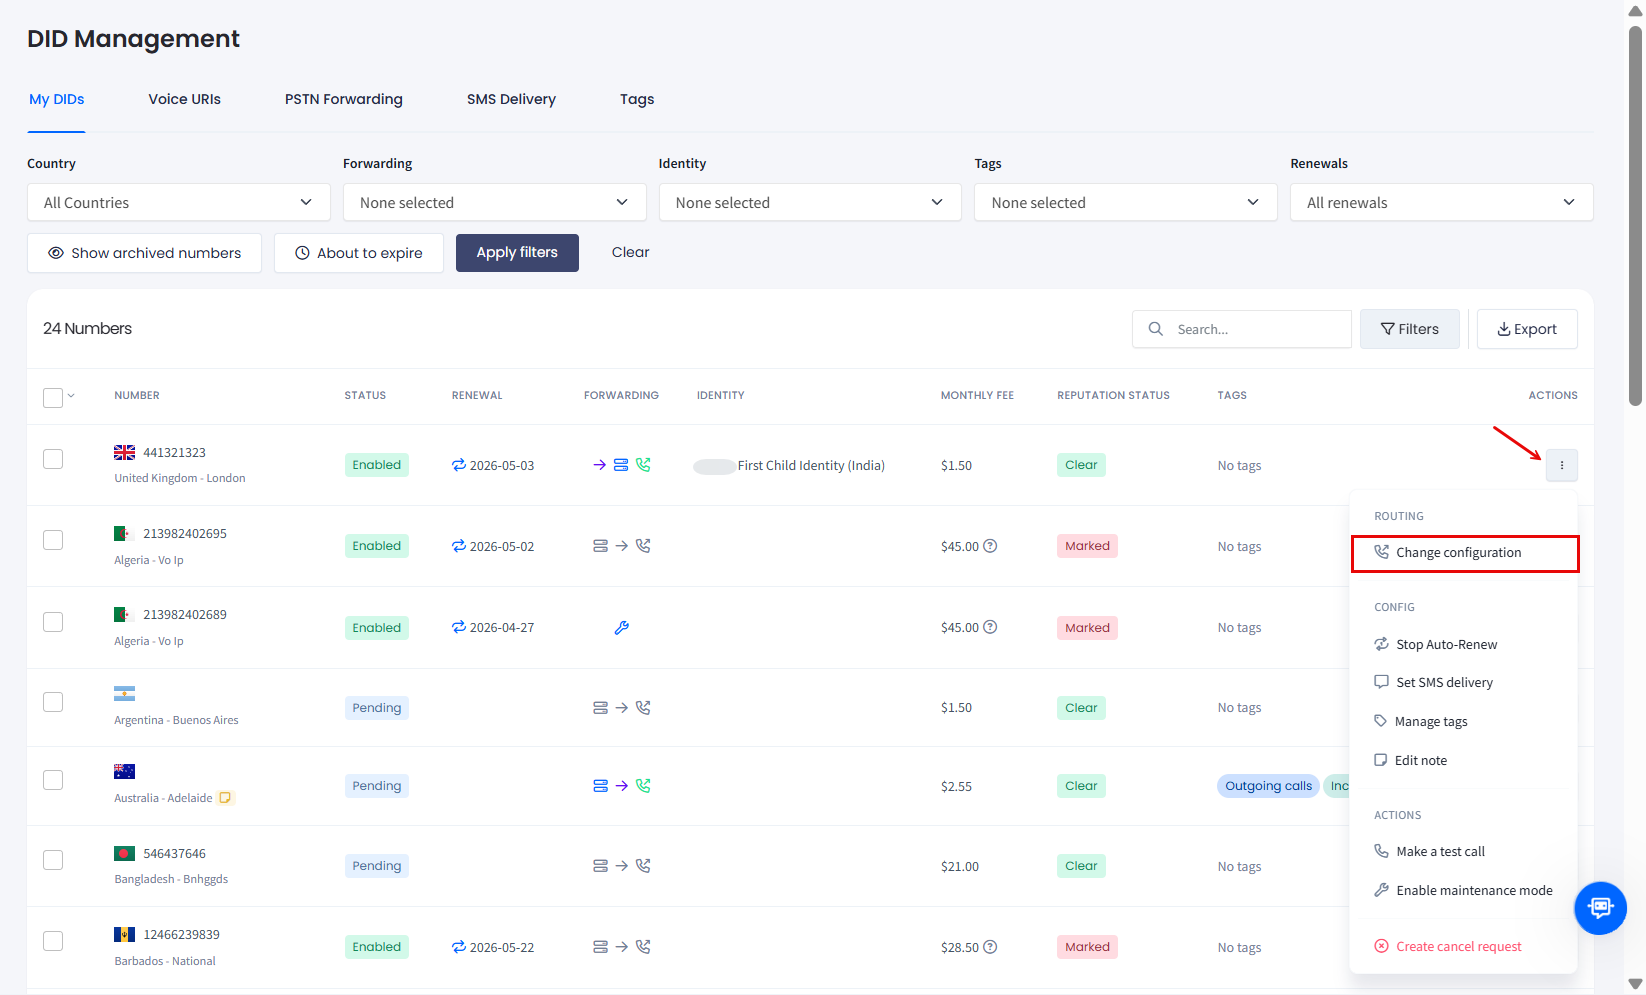
Open the My DIDs tab.
In the DIDs Management table, click the three-dot action icon for the needed number and select the Change configuration action from the drop-down list.
Selecting Change configuration option
👍
NOTE
You can also apply this action across multiple DIDs. For more details, check the Managing Multiple DIDs article.
In the Update call configuration window, review the number(s) selected, check the Voice URI checkbox, select the needed profile, and click Save changes to confirm.
Update call configuration window
📘
NOTE
You can also reorder the priority of the forwarding destinations by dragging the routing sequence.
Reordering the priority of the forwarding destinations
To check if the forwarding rule has been applied to the correct Voice URI profile, hover over the corresponding icon for the DID number record (the arrow icon should turn dark purple which means the option is enabled).
New voice URI added to the DID number
📘
NOTE
When forwarding to your own number, you will be charged as for outbound calls within your pricing plan.
Managing Voice URIs
You can apply the following actions to manage your voice URI profiles:
Filter DIDs: click to open the DID Management tab with the DID records filtered by this profile.
Edit: click to open the Edit voice URI profile side menu.