Make Integration
This guide will walk you through creating your CommPeak integrations in Make.
Video Tutorial
Implement your SMS automation using CommPeak Integrations by completing the steps below. You can find more information about scenarios in the Make Help Center.
Signing up to Make
NOTEIf you already have a Make account, proceed to creating an integration.
Navigate to www.make.com and click Log in . You can use the signup option that is most suitable for you.
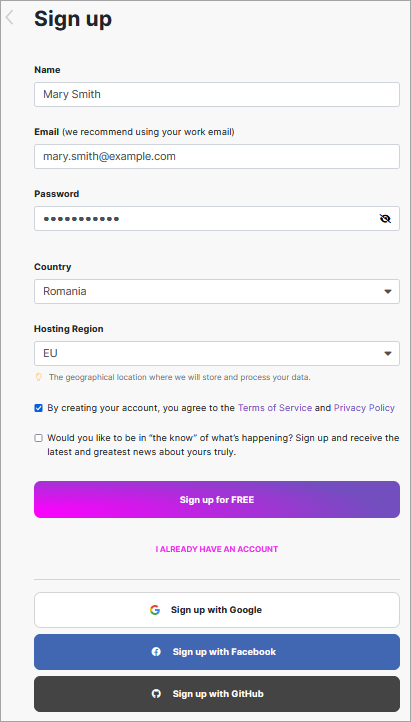
make.com signup form
Provide more information about yourself and your company. Then click Get Started.
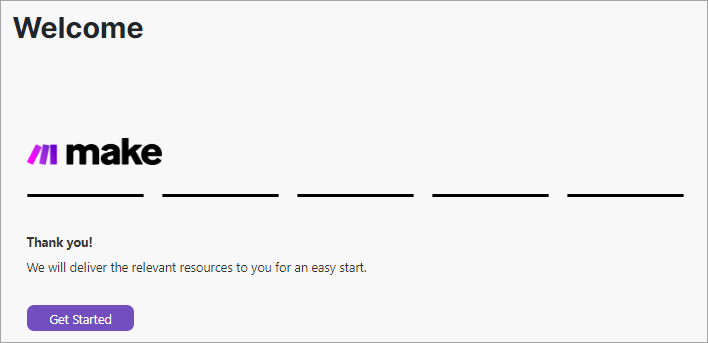
Welcome screen
You will enter your organization in Make.

My Organization tab
Creating an Integration
Now, we will demonstrate adding a scenario in Make using an example of Google Sheets. We want to set up SMS notifications once a new row is added. You can try other apps as you wish.
To create an integration between Google Sheets and CommPeak:
-
Click Create a new scenario at the top right of your organization page.
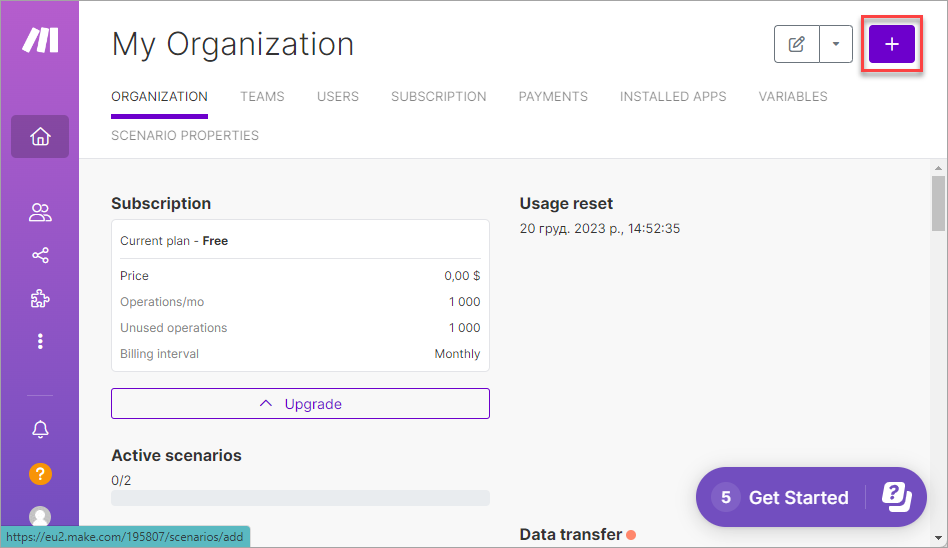
Create a new scenario button
-
Give a name to your scenario and click the plus sign.
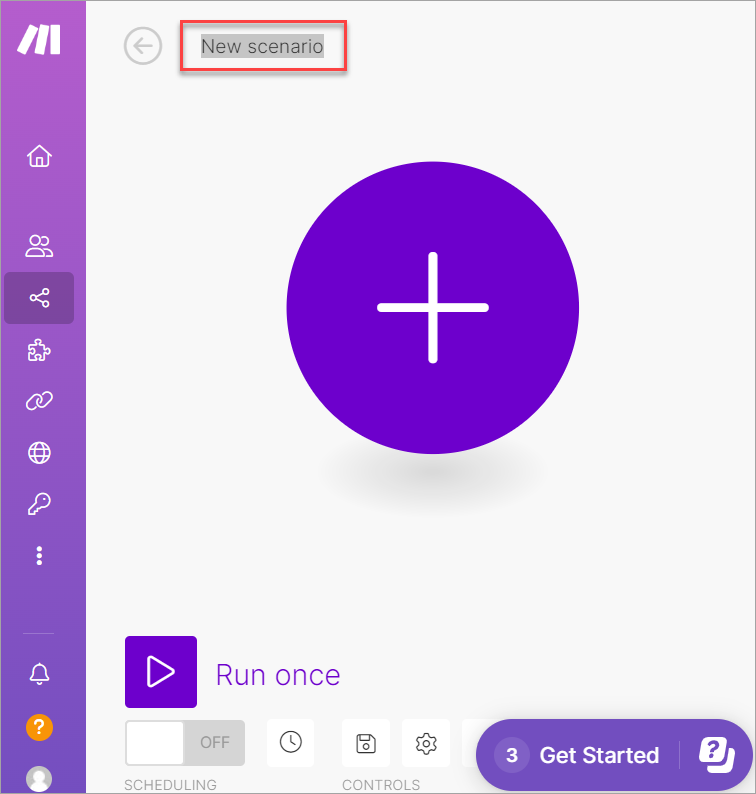
Naming scenario
-
Create a connection with Google Sheets.
-
Use search to find a suitable application, then select it.
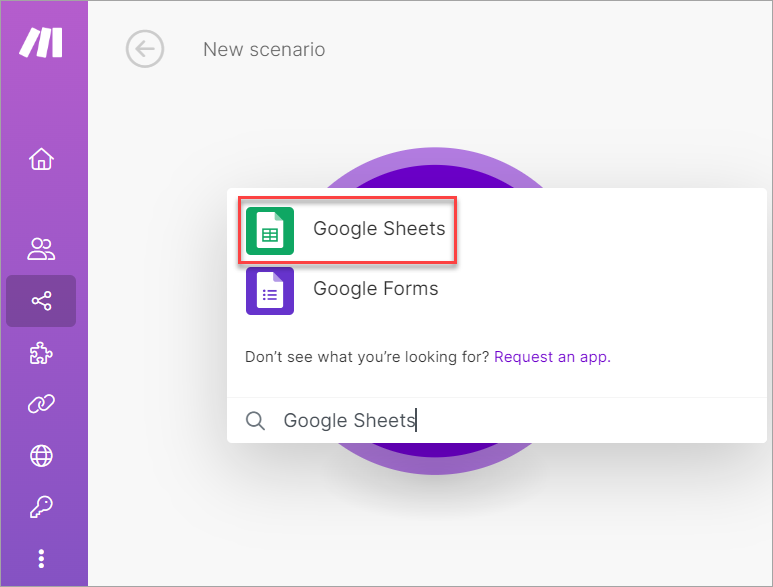
Google Sheets option selection
-
Select the Watch New Rows trigger.
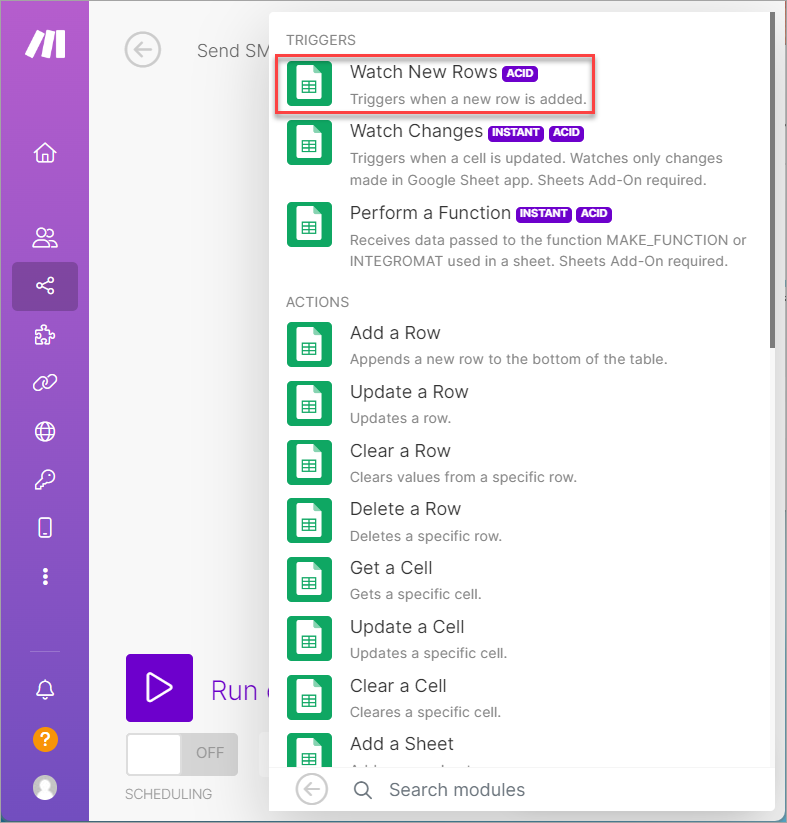
Watch New Rows trigger selection
-
Click Create a connection.
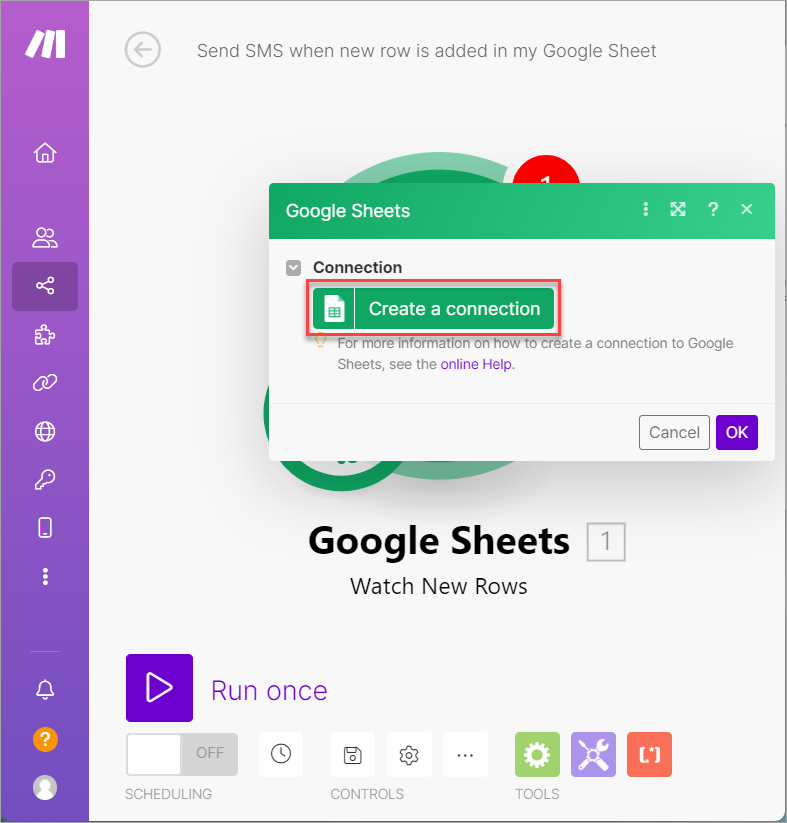
Create a connection button
-
Sign in with Google.
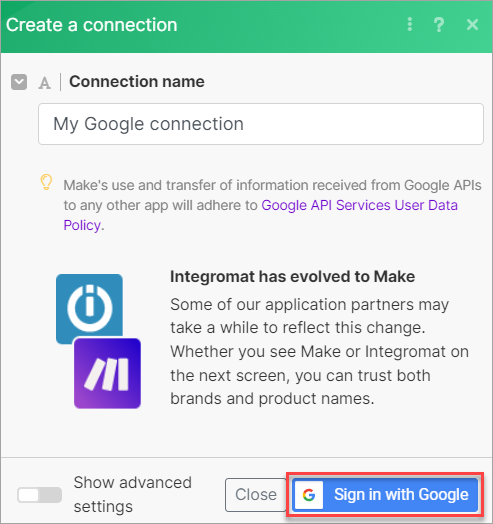
Sign in with Google option
-
Choose your account.
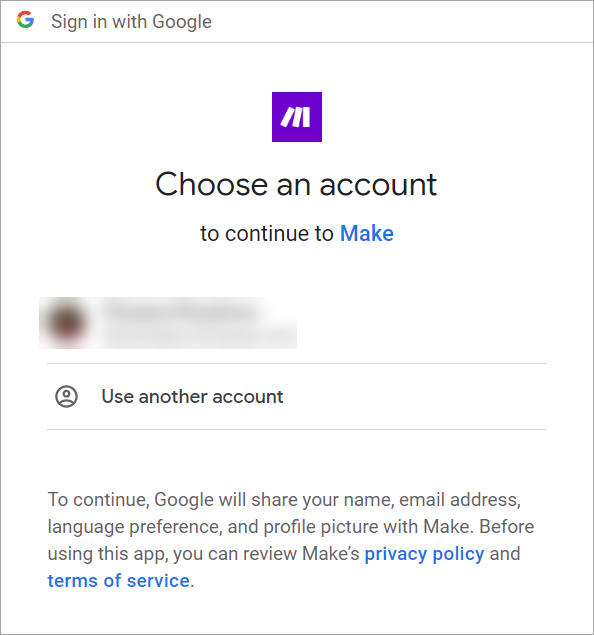
Choosing account
-
Provide the required access to Make.
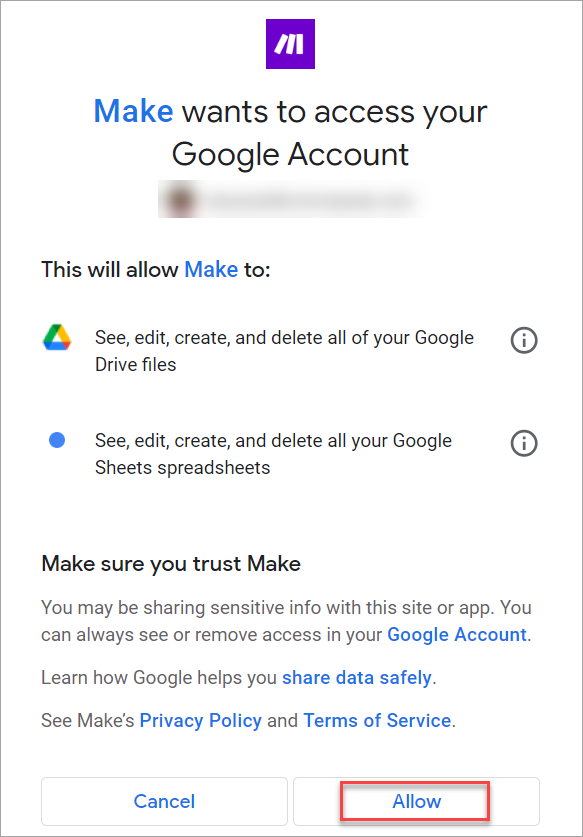
Providing access to Make
-
Choose your file and a sheet name, and click OK.
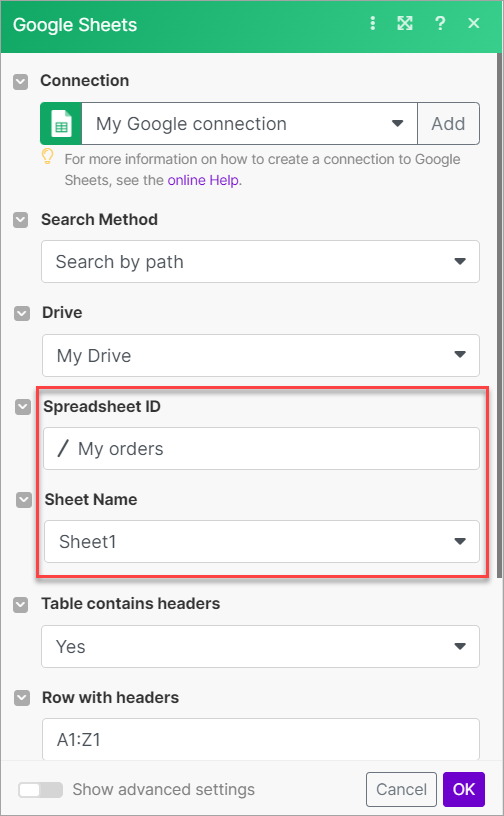
Choosing files
-
Choose where you want to start. In our example, we want to start from the last row.
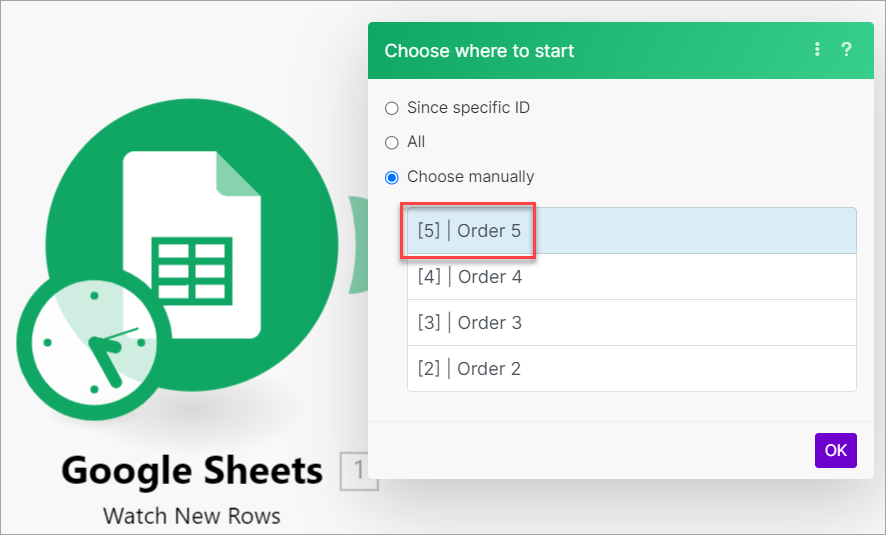
Selecting the start row
-
-
Create a connection with CommPeak.
-
Hover over the existing module and click + Add another module.
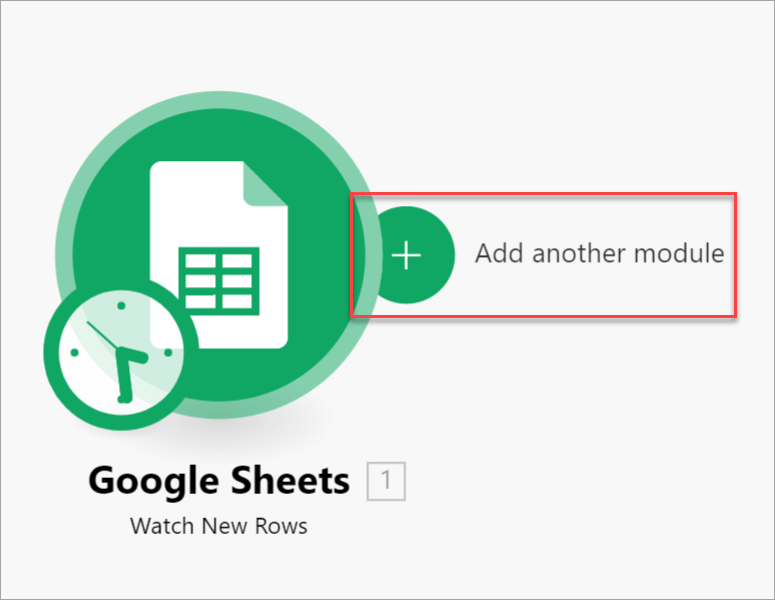
+ Add another module option
-
Search for CommPeak app and then select it.
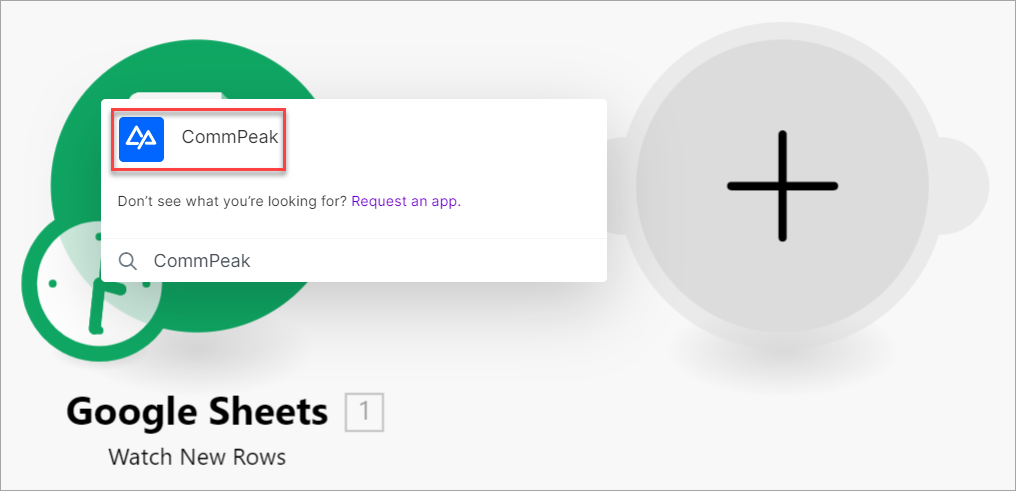
Adding CommPeak app
-
Select Send an SMS.
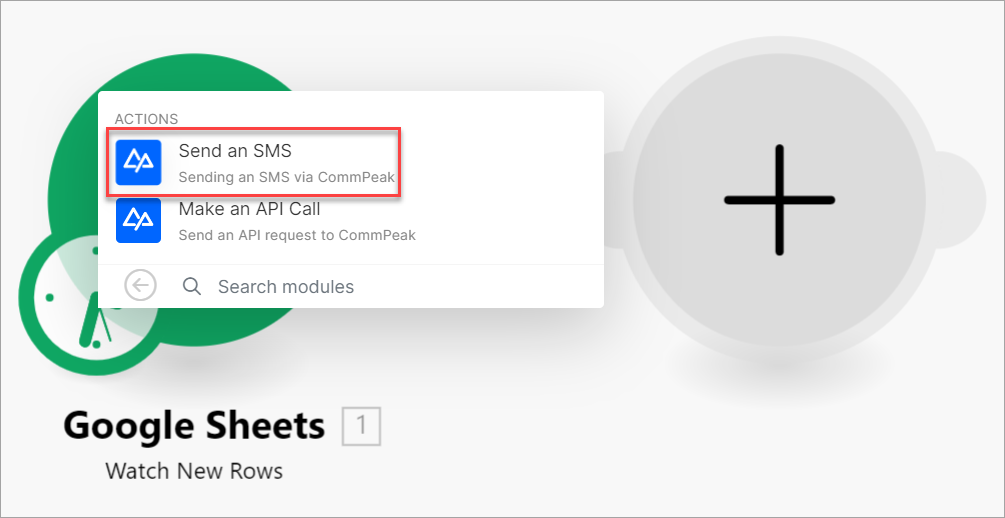
Send an SMS selection
-
Click Create a connection.
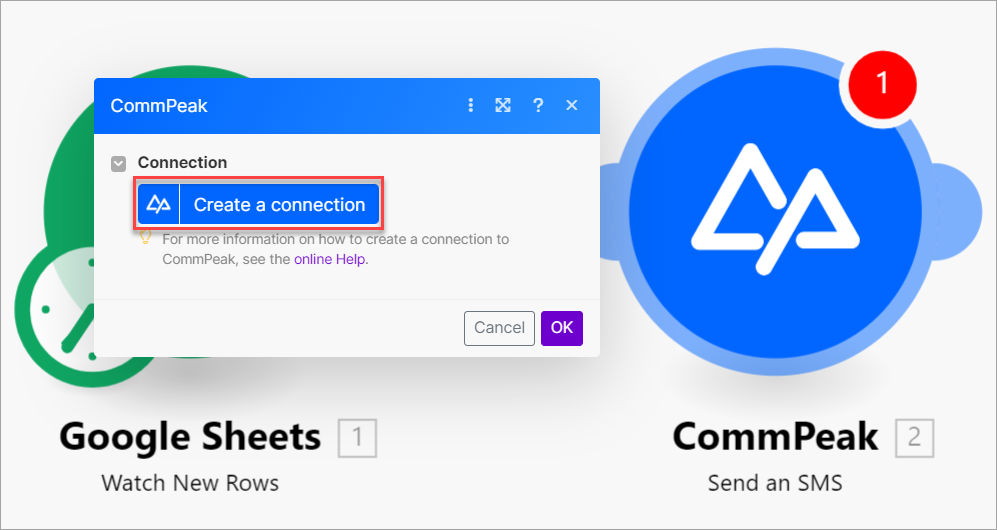
Create a connection option

-
Click Save.
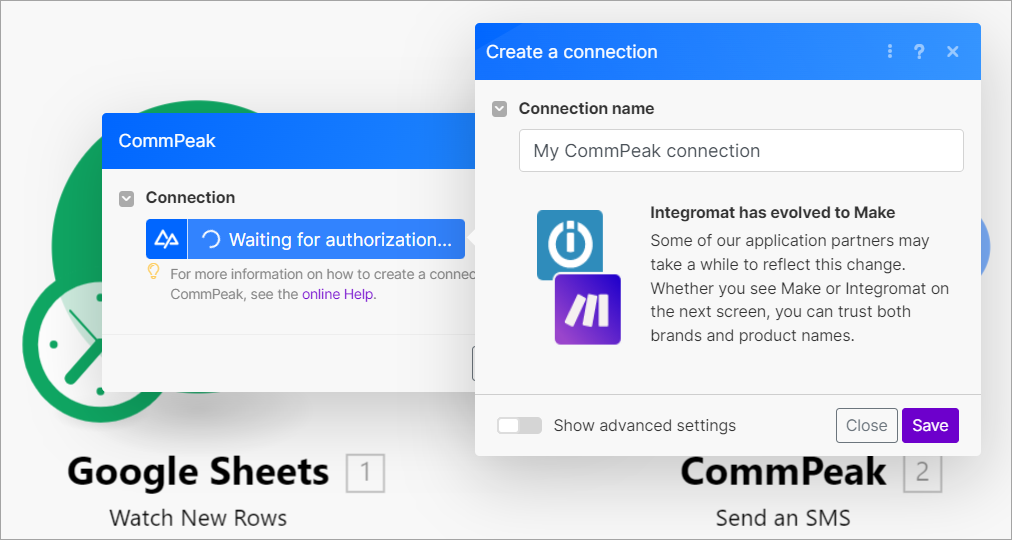
Saving connection screen
-
Log in to CommPeak Portal in a pop-up window.
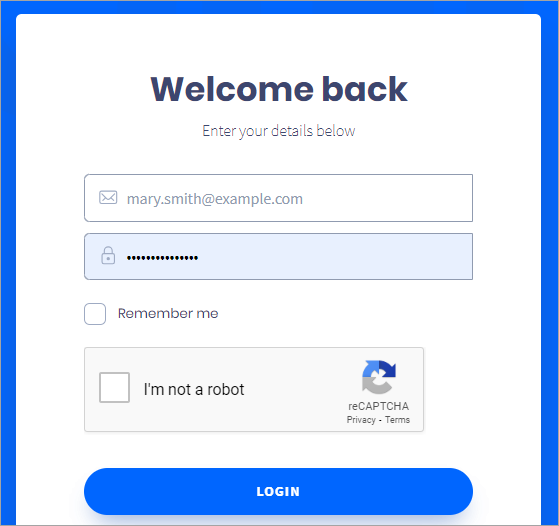
CommPeak login screen
-
Click Authorize.

Authorization dialog
-
Complete the required fields: select a Sender ID from approved sender IDs, enter a target phone number, and set up a message body. Then click OK.
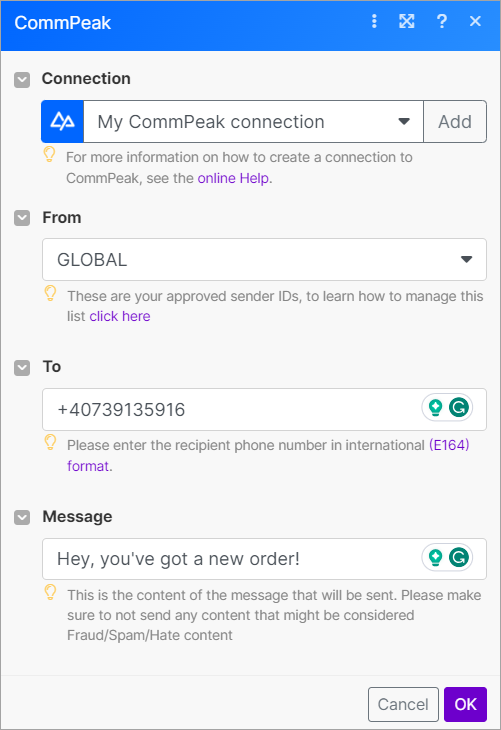
CommPeak connection dialog
-
-
Click Run once to test your scenario.
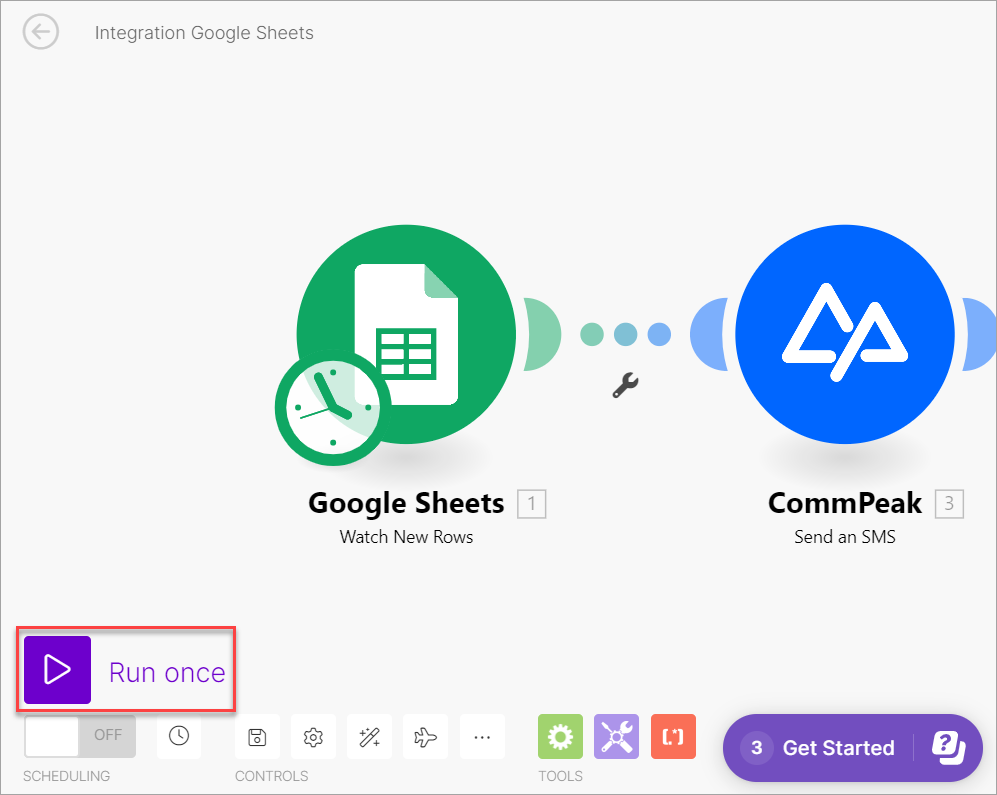
Testing scenario
-
Enable the scenario and set up scheduling if needed.
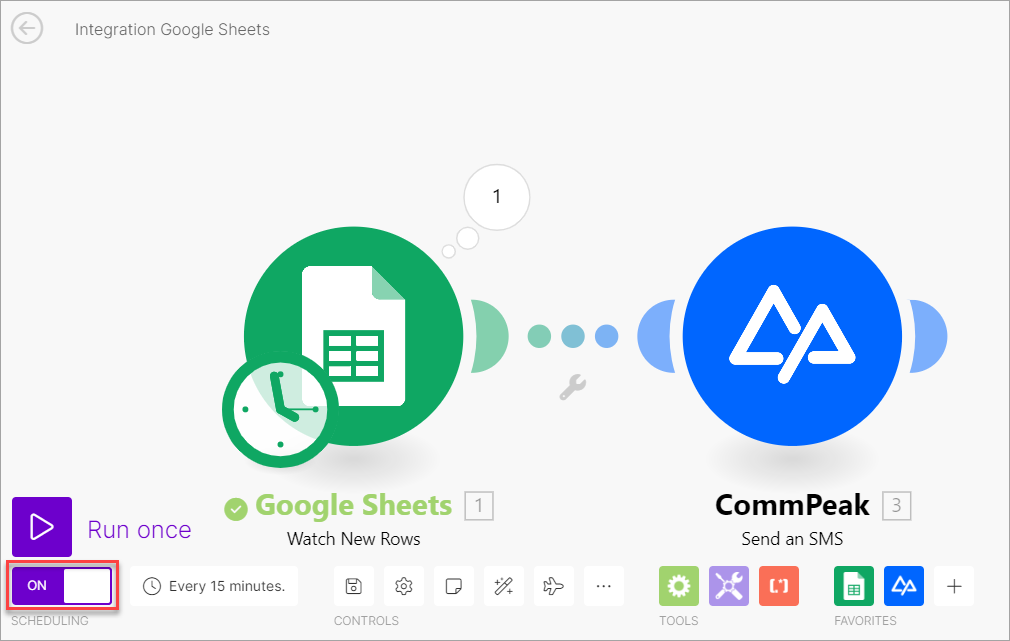
Enabling scenario
Run History
You can add as many scenarios as you need for other applications or phone numbers. To view them, expand the Scenarios section.
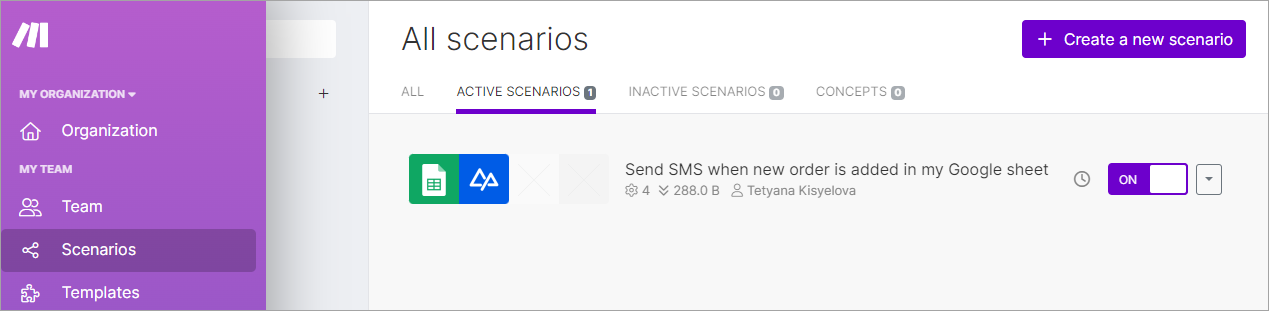
Scenarios section
Click the scenario and go to the History tab to view the run activity.
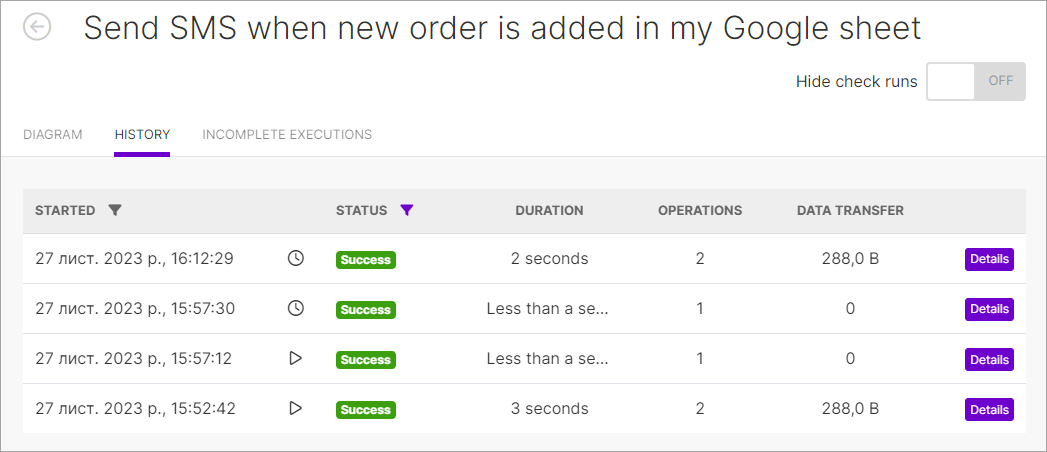
History tab
Updated 6 months ago