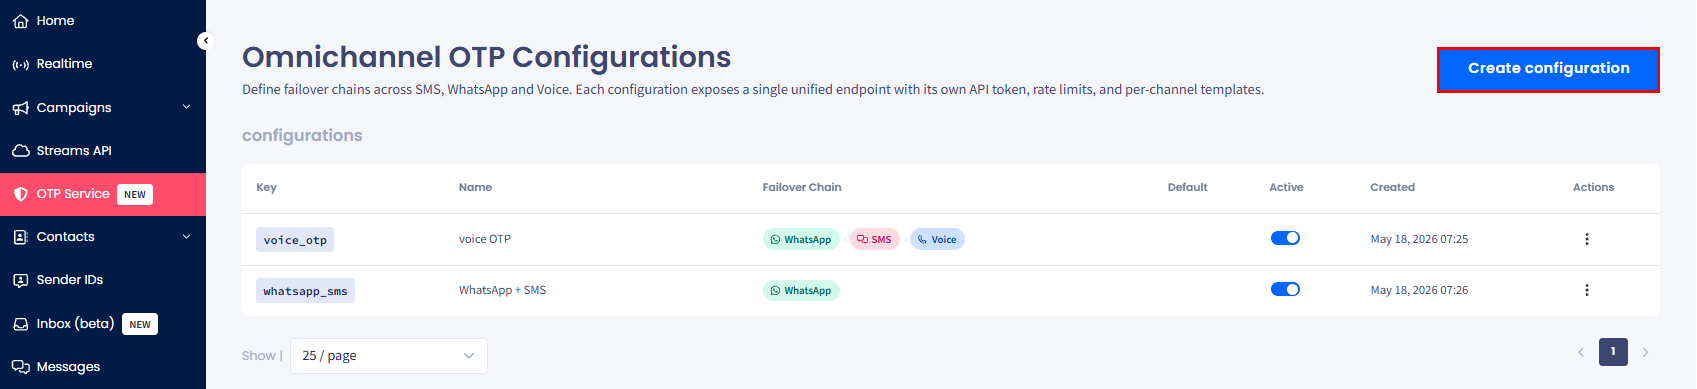
Click Create configuration in the top-right corner.
Create configuration button
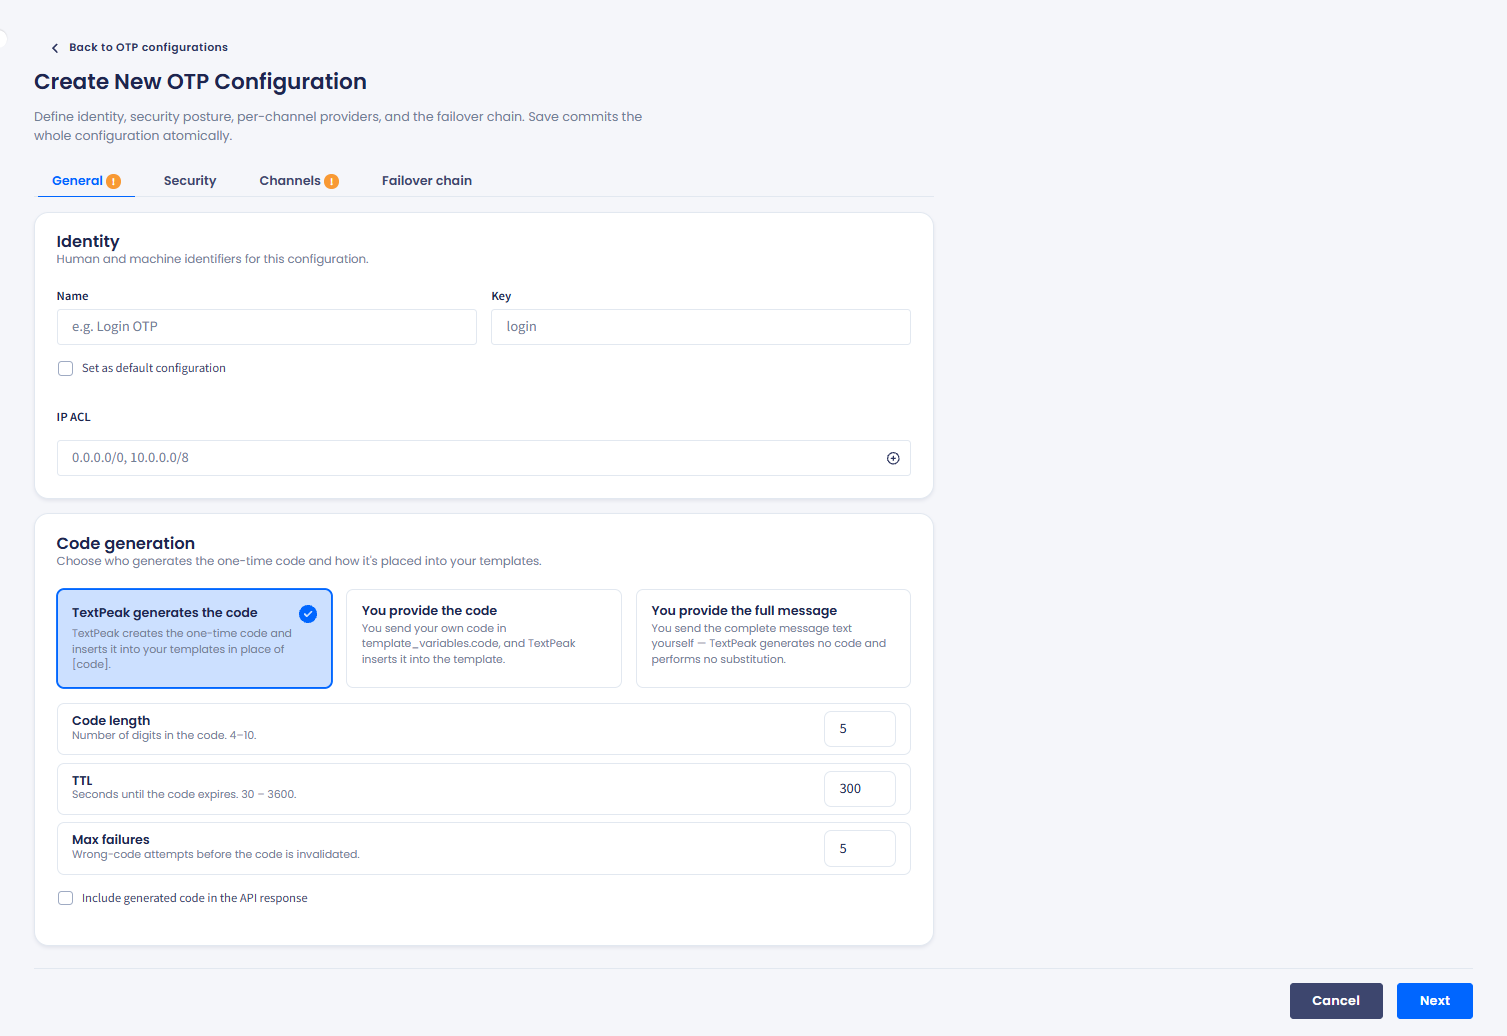
The Create New OTP Configuration page opens with four tabs: General, Security, Channels, and Failover chain.
Create New OTP Configuration page
👍
TIP
A warning badge on a tab means it has required fields to fill in. Complete each tab and click Save to save all tabs as a single configuration.
The pending channels OTP configurations
General tab
The General tab covers identity and code-generation behavior.
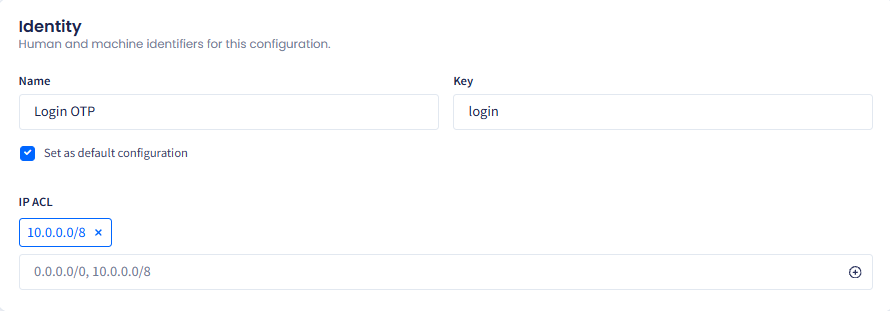
Identity
Name: enter a meaningful name (for example, Login OTP).
Key: enter a unique key used to address this configuration in API requests (for example, login).
Set as default configuration: select this checkbox to use this configuration when API requests don't specify a key.
Optionally, check the corresponding checkbox to set the identity as a default configuration.
IP ACL
Optionally, restrict API access by entering a comma-separated list of IP ranges in CIDR notation (for example, 0.0.0.0/0, 10.0.0.0/8).
Identity section
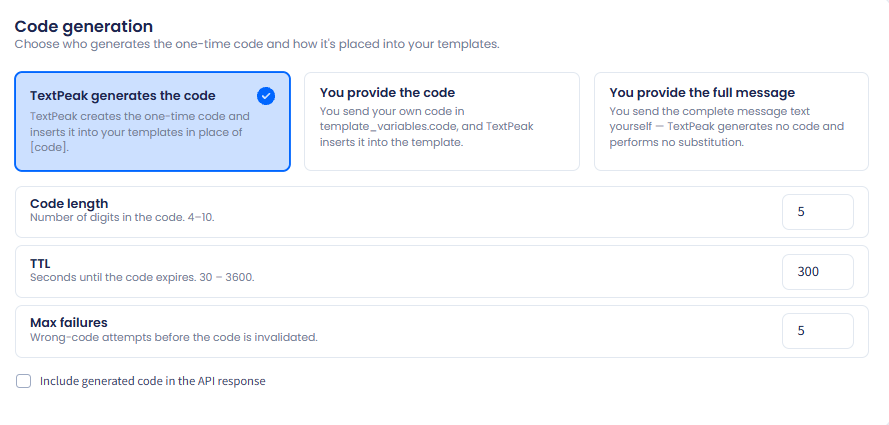
Code generation
Choose who generates the OTP code and how it's substituted into templates:
TextPeak generates the code:
TextPeak creates the one-time code and substitutes [code] into your templates.
TextPeak generates the code option
When TextPeak generates the code is selected, configure the following:
Code length: number of digits in the OTP code (default: 5).
TTL: code time-to-live in seconds (default: 300).
Max failures: number of incorrect verification attempts allowed before the code is disabled (default: 5).
Include generated code in the API response: select this checkbox to return the generated code in your API response. Use with caution; the code shouldn't leave a trusted server boundary.
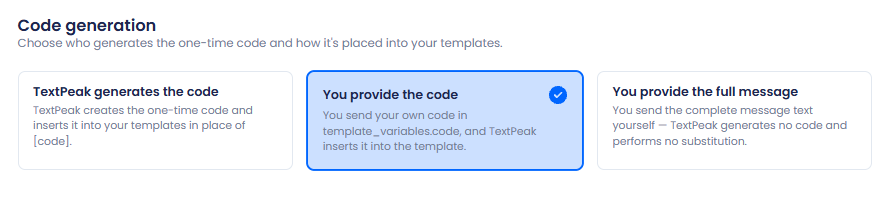
You provide the code:
You pass the code in template_variables.code per the OTP contract and TextPeak inserts it into the template for you.
You provide the code option
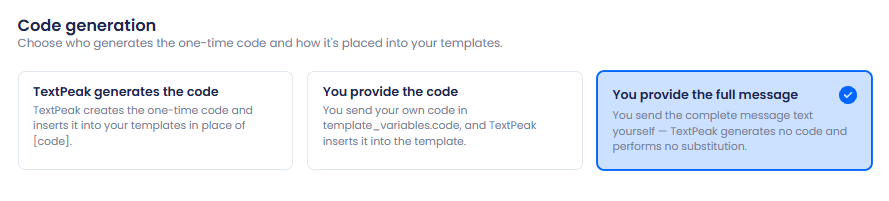
You provide the full message:
TextPeak generates no code and performs no code template substitution; you provide the full message body.
You provide the full message option
Click Next to continue.
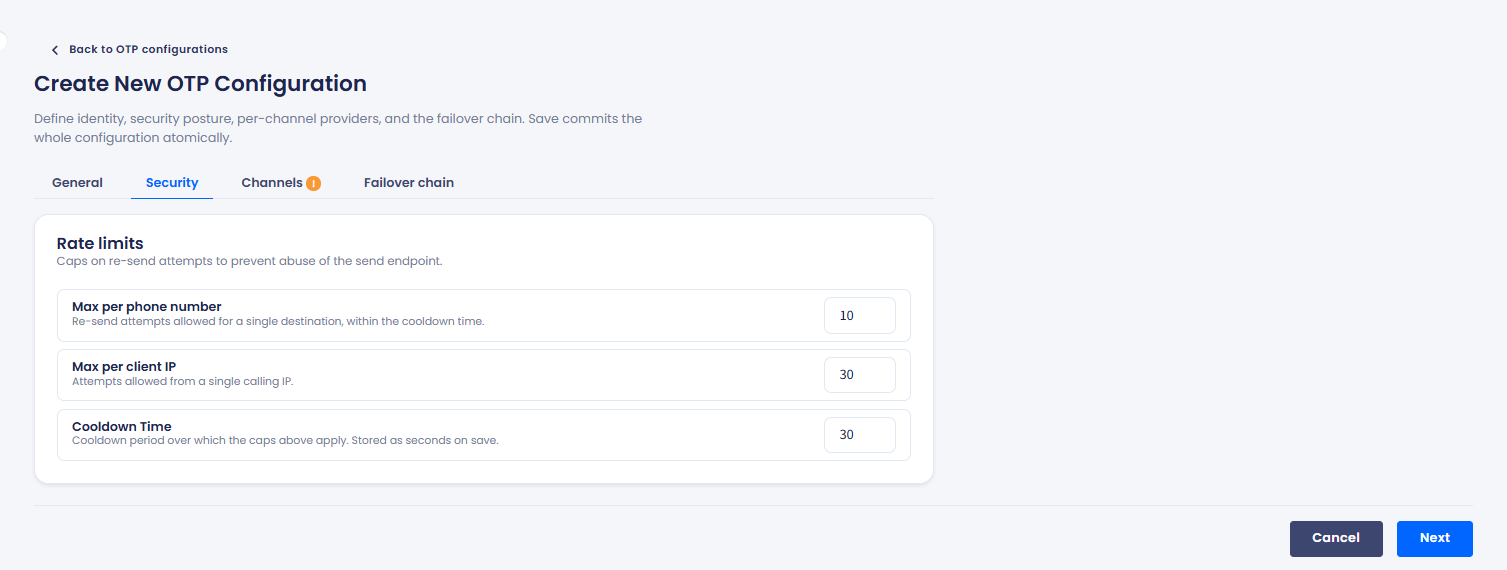
Security tab
The Security tab caps re-send attempts to prevent abuse of the send endpoint.
Security tab
Configure the rate limits:
Max per phone number: maximum requests allowed per phone number within the rate-limit window (for example, 10).
Max per client IP: maximum requests allowed per client IP within the rate-limit window (for example, 30).
Cooldown time: duration (in minutes) for which a user is blocked after exceeding a rate limit. (for example, 30).
Click Next to continue.
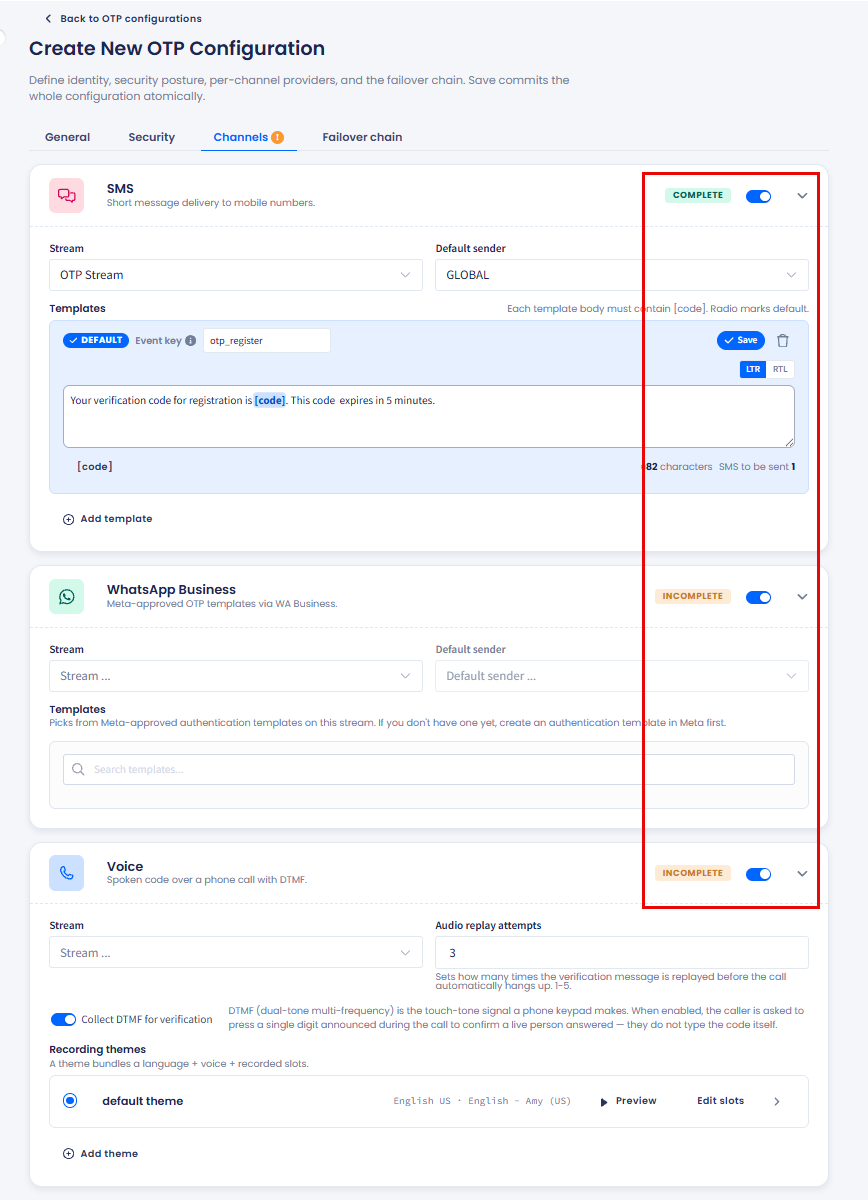
Channels tab
The Channels tab provides three channel cards: SMS, WhatsApp Business, and Voice, each with its own toggle.
Turn on the channels you want to use and configure each one. A channel card shows Incomplete until all its required fields are filled, at which point it switches to Complete.
Channels tab
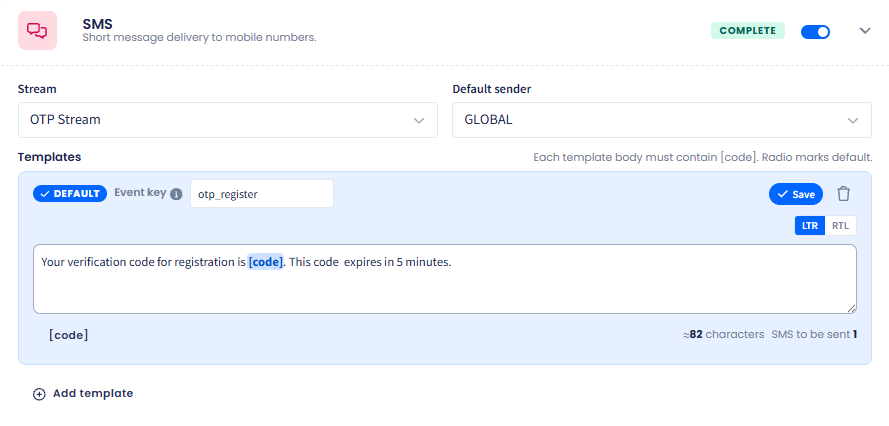
SMS channel
Turn on the SMS toggle and configure:
Stream: select your transactional SMS stream. To create one, see [Creating Transactional Streams](doc: creating-transactional-streams).
Default sender: select the sender used for outbound messages.
Templates: click + Add template and, for each template, enter:
a. A template event key used to identify the event (for example, otp_register).
b. The message body. Each template body must contain [code] as a placeholder for the OTP code. The form shows a live character count and SMS segment count below the body and allows switching to the RTL Editor option to write messages in one of the RTL (Right to Left) languages, like Arabic or Hebrew.
Setting SMS delivery to mobile numbers
Select the radio button on the template you want as the default for this channel.
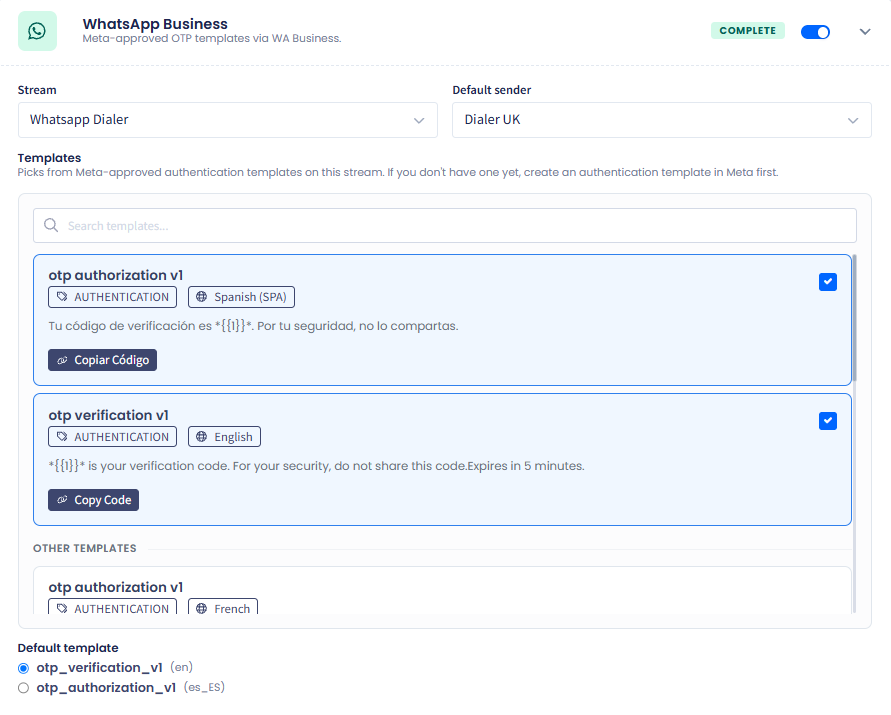
WhatsApp Business channel
Turn on the WhatsApp Business toggle and configure:
Stream: select your WhatsApp stream.
Default sender: select the WhatsApp sender used for outbound messages.
Templates: pick from your Meta-approved authentication templates. Use the search field to filter by name. Selected templates show a checkmark. Non-selected templates appear under OTHER TEMPLATES.
Default template: select the template to use as the default for this channel.
Setting WhatsApp Business channel
❗️
IMPORTANT
WhatsApp OTPs require authentication-type templates. If you don't have one yet, create one in your Meta Business account before configuring this channel. For details, see Managing WhatsApp Templates .
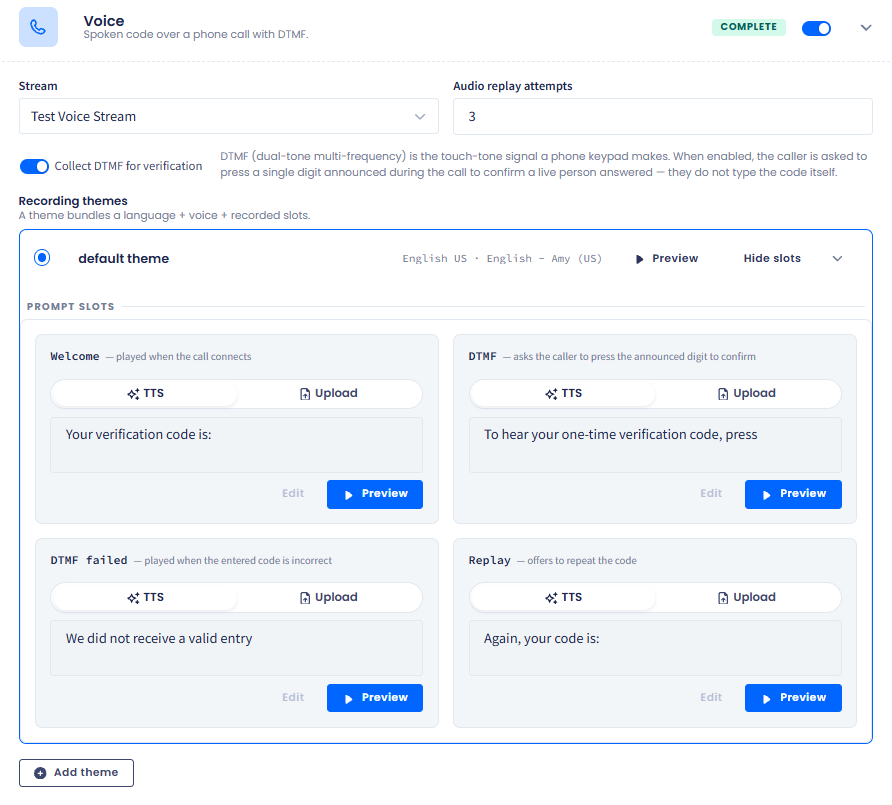
Audio replay attempts: set the number of times the message is replayed and then auto hang-up the call (for example, 3).
Collect DTMF for verification: enable this to prompt the caller to press a single random digit announced during the call to confirm a live person answered. DTMF (dual-tone multi-frequency) is the touch-tone signal a phone keypad makes.
Recording themes
A recording theme bundles a language, a voice, and recorded prompt slots. Every voice channel has a default theme, and you can add more languages or voices with + Add theme.
Setting Voice channel
Each theme has four prompt slots:
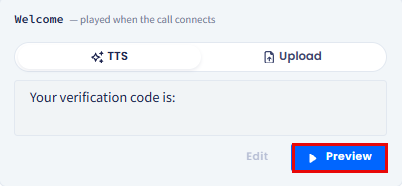
Welcome: played when the call connects.
DTMF: asks the caller to press the announced digit on the keypad.
DTMF failed: played when the entered digit(s) is incorrect.
Replay: offers to reenter digit(s).
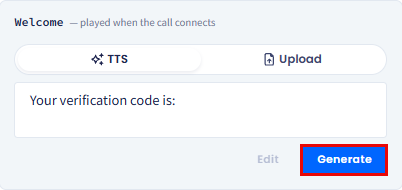
For each slot, choose between TTS (text-to-speech) and Upload (your own audio file):
TTS: enter the prompt text in the field. Use the Generate button to render the audio.
Generate button
Next, click Preview to play it.
Preview button
Upload: click to select your own recording file and upload it.
Setting the Welcome slot
Click Next to continue.
Failover chain tab
The Failover chain tab defines the delivery order across enabled channels. TextPeak attempts delivery top-to-bottom until one channel succeeds or the chain is exhausted.
Drag each channel up or down to set its priority. Each row shows the channel name, the configured stream, and a summary (number of templates for SMS and WhatsApp, number of recording themes for Voice).
Setting the failover chain order
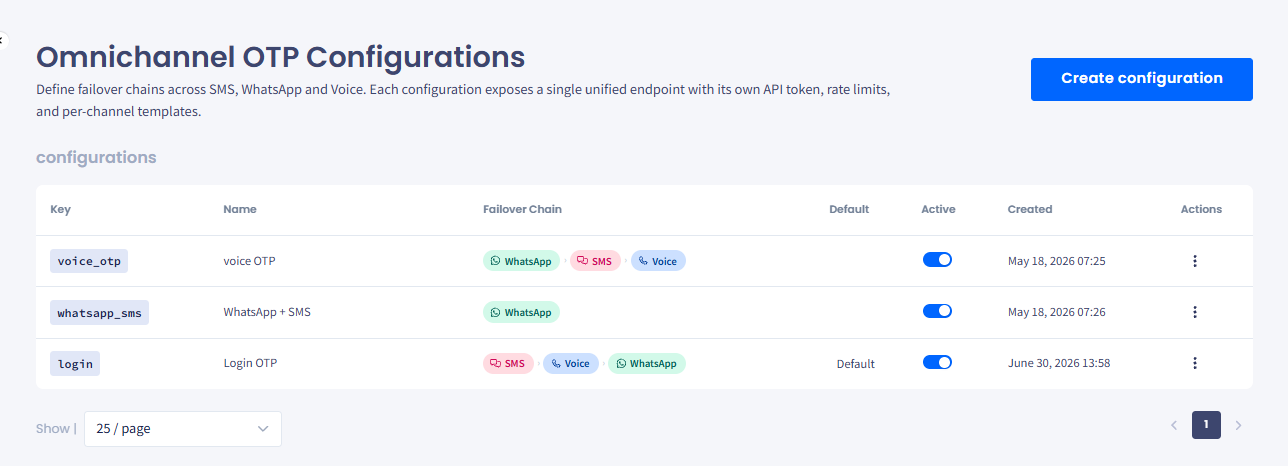
When every tab shows no warning badge, click Save to create the configuration. The token is generated and new configuration appears at the top of the Omnichannel OTP Configurations table.
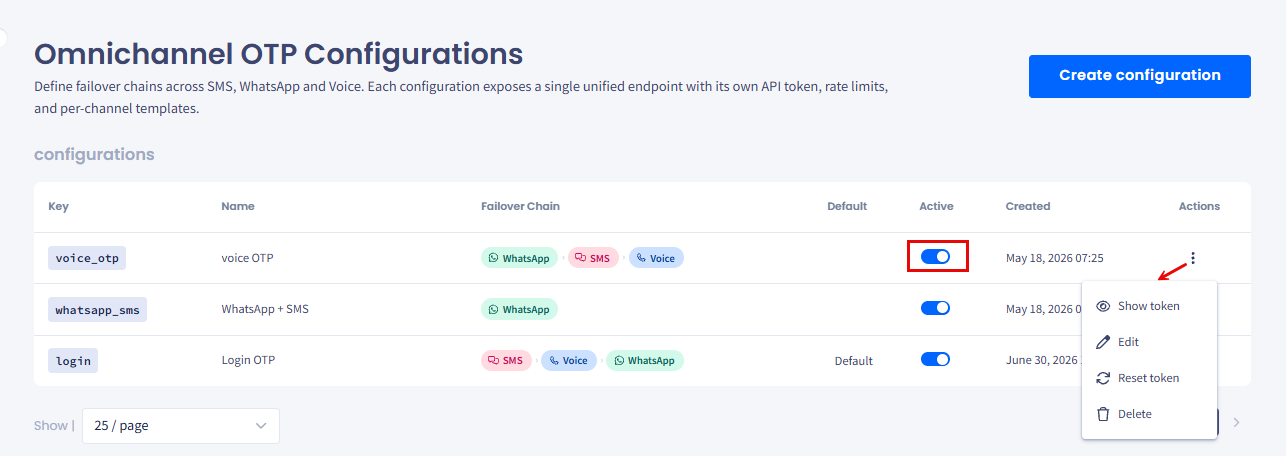
Omnichannel OTP Configurations table
👍
TIP
You can override the failover chain on a per-request basis by specifying a channel directly in your API call.
Managing OTP configurations
To edit, deactivate, or delete a configuration:
On the Omnichannel OTP Configurations page, find your configuration in the table.
Use the Active toggle in the row to enable or disable the configuration without deleting it.
Click the three-dot icon in the Actions column to show and copy or reset the token for configuration, edit, or delete it.
Actions menu options
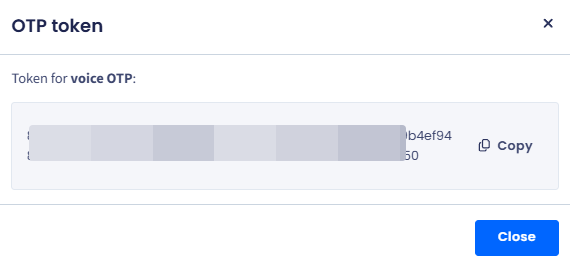
To show and copy or reset the configuration token, select Show token, then click to copy it.
OTP token shown
To edit the configuration, click the three-dot menu icon and select Edit. Then, make the needed changes and save them.
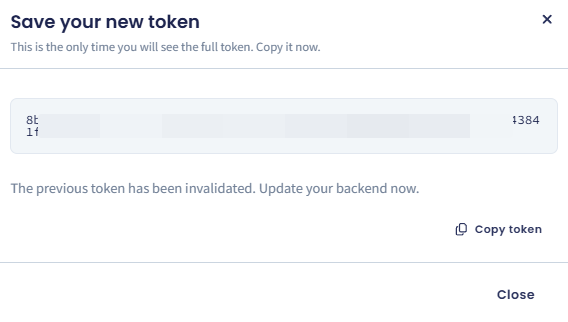
To reset the token for this configuration, click Reset token. In the popup window click to confirm the action and click Copy token to save your new token.
Saving new token
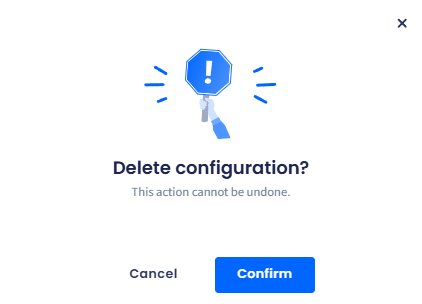
To remove the configuration from your account, click the three-dot menu icon and select Delete; then confirm the operation.