A comprehensive agent's guide on how to view and manage Inbox conversations integrated with SMS, WhatsApp, and Telegram platforms.
From the Inbox main menu, multiple inbox agents and/or managers can access the Inbox dashboard to concurrently view and manage the same team conversation, provided they have the corresponding Inbox role permissions.
❗️
IMPORTANT
To access and manage the conversations from the spaces and teams assigned to your account, you must hold the corresponding Inbox role.
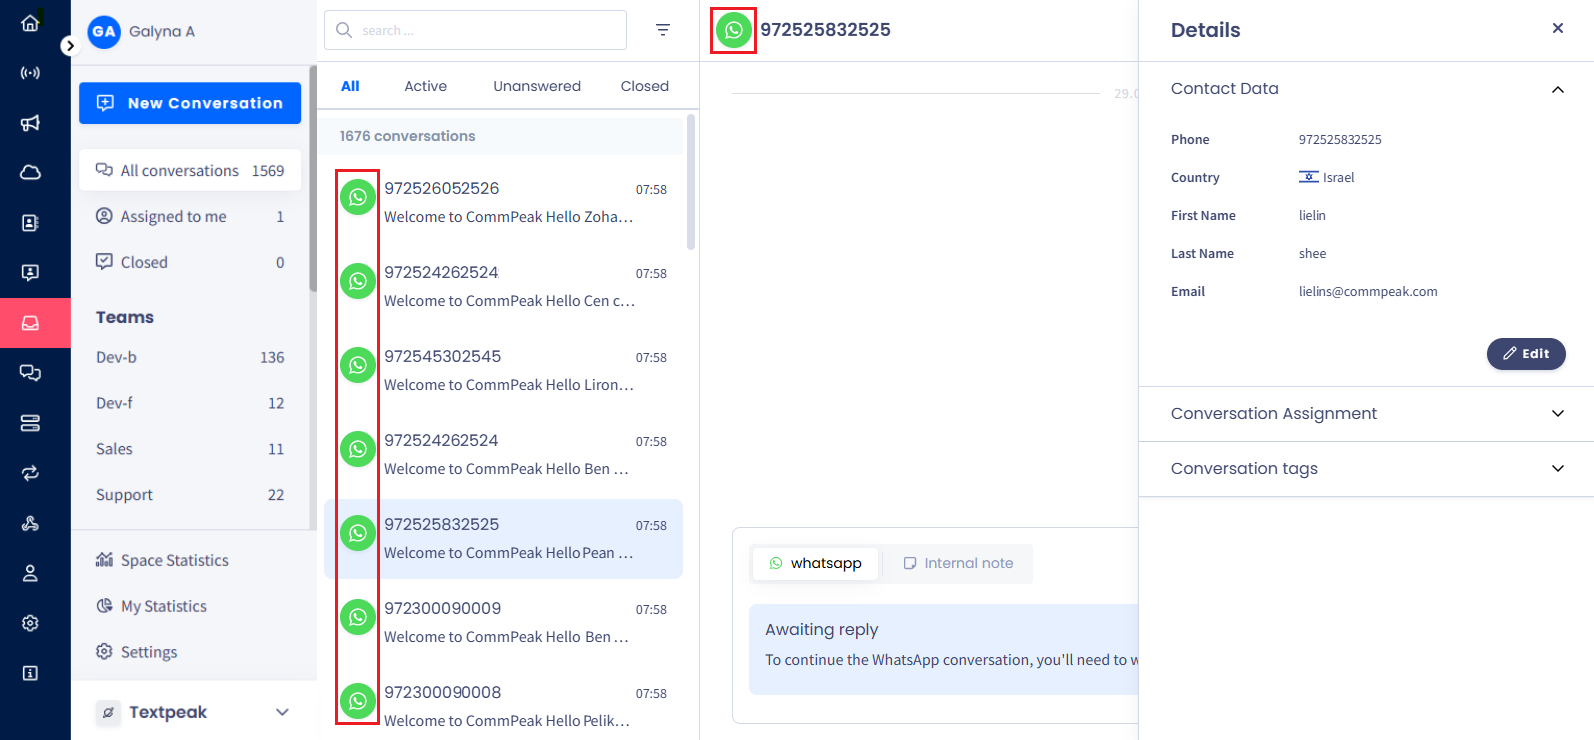
A click on the conversation will open the timeline box containing the history of all its messages and events.
Every Inbox conversation has a platform icon (SMS, WhatsApp, or Telegram) shown next to its name, both on the Conversations list and in the conversation timeline.
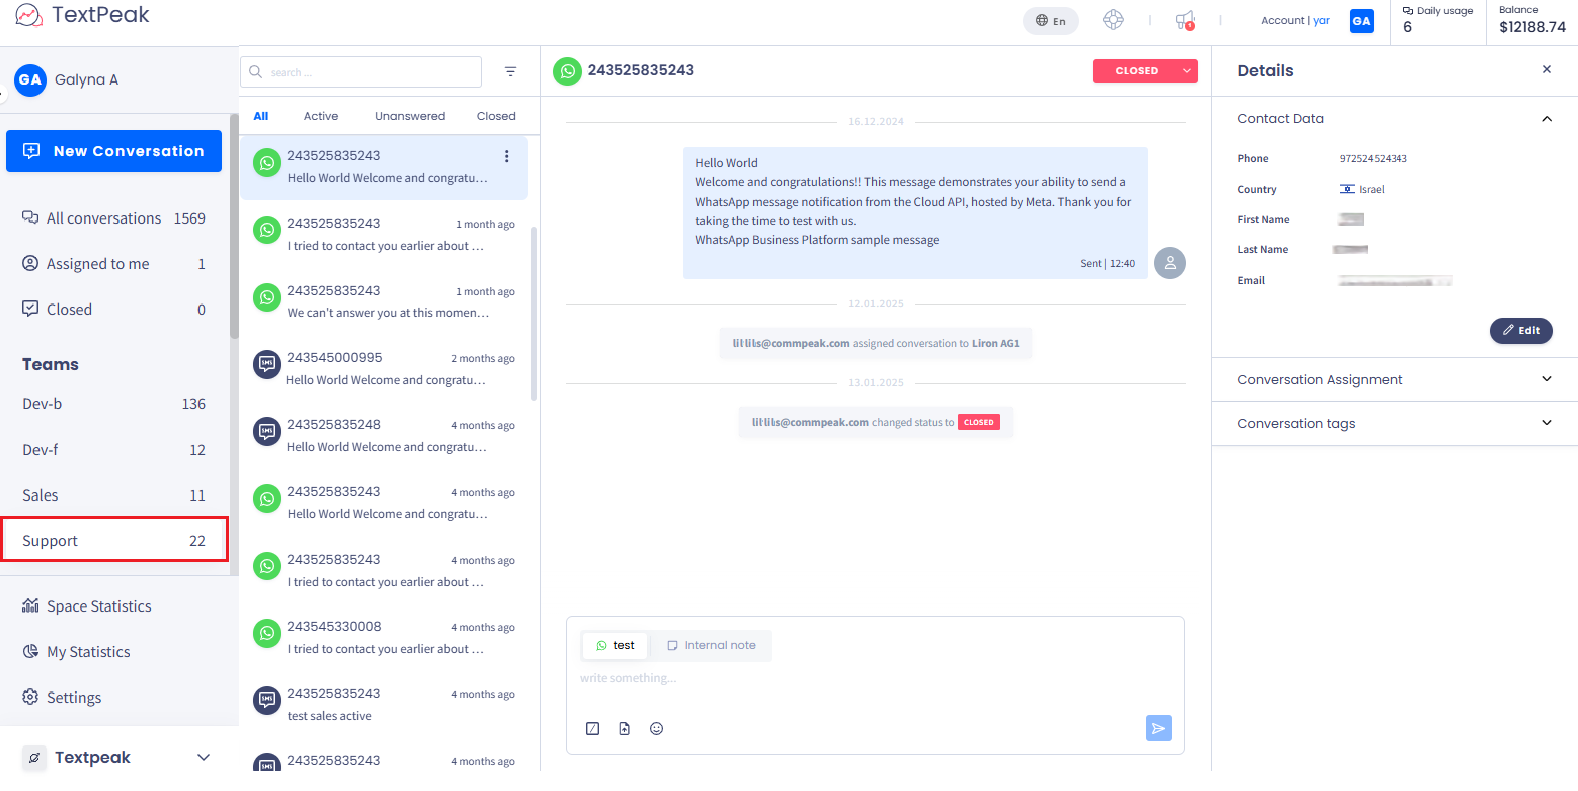
Inbox conversations dashboard
Below, the message box with the editor is shown where you can write messages to customers or leave internal notes for other agents (provided the agent has the corresponding permission, Add internal notes for conversation).
The sidebar Details section on the right contains contact data and information about the conversation assignments and tags.
👍
TIP
CommPeak Dialer customers can also manage calls (both VoIP and WhatsApp Business) directly within the Dialer Inbox.
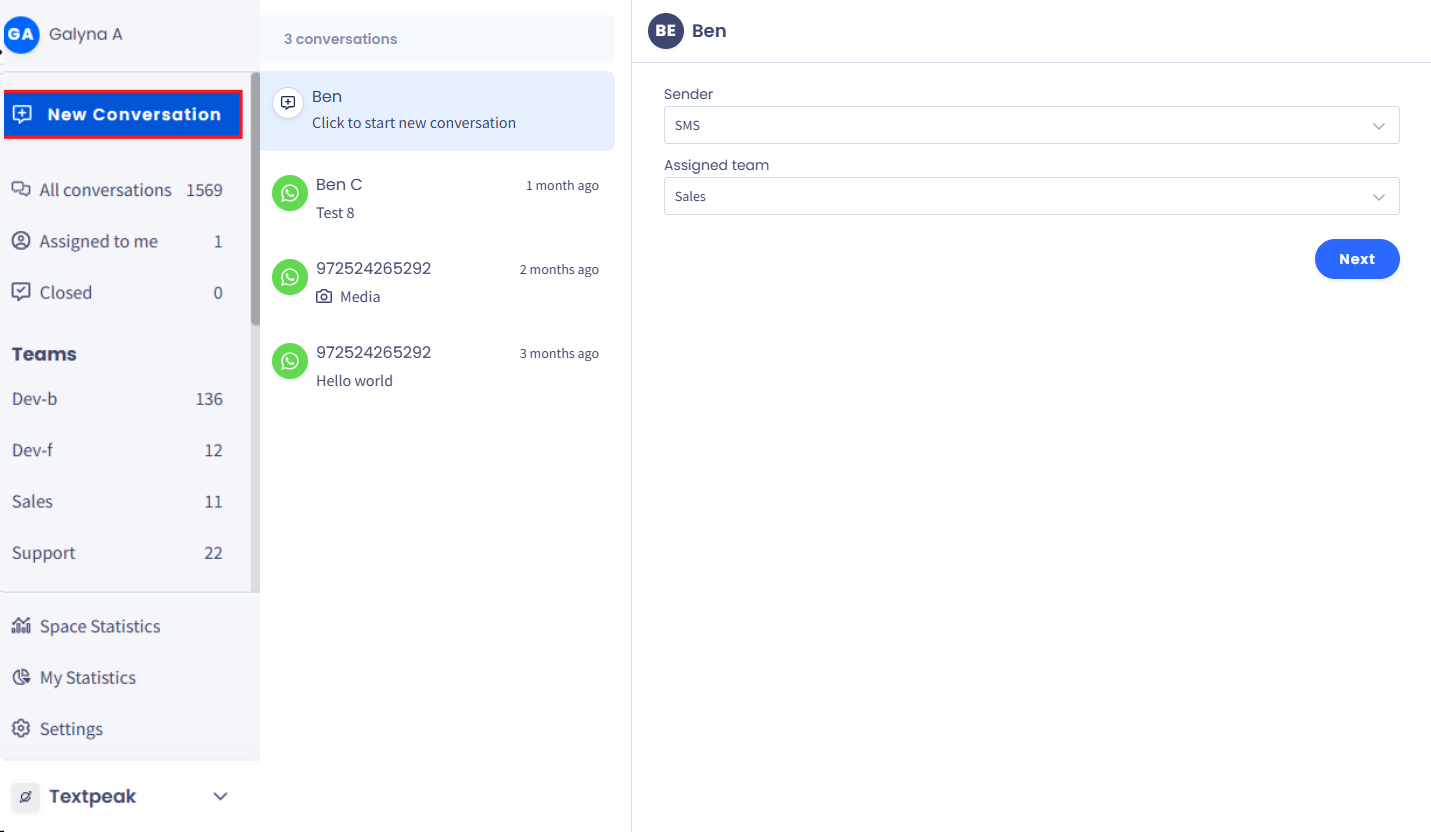
Click the New Conversation button under your account name.
Then, select a TextPeak contact to create a new conversation. Then, click to select the sender and assigned team from the drop-down menus, then click Next.
📘
NOTE
Below, you will see the list of previous conversations with this contact; if needed, you can select the needed conversation to continue with it instead of initiating a new conversation.
New conversation button
📘
NOTE
Inbox agents have no access to the Settings page and can manage conversations only where they can view the name of the sender profile, not the senders it contains.
Therefore, when starting a new conversation, an agent can select the sender profile only and the system automatically selects one of its senders based on the country and the daily limit.
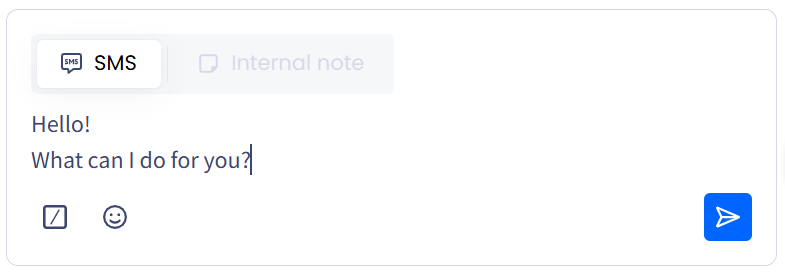
Provide the message text and click Send Message.
New conversation dialog box: message text editor
The message is sent, and the conversation is added to the Conversations list.
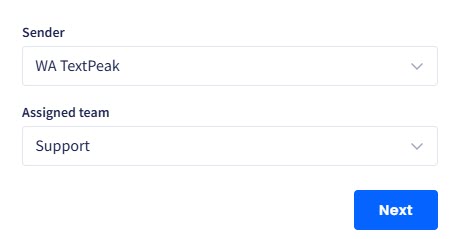
Click the New Conversation button under your account name.
Then, select a TextPeak contact to create a new conversation. Then, click to select the sender and assigned team from the drop-down menus, then click Next.
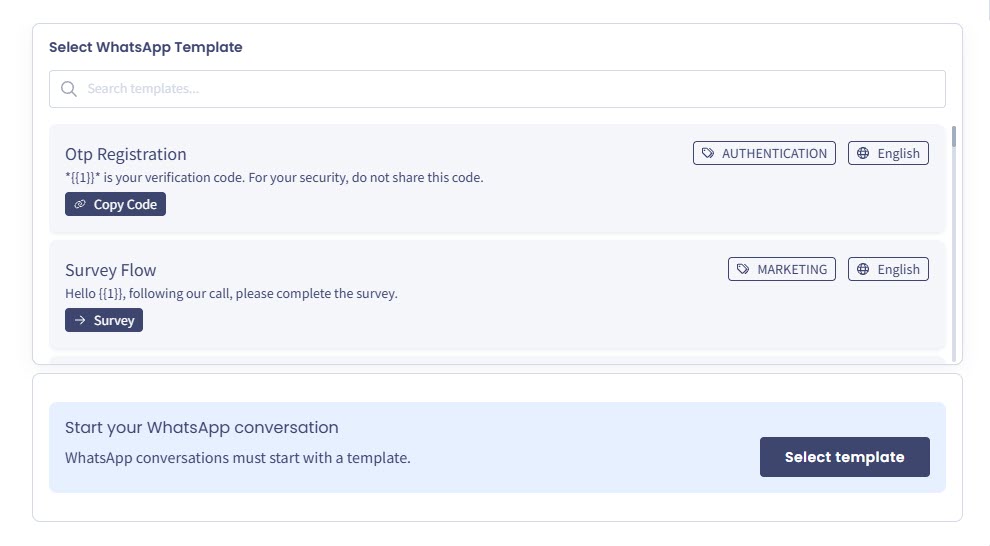
To start your conversation, click Select template.
Select template button
📘
NOTE
You can check the Managing WhatsApp Templates article for details about how to create and manage the templates created with WhatsApp.
Next, select the template to be used for your conversation.
Selecting WhatsApp Templates
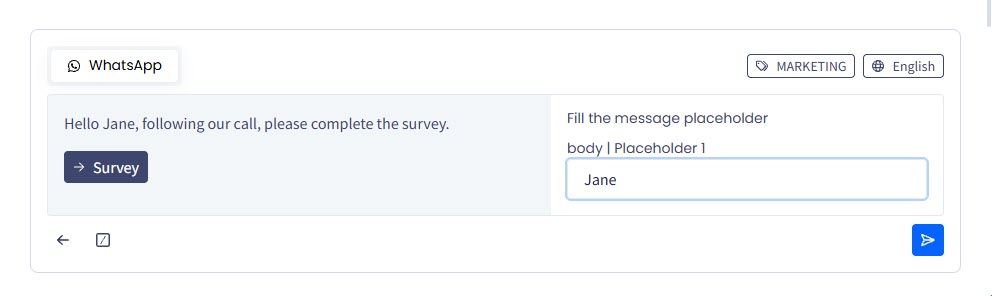
For complex templates, you may need to provide the message body/placeholders to be used in the message, for example, the recipient's first and last names.
Filling the message placeholders
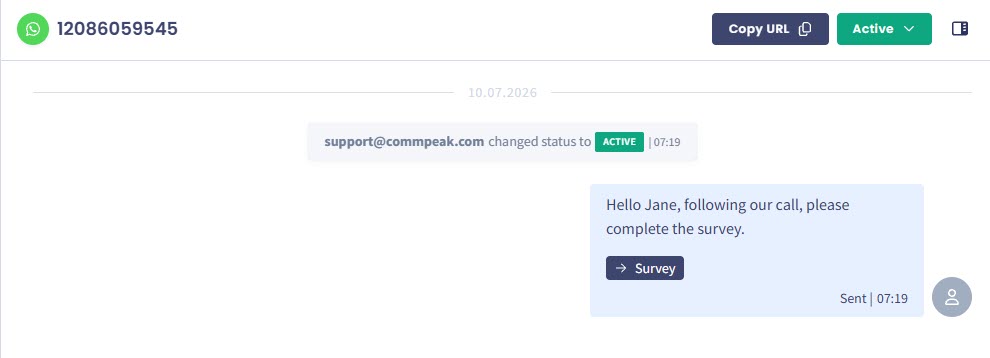
Click the button below to send the message.
✔️ Congratulations! Your message is sent.
Message sent
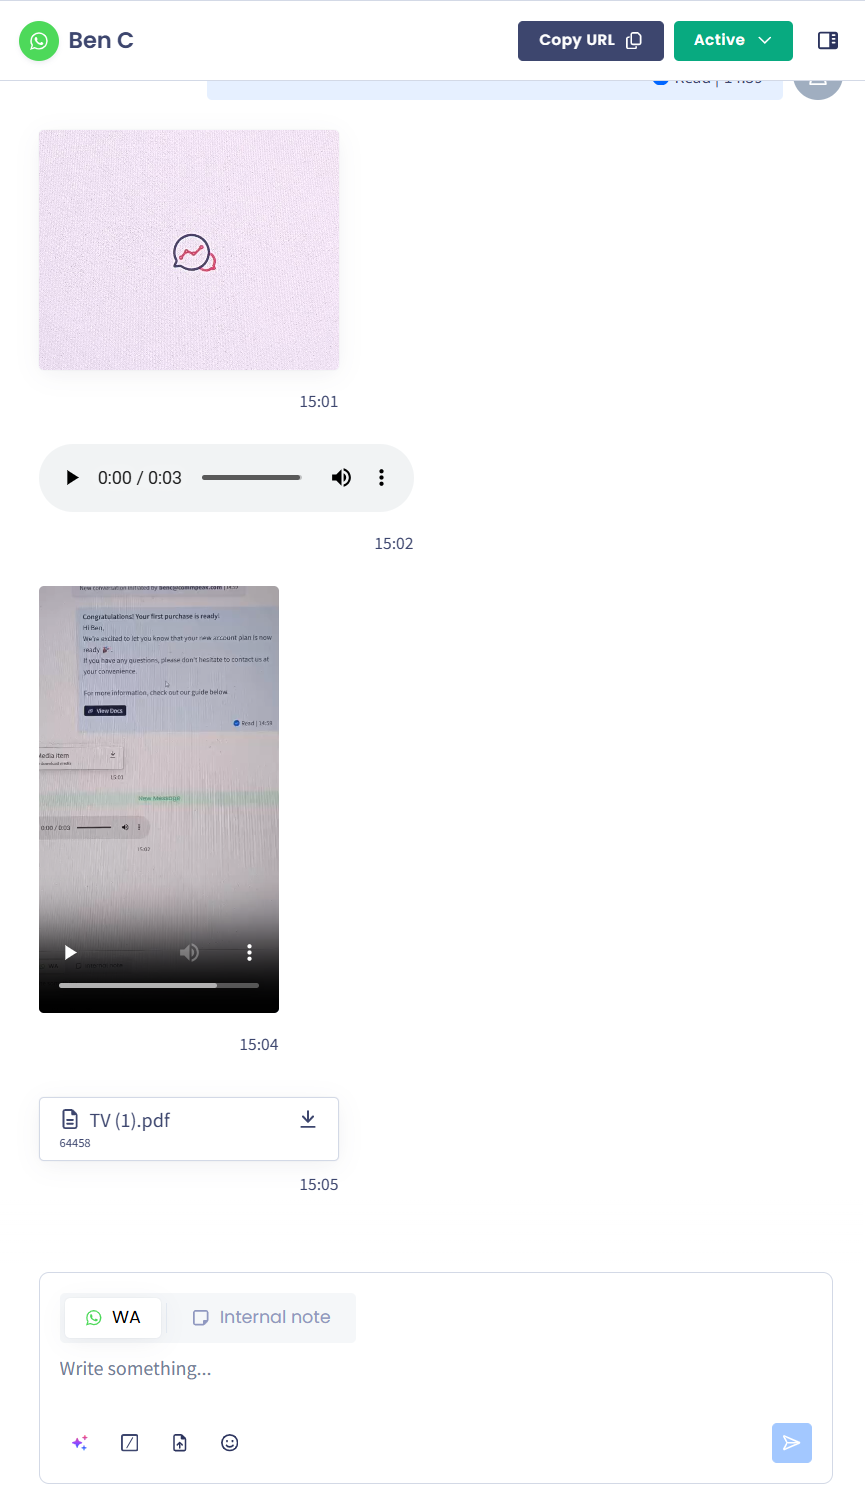
Conversation Timeline
In the conversation timeline box, agents can review the history of this conversation in chronological order, including:
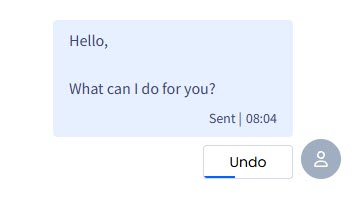
all messages shown with the time stamp and their status (Sent, Read, Delivered, etc.)
badges with information about any past event, for example, changing status or adding tags
internal notes shown with the time stamp
avatars of the agents involved in the conversation.
Inbox conversation timeline and message editor
📘
###TIP
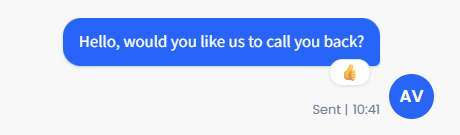
Starting from v1.06, you can see the reactions your contacts add to WhatsApp messages, right in the conversation timeline.
Conversation reaction
Managing Messages
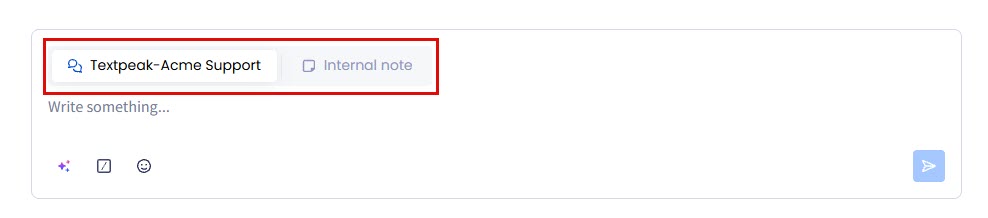
Below the conversation timeline is the message box, where inbox agents can write messages to customers under the Sender Profile tab or switch to the Internal note tab to leave notes for other agents or managers.
Switching between the Sender Profile and Internal note tabs
📘
NOTE
Internal notes can only be accessed by the agents assigned with the corresponding Inbox role permissions.
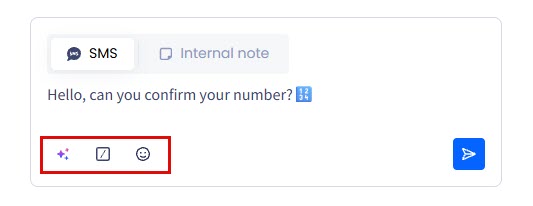
While writing your message, you can also select to do the following (left to right):
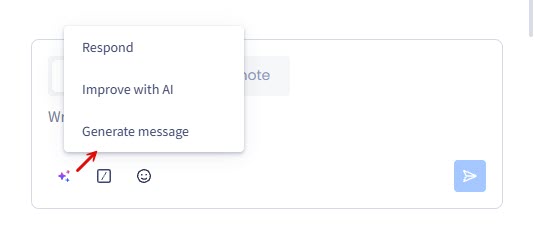
To use the AI assistant options, in the message box, click the AI Assistant button and select the preferred option, then proceed with composing your message:
Selecting AI assistant options
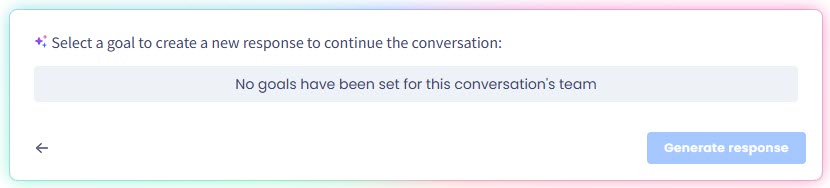
Respond
Use it to create a response to the message that is based on the message history.
Before you can generate responses, your Inbox manager must create conversation goals for your team.
Generating response dialog
Improve with AI
Select it to open the box where you can enter the message you want to rewrite, then select the message tone, and click AI Rewrite.
Rewriting message with AI
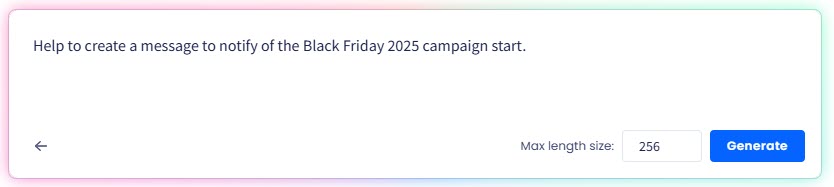
Generate message
Use this option to enter prompts to generate engaging and grammatically correct messages. Here, you can also limit the message length.
Generating message with AI
Details
In the Details section, you can:
create and manage inbox contacts
assign or reassign conversations to teams and agents
create and edit conversation tags.
Managing Contacts
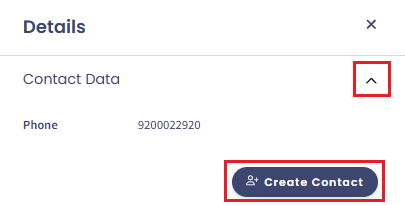
To create a new inbox contact:
Expand the Contact Data section and click Create Contact.
Create Contact button
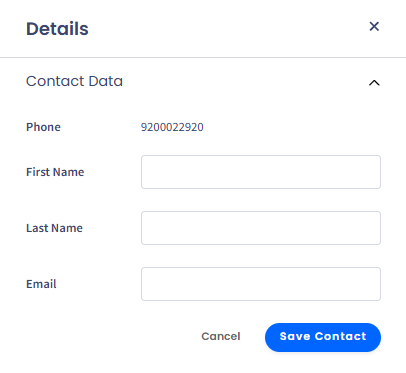
In the dialog window, provide the required contact data.
Contact data fields
Click Save Contact.
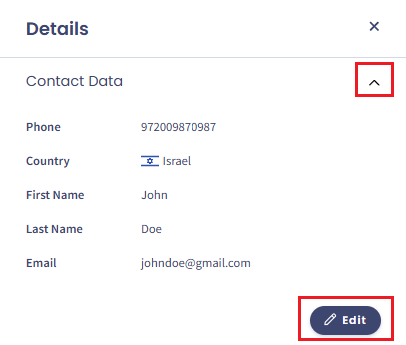
To edit an existing inbox contact:
Expand the Contact Data section and click Edit.
Editing contact data
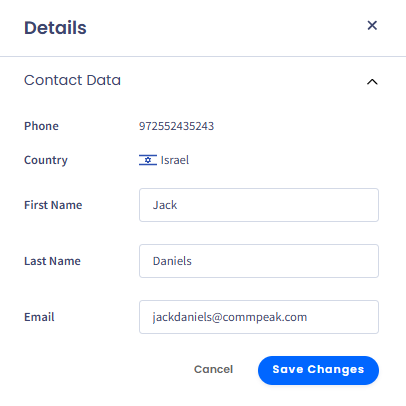
In the dialog window, update the contact data.
Updating contact data
Click Save Changes.
Managing Conversation Assignments
To edit conversation assignments:
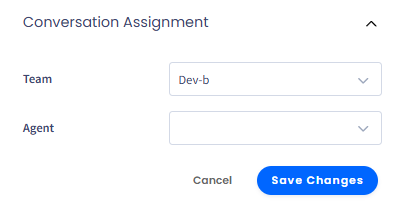
Expand the Conversation Assignment section and click Edit.
Click to open the drop-down menus and select the teams and agents you want to assign to this conversation.
Editing conversation assignment
Click Save Changes.
Managing Conversation Tags
To edit conversation tags:
Expand the Conversation tags section and click Edit.
Click to open the drop-down menu and select the tags you want to add.
Adding conversation tags
Click Save Changes.
Saving added tags
The tags are saved and can be used in conversations.
Sorting Conversations
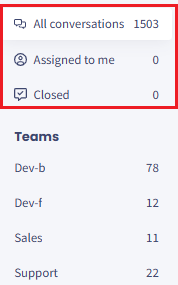
To sort conversations, select one of the following options:
All conversations - review all conversations available to them
Assigned to me - review the conversations that are assigned to them only
Closed - review the conversations closed by them.
Conversation sorting options
If several teams are created under your account, you can review conversations assigned to the specific team by selecting the needed team under Teams.
Selecting teams
📘
NOTE
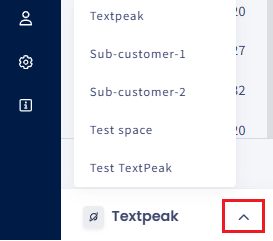
If an agent belons to multiple spaces, they can switch between them by clicking the bottom arrow button and selecting the needed space from the drop-down list.
Switching between spaces
You will see the list of the sorted conversations in the Conversations menu on the right. Every conversation is shown with the platform icon (SMS, WhatsApp, or Telegram), contact name/number, last message, and a three-dot menu button to update the conversation status.
Conversation Statuses
Every new conversation started from TextPeak API, CommPeak Dialer, or TextPeak SMS Campaign is automatically generated with the Unanswered status. Once the contact answers the message, its status updates to Active, and the conversation is automatically added to the Active tab, ready to be processed by the agent.
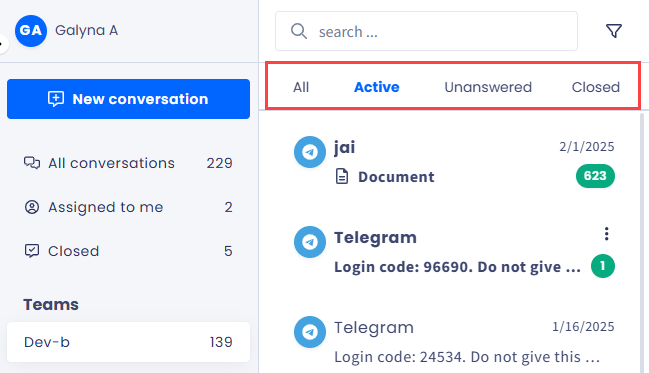
To additionally filter your conversations by statuses, select one of the four tabs:
All - review all conversations available
Active - review the conversations that are currently active
Unanswered - review the unanswered conversations
Closed - review the closed conversations.
Conversations Statuses Tabs
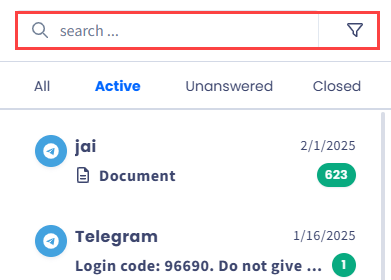
You can search conversations by contact name or message text. You can also filter to show specific conversations by clicking the button next to the Search field. A list of conversations will be returned, each with the platform label (SMS, WhatsApp, or Telegram), contact name or number, date, and the label showing the number of unread messages.
Search field and Filter button
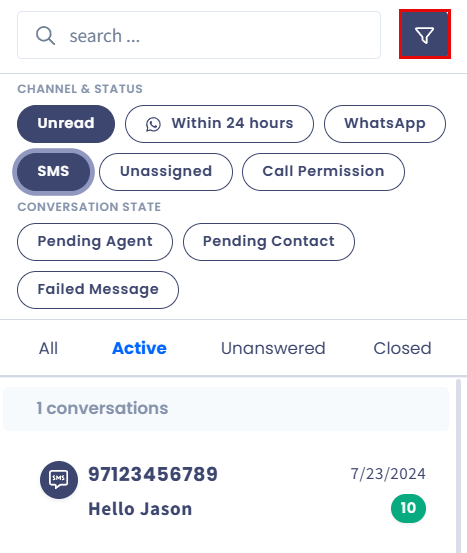
Click the Filter button to open the filters panel. Filters are grouped by Channel & Status and Conversation state. You can combine them; for example, WhatsApp + Within 24 hours to find conversations where you can still send a free-text reply.
Filters panel: channel and status options
Refer to the following table for filter descriptions:
Filter
Description
Channel & Status: SMS
Show only conversations on the SMS channel.
Channel & Status: WhatsApp
Show only WhatsApp Business conversations.
Channel & Status: Unread
Conversations with messages you haven't read yet.
Channel & Status: Within 24 hours
WhatsApp Business conversations where the contact has sent a message in the last 24 hours, so you can still send a free-text reply.
The 24-hour window resets every time the contact sends a new message.
Channel & Status: Unassigned
Conversations that are not yet assigned to any agent.
Channel & Status: Call permission
WhatsApp contacts within their callable window — meaning you can place a WhatsApp Business call without sending a template first.
Conversation state: Pending agent
Conversations waiting on a response from your side.
Conversation state: Pending contact
Conversations waiting on a response from the contact.
Conversation state: Failed message
Conversations whose most recent outbound message failed to deliver.
Note, that the 24-hour window for free-text messages is renewed every time the contact sends a new message.
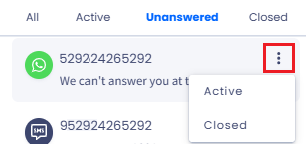
To update the conversation status from the Conversations list, hover over a conversation, click the three-dot menu button on the right, and select the new status to assign it to the conversation.
Assigning a new status to conversation
You can also update the status from the conversation thread box by clicking the arrow button and selecting the new status to assign to the conversation.
Updating conversation status
📘
NOTE
You cannot change the active or closed conversation's status back to Unanswered.
Sharing Conversation Links
To copy and share a conversation link to quickly reference specific chats with your team members, click the Copy URL button next to the conversation status badge and share it.