Agents
Manage agents in PBX Stats by adding single or bulk agents, editing login and name details, resetting passwords, and deleting agents, all while maintaining permissions and security controls.
Video Tutorial
In PBX Stats, you can manage agent details:
- add agents one by one or in bulk, depending on your permissions
- modify the agent's name, login, and password
- delete agents.
Viewing Agent Details
To view the list of agents in your PBX, go to Configuration in the main menu and click Agents.
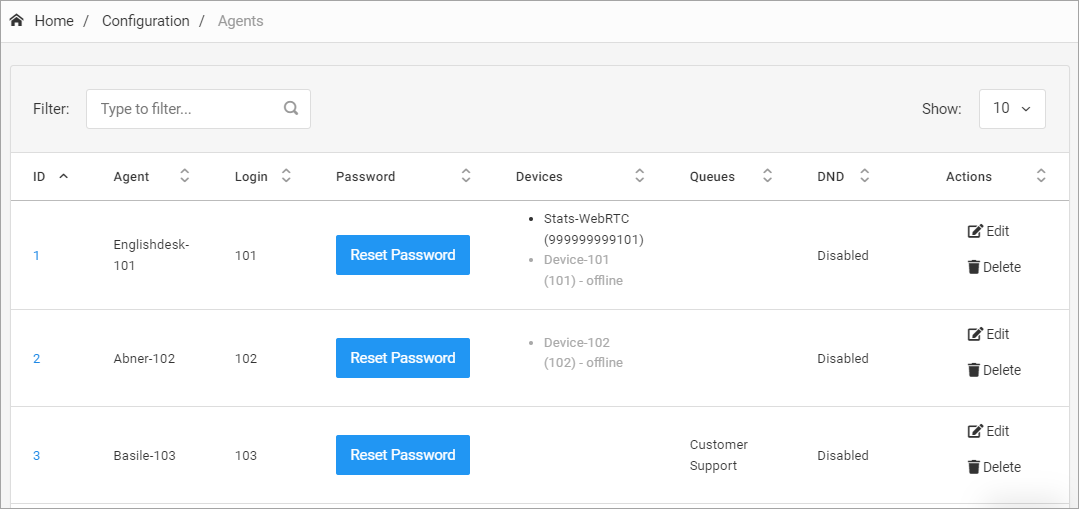
Configuration > Agents tab
Here, you can see agent IDs and names, credentials, devices they are logged into, and assigned queues.
To see details about an agent in a pop-up window, click on the Actions column.
Resetting Passwords
To find out the password for an agent:
-
Click Reset Password in the Password column and proceed.
-
Copy the password in the following window.
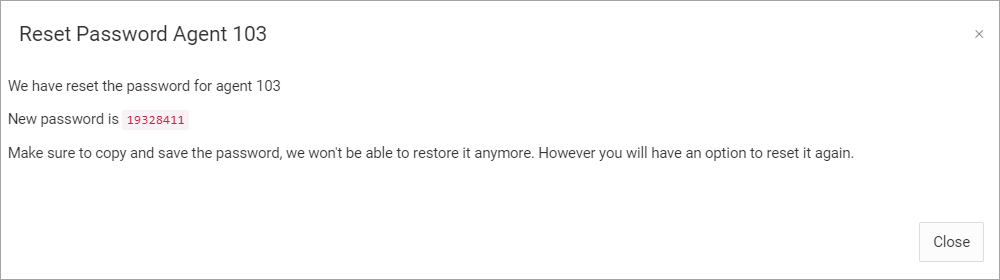
New password screen
Adding Agents
You can add a single agent or use the Add Bulk option.
Adding a Single Agent
To add a new agent:
- Click Create New Agent in the top-right.
- Enter the following details:
login - agent's numerical login that will be used to log in to softphones and alias - agent's name.

New Agent form
- When you click Save, the system will automatically generate passwords taking some time to complete the task. Pending agents will be shown above the main table. After a while, they will disappear and be added to the table.
Bulk Adding
Users with the create_agent_bulk permission enabled can add agents in bulk. Refer to this article for more information on roles and permissions.
NOTEYou can add up to 100 agents per bulk operation.
To add multiple agents:
-
Click Add Bulk in the New Agent window.
-
Then enter a range of logins that should include any number from 100 to 999999.
In the description box, insert a prefix for the agent name. For example, if you enter "Englishdesk", the system will create agents with the following names: Englishdesk-100, Englishdesk-101, etc.
In the Desks drop-down list, select desks to assign to agents.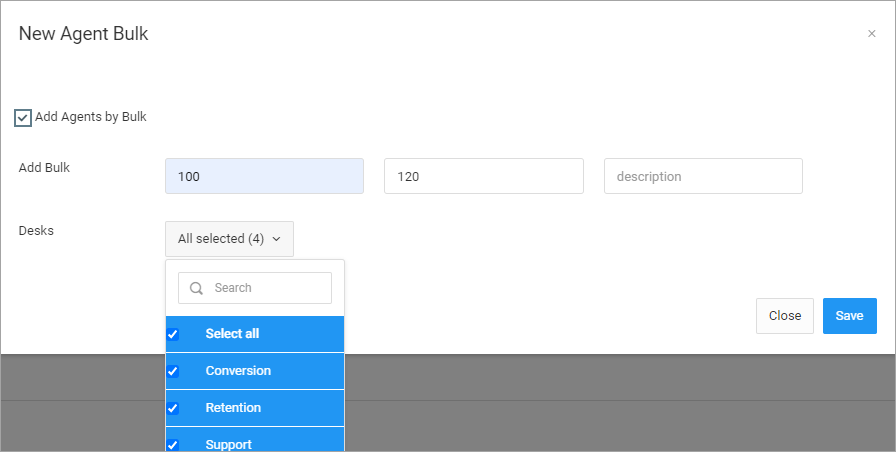
New Agent Bulk form
-
Click Save. The system will automatically generate passwords taking some time to complete the task. Pending agents will be shown above the main table. After a while, they will disappear and be added to the table.
NOTEIf an agent with a specific login already exists, the system will ignore your attempt to add it again and won't rewrite the data.
Modifying Agent Names and Logins
You can edit the agent login and name (alias).
To modify an agent:
-
Click Edit in the Actions column.
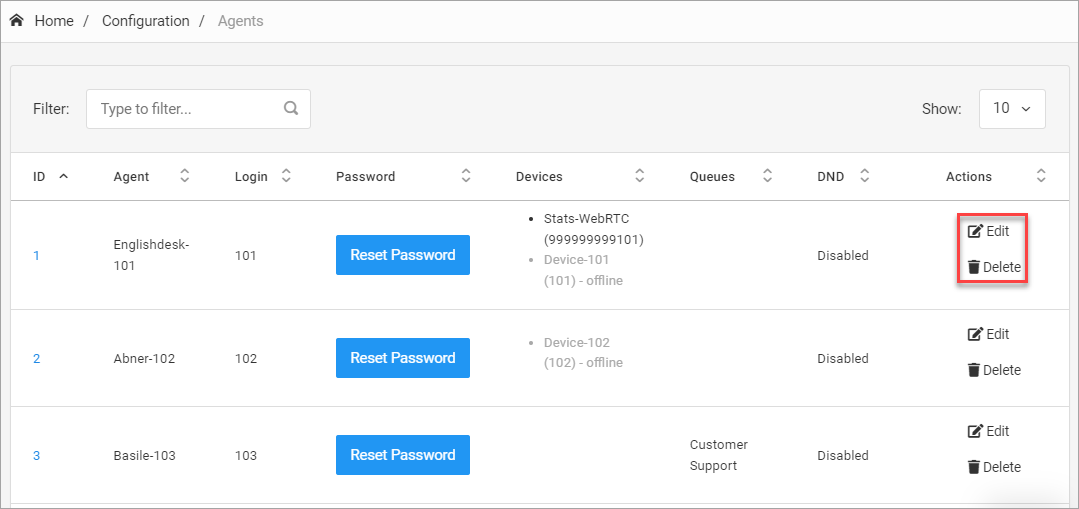
Configuration > Agents tab: options
-
Enter new details:
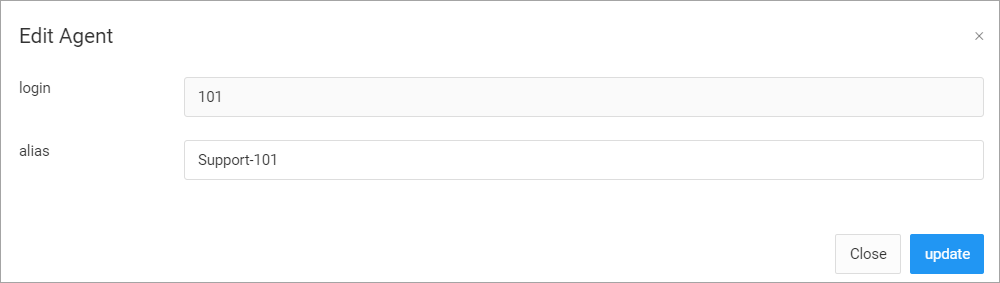
Edit Agent form
-
Click Update.
To delete an agent, click Delete in the Actions column.
Updated 4 months ago