Speech Recognition Management
Check the step-by-step instructions for creating speech recognition channels in CommPeak Cloud PBX and a list of callback parameters with explanations.
In the Settings > Speech Recognition Management section, you can set up your system's Speech to Text flow and control which calls will be transcribed (converted to text).
Learn more about the speech recognition feature and how to test it in the CommPeak Portal.
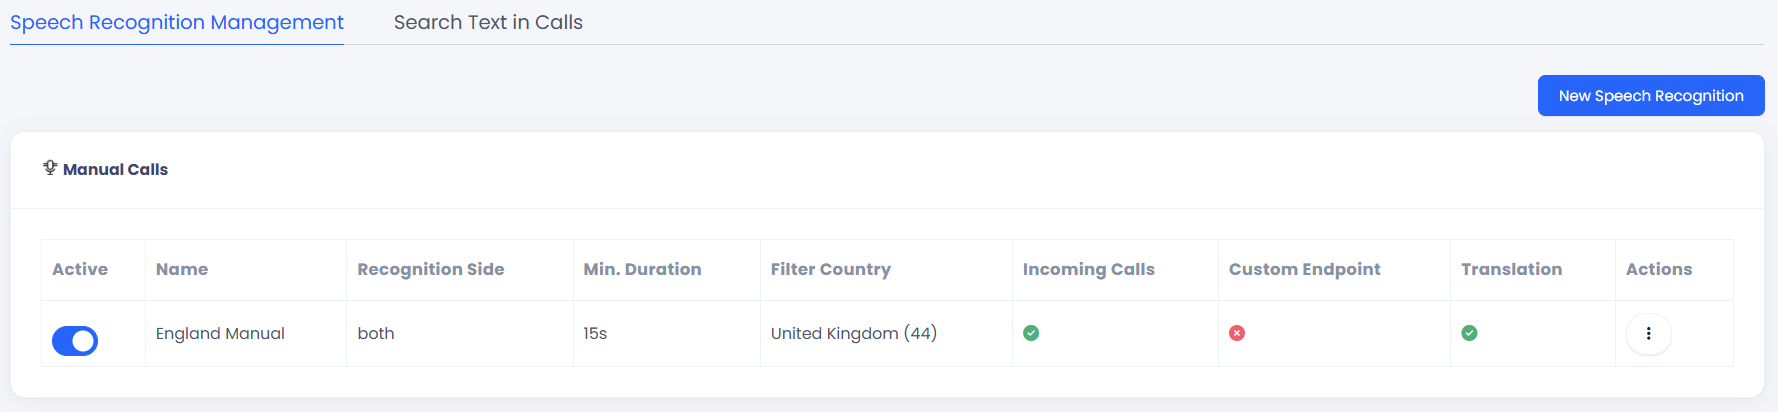
Speech Recognition Management section
Creating Speech Recognition Channels
To create a channel:
-
Select Settings > Speech Recognition Management in the main menu.
-
Click New Speech Recognition at the top right.
-
The Manual type in the General Info section is set to filter any manual, Click2Call and inbound calls.
-
Click Continue.
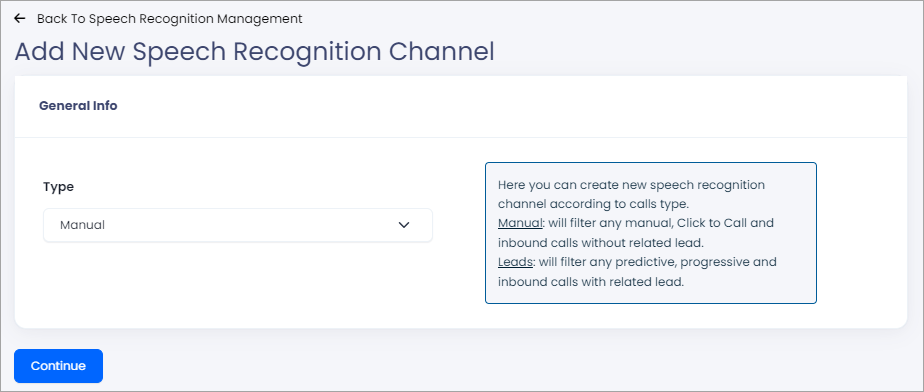
Selecting speech recognition channel type
-
Complete the following fields:
-
Enter the channel name.
-
Click the Active Channel toggle to turn off the channel. You can enable it any time later.
-
If you wish to include incoming calls, click the toggle at the bottom.
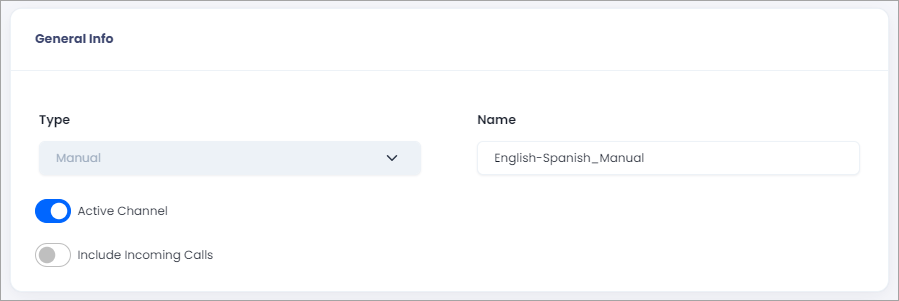
Channel settings
-
-
Fill in the Speech Settings section:
-
Contact CommPeak support and ask them to provide your speech recognition token.
-
Select a default language that will be used in most of your calls. For example, your destination is the UK, so the default language will be English.
-
Choose if you wish to transcribe the lead side, the agent side, or both.
-
Select up to three languages for recognition as your additional languages (optional). For example, if you are calling to Canada, these can be French, English, and Chinese.
-
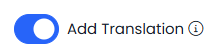
You can enable the Add Translation option - Enabling the toggle will activate the automatic translation to English for all the Speech to Text results.
-
-
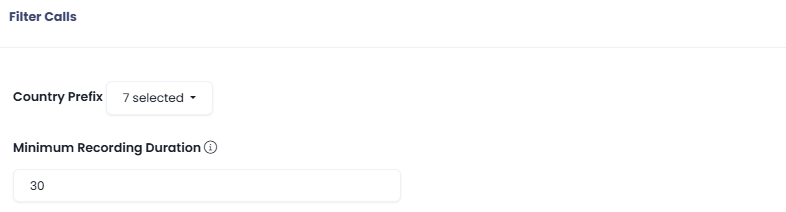
Set call filter options:
-
Select country prefixes to which calls you wish to apply speech recognition. You can choose all country prefixes if you want to apply these settings worldwide.
-
Enter the minimum call duration for transcription in seconds (from 1 to 300). For example, if you enter 30, only calls over 30 sec will be sent to the speech transcription.
-
for the leads type, configure also the following settings:
-
Campaign: select campaigns from the drop-down list for which you wish to perform call transcription. You can select all campaigns.
-
Lead Status Mapping: choose all or specific lead statuses from the drop-down list. Only the calls that ended with these statuses will get transcribed.
Call filtering settings
-
-
-
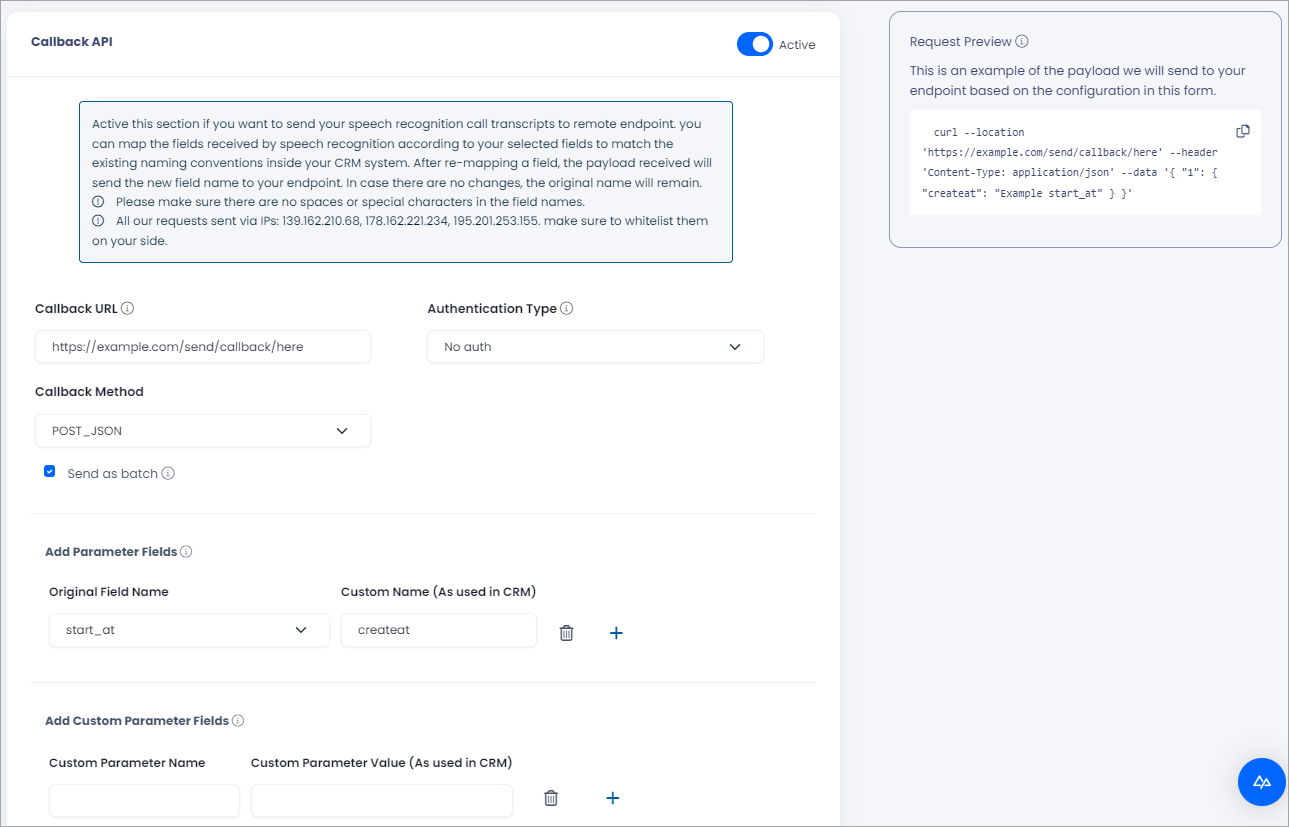
Enable Callback API to get your call transcripts at the relevant remote endpoint (optional).
Callback settings
-
Configure custom callback settings:
-
Callback URL: enter the endpoint URL to which the call transcription event will be sent. You can also modify it later if necessary.
-
Authentication Type: Select the type from the following options and provide verification information:
- No auth: the endpoint requires no authentication for incoming requests
- API key: enter the name and value of your unique key
- Bearer token: enter your unique token
- Basic auth: enter your unique username and password
- Digest auth: provide your hashed credentials (username and password) to authenticate to the endpoint.
-
Callback Method: choose one of the following methods:
- POST_JSON to use the HTTP POST method and send the data in JSON format
- GET to retrieve data using the HTTP GET request
- POST_FORM to use the HTTP POST method and send the data in a form-encoded format.
-
Send as batch (optional): Select this checkbox if you wish to aggregate multiple pieces of data on the same request that will be sent in a batch every three seconds before sending them to the endpoint.
-
Configure general and custom field mappings to align data fields in the Cloud PBX with your CRM's naming convention (optional). Updated field names will be sent in the payload, and original names will be retained if unchanged. Ensure field names do not contain spaces or special characters.
Click the plus icon to add more fields. Remove unnecessary fields by clicking the trash icon.
The Callback Parameter Reference section below contains parameter explanations.
The request preview is available on the right part of the page. You can copy the code and test it as needed.
-
-
Click Create.
Callback Parameter Reference
You can map standard parameters and utilize custom parameters to store data as needed.
Standard Parameters
- speech_phrases: An array of transcript phrases
- speech_summary: A string, AI Summary analyzes call transcripts to generate concise summaries
- speech_rank: A float, call rank (score) between 0 and 1. Assess the quality and value of the call
- speech_rank_description: A string, AI describes for the call rank quality
- speech_result: Speech full result Array
- speech_task_state: The current state of the speech task
- call_end_at: Date and time when the call ended
- call_start_at: Date and time when the call ended
- call_id: Unique id of the call
- record_file: If you have enabled public recording in your settings, include the link to your public recording file
- caller_user_id: The user's ID. For example, cid on the CRM's side
- call_bill_duration: The total time the client needs to pay for. For example, duration on the CRM's side
- call_duration: Total call time from start to end
- call_start_at: For example, the custom name used in the CRM can be created
- call_end_at: The time the call ended
- call_caller_id_name: The name shown on the lead side as the call source
- call_caller_id_number: The phone number shown on the lead side as the call source
- dst: Who received the call. For example, phone on the CRM's side
- phone: Phone number of the lead.
Updated 6 months ago