Configuring Announcements
Check step-by-step instructions on how to upload audio files, configure announcement settings, and assign the announcement to various call flow elements.
You can enable a voice welcome message for incoming calls instead of connecting them to an extension right away.
Perform the following steps to add audio files with a welcome message or music recordings and configure an announcement.
Step 1: Access the Classic PBX Web Interface
-
Obtain your Classic PBX server's domain and admin credentials from CommPeak support team.
-
Open a web browser, navigate to the domain, and log in to the server.
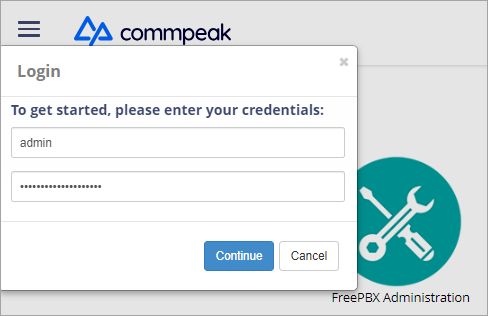
Accessing Classic PBX Web Interface
Step 2: Upload an Announcement File
-
In the main menu of your Classic PBX, go to ADMIN and select System Recordings.
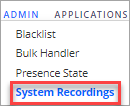
ADMIN > System Recordings option
-
Click Add Recording in the top-left corner.
-
Fill in the necessary information: enter the recording name and description.
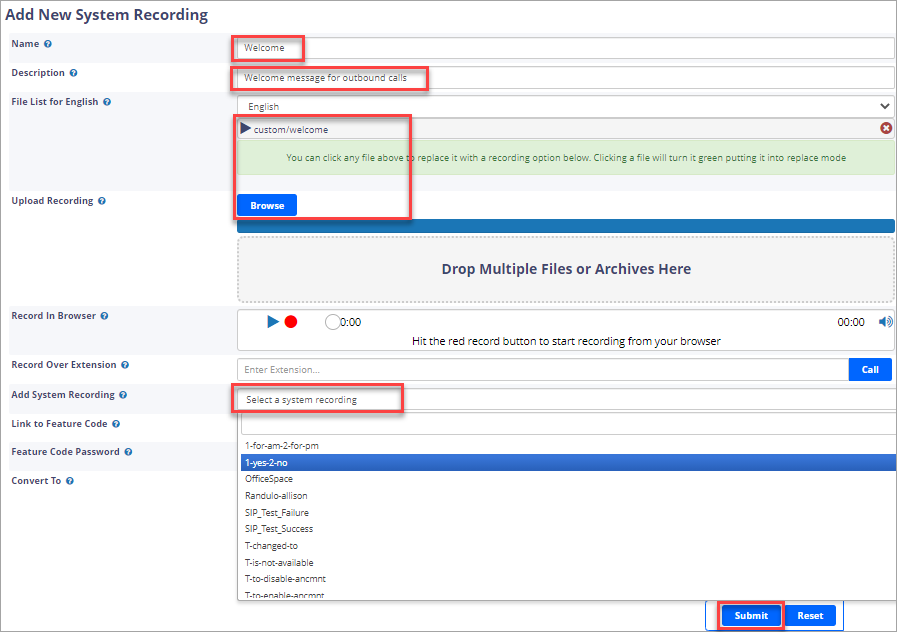
Add New System Recording page
-
Select an audio file. You can upload your own file by clicking Browse and then choosing a file from your PC. Supported file formats include WAV, MP3, and OGG. Or use built-in PBX phrases, which you can select from the Add System Recording drop-down box.
-
Click Submit. A newly added file will appear in the list. You can select it when creating an announcement.

Audio file added
Step 3: Configure Announcement Settings
-
In your PBX control panel, go to APPLICATIONS and select Announcements.
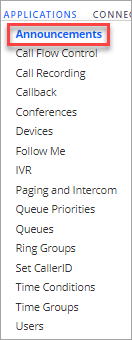
APPLICATIONS > Announcements tab
-
Click Add in the top-left corner.

+ Add button
-
Fill in the necessary information:
Enter the recording name, description and then select a previously added audio file. You can select a user (an extension) or direct a call to a destination queue.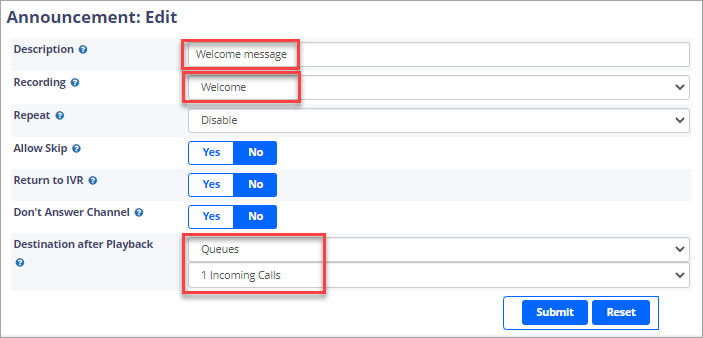
Announcement: Edit page
-
Click Submit.
-
Click APPLY CONFIG in the top right to apply the settings immediately.

APPLY CONFIG button
Step 4: Assign the Announcement
After saving the announcement, you can assign it to various parts of your Classic PBX configuration, such as IVRs, time conditions, or other call flow elements.
Step 5: Test the Announcement
- Place a test call to the designated phone number or DID that triggers the announcement.
- Verify that the announcement is played as expected during the call.
Updated 6 months ago