Importing Contacts from Shopify to CommPeak SMS Platform
Add your Shopify customer data to CommPeak SMS platform as a contact list and send campaigns to them.
Video Tutorial
Before adding a list, ensure you've connected with Shopify.
To import your Shopify customer data to the CommPeak SMS platform, complete the following steps:
-
In your CommPeak SMS account, navigate to Contacts > Contact Lists.
-
Click Add List in the top right.
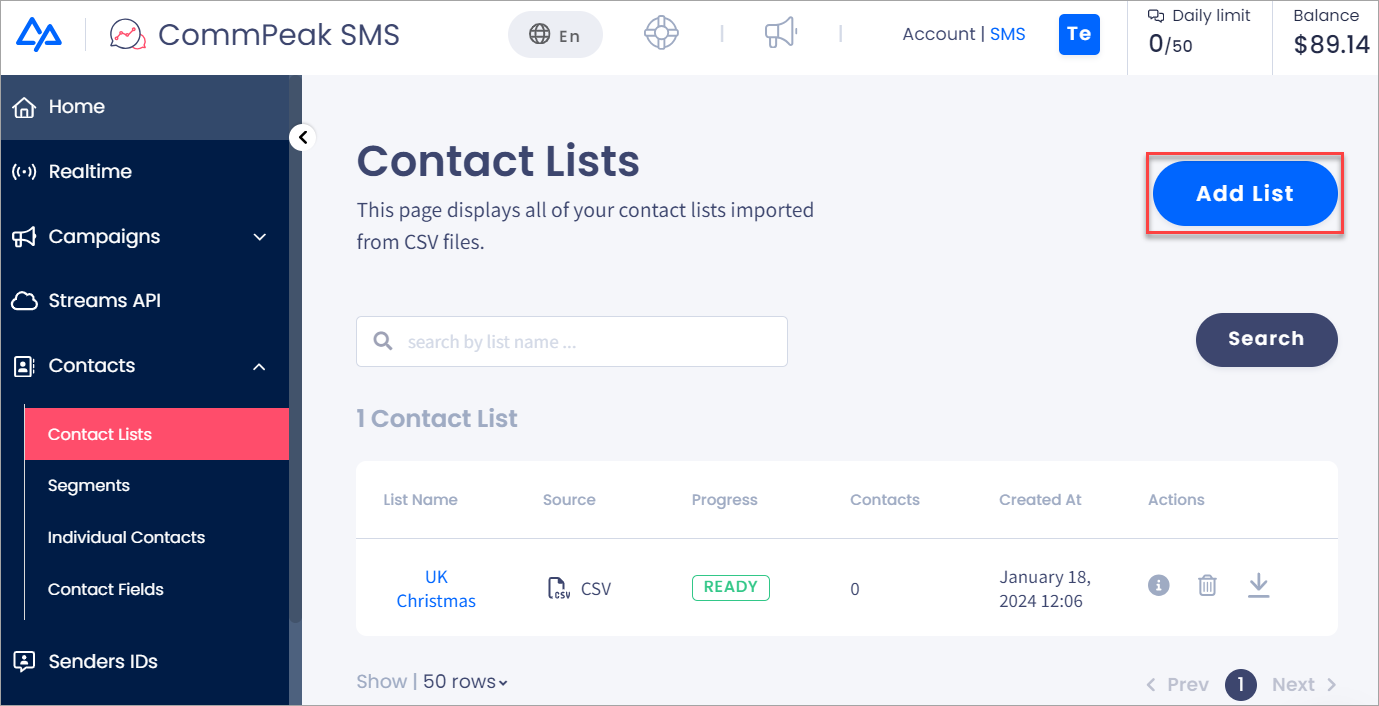
Contacts > Contact Lists tab with Add List button
-
You will see a pop-up window. Select an option to import from application integration.
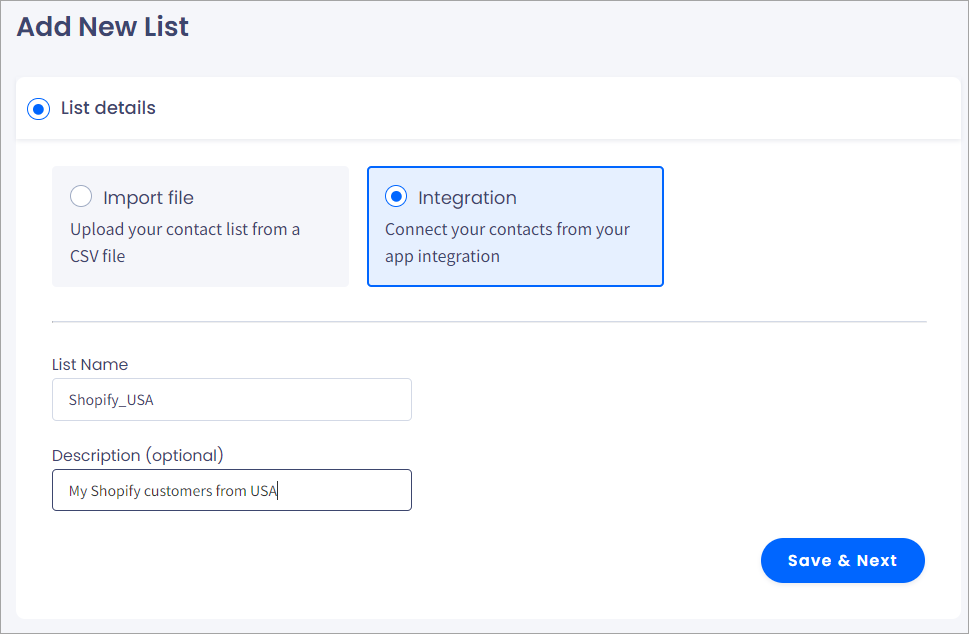
Add New List dialog: List details
-
Enter the list name and an informative description. Then click Save & Next.
-
Select HubSpot in the Integration drop-down list.
-
Select a connection that you created in Integrations when installing the application. Then click Save & Next.
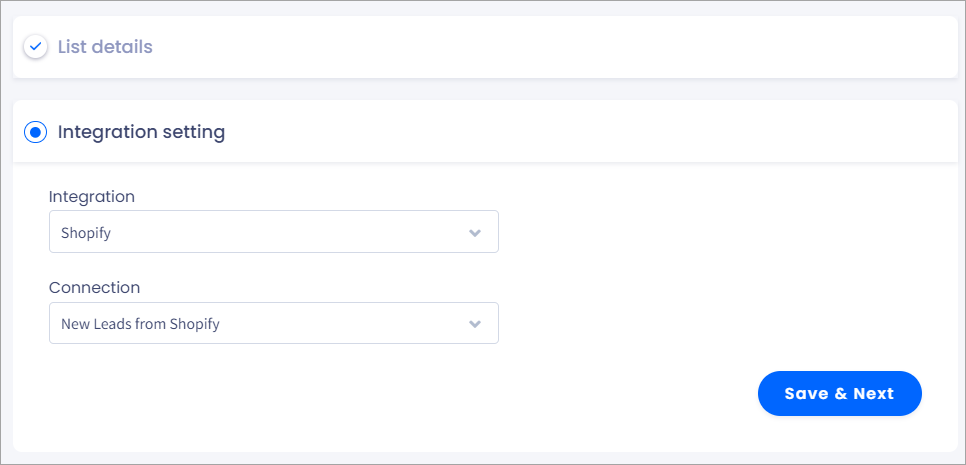
Add New List dialog: Integration setting
-
Select which contact data you would like to import from Shopify. Start typing in the box to locate the needed field quickly.
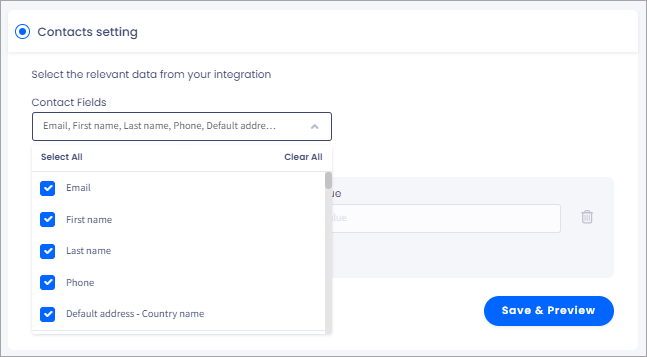
Selecting contact fields in Contacts setting
-
You can add several pairs of Shopify data and values in Data filters, e.g., country, tag, or any other filters. To do this, select a filter name in the Filter drop-down box and enter its value in the next box. Click ADD MORE to define another filter.
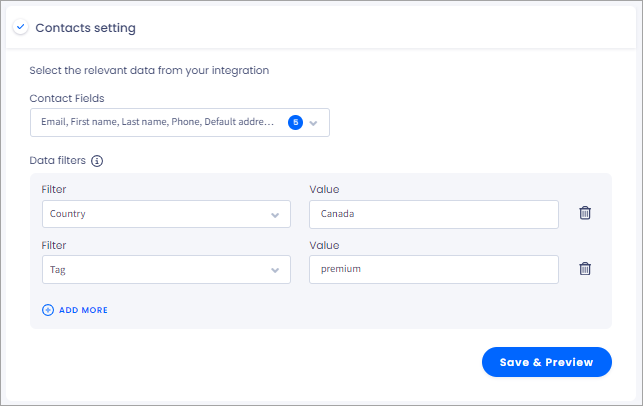
Setting data filters in Contacts setting
-
Click Save & Preview.
-
Map customer details with available contact fields as necessary.
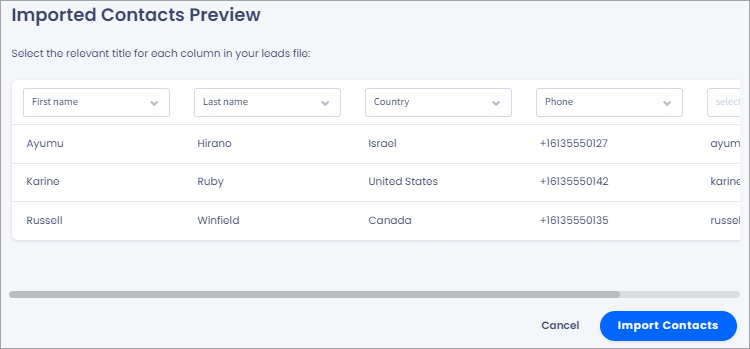
Imported Contacts Preview section
-
Click Import Contacts.
-
View the list summary and click Continue.
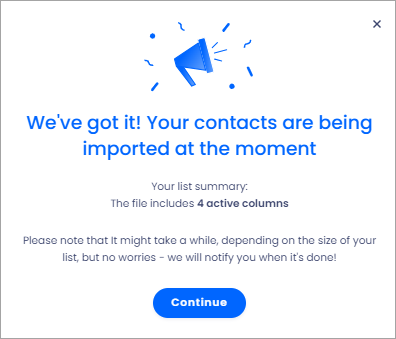
Importing contacts screen
The new list appears at the top and will take some time to process.
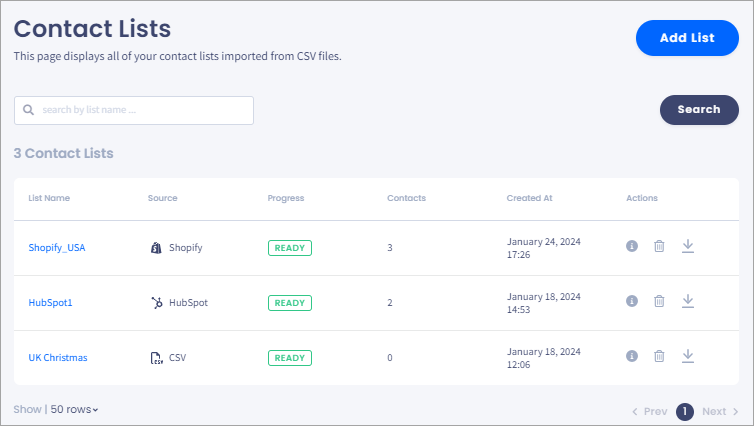
Contact Lists page
Refer to the following table for column descriptions in Contact Lists.
| Column | Description |
|---|---|
| List Name | Click the title to open a side panel, which you can also load when clicking the information icon in Actions. It contains details about the list, parse status of contacts and campaigns where it has been used. |
| Source | CSV or app integration |
| Progress | The Progresscolumn shows the contact import progress. If a progress bar is displayed, the list is still being imported. The Ready status means that importing is complete. |
| Contacts | The Contactscolumn shows the total number of contacts in the list. You can see how many of them are parsed or failed by clicking the information icon in Actions. |
| Creation At | Date and time in UTC when the list was uploaded |
| Actions | This column provides additional controls. |
Actions
You can view more information from the Actions column and delete or download contact lists.

Contact lists management options
Click the Actions column's information icon to view your contact list details. On the List Info tab, you can see how many contact details are added (parsed) or failed due to invalid or not mobile phone numbers.

List Info tab
If you want more information about the list and its campaign usage in the future, go to the Campaigns Info tab.

Campaigns info tab
To delete the list, click Delete in Actions.
To save the list as a .csv file, click Download in Actions. Preparing downloadable files for large lists will take some time. When ready, they will appear in Tasks. If you would like more information, please check the Tasks article.
Updated 6 months ago