Setting Up Inbound Calls on Your SIP Account
A step-by-step guide to configuring forwarding DID calls to your SIP account.
Forward DID incoming calls to your SIP account with these steps:
- Log in to the CommPeak Portal.
- On the main menu on the left, navigate to DIDs and select Management.
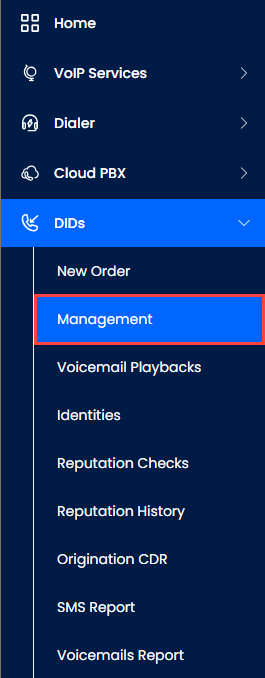
DIDs > Management tab
- In the My DIDs table, use the checkbox on the left or select the needed number by applying search filters at the top right of the DID Management page.
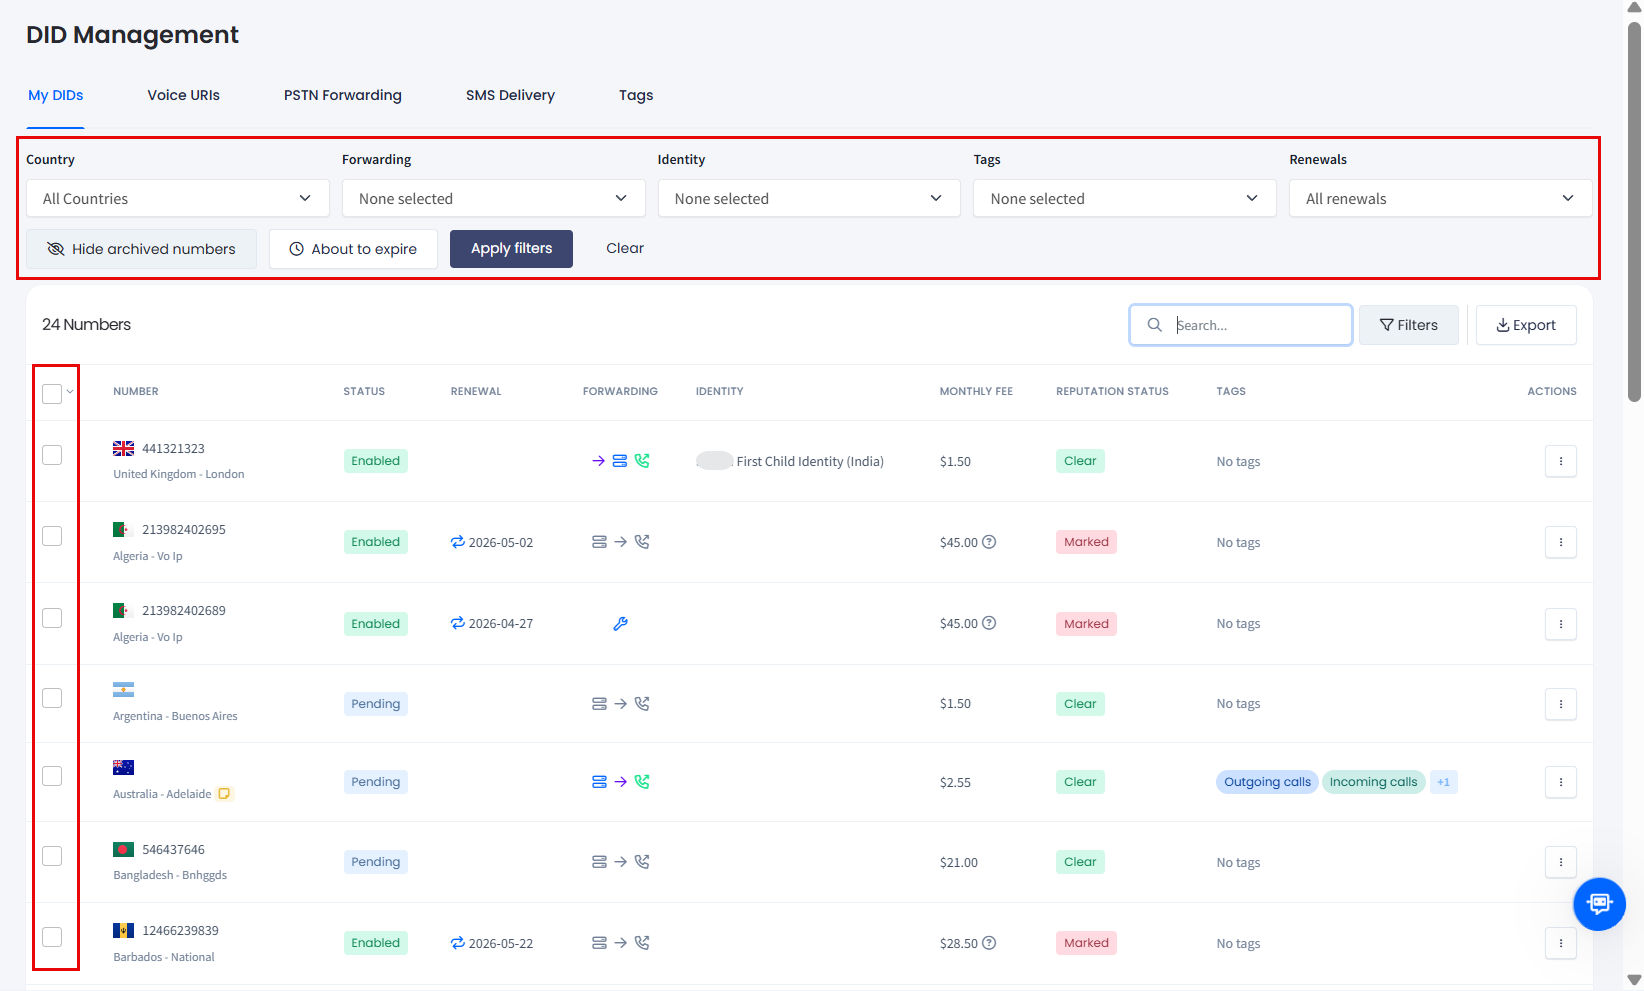
Filtered DID numbers
- Click the three-dot action icon for the needed number and select the Change configuration action from the drop-down list.
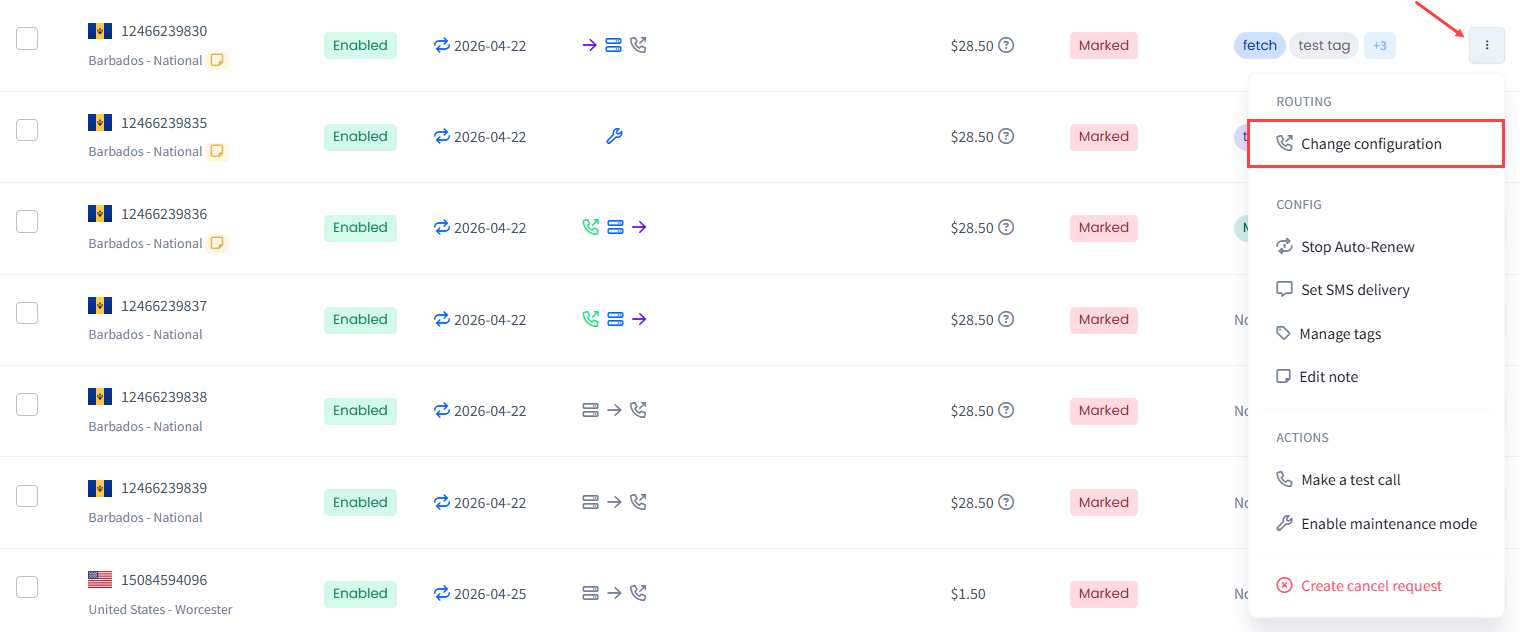
NOTEYou can also apply this action across multiple DIDs. For more details, check the Managing Multiple DIDs article.
- In the Update call configuration window, review the number(s) selected, check the SIP Account checkbox, select the needed profile, and click Save changes to confirm.
- You will be notified that the call configuration was successfully updated for the number.
- To check if the forwarding rule has been applied to the correct SIP account, hover over the corresponding icon for the DID number record (two-bar icon should turn blue which means the option is enabled).

NOTEWhen forwarding to your own number, you will be charged as for outbound calls within your pricing plan.