IVR Flows
Learn how to configure and manage inbound call flows in your CommPeak Dialer using IVR queues and custom templates.
Inbound Configurations allow you to design IVR flows that align with your business logic. When a customer places an inbound call, they are routed to an IVR.
ExampleAn example flow is represented on the chart below with the following logic.
The IVR begins when a call is received. The system answers the call.
- 🟩Primary path. The caller is presented with a menu where they can press digits (1, 2, 3, 4) to proceed with different options:
- Option 1. Connect to users. If unanswered, enter a queue. If still unanswered, the call hangs up.
- Option 2. Direct the caller to voicemail. Send an SMS notification. End the call.
- Option 3. Enter a queue. If unanswered, the call hangs up.
- Option 4. Enter a personal queue. If unanswered, the call hangs up.
- 🟥Alternate path. Check the calling hours.
- 🟩Primary path. If within calling hours, set a variable. Say digits from a variable. If not routed, the system enters sleep mode before hanging up.
- 🟥Alternate path. Hang up the call.
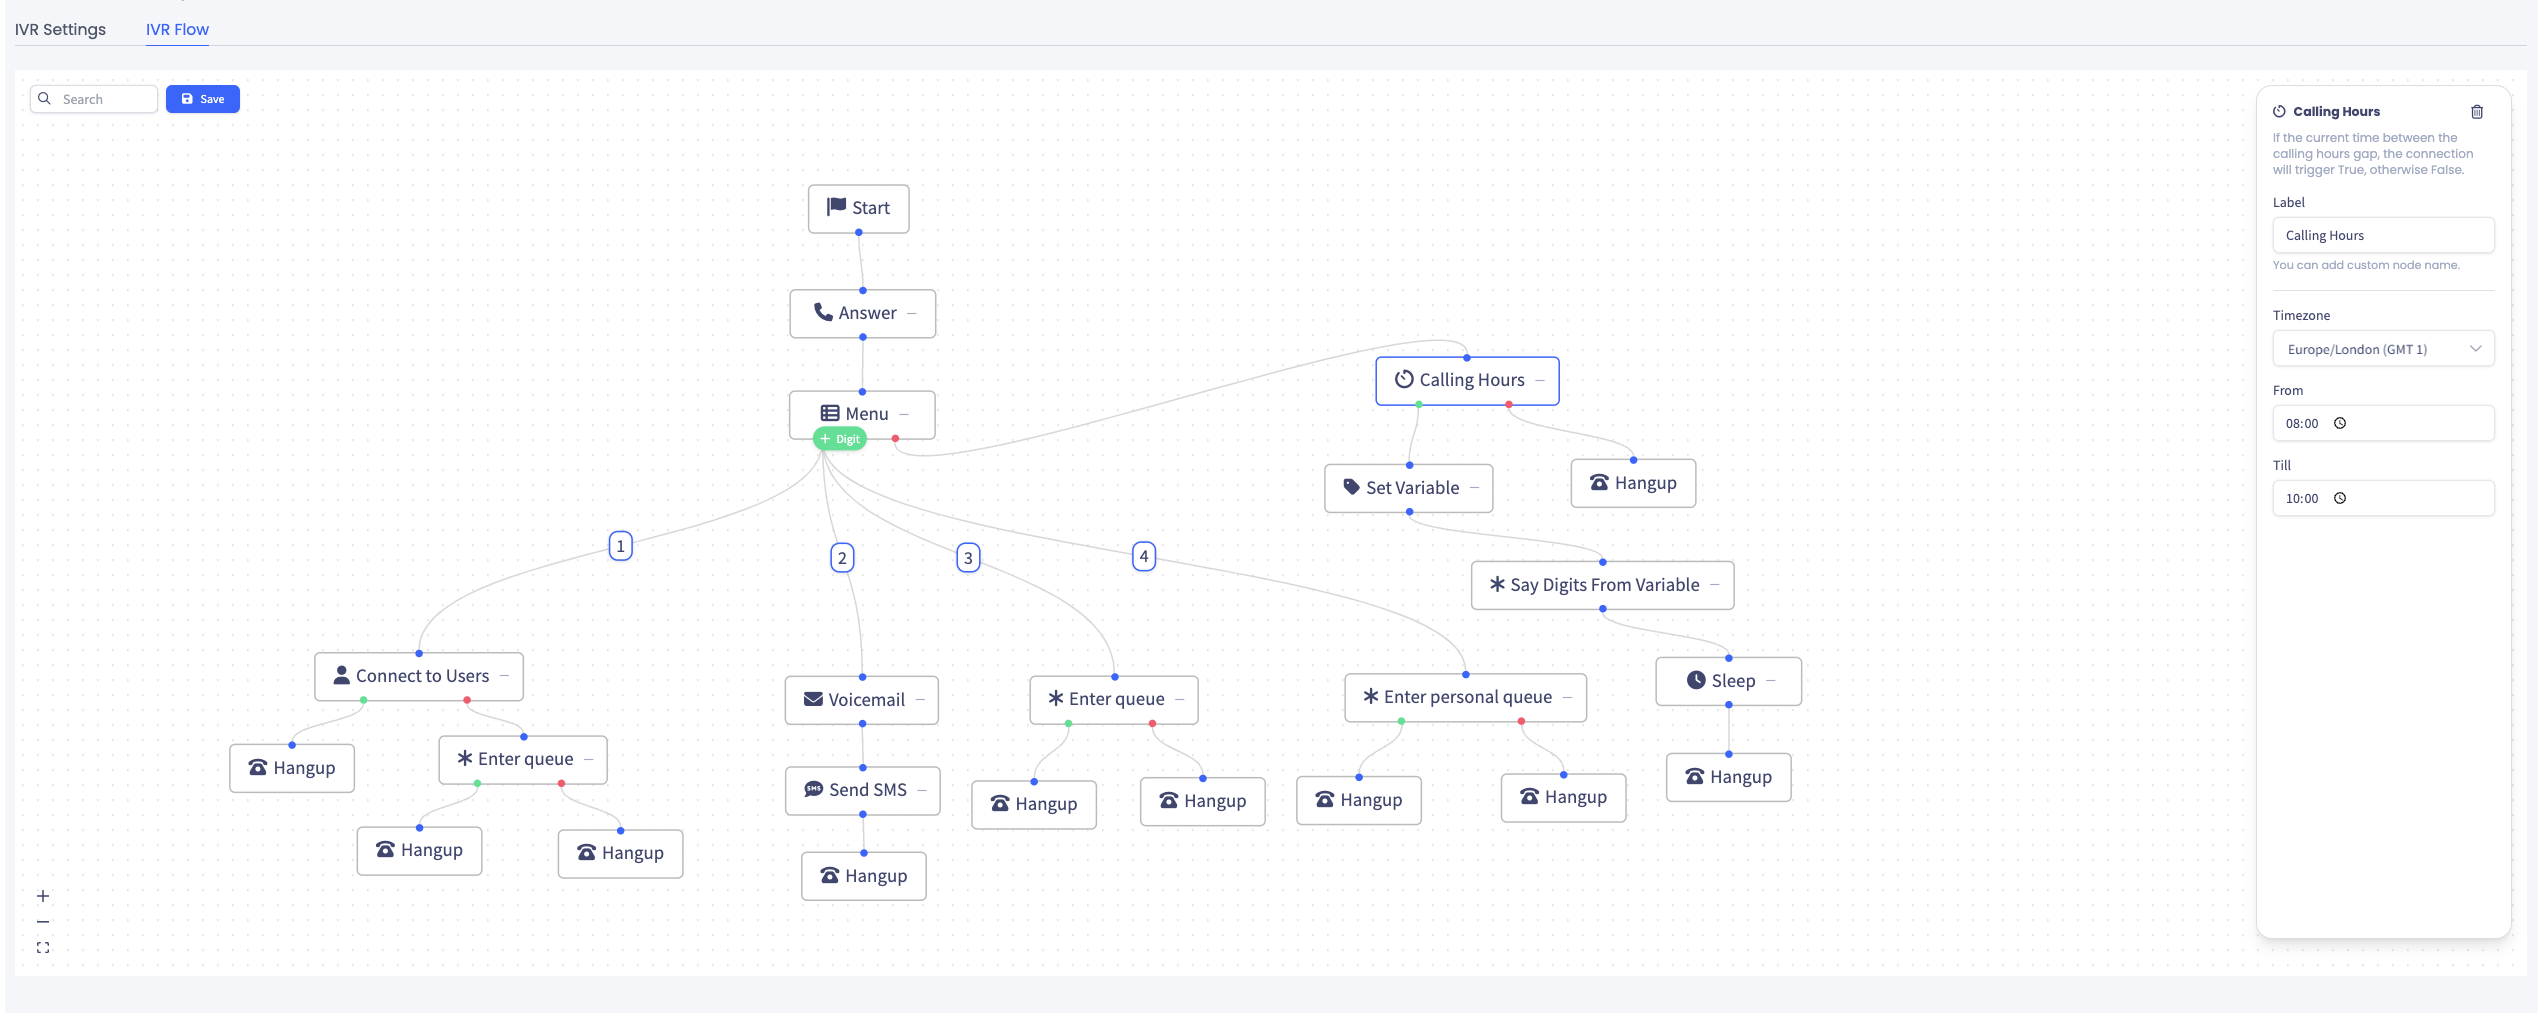
IVR flow example
Building Steps
To create an IVR in the CommPeak Dialer:
-
In your CommPeak Dialer, go to Settings > Inbound Configurations and click New Inbound Configuration.
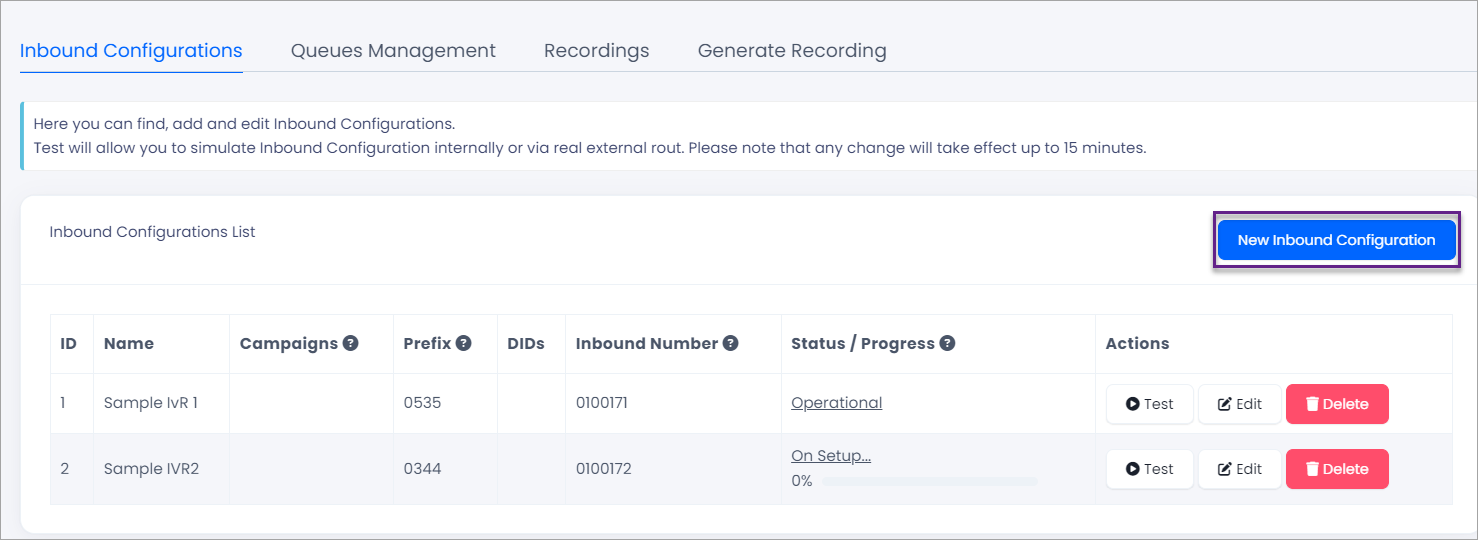
New Inbound Configuration button
-
Configure IVR settings.
-
Once you click Create, the system will direct you to the IVR Flow tab, where you’ll find an open canvas to design your flow.
-
You can create custom flows from scratch or apply built-in templates.
Use available controls in the IVR canvas builder to adjust existing elements or add new ones. Then save your flow.
Custom Flows
Click Start in the IVR canvas to build a custom flow. Then click the plus icon next to the Start to add more nodes. You can use the search field to find a desired action.
Learn more about building rules and parts from the Guide to IVR Elements.
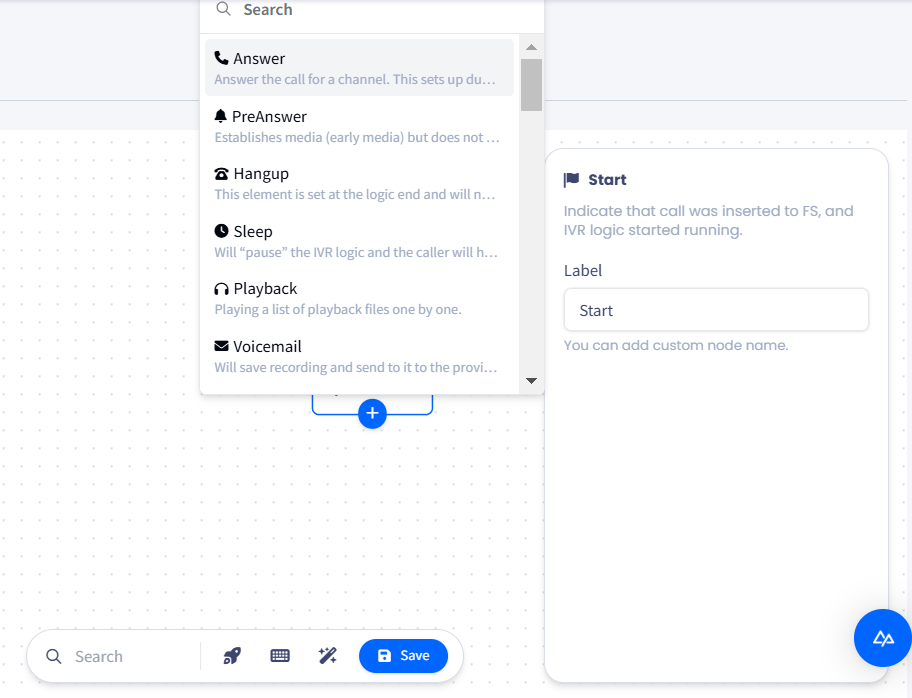
Example of building a custom IVR flow
Using Templates
-
Click Choose a template to build the flow from available templates:
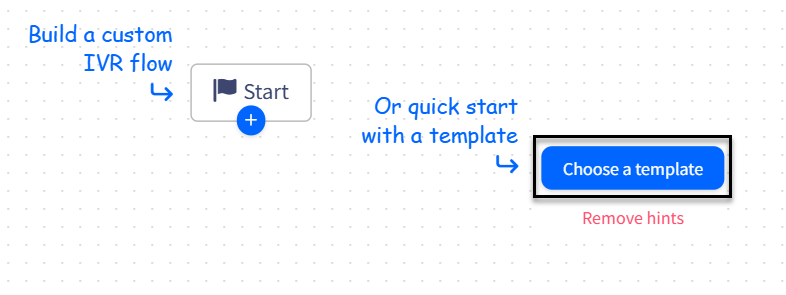
Choose a template button
You can choose between the following built-in flows:
- Basic voicemail creates a simple voicemail recording and delivers it to your email.
- Voicemail to email generates a voicemail playback and sends call data to your email.
- Connect to queue plays a welcome message and routes the caller to your agents based on the selected queues. If no agents are available, the voicemail will be sent to your email.
- Connect to desk plays a welcome message and routes the caller to your agents based on the selected agents from the list. If no agents are available, the voicemail will be sent to your email.
- Connect to agents with time conditions plays either a welcome or an unavailable message depending on the time of the call. During business hours, it attempts to connect the caller to an available agent. Outside of business hours, a different message is played, and the voicemail is sent to your email.
- Connect to user groups plays a welcome message and connects the caller to your agents based on the selected user groups. If no agents are available, the voicemail will be sent to your email.
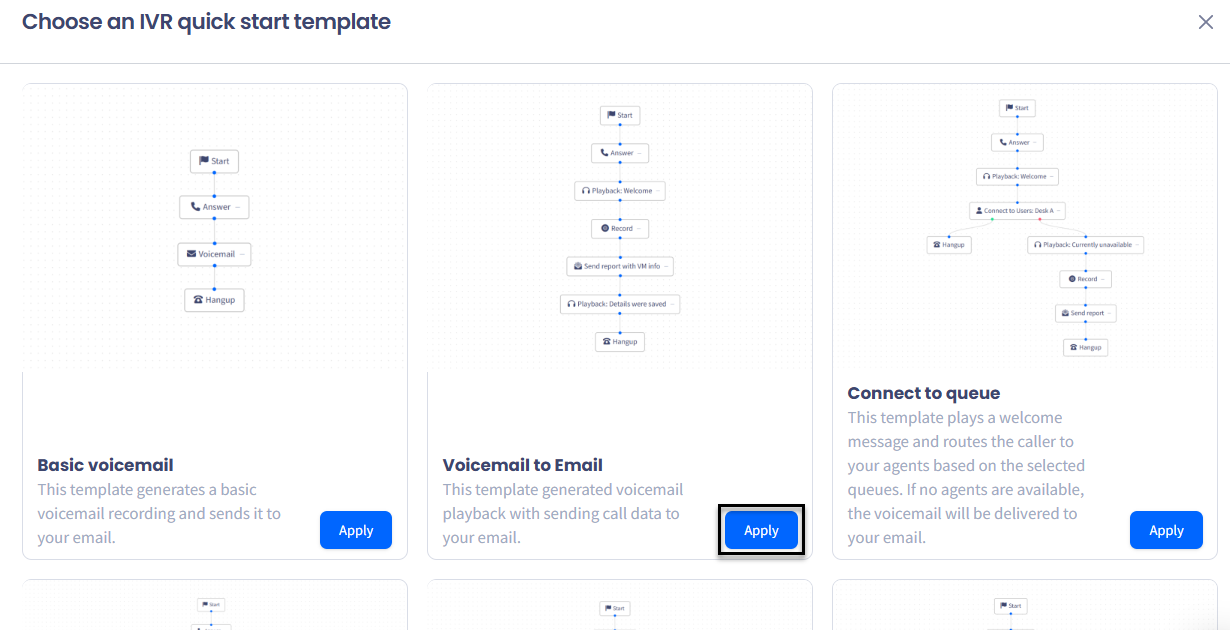
Apply a template button
- Click Apply in a quick-start template.
- You will see a preconfigured chart.

Preconfigured chart example
- Go through each step carefully and complete the configuration to align with your specific requirements. You can adjust settings, define rules, and customize IVR flows to match your logic.
Updated 6 months ago