

Registering in Zoiper
Register a SIP account in Zoiper by entering SIP credentials from the CommPeak Portal and then log in to start making calls.
After signing up with CommPeak and getting your SIP account credentials, your next step is registering your SIP account in CommPeak Softphone, a third-party application, or with your IP phone to make your first call.
TIPYou can also use the Built-in CommPeak Softphone with your JWT-enabled SIP accounts to place calls right from your browser. You can read more in the Built-in Softphone for JWT-Enabled SIP Accounts article.
Video tutorial
TIPWith CommPeak Softphone, you get an enterprise-level tool without installing any third-party software.
IMPORTANTIf you're using third-party SIP clients (not CommPeak's Softphone), you must manually enable SRTP (Secure Real-Time Transport Protocol) when using TLS for SIP transport. This ensures media encryption and compatibility.
To illustrate the steps required for a third-party softphone configuration, we will use Zoiper.
IMPORTANTZoiper only supports SIP accounts that use password-based authentication with login credentials. IP-based SIP accounts are not compatible with Zoiper.
To register in Zoiper:
NOTEZoiper is a softphone application available for Windows, macOS, and Linux, as well as Android and iOS. This is third-party software, which we are using for illustration only. Instead, you can install any other softphone available for downloading and configure it with your SIP credentials.
Install Zoiper
Download Zoiper from zoiper.com and install it on your device.
Start Zoiper
Start Zoiper.
Enter your credentials
Specify your SIP account credentials (username and password) in the start window and click Login.
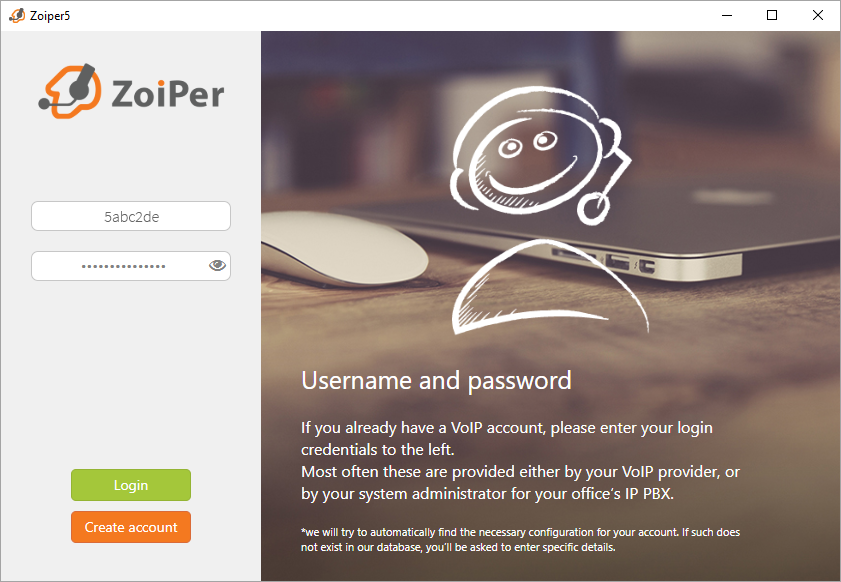
Specifying your Zoiper SIP account credentials
Enter the domain
In the next window, enter the domain (sip.commpeak.com) and click Next.
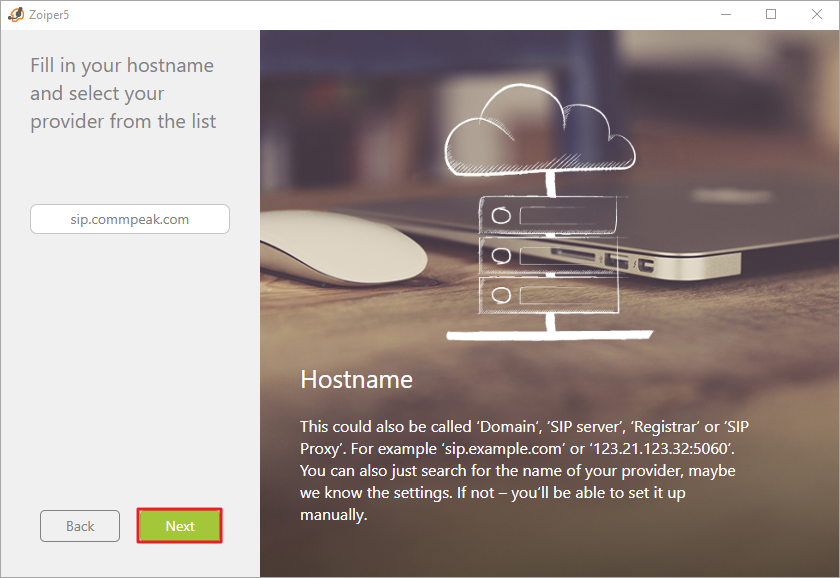
Specifying your domain in Zoiper
Skip the next step
At the next step, click Skip.
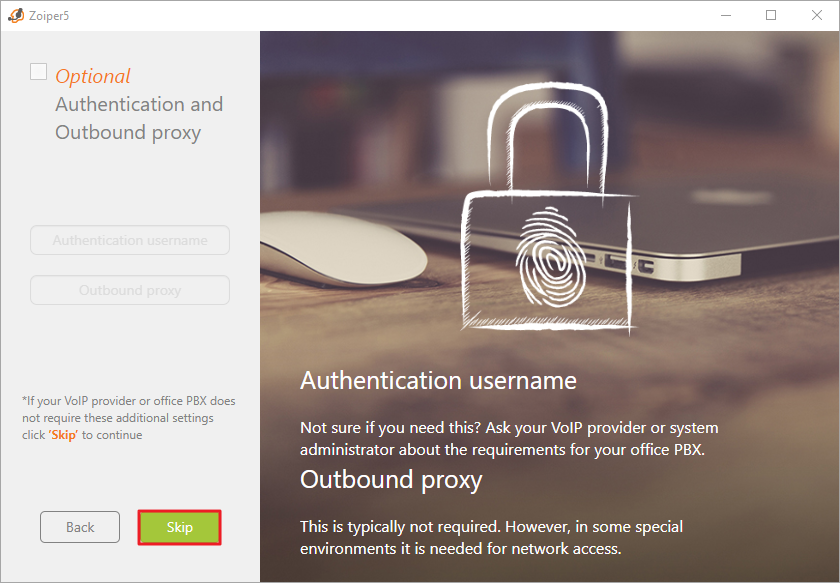
Authentication and outbound proxy settings
Wait for the test
Now, wait until the program tests possible configuration options.
When SIP TCP or SIP UDP is marked in green, you can click Next and skip the test for IAX UDP.
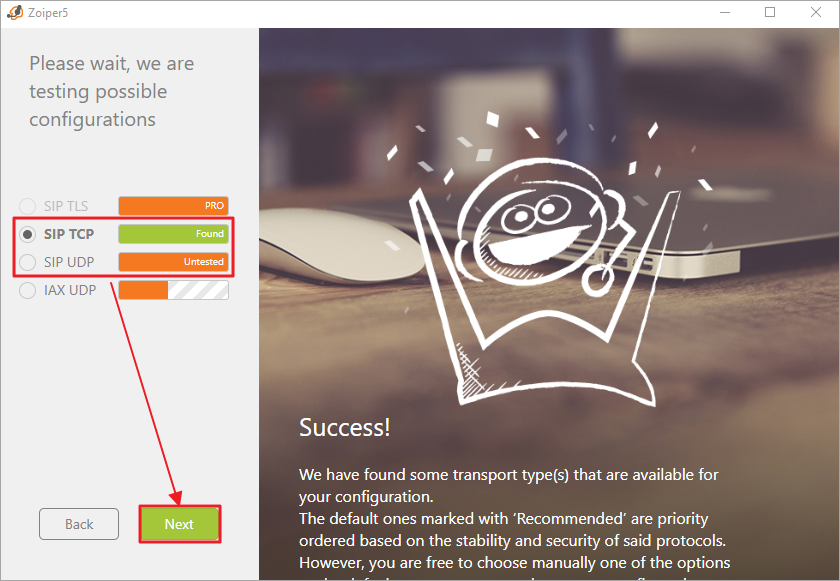
Testing possible configurations step
Test audio and video
Click Configure to test your audio and video, or Skip to proceed without testing.
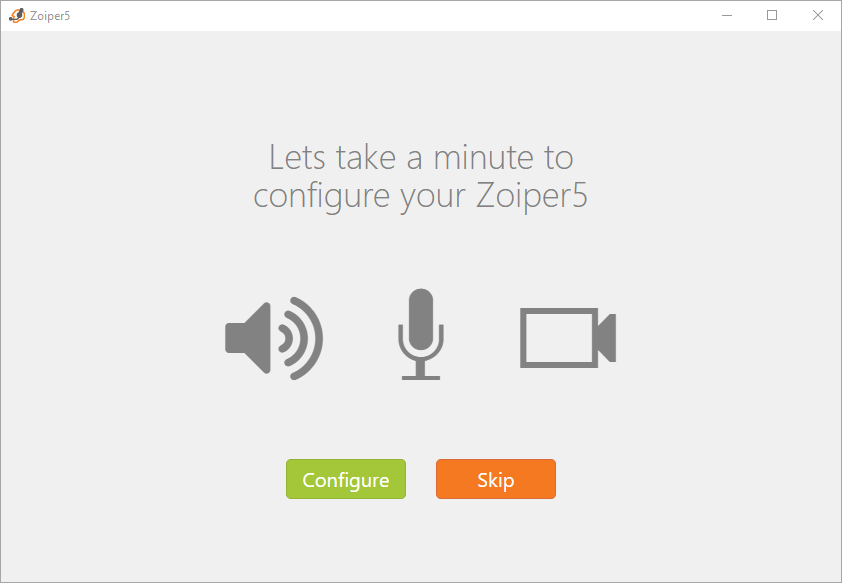
Testing your audio and video
Finish the setup
Click Finish.
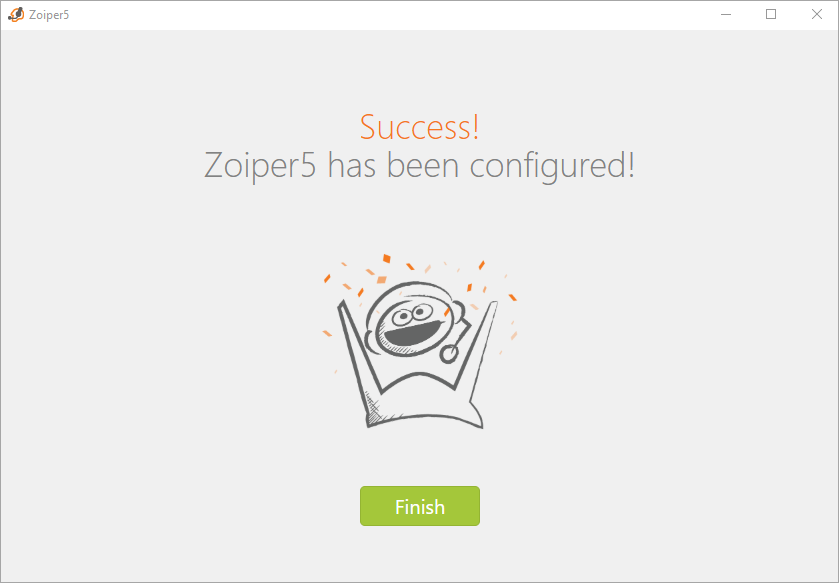
Zoiper configuration success screen
Zoiper will open. Now, you can make your first call!
To dial a number, click the dialpad icon. Ensure a green mark is next to your username – it shows you are connected to the network.
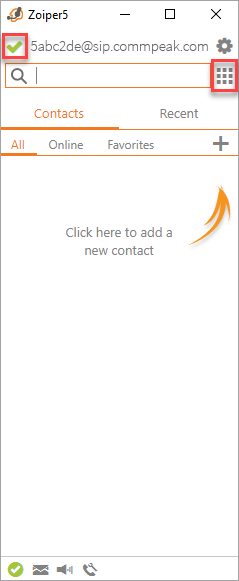
Zoiper dialpad
NOTEIf you are using a PBX and need to log in an agent, please refer to this article: Configuring a Device and Logging In to Third-Party Softphone.
Updated 1 day ago