Users
Manage users in PBX Stats by creating new accounts, editing existing ones, and deleting unnecessary ones. Assign users roles and desks, enable or disable their accounts, and configure two-factor authentication (2FA) for added security.
To work with PBX Stats, all users need an account, through which they can obtain user roles and access to desks.
Users with relevant permissions can view, create, edit, and delete other users.
The Users Manager page is available under the Configuration menu.
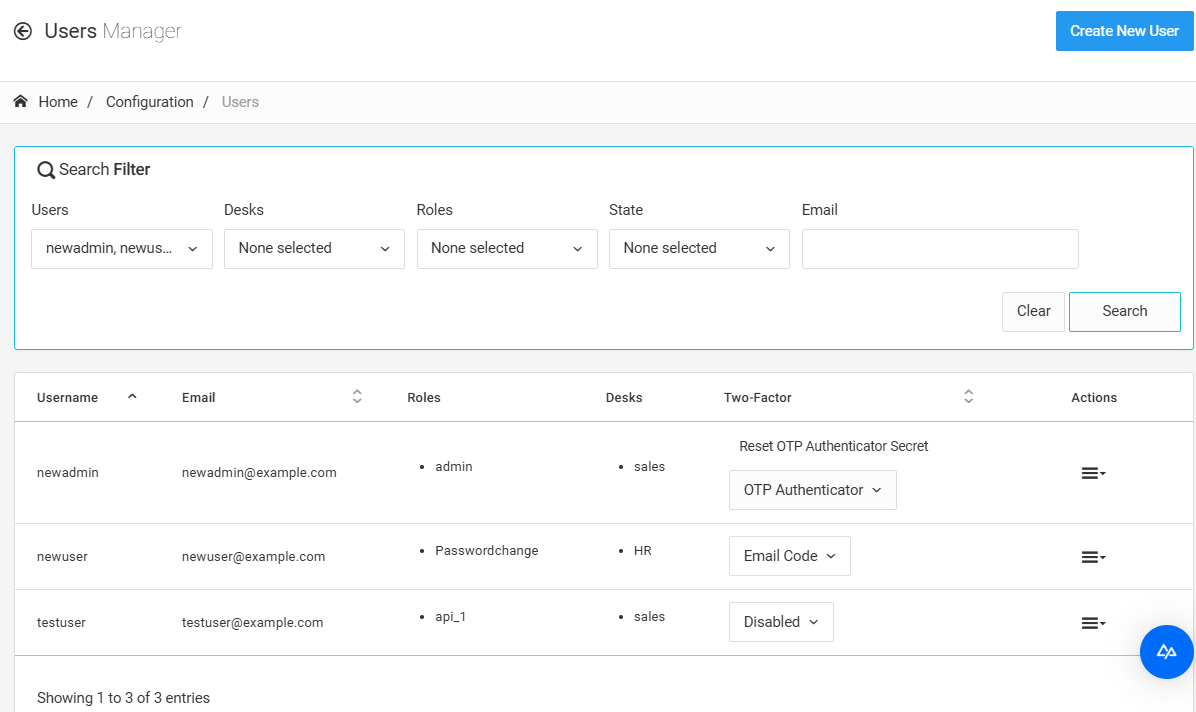
Users Manager page
Users Table
The table on the Users Manager page provides details about each user.
| Column | Description |
|---|---|
| Username | The user's name in the system |
| The user's email address | |
| Roles | The role(s) granted to the user. Hovering over a role will show its description. Roles with special permissions will be displayed here, too. |
| Desks | The desks the user is assigned to |
| Two-Factor | Modify 2FA settings for the user by selecting an option from the drop-down list:
|
| Actions | Perform the actions to the user account by selecting options in the drop-down list:
|
New User Creation
To create a new user:
-
Click Create New User in the top right corner of the Users Manager page.
-
In the New User window, enter the user's email address and create credentials for the user.
-
Select 2FA method:
- Disabled: the user can log in without 2FA by providing their login credentials.
NOTE
2FA for users with admin roles is mandatory, and the system will return an error if you disable it.
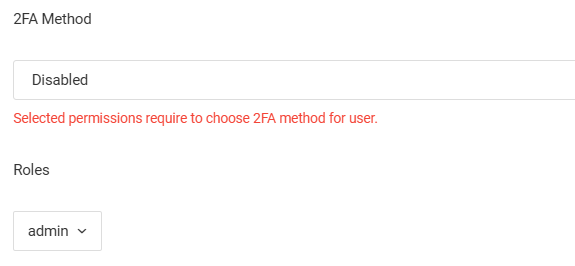
2FA Method error notification
- Email Code: the user will be asked to complete 2FA by email.
- OTP Authenticator: the user will be asked to complete 2FA via the OTP Authenticator app.
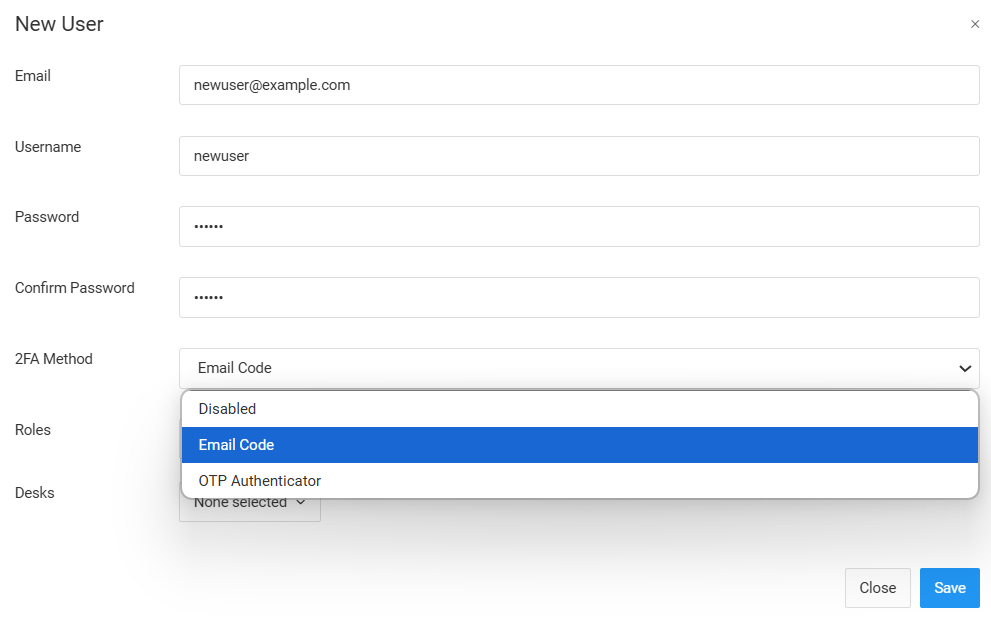
New User form: 2FA Method selection
- Disabled: the user can log in without 2FA by providing their login credentials.
-
Please select one or more roles for the user and assign the user to one or more desks.
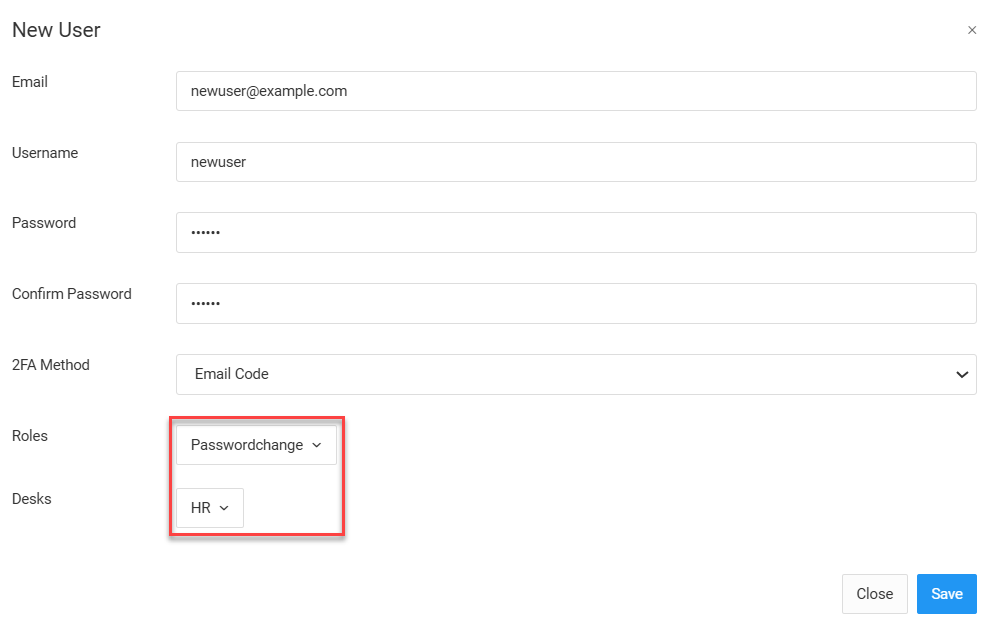
New User form: Roles and Desks selections
-
Click Save. The new user will appear in the list.
NOTENew users are enabled by default.
Editing Existing Users
You can edit previously created users as follows:
- Change the user's email and username
- Assign them new roles and desks or remove the existing ones
- Disable the user.
To edit a user:
-
On the Users Manager page, select Edit in the Actions column for the needed user.
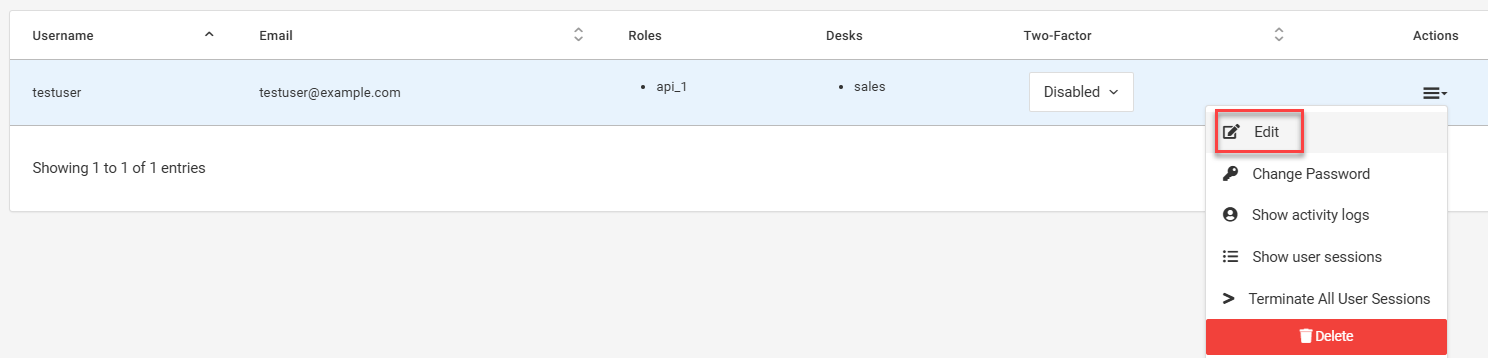
Users Manager page: Edit action selection
-
Make changes in the user window and click Save.
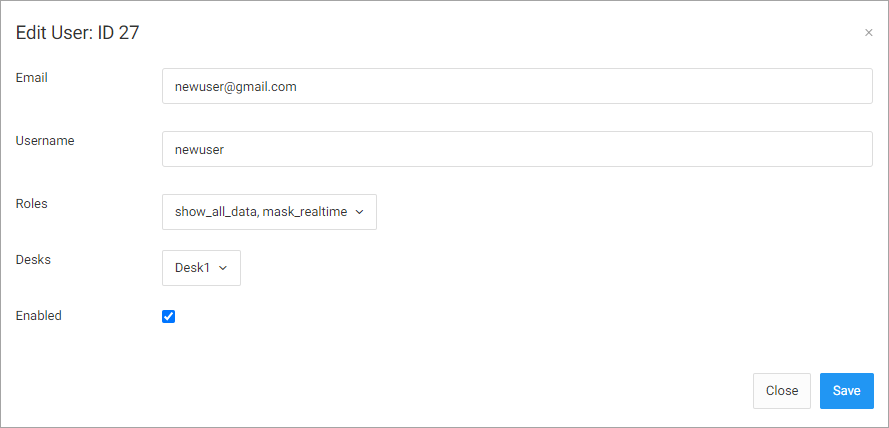
Edit User form
The Actions column also has options to change the user's password and delete the user.
Enabling 2FA Login
You can turn on or off two-factor authentication for existing users.
NOTE2FA is mandatory for admins, and any attempt to disable it will return an error.
To enable 2FA:
-
Click Disabled in the Two-Factor column.
-
Select a verification method:
- Email Code - enable validation using a temporary password emailed to the user. First, the users will need to enter login credentials. In the second step, they must also validate their email addresses by entering quick codes emailed to them.
- OTP Authenticator - enable validation using the Google Authenticator app. If activated, the users will be asked to configure the Google Authenticator app after entering their credentials. Then, they will be able to generate ten recovery codes.
-
Click Change to confirm.
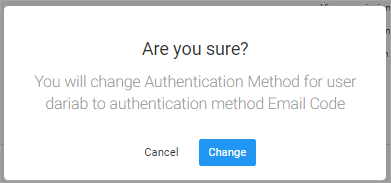
Changing authentication method confirmation dialog
NOTEIf the recovery codes become inactive or the user lost them, click Reset OTP Authenticator Secret in the Two-Factor column. The system will ask the user to reconfigure the Authenticator app and generate new recovery codes on the next login.
Updated 6 months ago