Adding Time Groups and Time Conditions
This guide describes steps to add time groups and time conditions in your Classic PBX.
You can check your incoming calls against set time ranges (e.g., business and non-business hours) and then route the calls depending on the check result.
Step 1: Access the Classic PBX Web Interface
-
Obtain your Classic PBX server's domain and admin credentials from CommPeak support team.
-
Open a web browser, navigate to the domain, and log in to the server.
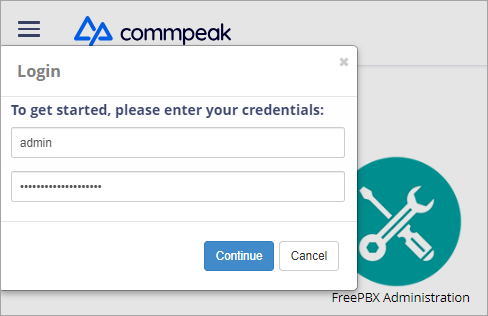
Accessing Classic PBX Web Interface
Step 2: Create a Time Group
-
In the main menu of your Classic PBX, go to APPLICATIONS and select Time Groups.
-
Click + Add Time Group.

+ Add Time Group button
-
Fill in the necessary information: enter the group description and configure time settings for working hours and/or weekdays, monthdays, and months.
NOTEThe server time is visible on the Time Groups page next to the + Add Time Group button.

Server time option
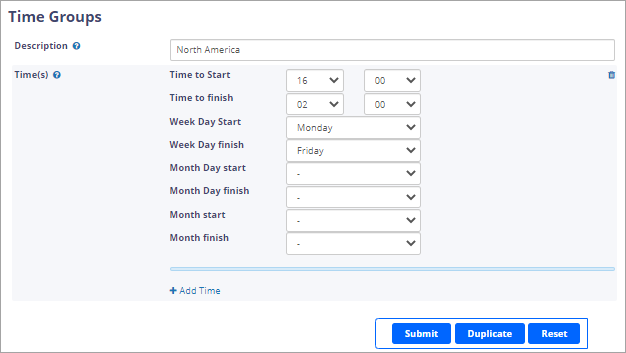
Time Groups page
-
Click Submit.
Step 3: Create a Time Condition
-
In the main menu of your Classic PBX, go to APPLICATIONS and select Time Conditions.
-
Click + Add Time Condition:

+ Add Time Condition button
-
Fill in the necessary information:
-
enter the condition name
-
in Time Zone , the default value is UTC; select your local one if needed
-
in Time Group, select a previously created time group
-
Destination matches - if the time matches, you can route a call to an extension, a ring group, a queue, or to a previously configured IVR
-
Destination non-matches - you can route a call to a Voicemail if the call time doesn't meet the time condition
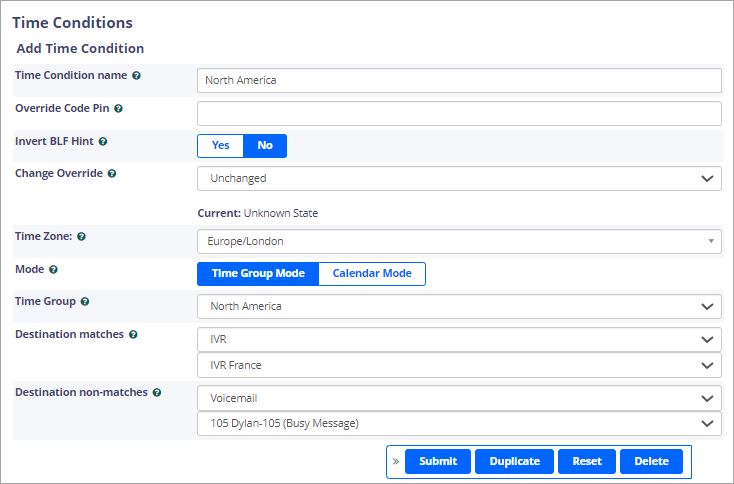
Time Conditions page
-
-
Click Submit.
-
Click APPLY CONFIG in the top right to apply the settings immediately.

APPLY CONFIG button
Step 4: Configure Inbound Call Route with Time Condition
-
In the main menu, click CONNECTIVITY and select Inbound Routes from the dropdown menu.
-
Edit an existing inbound route or create a new one, as explained in the guide about configuring inbound routes.
-
In the Set Destination section, select Time Conditions from the drop-down menu.
-
Choose the time condition you created in Step 3 from the drop-down menu.
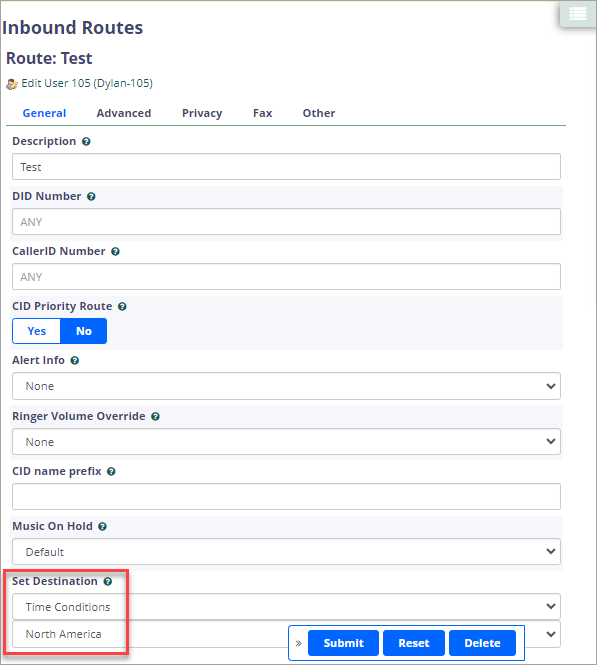
Inbound Routes page
Step 5: Test the Time Conditions
Place a test call to the designated phone number or DID during different time periods to verify that the call is routed correctly based on the time conditions.
Updated 6 months ago