Lead Search
Learn how to search for leads, view their history, work with agent comments, and perform bulk actions on multiple leads.
This article demonstrates what you can do using the Leads Search section of your CommPeak Dialer: search for the needed leads, view their history, work with comments agents leave for leads when submitting feedback.
To navigate to this section, expand the Leads &Campaigns menu and select Leads Search.
Viewing Leads
To find the necessary leads:
- Click Show Leads. You will see the list of leads generated according to your set filters.
-
Set the column order and availability in the search results.
To set columns according to your needs, click Configure Columns below the search filters. In the window that pops up, drag and drop column names to change their order and define what column to show and hide.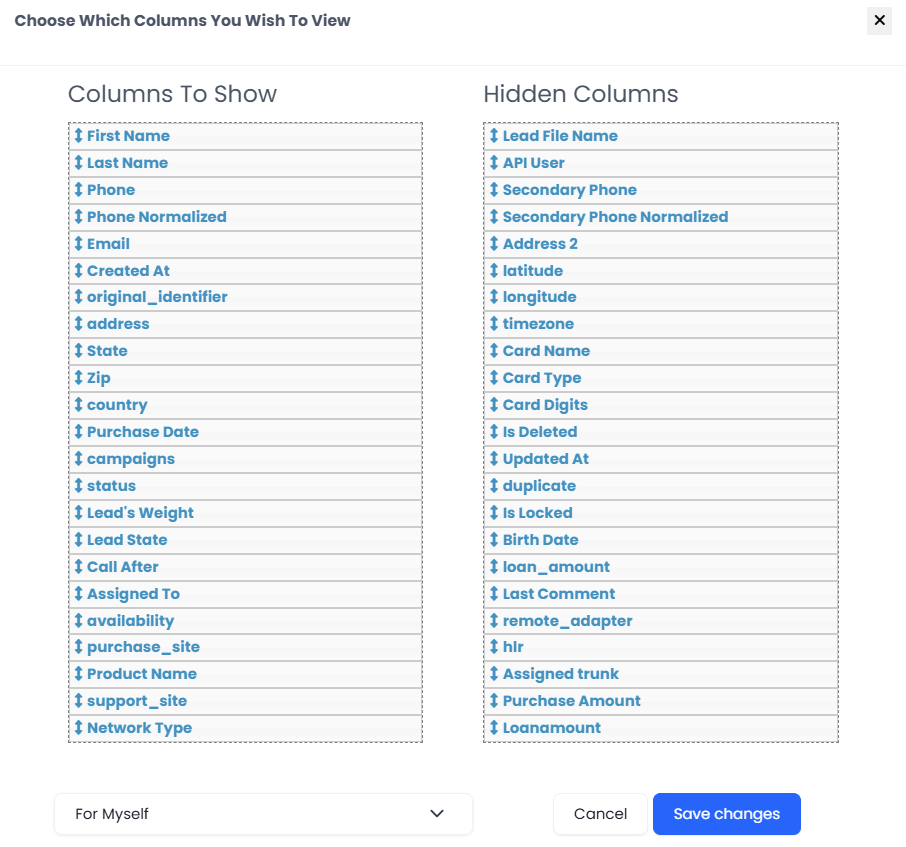
The configure Columns window
At the bottom of the window, you can choose to leave the settings for yourself or apply them to the whole tenant.
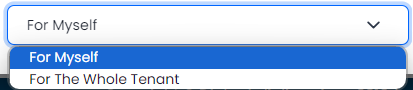
Applying settings options
Then click Save changes.
NOTEContact the support team or your account manager to enable view configuration.
-
Save the filter for further usage:
Enter the name of the applied filter and click Save Current Filter.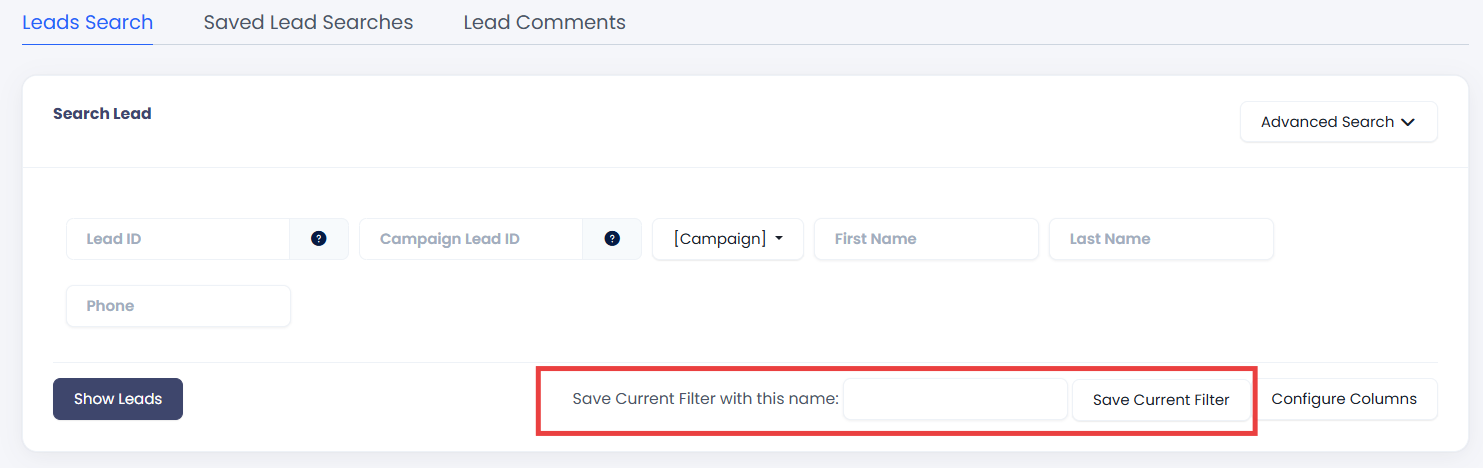
Saving the filter
Switch to the Saved Lead Searches tab to find the saved templates.
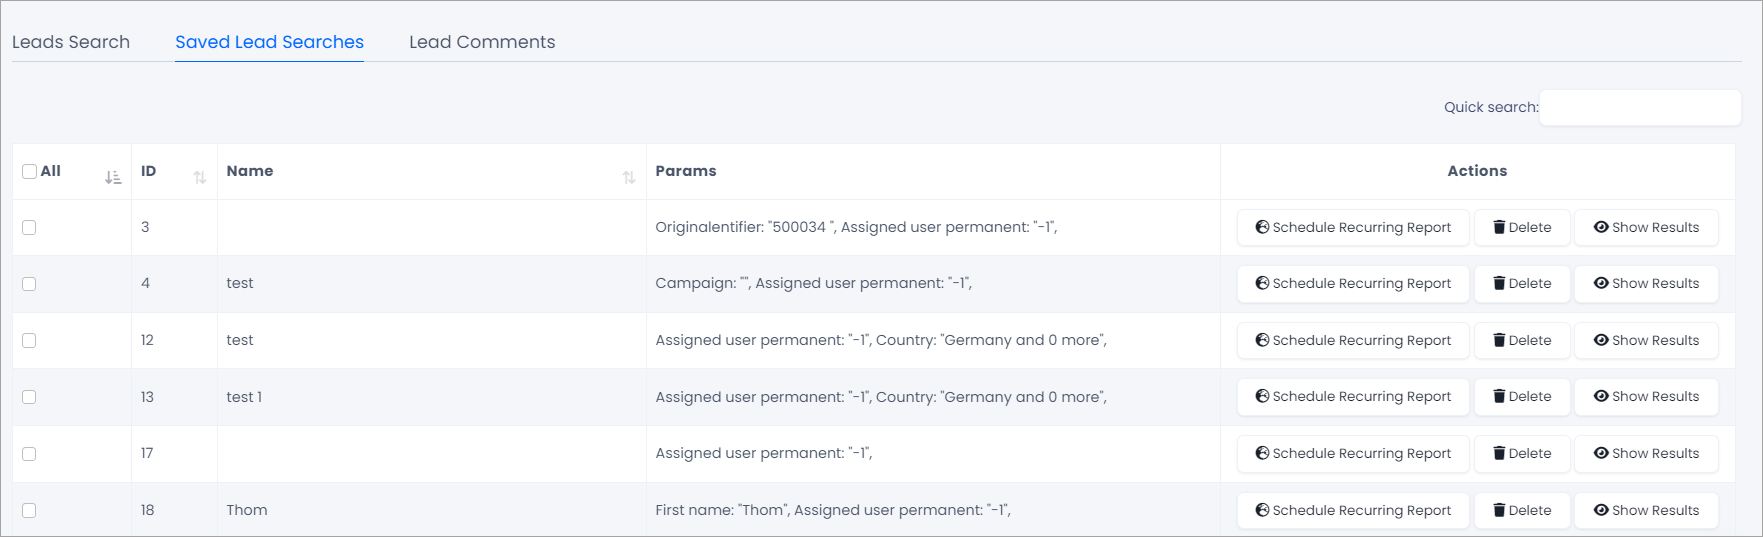
Saved Lead Searches tab
-
Apply actions to a lead:
On the line for the needed lead, click Select Action. For more details about the View Comments and View History actions, see the sections below.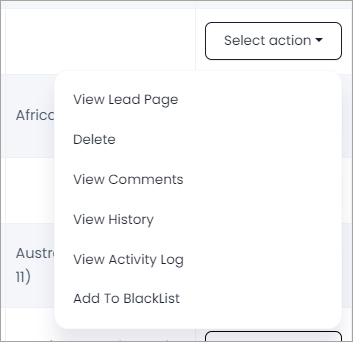
Applying actions to a list
-
Apply actions to multiple leads:
Under the lead search results, you can choose from several actions to apply to your leads in the drop-down menus:- To apply actions to selected leads, place checkmarks against the required leads in the table and expand the drop-down menu below on the left. Choose the action you want to perform and click OK.
- You can also apply these actions to all the leads you can see on this page if you activate the Select All Visible checkbox.
- Use the drop-down menu on the right to apply the actions to all the leads on the list.
Lead Comments
NOTESimilarly, you can access comments for specific leads from the Contacts page.
You will see a table with all comments for the lead.
-
View comment content in a pop-up window.
-
Export selected comments as .csv or Excel files.
-
Delete chosen or all comments in your search results.
Lead History
From the Leads Search page, you can access the lead history.
In the Actions column, click Select action on the line for the required lead, and in the drop-down list that appears, select View History.
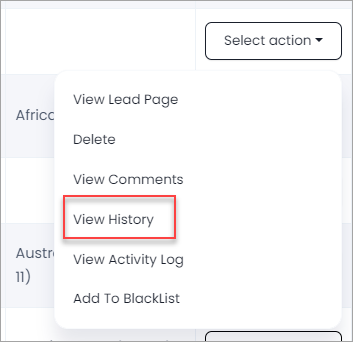
View lead history action
The lead history opens. It contains the list of all actions related to the lead, latest to earliest, and shows the users who performed them and details of each activity.
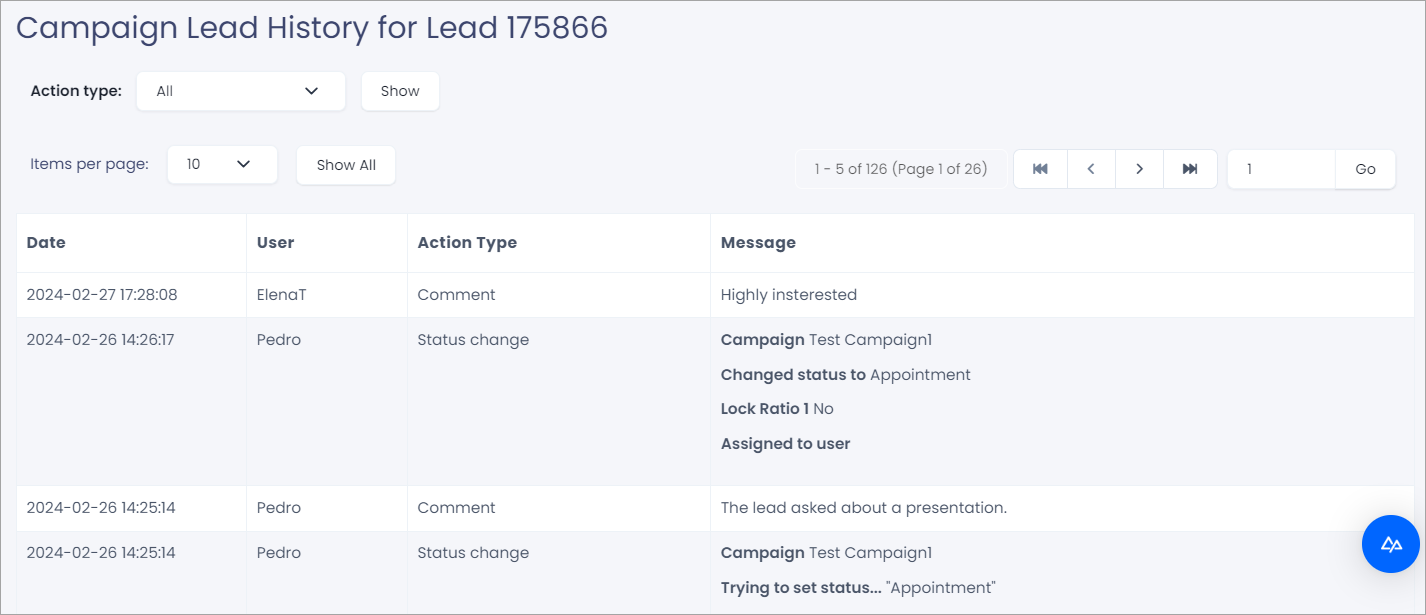
Viewing campaign lead history
You can filter the history by action types, selecting one of the values in the drop-down list.
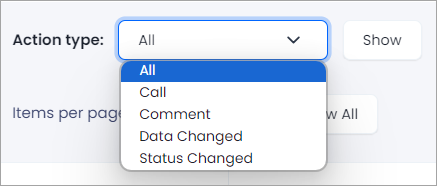
Options for filtering lead history
Updated about 1 month ago