Working Hours
Define the days, hours, and time zone your Inbox team is available so auto replies fire only outside those windows.
Define the schedules that mark when your TextPeak Inbox teams are available, and reuse those schedules to trigger out-of-office auto replies.
Working Hours
In the Working hours view, Inbox admins or managers (provided they hold the corresponding Inbox role permissions) can create and manage named schedules. Each schedule defines a time zone, the days of the week, and the hours within those days when the team is considered available.
Saved schedules are then selectable when you set up out-of-office auto replies, so a contact who messages outside the team's working hours gets an automatic acknowledgement.
To access the Working hours options:
- Log in to TextPeak in your browser with manager access privileges.
- In the main TextPeak menu, select the Inbox tab.
- Click Settings at the bottom left and navigate to the Working hours tab.
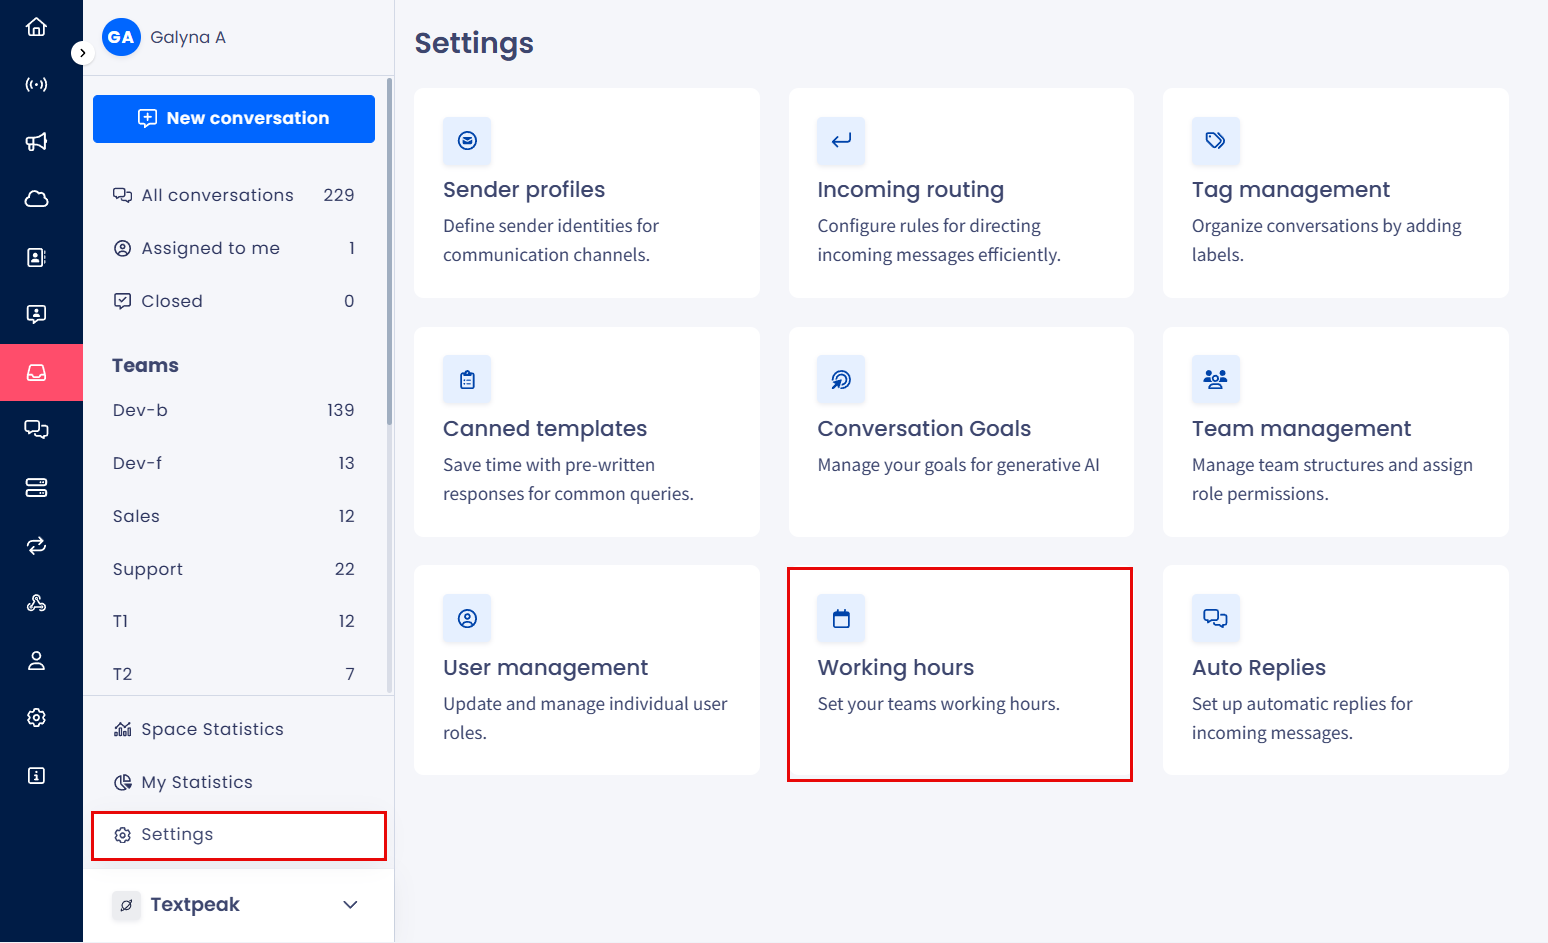
Inbox > Settings > Working hours tab
IMPORTANTInbox agents have no access to the Settings > Working hours page and can manage conversations only.
Creating a Working Hours Schedule
To create a new schedule:
- Click Add working hours.
- In the dialog that opens, enter a descriptive Name for the schedule, such as EU Support - Weekdays.
- Select the Time zone that the schedule applies to.
- For each day of the week, toggle the day on or off and enter the start and end times during which the team is working.
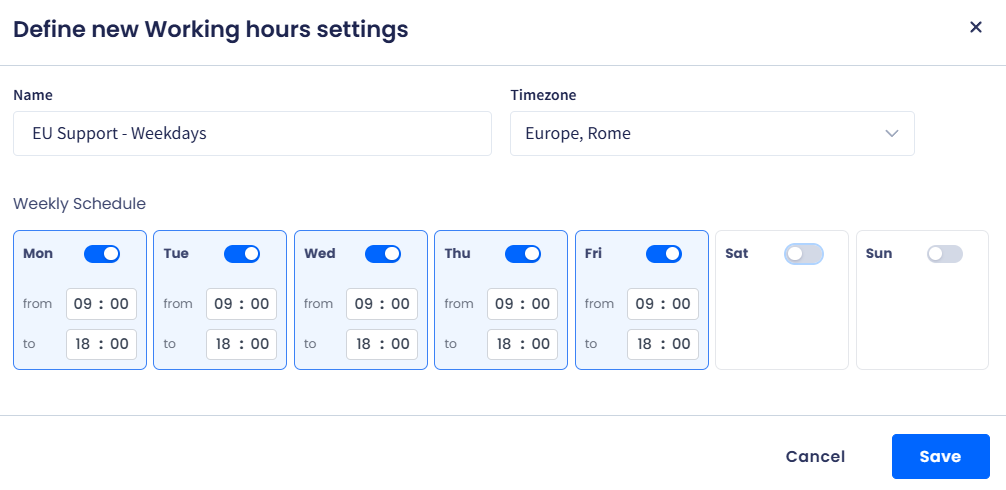
Define new Working hours settings dialog
- Click Save to confirm.
- The new schedule appears in the Working hours table with its name, time zone, and a summary of the active days.
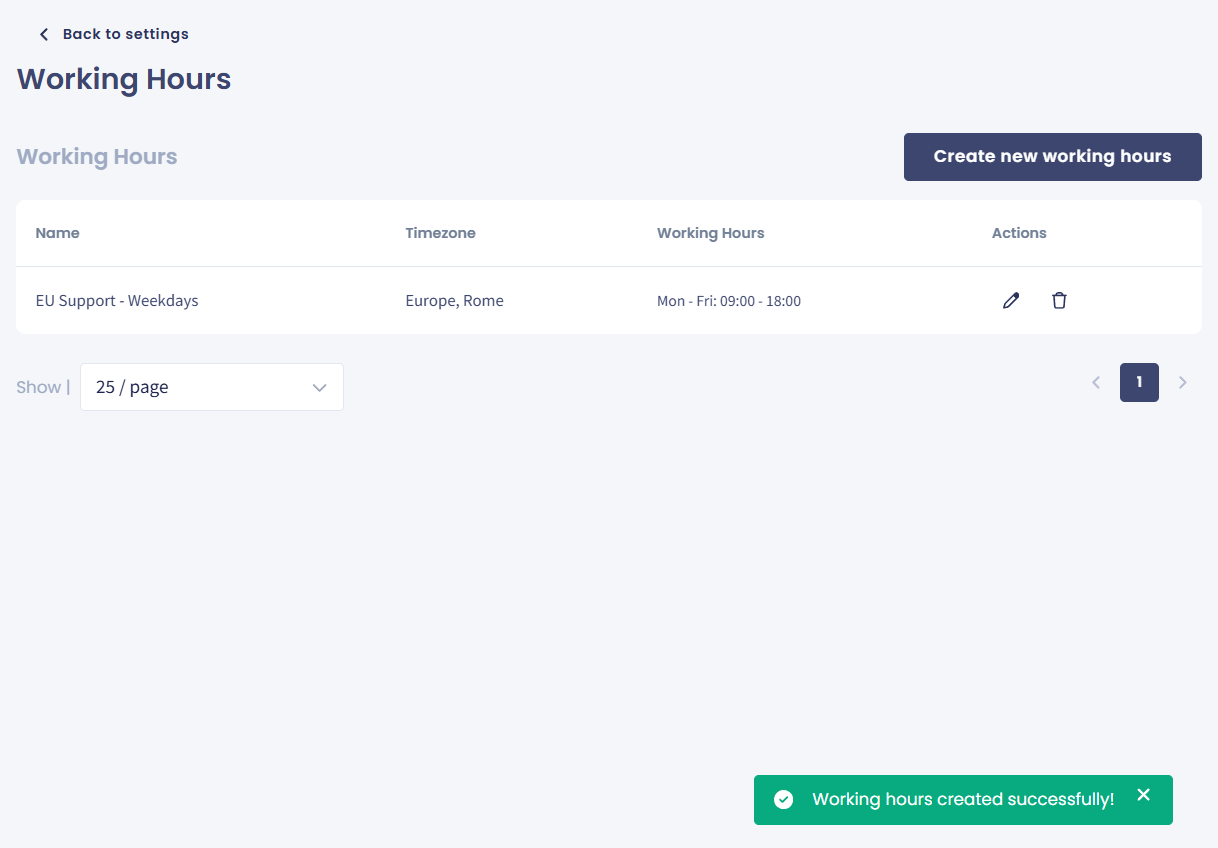
New working hours record created
Editing a Schedule
To edit an existing schedule:
- In the Working hours table, click the pencil action icon next to the schedule you want to update.
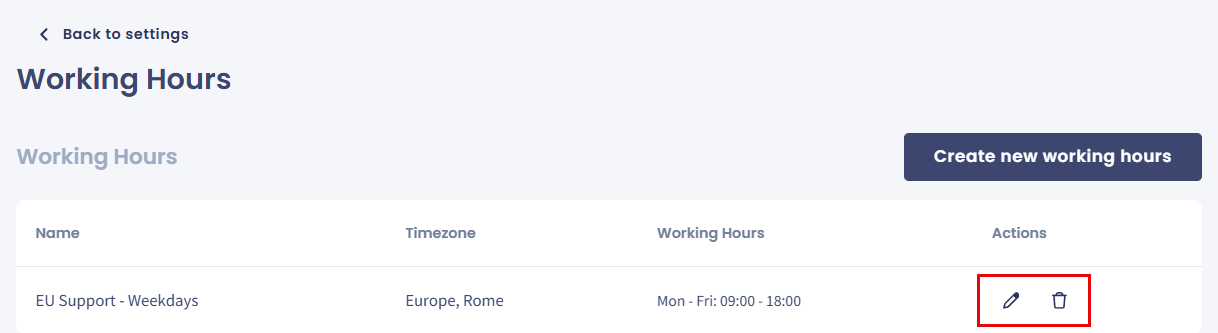
Working hours action buttons
- In the Edit Working Hours dialog, change the name, time zone, days, or hours as needed.
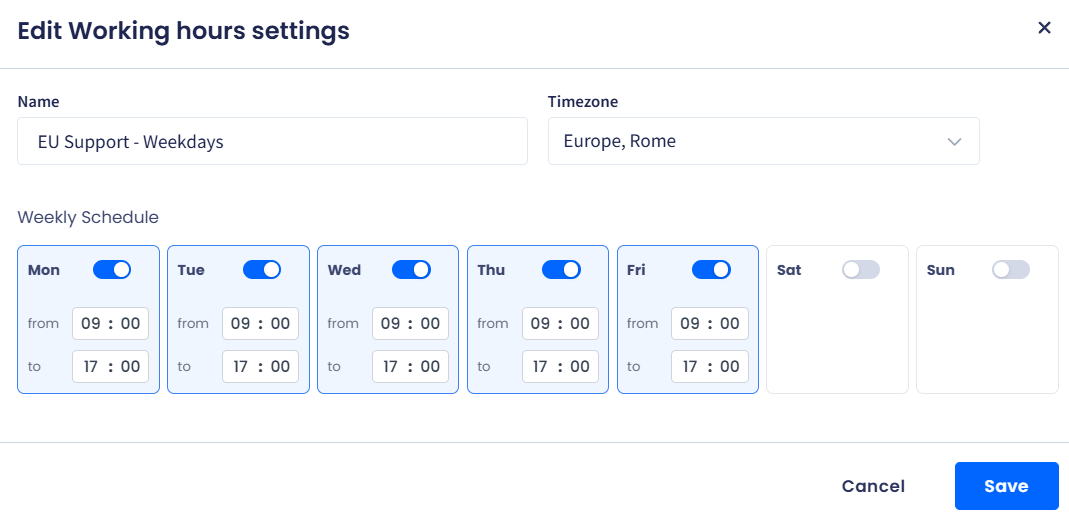
Edit Working Hours dialog
- Click Save.
NOTEUpdates apply immediately to every auto reply that uses the schedule. Out-of-office windows recalculate the next time a contact sends a message.
Deleting a Schedule
To delete a schedule:
- Click the bin action icon next to the schedule you want to delete.
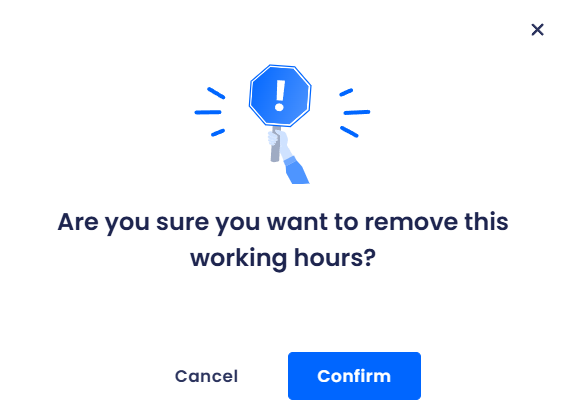
Removing working hors confirmation dialog
- In the confirmation dialog, click Confirm to confirm.
- Click Cancel to navigate back to the inbox settings menu.
IMPORTANTYou cannot delete a schedule that is currently assigned to an active auto reply. Remove or reassign the auto reply first, then delete the schedule.
Updated 3 months ago