Learn the essentials of using the CommPeak Dialer, covering agent login setup, workspace navigation, and instructions for managing calls and contacts, along with helpful resources for further training.
Learn how to log in to the CommPeak Dialer, navigate the agent workspace, and manage calls and contacts.
🚧
This article covers working in the Predictive Mode within the new Agent Workspace. If you're using the legacy Dialer Agent Interface, refer to the legacy Getting Started - Agent's Guide page.
Launching Dialer
Follow the steps below to log in to the Dialer, set up your password, and familiarize yourself with the workspace.
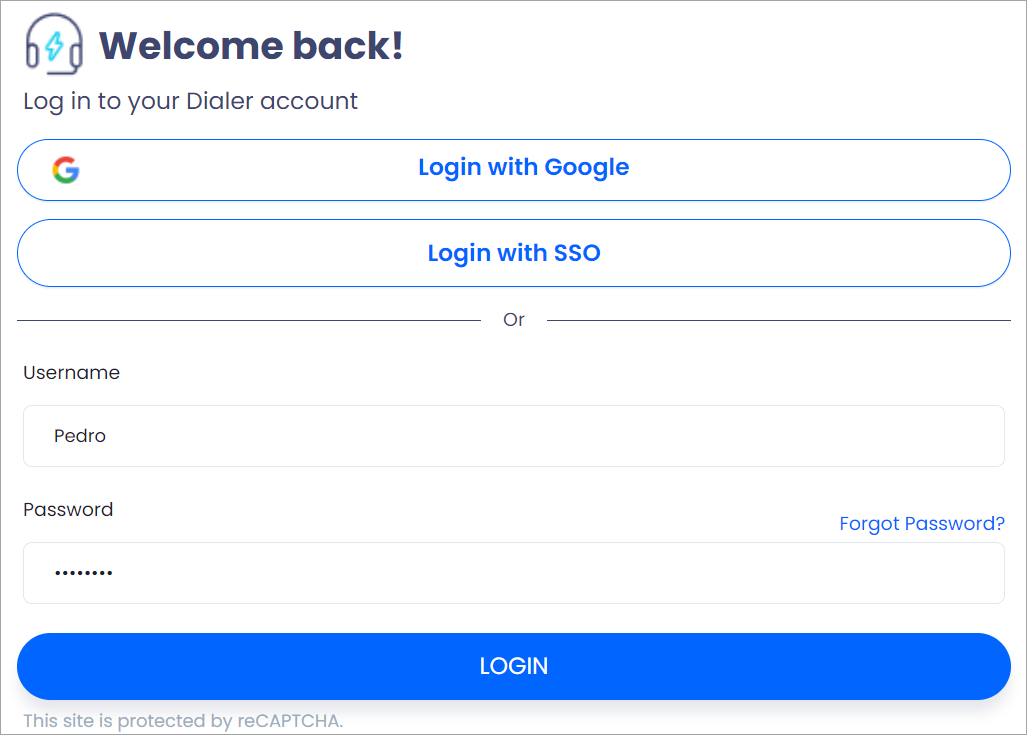
Open the login link your manager sent you in your browser. Enter your username and the temporary password provided.
Dialer login window
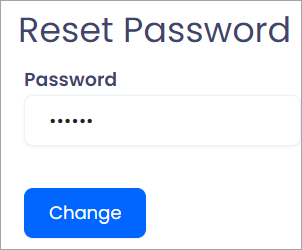
On your first login, create a permanent password when prompted:
Creating a permanent password
If two-factor authentication (2FA) is enabled for your account, follow the 2FA login steps.
📘
NOTE
If you can't remember your password, click Forgot Password? on the login screen. Then submit your username or email to reset the password.
Agent Workspace
After logging in, the Dialer redirects you to the agent workspace.
Start by watching how to work in the Predictive calling mode:
The main page consists of the following components:
Main agent page
Dialer icon: located in the top-left corner. A click on the Dialer icon on any page will return you to the main page.
Workspace top menu tabs contain all your key options, such as recent calls, scheduled calls, and the Predictive Mode page.
📘
NOTE
The tabs available for your agent instance may vary depending on CommPeak Dialer customization and are based on your assigned user-level role.
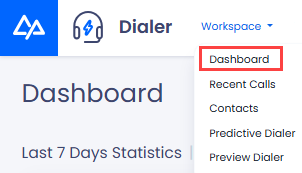
For example, if provided with the corresponding priviledges, you can access the Workspace > Dashboard tab that brings you right back to the home screen, giving you the same result as the Dialer icon.
Workspace menu tabs
Navigation search icon: click on it opens the search bar. Learn how to use it in the Dialer Navigation and Search article.
Search bar
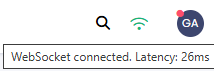
Wi-Fi icon: hover over it to check your Internet connection quality.
Checking connection quality
User profile state controls: located in the top-right corner:
Dashboard: displays your key metrics. Learn how to use and customize it in this article.
Recent Calls Page
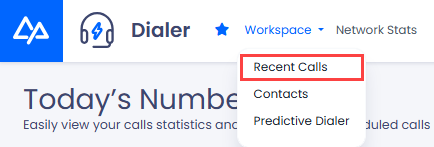
Click Recent Calls in the top menu to open the page.
Recent Calls menu tab
Alternatively, go to Workspace > Recent Calls to access it.
Workspace > Recent Calls menu tab
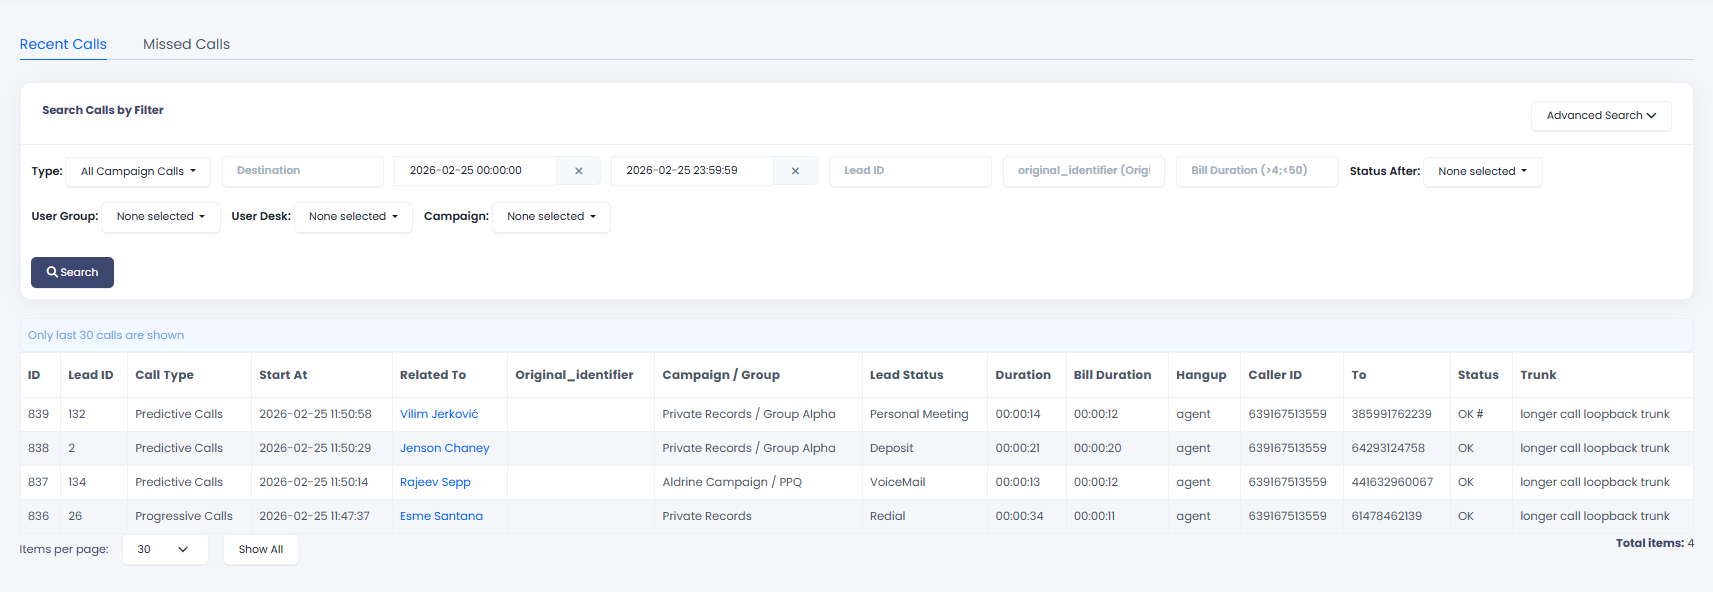
The Recent Calls page displays your 30 most recent call logs. You can apply multiple filters to search for specific records.
Recent calls page
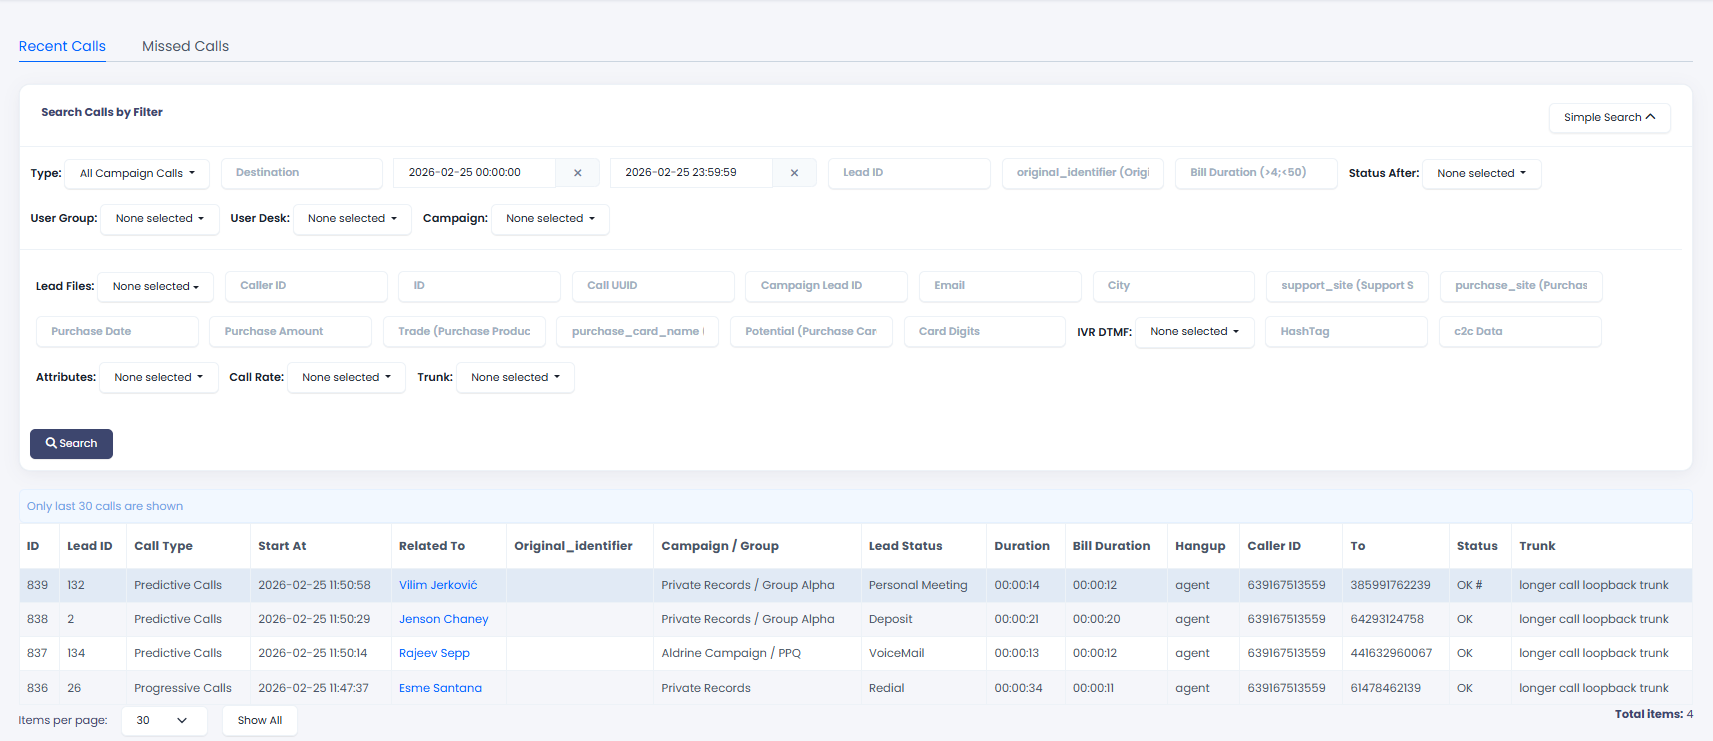
Click Advanced Search in the top-right corner to access additional call log filters.
Advanced search filters
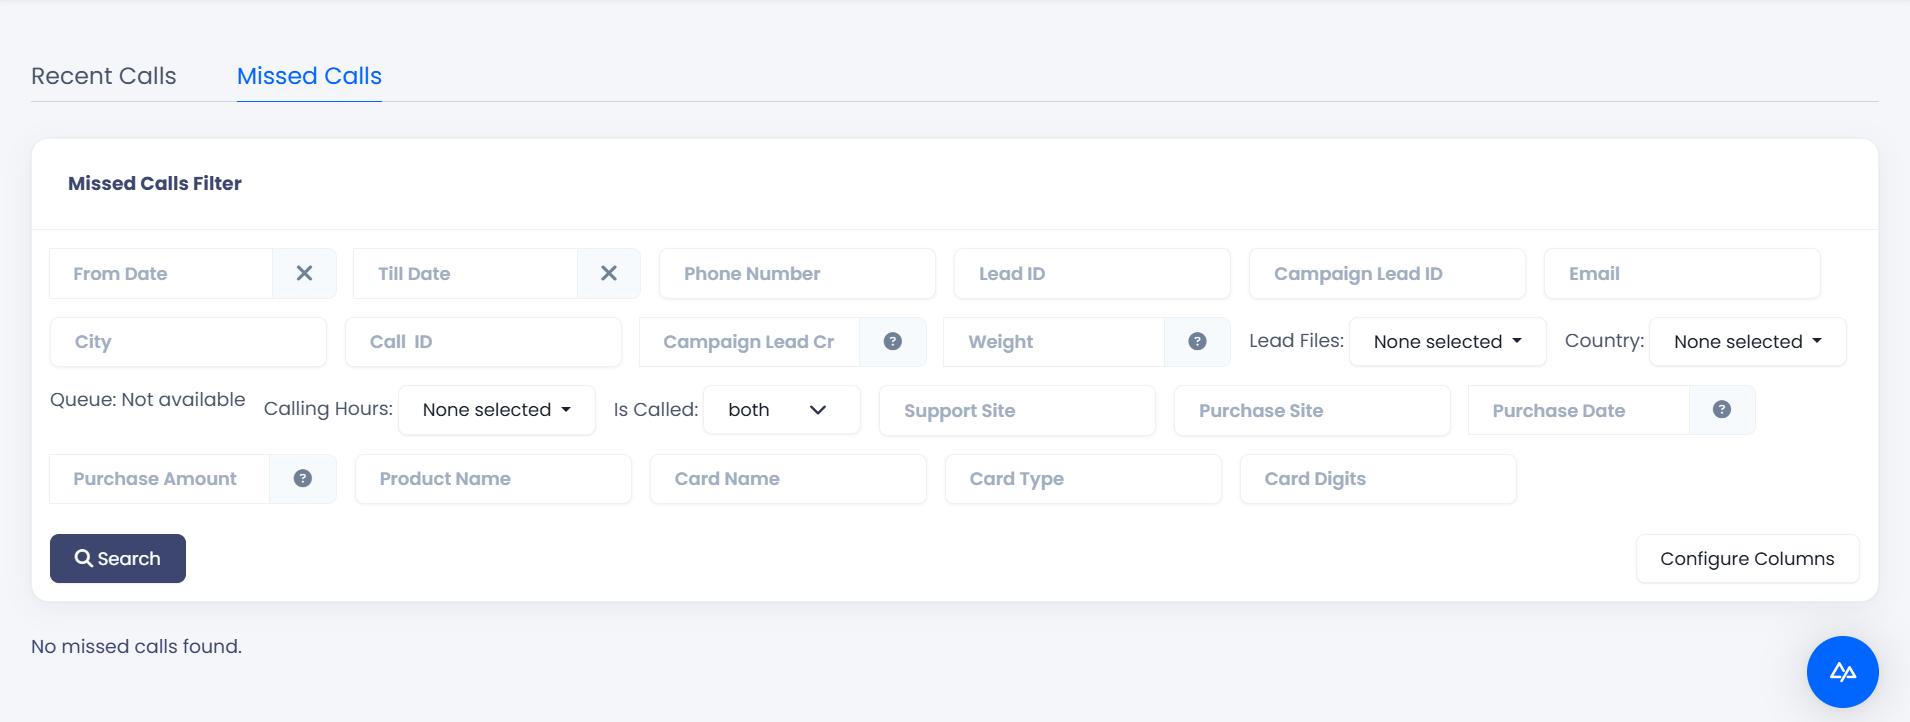
Click to open the Missed Calls page to check if you have missed any calls.
Missed Calls page
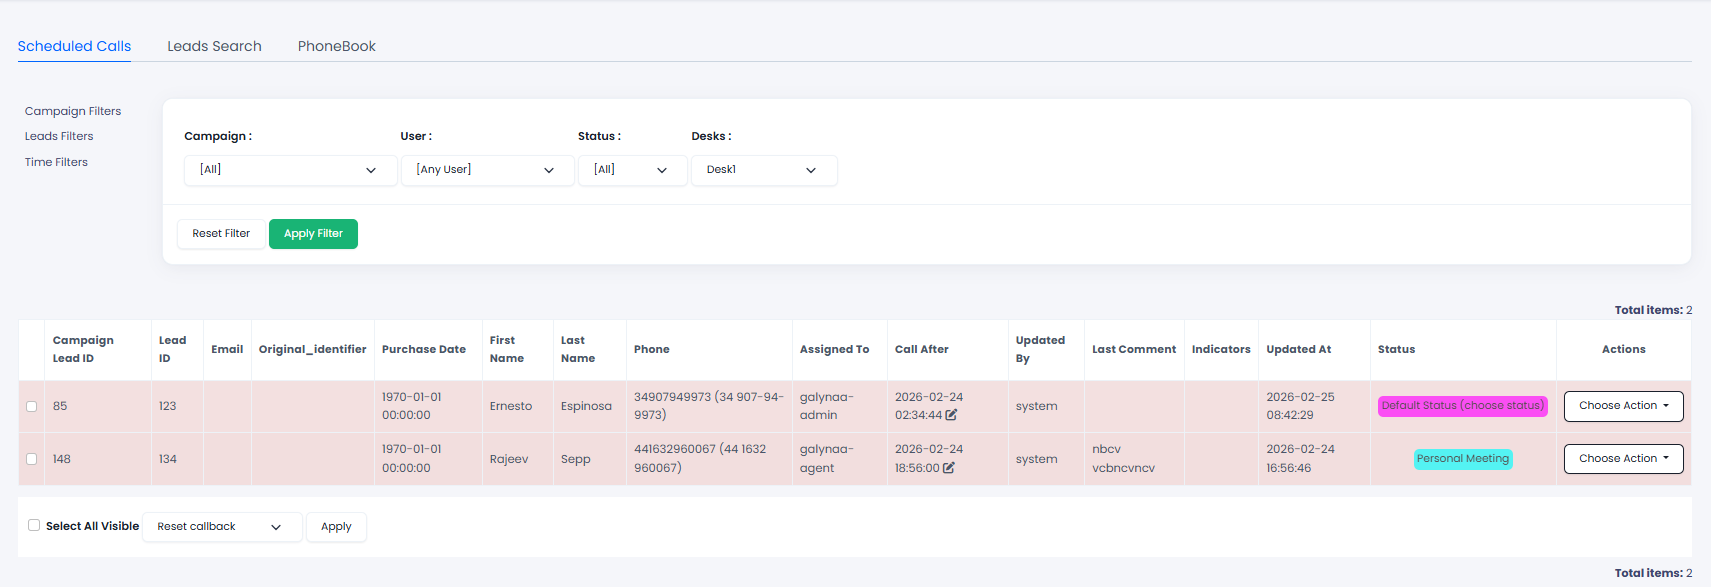
Scheduled Calls Page
The Workspace > Contacts > Scheduled Calls page displays your appointments with leads. From here, you can view meeting history, add comments, and change appointment times.
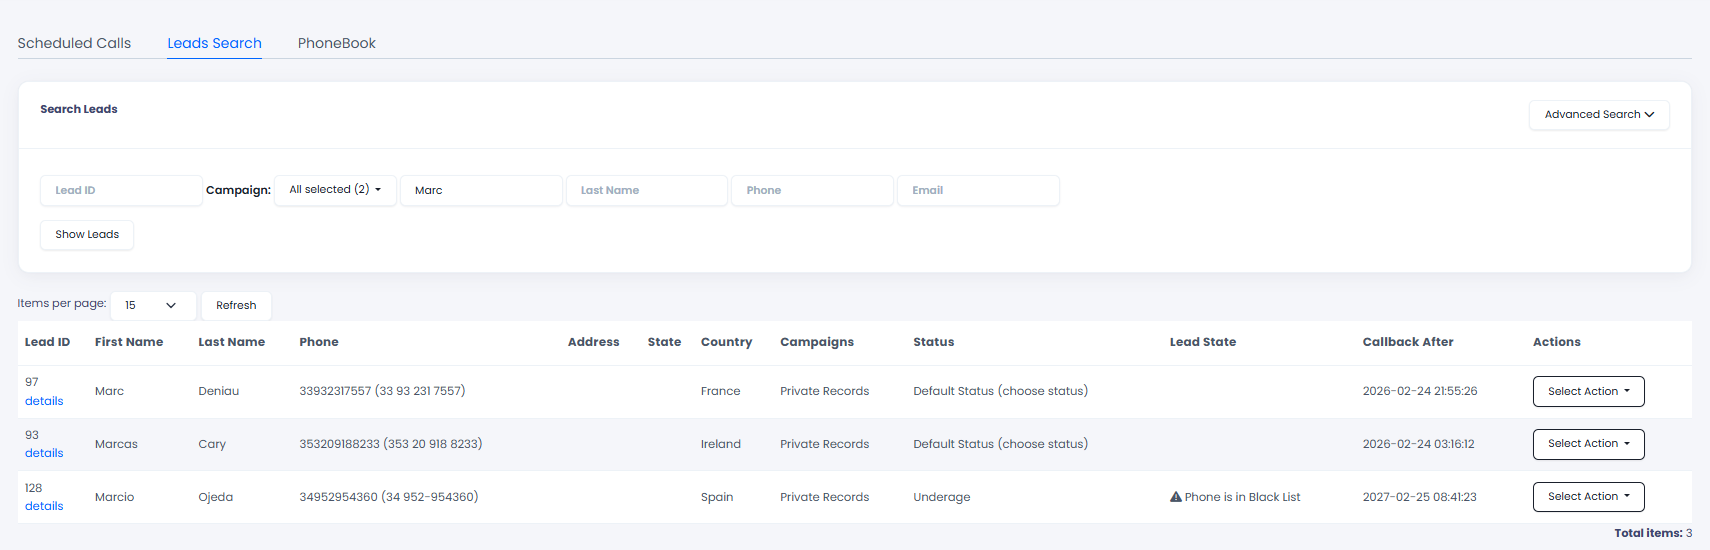
The Lead Search page lets you apply filters to find specific leads using simple or advanced search options.
To open this page, click Leads Search in the top menu.
Leads Search menu tab
Alternatively, go to Workspace > Contacts and switch to the Leads Search tab.
Leads Search page
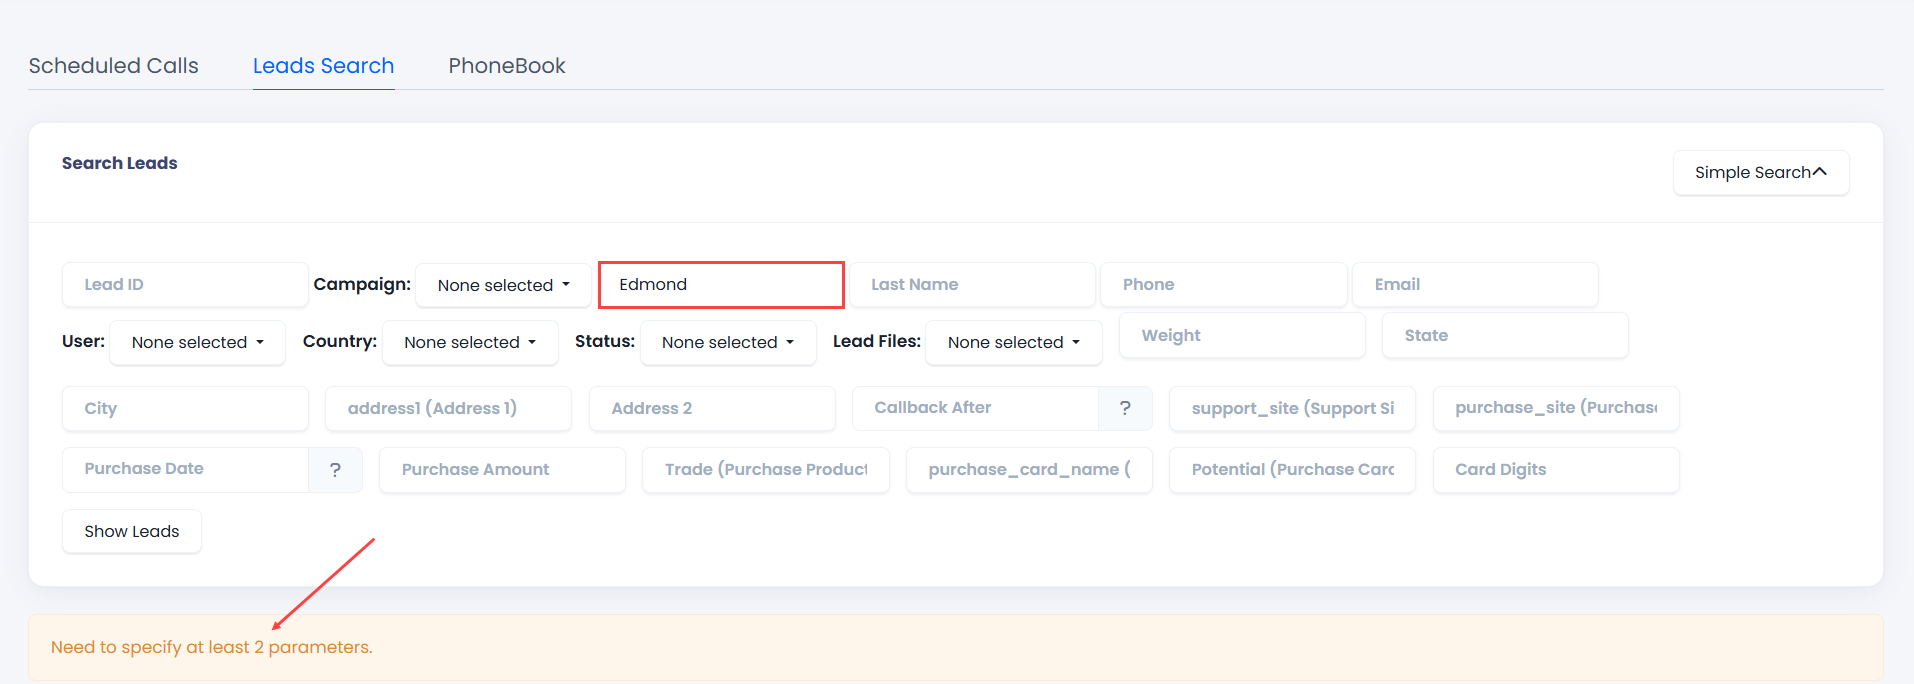
Click Advanced Search in the top-right corner to access additional call log filters.
📘
NOTE
You must specify at least two parameters to run the search.
Search error message
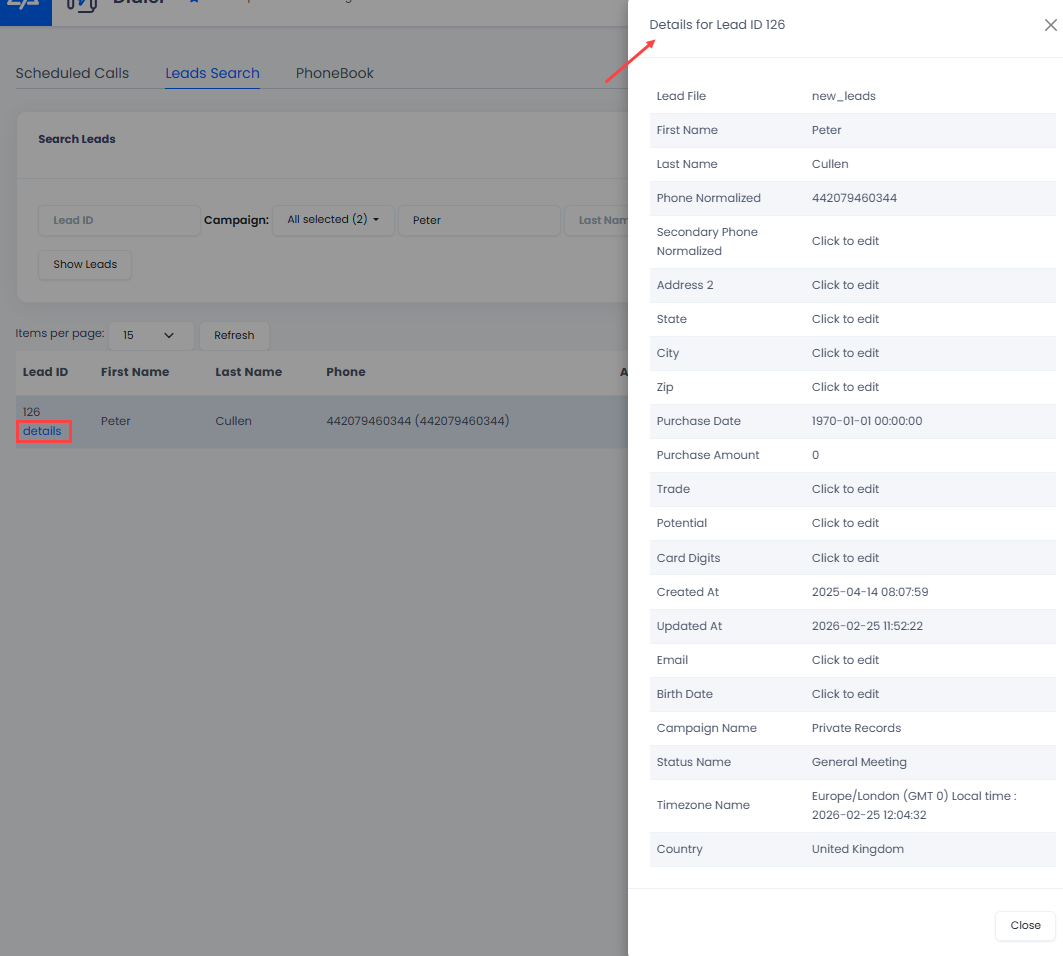
To manage lead details:
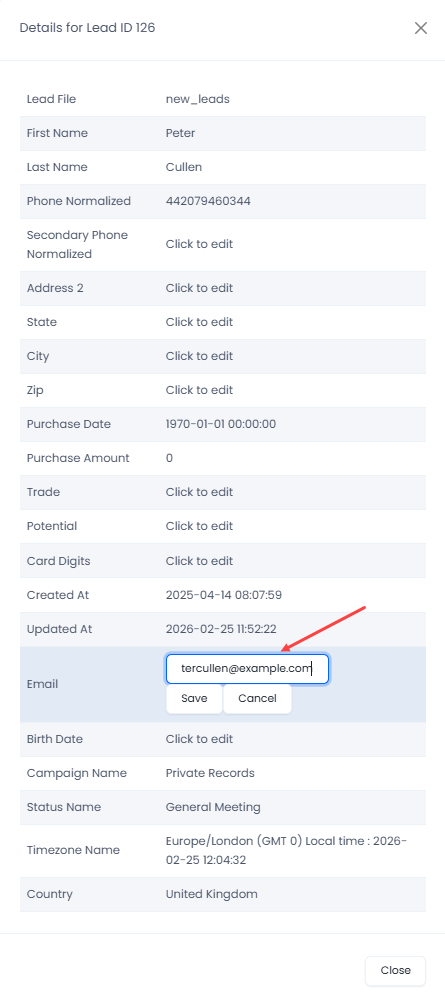
Click the details link next to the lead ID to open the pop-up with all the details for this lead available.
Lead details pop-up
Click the placeholder for the details record you need to modify.
Update the lead details data, then click Save and close the window.
Editing lead data
📘
NOTE
You can also edit lead details when on a live call in Predictive Mode. To learn more, check the Making Calls article.
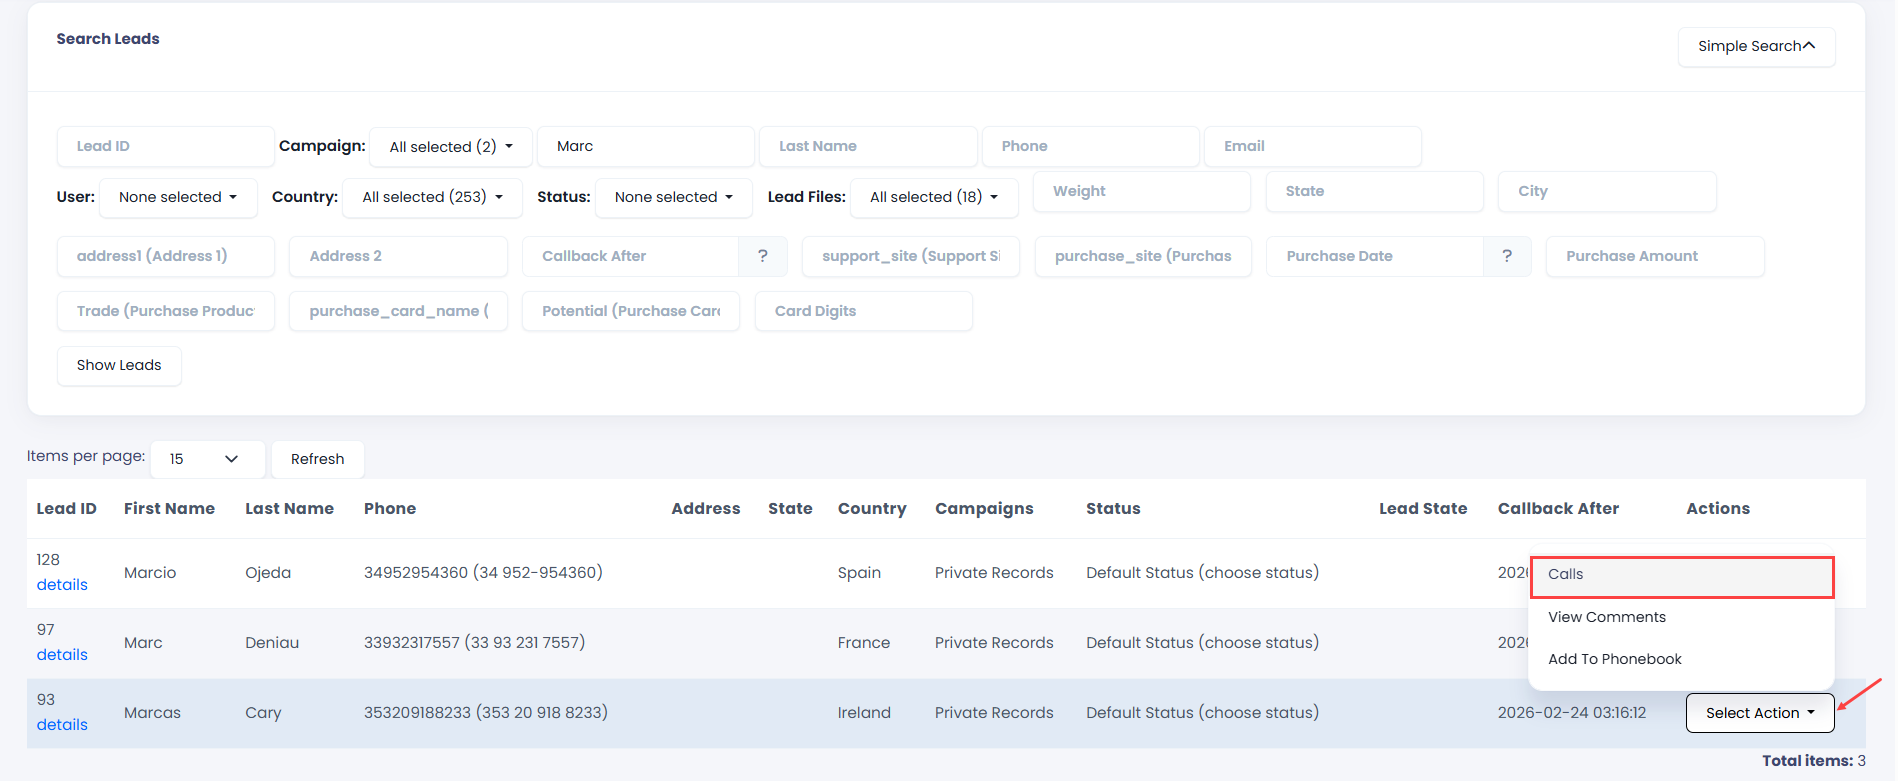
You can also view a list of your calls and listen to recordings from this page.
To view and listen to your calls:
Go to Actions and select Calls.
Viewing calls
Your recorded calls will appear on the new page. Click Play Record to listen to a recording.
Playing call records
Predictive Dialer Page
To start receiving calls:
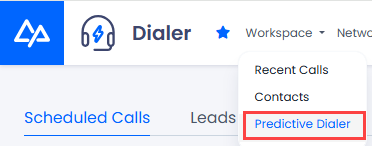
Click Predictive Dialer in the top menu.
Predictive Dialermenu tab
Alternatively, go to Workspace > Predictive Dialer.
Workspace > Predictive Dialer menu tab
Then, click the profile icon at the top right and select Clock In.
Clocking into Predictive Dialer
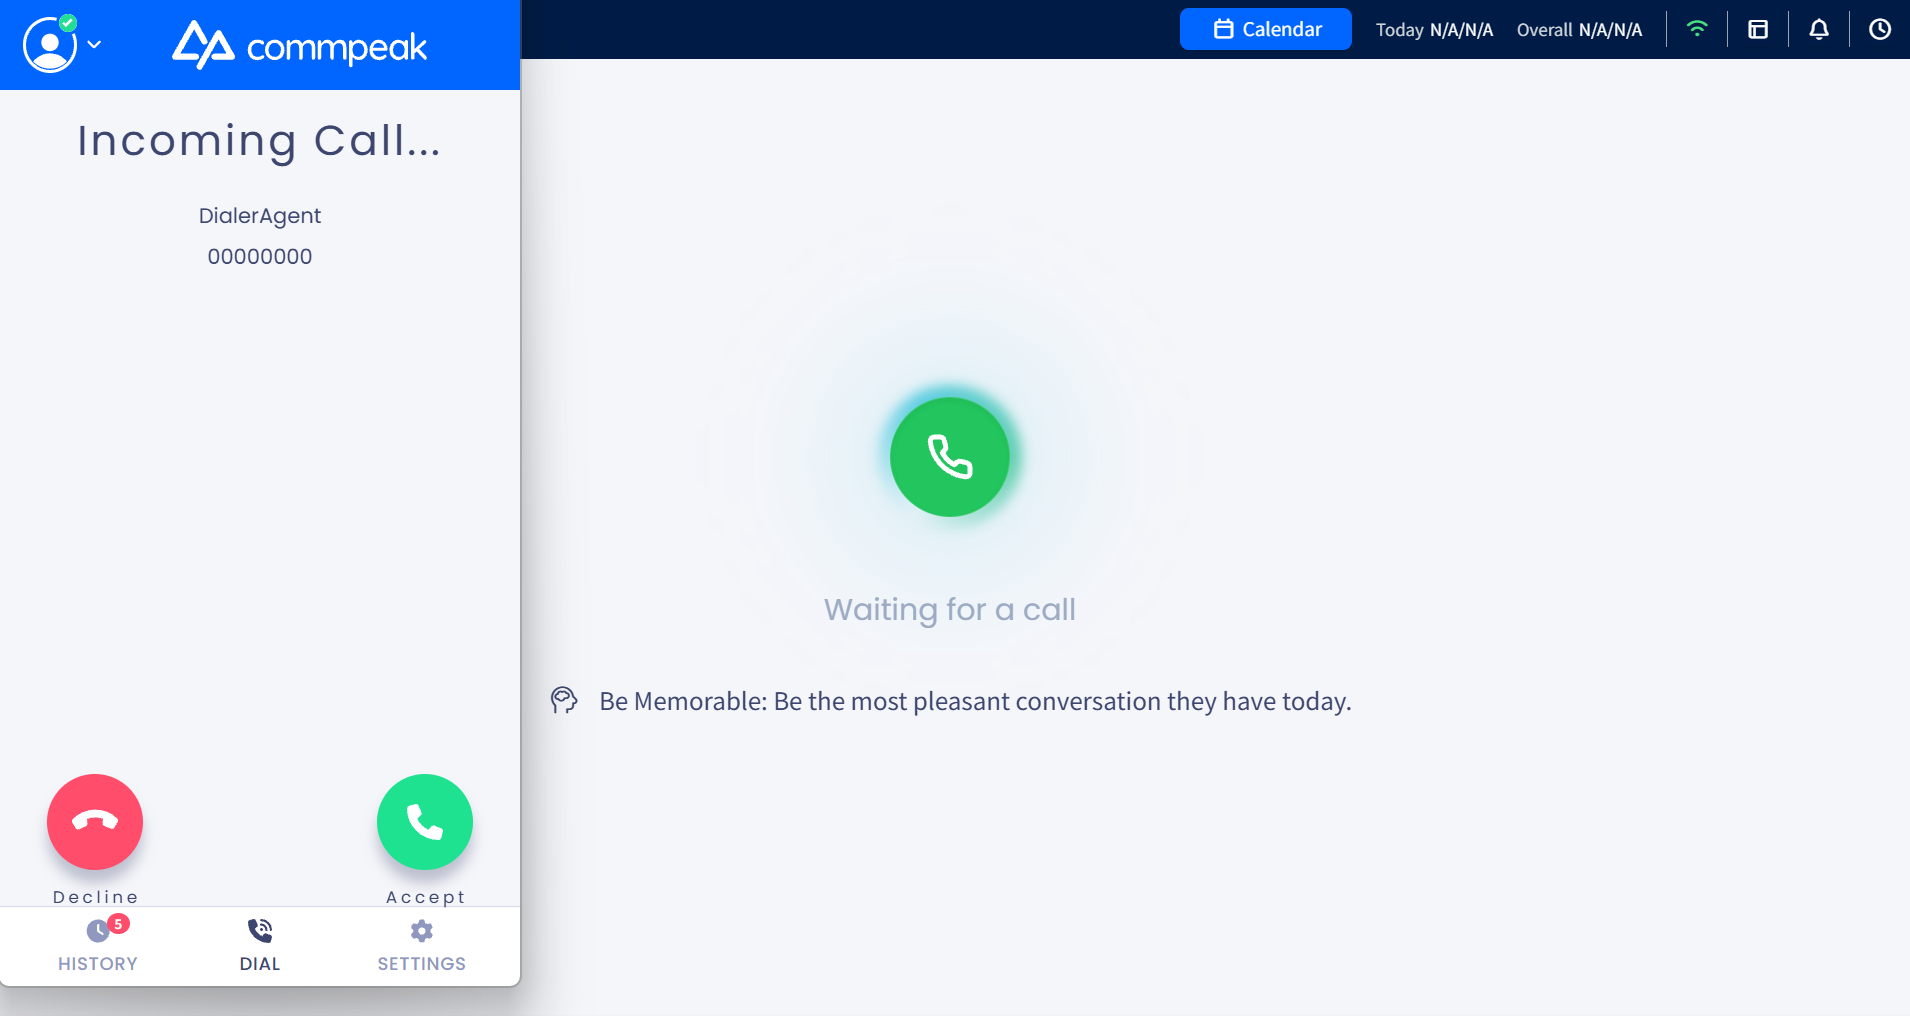
After clocking in, accept a call from your phone client to open the Agent Workspace page.
Receiving incoming call in Predictive mode
Once the system connects you with a lead, the agent workspace expands to provide predictive calling tools and lead data management options. You can manage the technical aspects of the call while maintaining a comprehensive view of the lead's details and history.
📘
NOTE
Check the Agent Workspace: How to Switch & What’s New article to learn what has changed in the new Agent Workspace, where to find your favorite tools, and how to switch from the legacy Dialer Agent Interface.
Ongoing Call Controls & Collaboration
The agent workspace panel gives you full control over the live lead interaction.
Review agent, lead, and call statuses:
Check the header section at the top of the workspace for a quick overview of the agent's status, appointments, and main lead data.
For full lead details or to filter call history, go to the lead Details and History sections.
View CRM data: In the lower section, view the CRM page with lead information pulled directly from the integrated CRM.
Manage and collaborate on the call:
Manage active call: Adjust your audio settings (output and input) to ensure clear communication, end (pause/resume) the call, or rate the ongoing call directly in your Call Panel .
Collaborate on the ongoing call: Initiate conference calls, transfer calls to the appropriate department, or use the 3-way conversation and Voicemail features.
Leave internal comments and access Inbox messages: Add notes visible only to your manager or authorized colleagues, check messages sent within your Messaging Inbox, and review the lead's history and past agent interactions.
Provide feedback, rate call, and schedule follow-ups:
After the call ends, the Dialer redirects you to the Feedback page. Here, you can submit feedback, schedule a follow-up call with the lead, or rate the call.
📘
NOTE
For a detailed walkthrough of Dialer Predictive Mode, see the Predictive Dialing guide.
Knowledge Base Resources
Explore these related guides for more information: