Learn how to create, manage, and optimize SMS, WhatsApp, and Telegram conversations using TextPeak Inbox.
The TextPeak Inbox feature is a powerful instrument for controlling and streamlining messaging across multiple channels, such as SMS, WhatsApp, and Telegram.
This guide provides a detailed overview of Inbox, including enabling and setting it up, and creating, managing, and optimizing SMS, WhatsApp, and Telegram conversations with your customers.
❗️
IMPORTANT
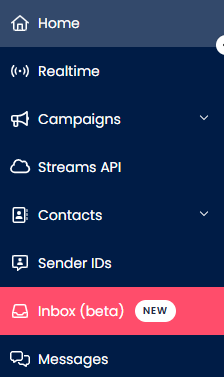
Only accounts with the enabled inbox permission can access the Inbox tab.
In the TextPeak platform, users with the Inbox Admin role can manage inbox conversations integrated with SMS, WhatsApp, and Telegram platforms.
Users with the Inbox Admin or Inbox Manager roles can additionally manage the inbox settings from the main sidebar menu.
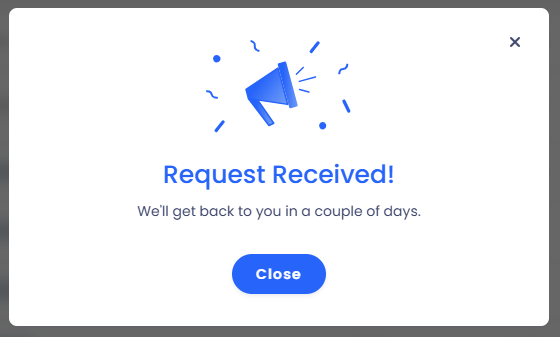
A TextPeak support agent will review your request and follow up with you shortly.
Request Received! notification
📘
NOTE
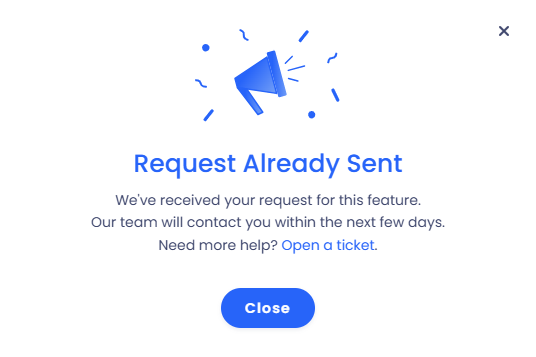
If you retry accessing the Beta feature you already requested access to before your request gets approved, you will see the following pop-up window:
Request Already Sent pop-up window
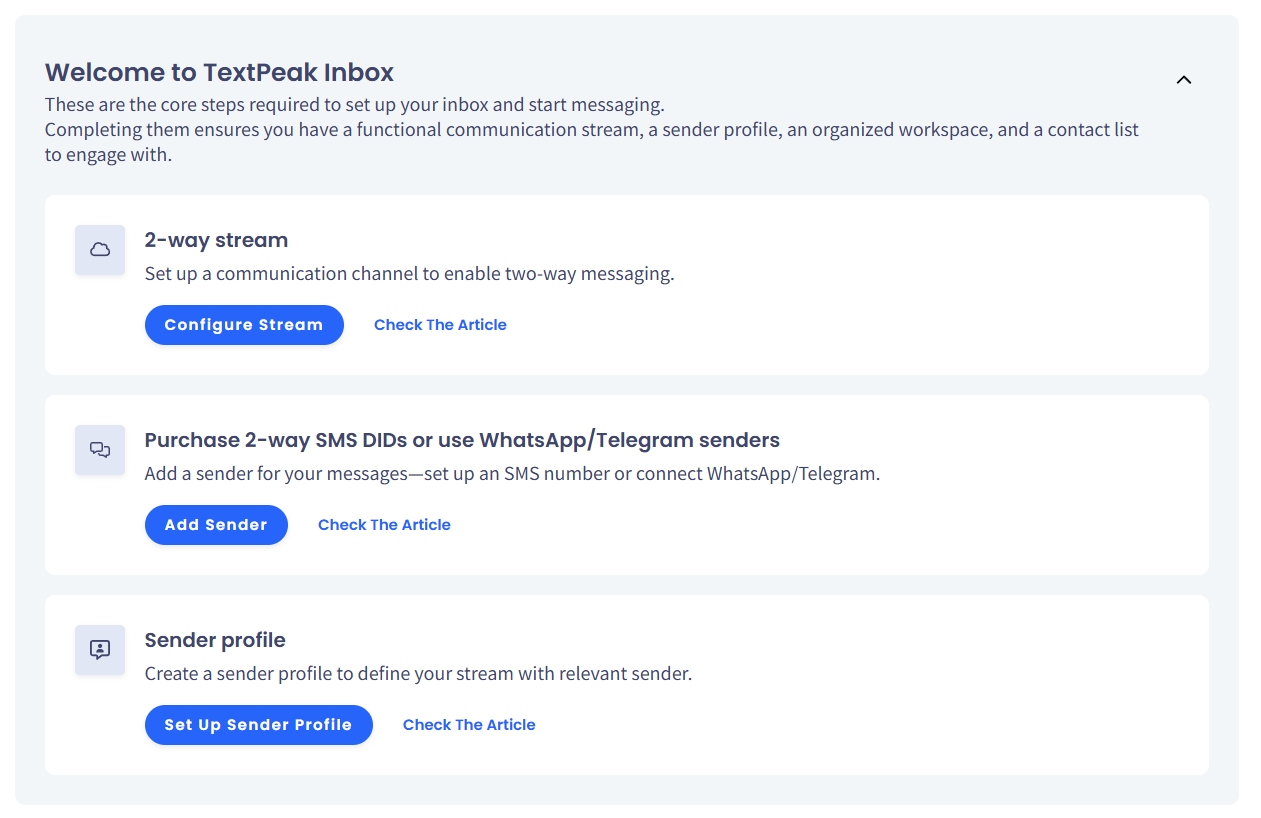
Inbox Onboarding
Once authorized to access Inbox , you will see the TextPeak Inbox welcome screen with the onboarding steps to complete before starting with the Inbox.
❗️
IMPORTANT
Inbox onboarding steps are shown to tenant owners and Inbox Admin users only.
Check the Inbox Role Permissions article to learn more about the roles and permissions in the TextPeak Inbox tab.
Inbox onboarding welcome screen
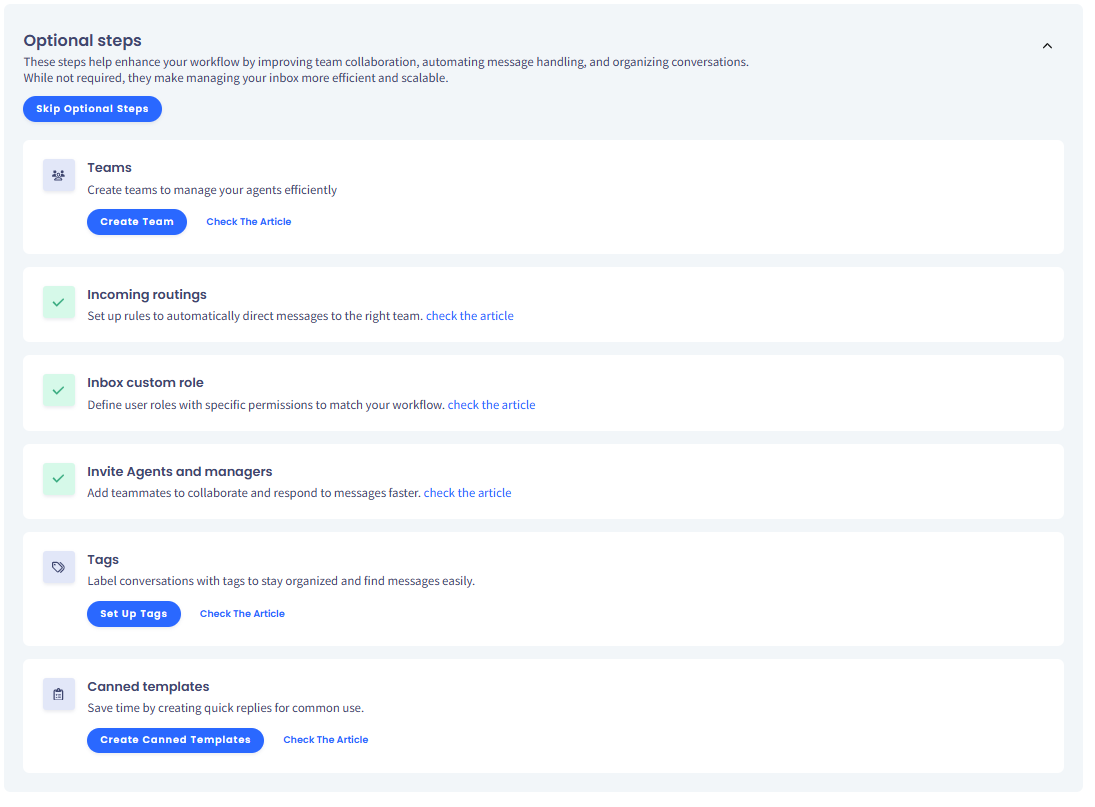
The Inbox onboarding flow will automatically mark all the completed steps and redirect you to the corresponding page to set everything up, along with the relevant article links.
Some onboarding steps are optional and can be skipped.
Inbox onboarding: skipping optional steps
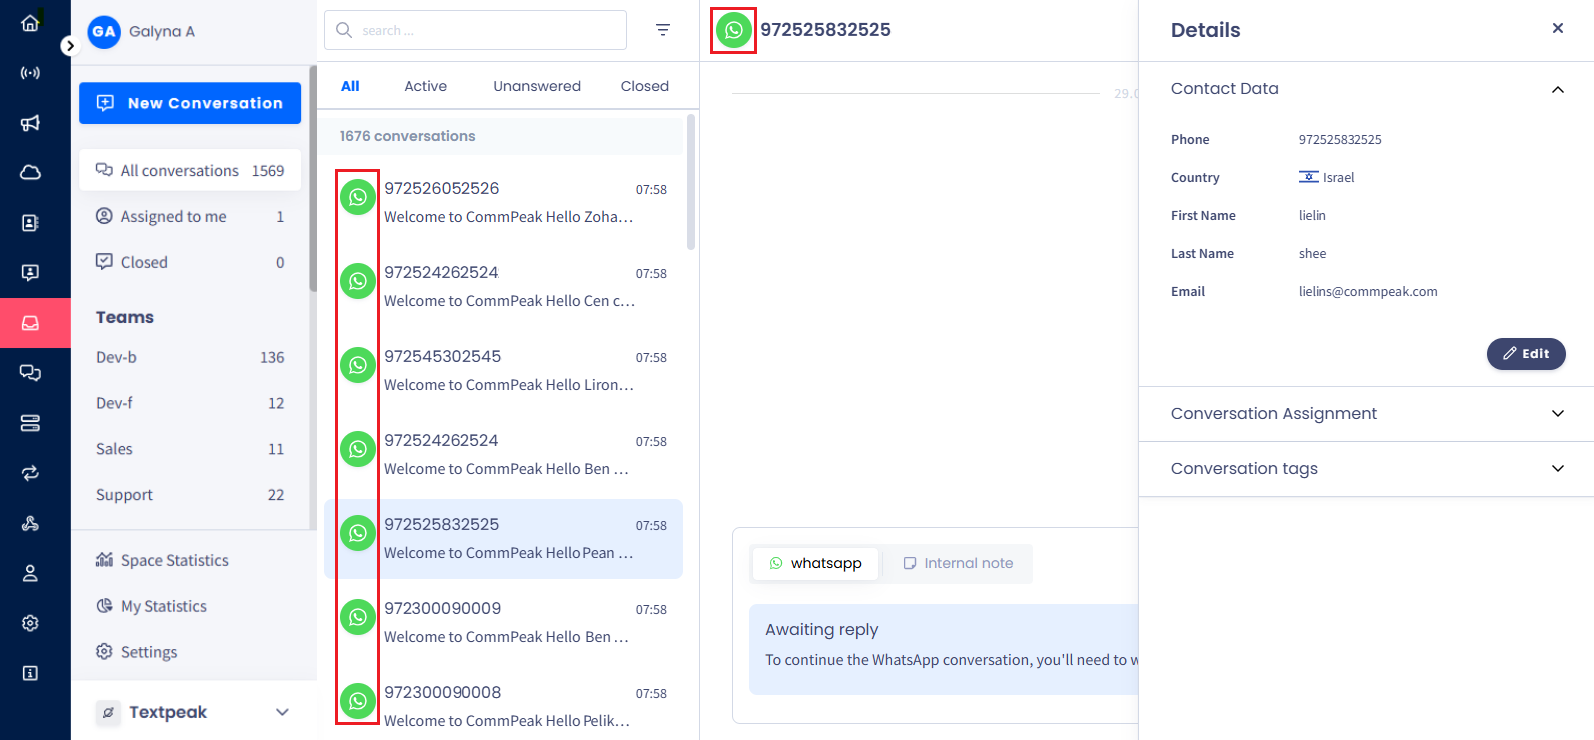
After onboarding is completed, you can start with the Inbox dashboard, reviewing and managing all inbox conversations and statistics permitted for your account.
Inbox dashboard
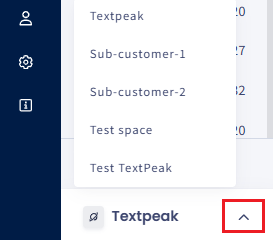
If your account is assigned multiple spaces, you can switch between them by clicking the arrow button at the bottom left of the screen and selecting the needed space from the drop-down list.
Switching between spaces
Please refer to the articles below to learn more about how to manage your inbox data: