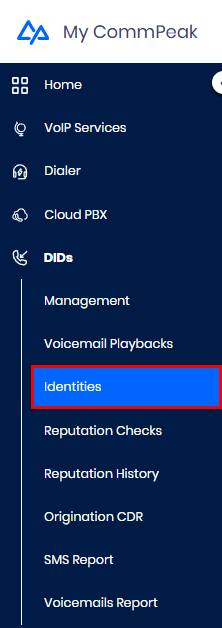
Go to the DIDs section in the main menu and select Identities.
DIDs > Identities tab
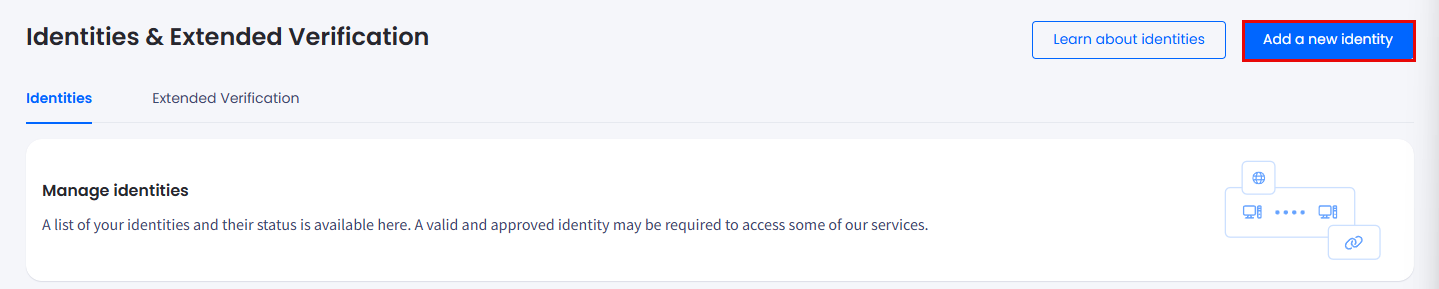
Click Add a new identity in the top right of the Identities page.
Add new identity button
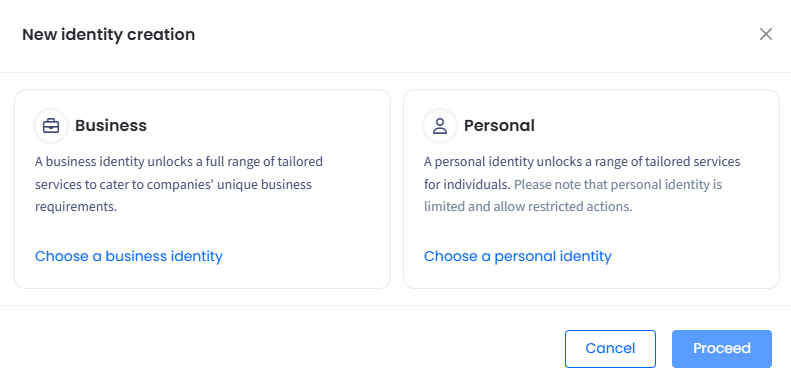
In the New identity creation pop-up window, select Business.
New identity creation pop-up window: select Business tab
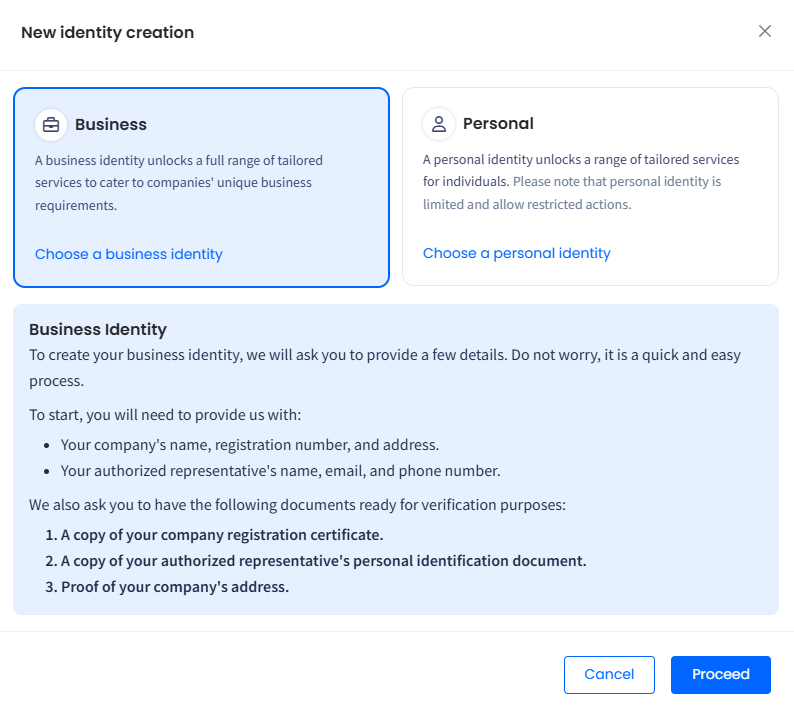
The pop-up window expands with a list of the business information and documents you must provide.
List of business information and documents to provide
Familiarize yourself with the list, prepare the required documents, then click Proceed at the bottom. You will be redirected to the New identity creation page.
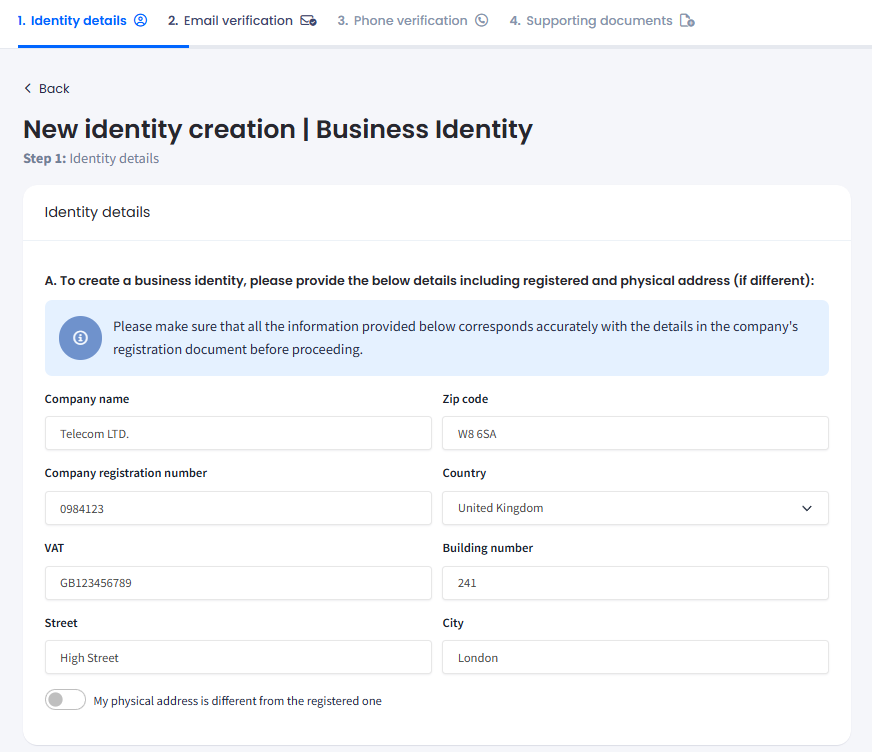
Step 1: Identity Details
In Part A of the Identity details section, fill in your company name, registration number, VAT, and registered address.
❗️
Important
Enter your Company name EXACTLY as it appears on your government-issued company registration certificate. No deviations are permitted.
New Identity Creation page: identity details
👍
TIP
Select your street in the Street drop-down list, and the City and Country fields will populate automatically. Also, if you enter the building number in the street field, the system will insert it into the relevant field.
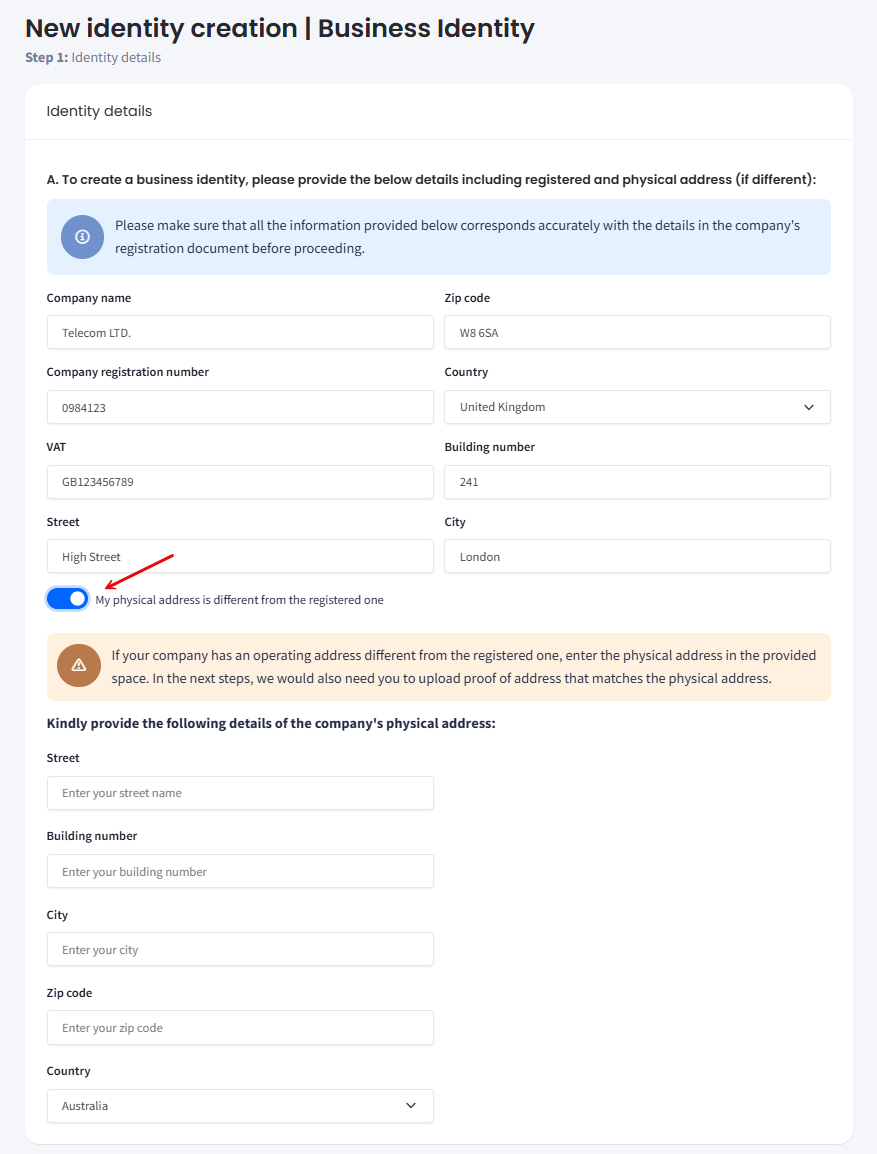
If your physical operating address differs from the officially registered one, toggle the switch at the bottom to the right and complete the additional fields provided.
❗️
Important
Make sure the company registered address you provide PRECISELY matches the company address stated on your certified documents.
In Step 4, you need to submit the proof of address - a document with the company address matching either the officially registered or the physical operating address you provide in this section.
New identity creation page: physical address details
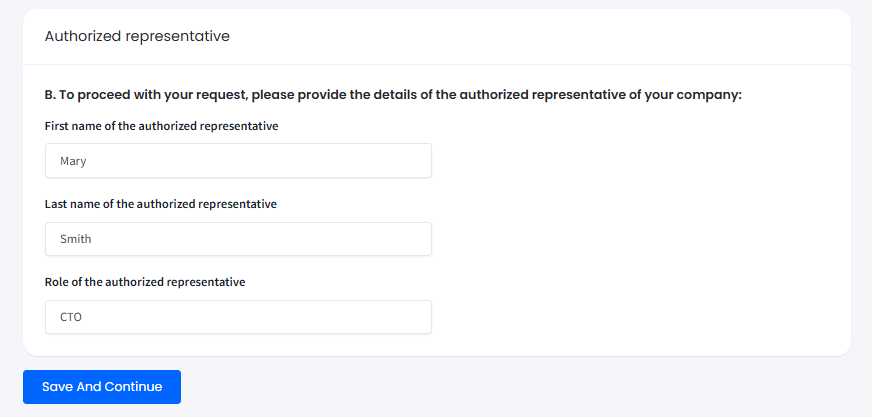
In Part B, fill in the name and role of your company’s authorized representative.
📘
NOTE
Your company’s authorized representative must have the legal right or specific mandate to bind the company in agreements, make decisions, or perform actions on its behalf.
The first and last name of the representative should match those stated in the personal identification document you will upload in Step 4.
New Identity Creation page: authorized company representative details
Click Save And Continue.
This will save a draft of your identity, and you will be able to resume its creation later.
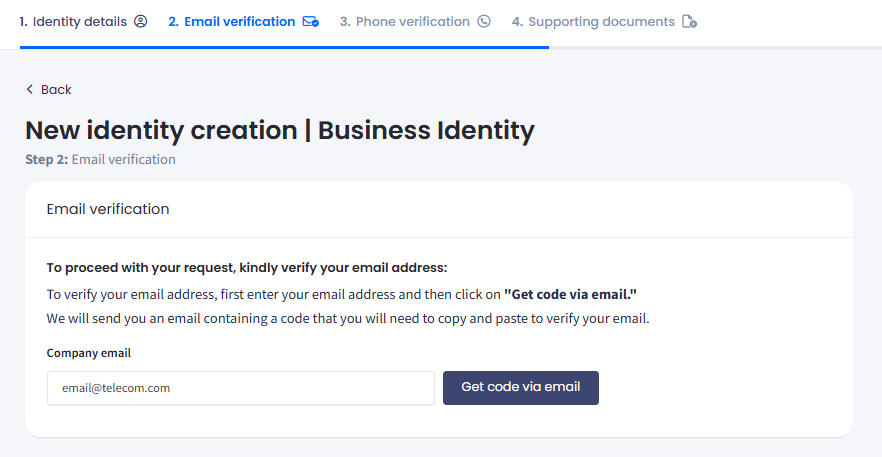
Step 2: Email Verification
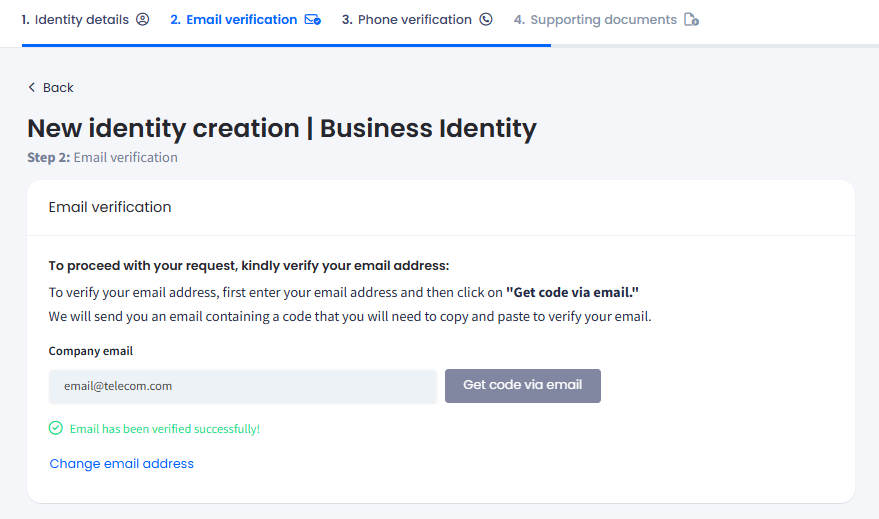
In the Email verification section, enter your company email and click Get code via email.
New identity creation page: email address verification section
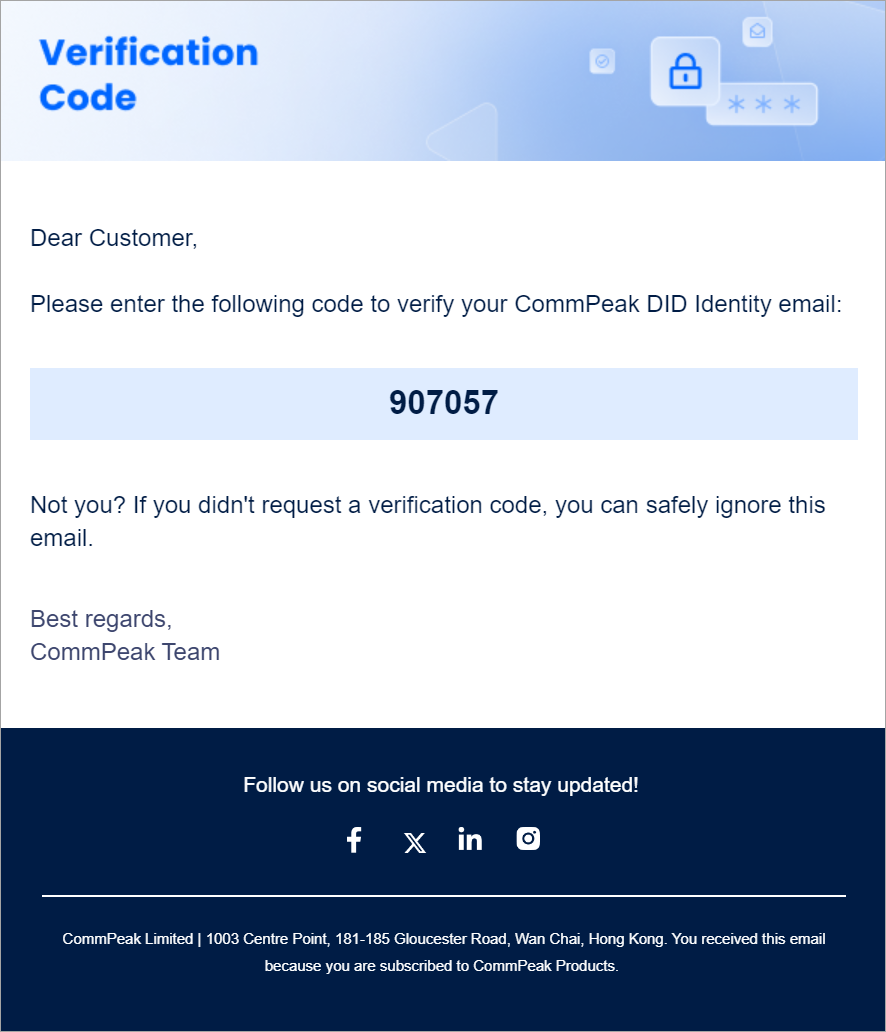
Check your mailbox for a new email with a six-digit code from CommPeak and copy the code.
CommPeak DID Identity verification email
Fill in the code for email verification.
New identity creation page: verification with email address
Click Resend code if you didn't get an email. You may need to allow the system some time before the next attempt.
👍
TIP
If needed, you can change the email address even after it has been verified. To do it, click the corresponding link.
Change email address link
Step 3: Phone Verification
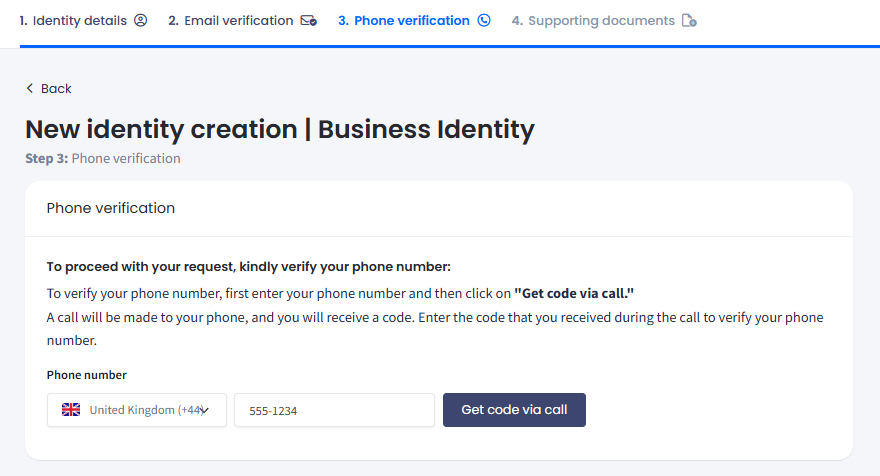
In the Phone verification section, enter your valid phone number (a fixed line or mobile number) to ensure you get a phone call. Select your country code, enter your number, and click Get code via call.
Verification with phone number
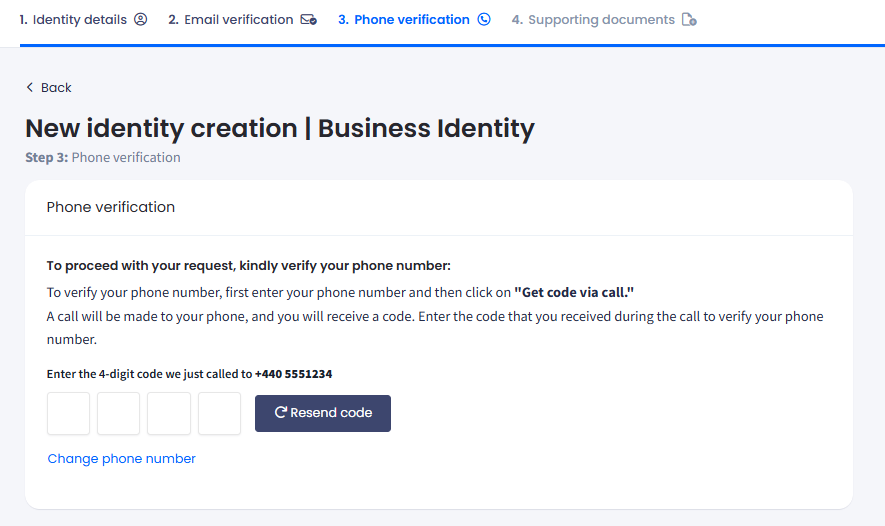
Receive a phone call with a four-digit code and enter the code.
Click Resend code to repeat the phone call if needed. Allow the system some time before the next attempt.
Resending code
👍
TIP
If needed, you can change the phone number. To do it, click the corresponding link.
Step 4: Supporting Documents
❗️
Important
The information in your submitted supporting documents must PRECISELY match the data provided in the previous steps.
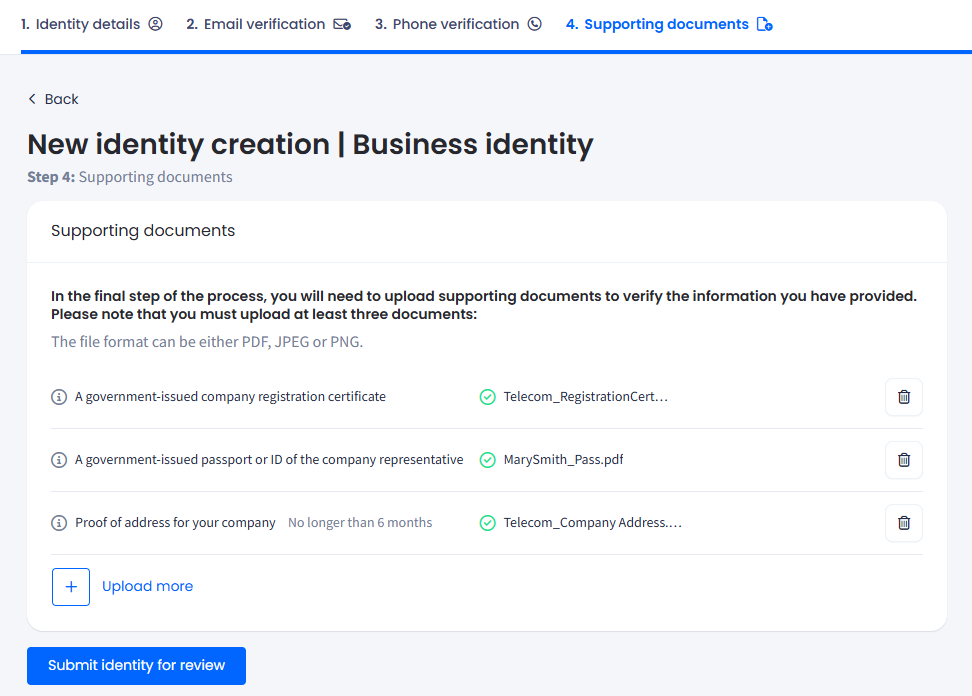
In the Supporting documents section, submit these supporting documents:
A government-issued company registration certificate issued by the country in which your company is registered
A government-issued passport or ID of the person, which serves as the company representative
Proof of address for your company, such as a utility bill issued in the company's name at the address stated on the form.
Utility bills, such as mobile phone and electricity bills, must be no older than six (6) months.
To submit the supporting documents:
Upload your documents individually in the PDF, JPEG, or PNG format by clicking Upload document.
Uploading supporting documents
Alternatively, click Upload more to submit additional documents, if necessary.
Click Submit identity for review.
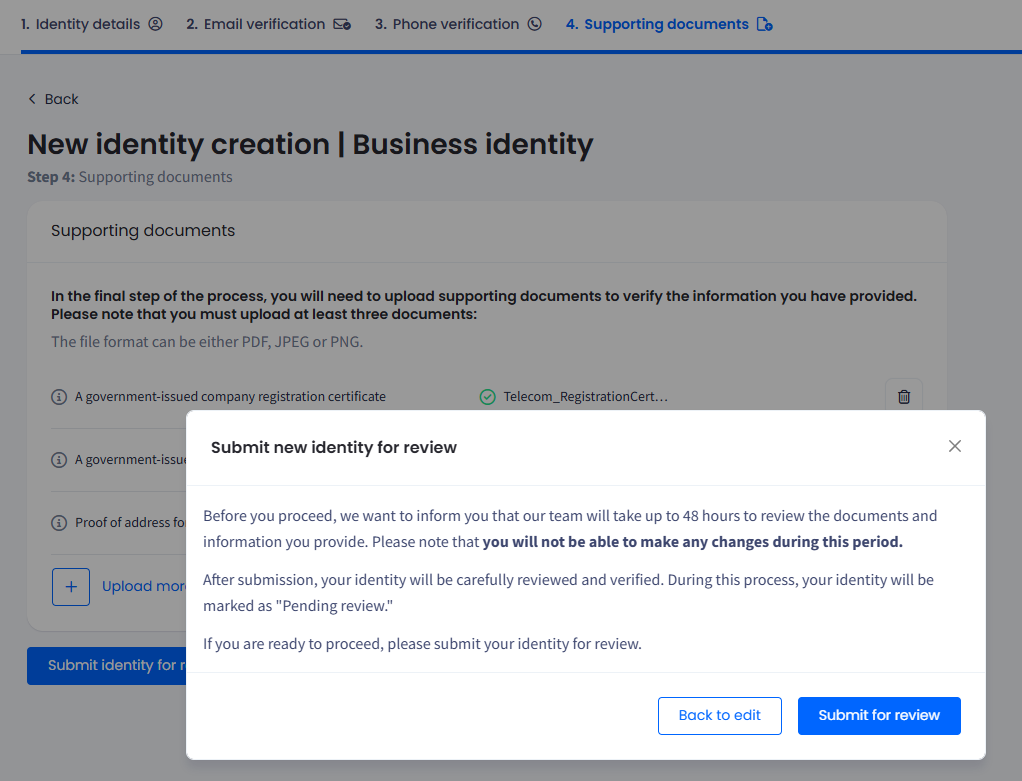
Finalizing Identity Submission
Confirm your submission. At this step, you can click Back to edit and adjust the data you entered. If you’re ready to submit your identity, click Submit identity for review.
❗️
Important
Please remember that no more changes are possible after you click the confirmation button.
Confirming submission
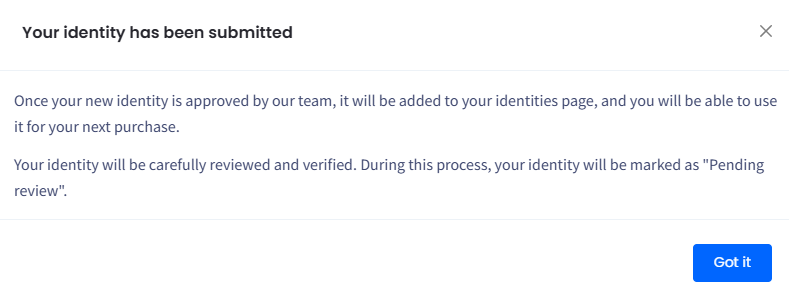
The system will show a confirmation message.
Submission confirmation screen
After clicking Got it, you return to the Identities page to monitor the status of your submission.