Configuring IVRs
Create an Interactive Voice Response (IVR) and assign it to an incoming call flow in Classic PBX.
In this guide, you will learn how to create an IVR and assign it to an incoming call flow in Classic PBX.
Step 1: Access the Classic PBX Web Interface
-
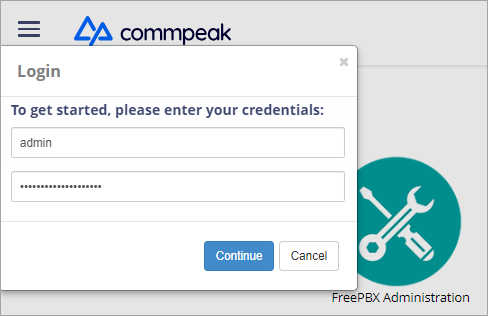
Obtain your Classic PBX server's domain and admin credentials from CommPeak support team.
-
Open a web browser, navigate to the domain, and log in to the server.
Accessing Classic PBX Web Interface
Step 2: Create IVR
-
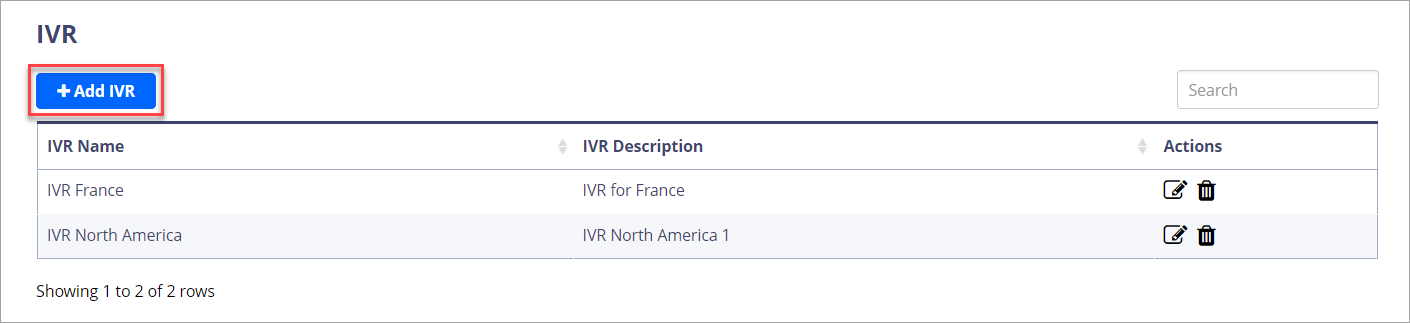
Go to APPLICATIONS > IVR .
-
On the page that opens, click + Add IVR.
+ Add IVR button
-
In IVR General Options, enter the IVR name and description.
-
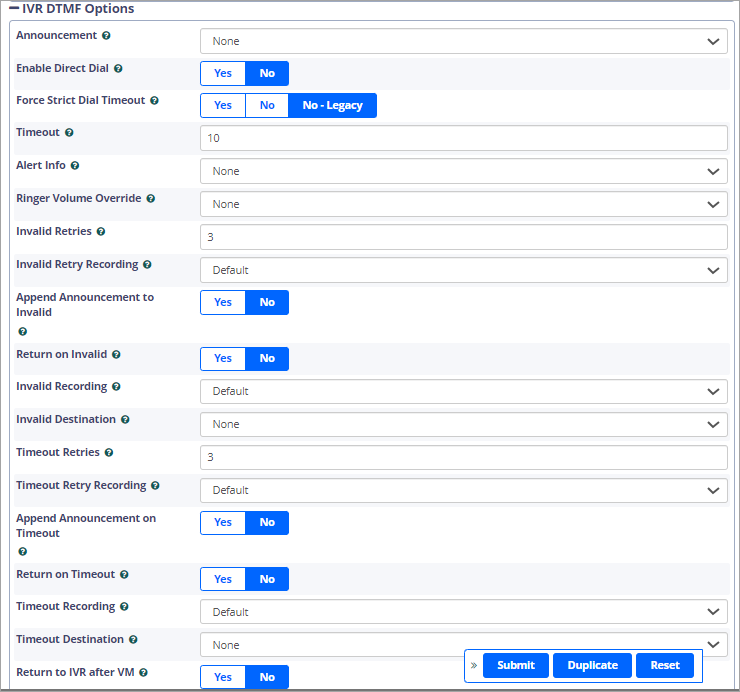
In IVR DTMF Options, enter IVR settings such as the IVR announcement, timeout, invalid destination, etc. In the Announcement, Invalid Retry Recording, Invalid Recording, Timeout Retry Recording, and Timeout Recording fields, select previously added recording files.
TIPIf you need explanations on how to configure the IVR, click on the question mark next to the needed field name for reference, or submit a support request.
IVR DTMF Options page
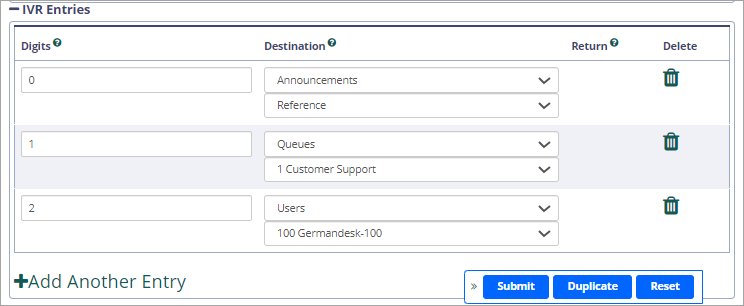
- In IVR Entries, set the next steps to take after the customer dials specific digits. You can direct a call to an announcement, queue, or user extension, or perform other actions.
IVR Entries section
- Click Submit to save the settings.
Step 3: Configure Inbound Route
Now, you need to add the IVR you have just created to an existing inbound route or create a new inbound route and attach the IVR to it.
To add your IVR to an existing inbound route:
-
Go to CONNECTIVITY > Inbound Routes.
-
On the line for the needed inbound route, click the edit button.
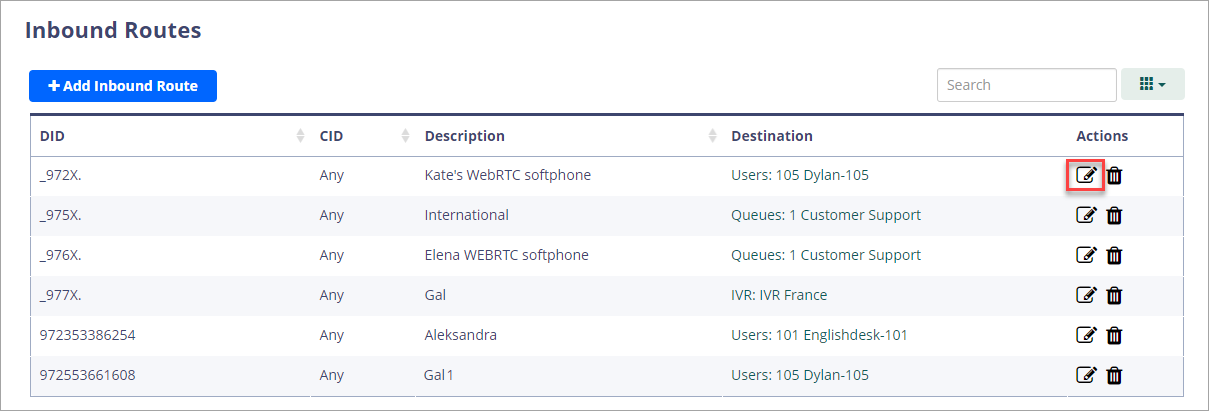
CONNECTIVITY > Inbound Routes page
-
On the General tab, in the Set Destination field, select the IVR option, and in the field below, select the IVR you have created in the previous step from the list.

Inbound Routes: General tab
-
Click Submit to save the settings.
To create a new inbound route and attach your IVR to it, please take a look at this article.
Step 4: Test the IVR
- Place a test call to the designated phone number or DID that is routed to the IVR.
- Follow the prompts in the IVR menu and verify that the calls are being routed correctly to the desired destinations or extensions.
Updated 6 months ago