Auto Dialing Caller IDs
Manage auto dialing Caller IDs for campaigns: add new Caller IDs, edit settings, block numbers, or download lists of Caller IDs.
In the Auto Dialing Caller IDs section, you can manage the Caller IDs the lead sees when an agent calls them in the CommPeak Dialer. Calls can only be made within campaigns that have phone numbers allocated to them. You need to assign a Caller ID to a campaign.
To access this section, select Settings > Outbound Configurations in the main menu, then switch to the Auto Dialing Caller IDs tab.
Search Required Before Results Are Shown
Please note: Caller IDs are not displayed automatically when you open this section. To load results, set your search criteria and click Search. You can search by Campaign ID, Prefix, Caller ID Number, or Caller ID Name, or simply click Search with the default selection to display all Caller IDs.
IMPORTANTIf you use DIDs from an external provider, please verify the phone number in your CommPeak Portal account before creating a new Caller ID. To receive incoming calls in the Dialer to such phone numbers, please provide the IP address of the external provider to CommPeak support to configure IP ACL settings.
To add a new auto Caller ID:
-
Click Create New Caller ID at the top right.
-
Enter the following information:
- Select one or multiple campaigns; please note that the more campaigns you assign to the number, the quicker it can burn.
- Enter a prefix which can have the following values:
- enter a single prefix or select a single country prefix from the Country Prefix drop-down list
- enter several prefixes separated with a comma or select several countries from the drop-down list; in this case, the number will be able to call several countries
- enter * instead of a prefix for a number to call any country; having several such numbers in the system is recommended to ensure it always contains numbers that can call any country.
- Enter the number in the Caller ID Number field.
- Enter the name in the Caller ID Name field if you want the clients to see the name instead of the number.
- Select the Blocked Number? checkbox to temporarily turn off the number.
- Select the Enabled? checkbox to activate the number right away.
-
Click Create.

Adding an Auto Dialer Caller ID
The new Caller ID will be added to the table.
To modify the Caller ID settings:
-
Click Edit in the Actions column.
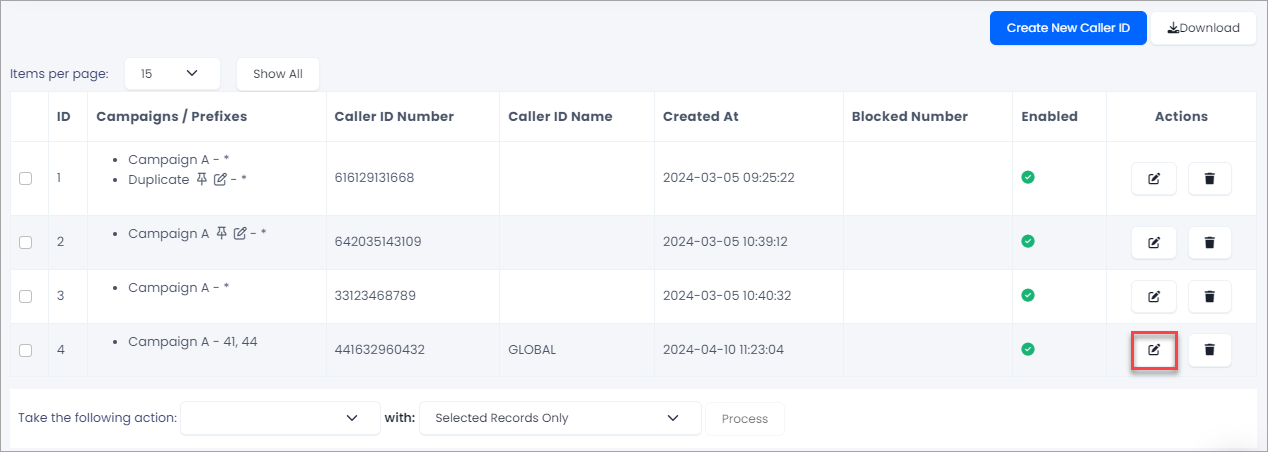
Editing Caller IDs
-
On the Edit page, you can:
-
Assign the ID to other campaigns by clicking Add Campaign.
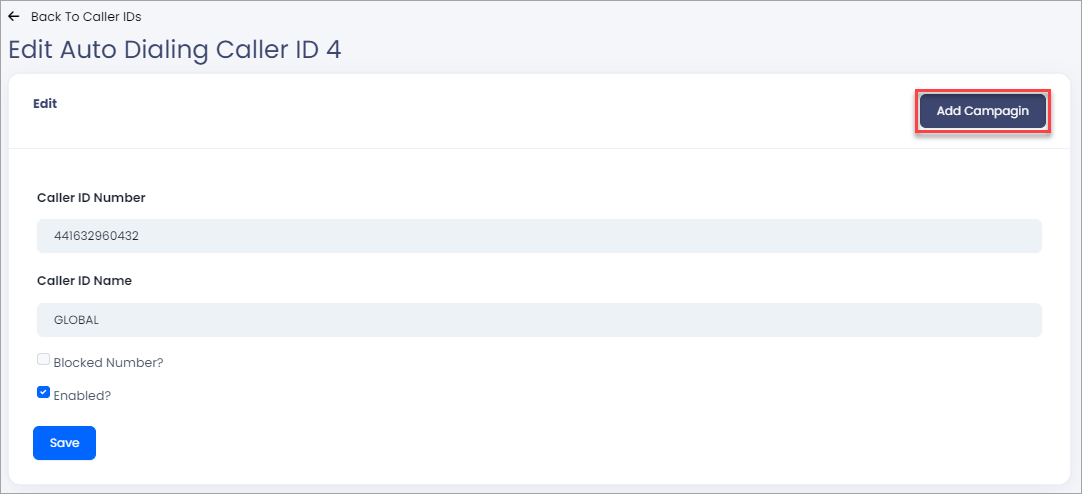
Assigning Caller IDs to campaigns
Then, choose additional campaigns, optionally enter prefixes in the Prefix box, select countries, and click Save.
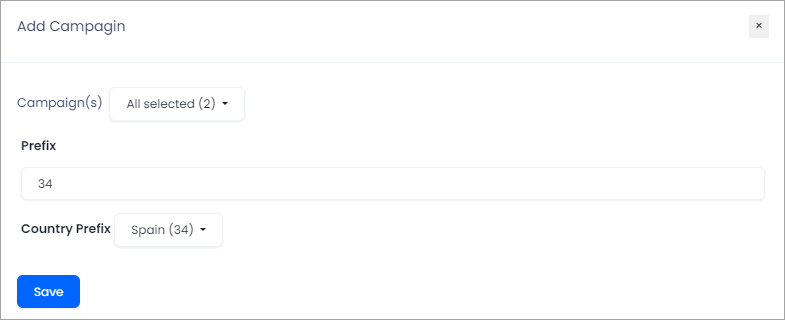
Selecting prefixes and countries
-
Block or turn off the number.
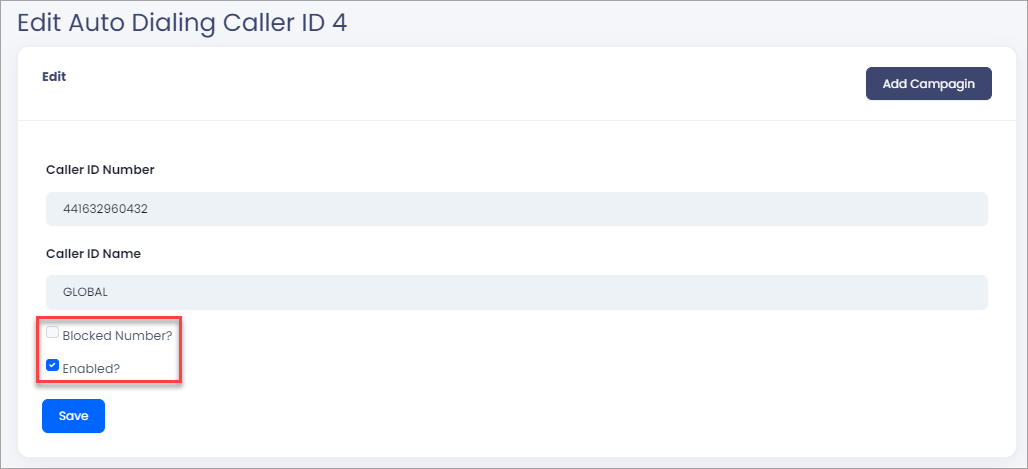
Deactivating the number
-
NOTEThe more campaigns you assign to the number, the quicker it can burn.
To apply actions to multiple IDs:
-
Click Download in the top-right.
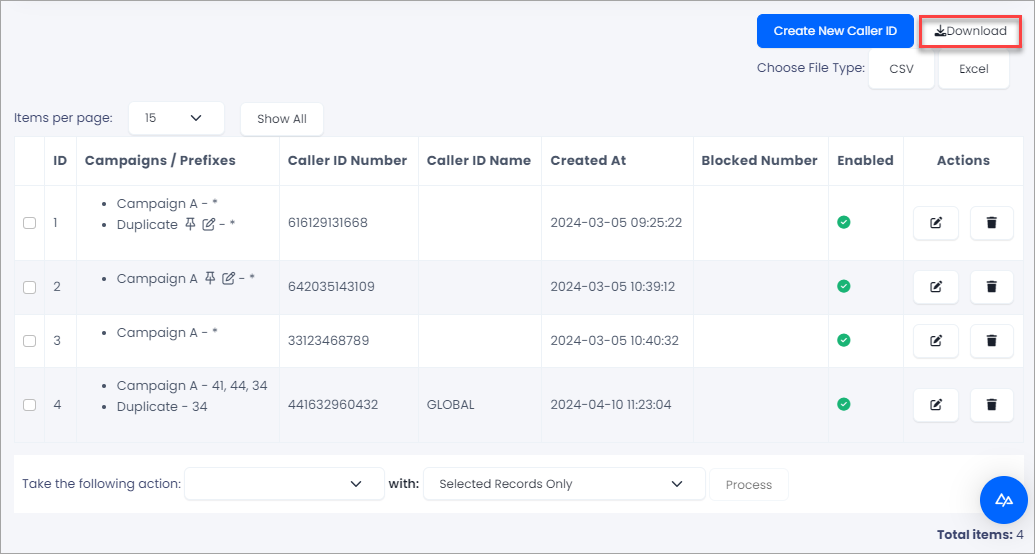
Downloading multiple Caller IDs
-
Choose .csv or .xlsx file types.
-
Save the generated file to your drive.
To apply an action to multiple Caller IDs at once:
-
Run a search to display the Caller IDs list.
-
Select the checkboxes next to the records you want to update. At the bottom of the list, use the Take the following action dropdown to choose one of the available actions:
- Delete: removes the selected Caller IDs permanently
- Enable: activates the selected Caller IDs
- Disable: deactivates the selected Caller IDs
- Assign to campaign: assigns the selected Caller IDs to a campaign
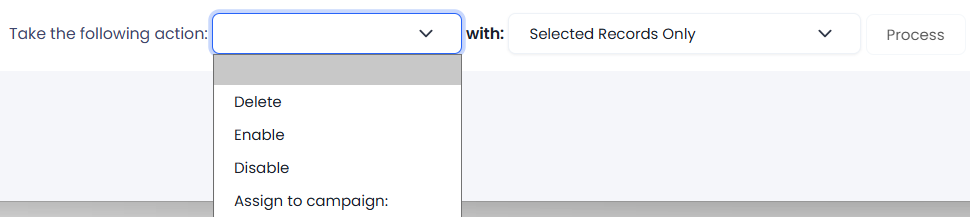
Mass action
In the with dropdown, choose whether to apply the action to Selected Records Only or to All Records Matching Current Filter. Click Process to apply the action.
Updated 15 days ago