How CommPeak account owners can create and manage multiple users with various roles and control access to different sections.
After signing up at the CommPeak Portal you become the account owner or the main account user. You can create multiple users for your CommPeak account, as many as you wish, and assign various roles to them.
Video Tutorial
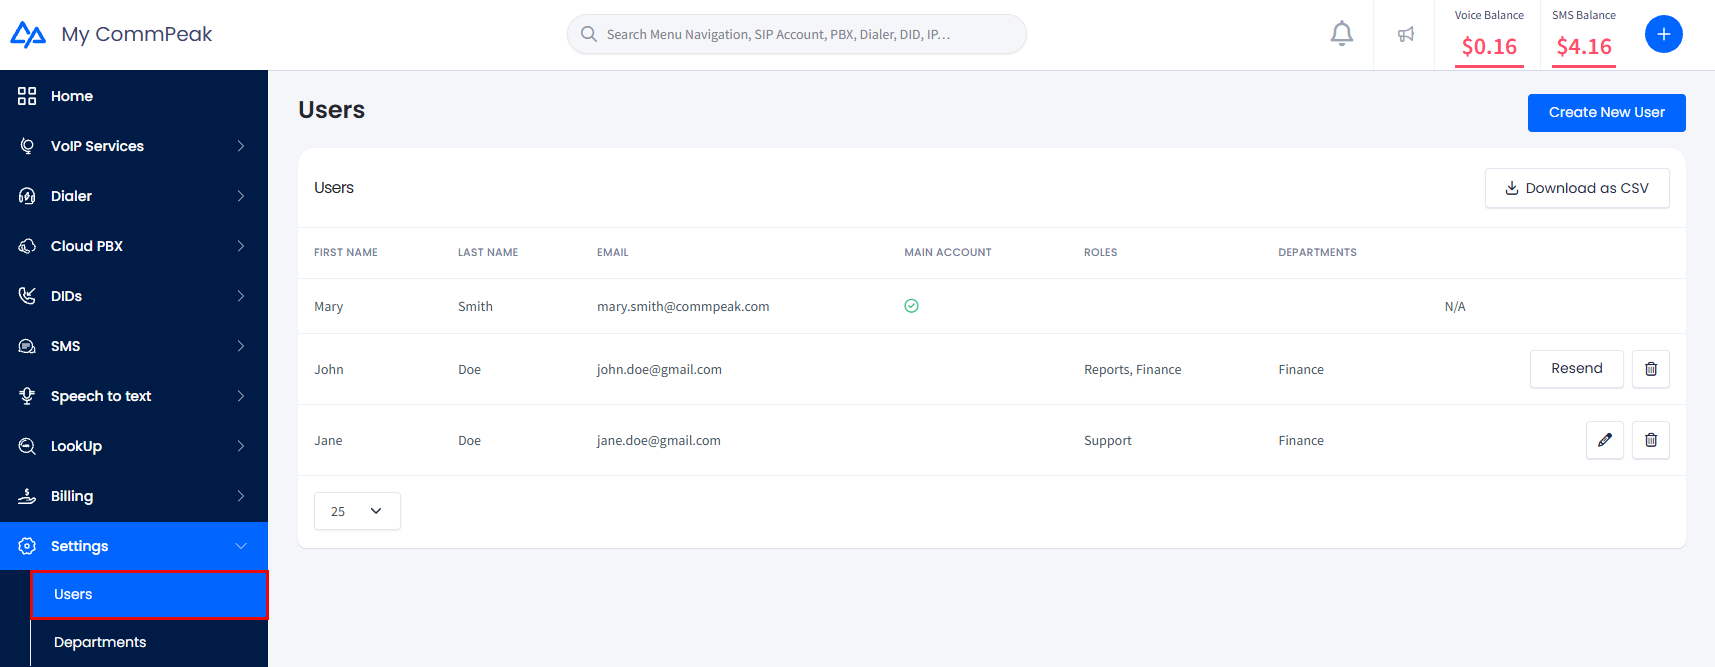
To open the Users page, expand Settings in the main menu and click Users.
Settings > Users page
The page displays the number of users currently associated with your account, their credentials, their user roles, and the departments they belong to. It also shows which user account is the main one (the account owner).
📘
NOTE
A new user's status will be Pending Confirmation until their account is verified.
You can also download the list of users by clicking Download as CSV.
User Roles
Before you create users, define which roles you will assign them.
Admin: combines the privileges of all the other roles. Additionally, they can view, add, edit, and delete other users and assign roles to them, except for the main user and other users with the Admin role.
📘
NOTE
Only the main user can grant or revoke the Admin's role.
Finance: The user can access the Billing section, request official proforma invoices for budget approvals, prepayments, or internal finance processes, and change profile settings.
Orders: The user can access the Speech-to-Text, SMS, and LookUp sections. All users within your account can also contact CommPeak support through any channel, submit support requests, and see their request history.
Support: The user can access the My Tickets section and open a ticket.
Creating Users
To create a new user:
Click Create New User at the top right corner of the page.
In the sidebar form that appears, enter the new user's first and last names, and their email address.
Select the checkboxes needed to assign the user one or more roles and define which department(s) they belong to.
Create new user form
📘
NOTE
Before you can assign users to departments, create at least one department.
Click Create User.
You will get the notification that the user was created.
User was created notification
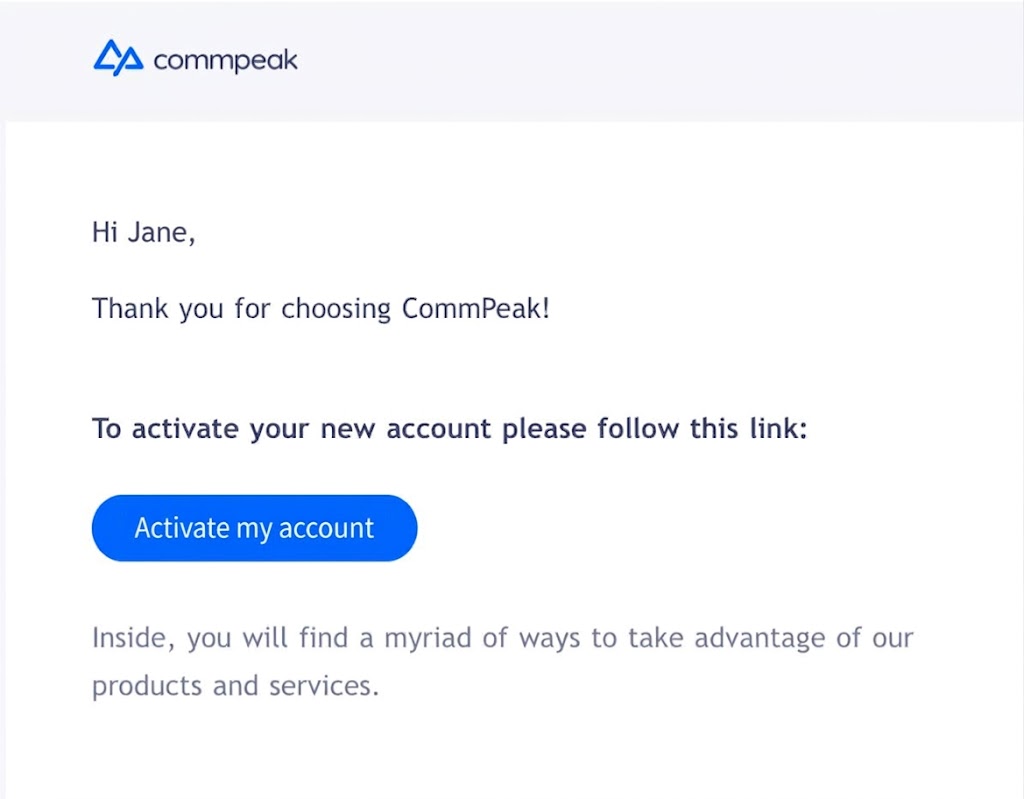
The new user will appear on the list with the Pending Confirmation status. To complete the verification, they must click Activate my account in the email they get.
Activate my account email
📘
NOTE
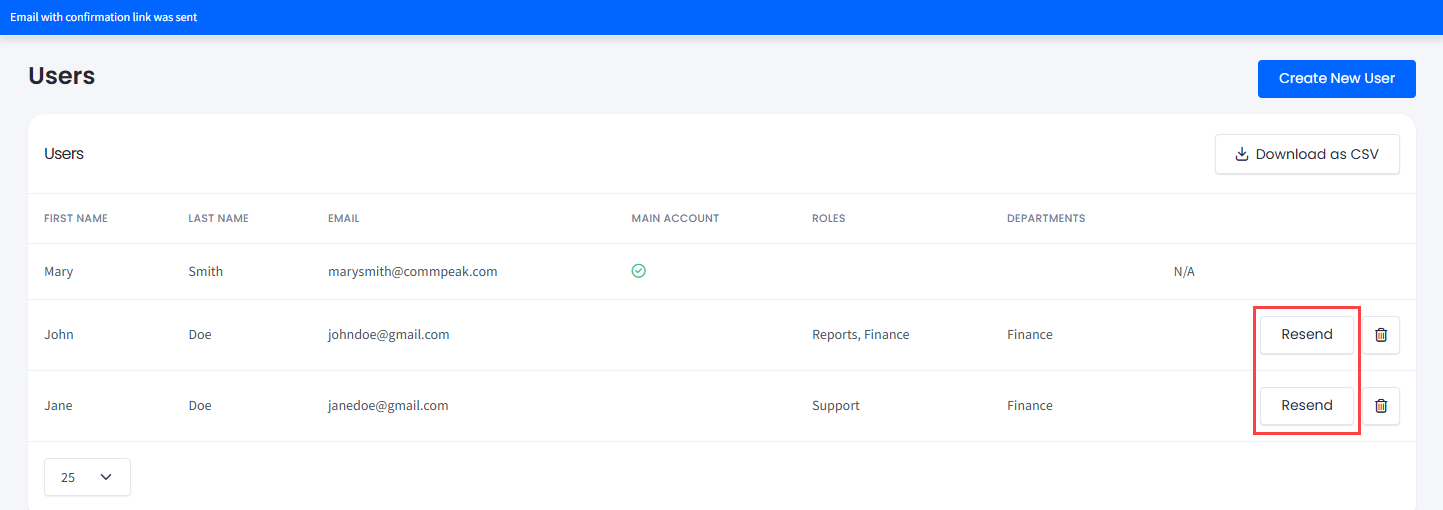
To resend the confirmation email, click the Resend button for the corresponding user record.
Resend buttons and Email with confirmation link was sent notification
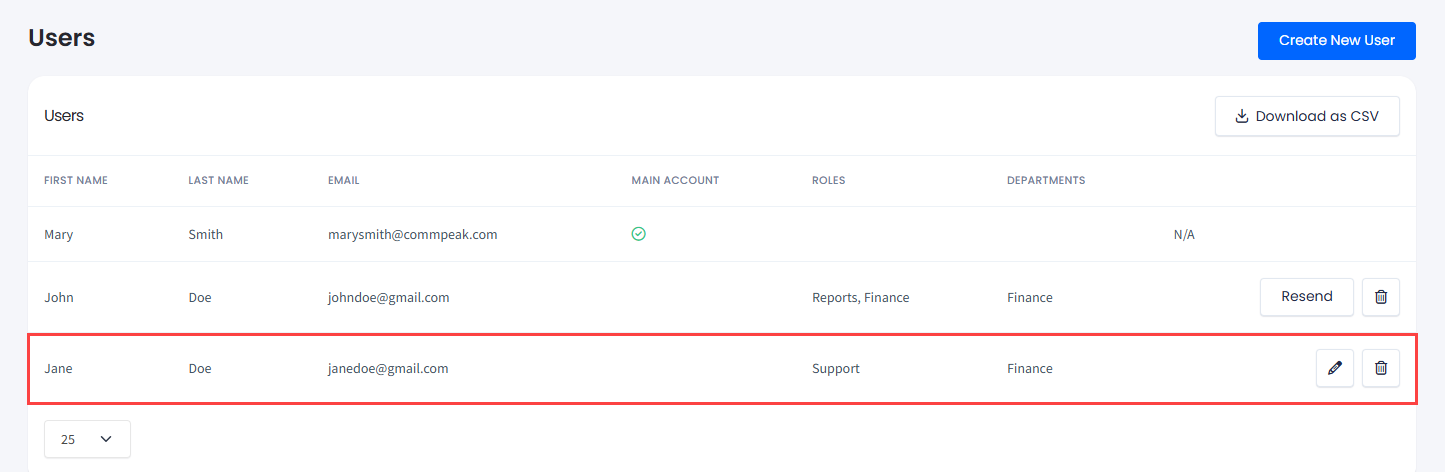
Once the invited user activates their account, their record will become editable.
User with activated account
Deleting Users
Your ability to delete users depends on your role and the role of the user you want to delete:
The account owner can delete any user.
Admins can delete users except for the account owner and other admins. To delete a user, click the trash icon on the user's line and confirm your action.
To delete a user:
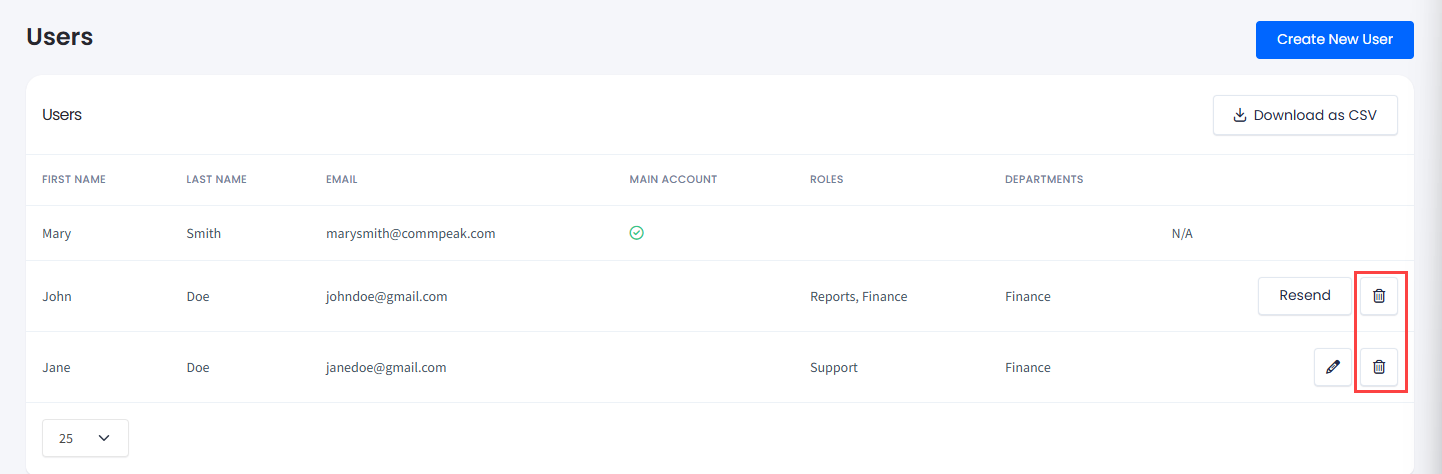
Click the Delete button for the corresponding user record.
Deleting users option
Confirm the operation by entering your password and click Save Settings:
Password Confirmation window
The user will be deleted from the Users table.
Changing the Main User
By default, the main user, or the account owner, is created when you sign up at the CommPeak Portal. The account owner is granted all the possible permissions by default.
This user has a checkmark on their line in the Main Account column.
Main Account checkmark
❗️
IMPORTANT
Only the main user can pass this role to other users.
To make a user the account owner:
Click the edit icon on the user's line.
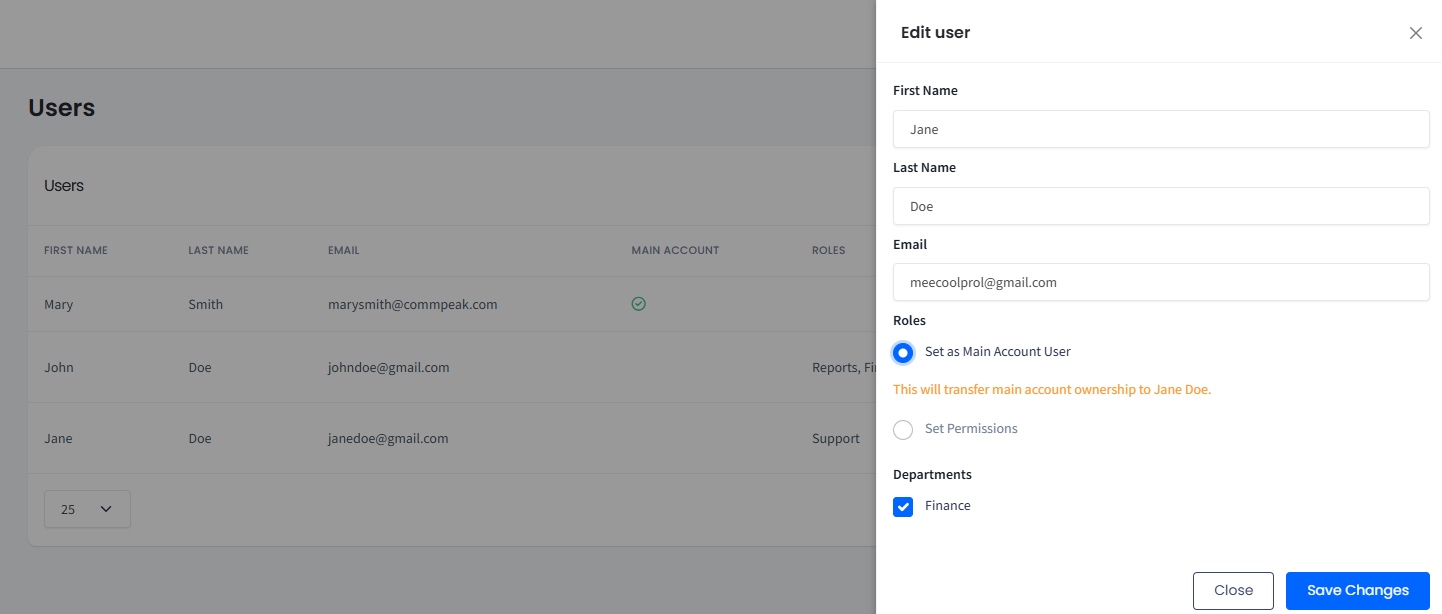
In the sidebar that pops up, select the Set as Main Account User radiobutton.
Set as Main Account User radiobutton
Click Save Changes.
Confirm the operation by entering your password and click Save Settings.