Integrating Hubspot and CommPeak SMS
This guide will walk you through integrating your HubSpot account with CommPeak SMS Service using CommPeak app.
Video Tutorial
CommPeak Integrations enable you to implement SMS Automation triggered by events in your HubSpot account, such as the change of your lead's status or a new deal.
Installing the CommPeak Application
To proceed with the integration, you must first install the CommPeak application as described in this article.
Configuration
You can create campaigns in CommPeak SMS platform with your contacts from HubSpot. Please follow the steps in a separate article.
Creating Workflows
-
In your HubSpot account, navigate to Automation > Workflows.

HubSpot account: Automation > Workflows
-
Click Create workflow > From scratch to start building it.
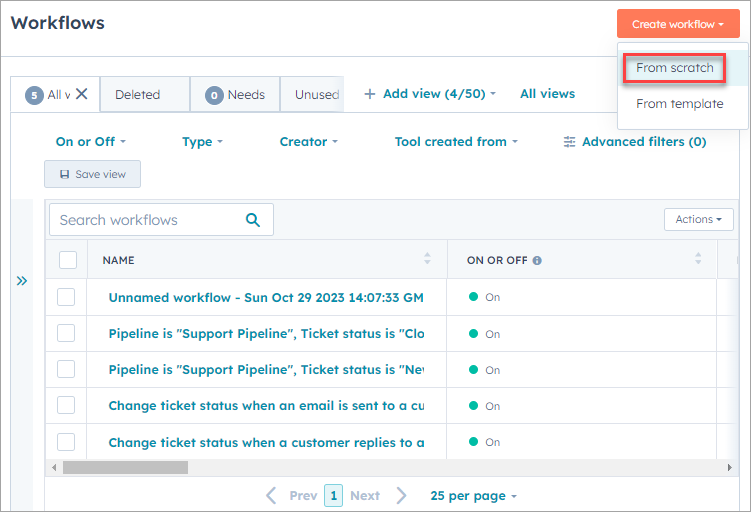
Workflows page
-
Select a workflow category and how you want it to start.
We want to base our trigger on contacts as an example. You can select this or any other option. Then click Next.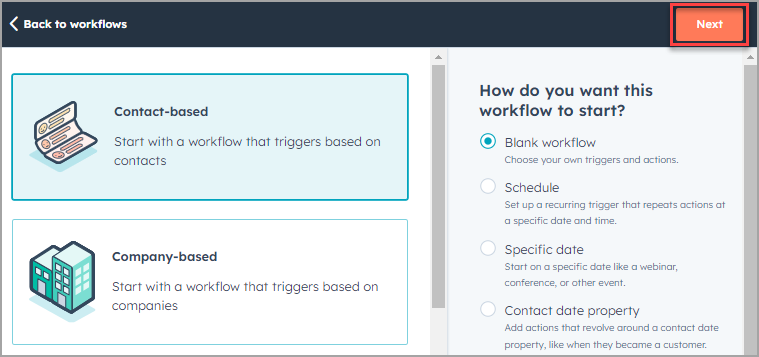
Workflow category selection
-
Add a name and description for your workflow:
-
Click the edit icon next to the name field.

Modifying the name and description of the workflow
-
Enter the name and description in the popup window, then click Save.
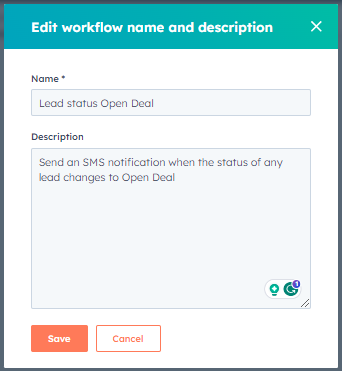
Workflow name and description confirmation
-
-
Click Set up triggers.
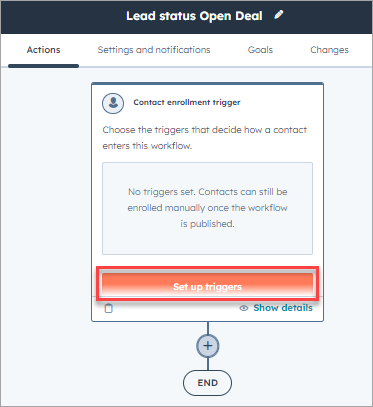
Setting up triggers
-
Set up a trigger. You can choose from available trigger types - events, filter criteria, or schedules.
In our example, we want to set up SMS notifications when leads get the New Deal status and will use the event-based type.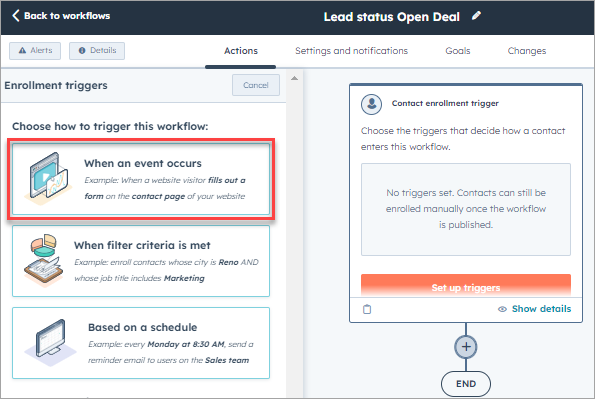
Trigger types selection
-
You can select a trigger in any suitable category using the search prompt, e.g., CRM.
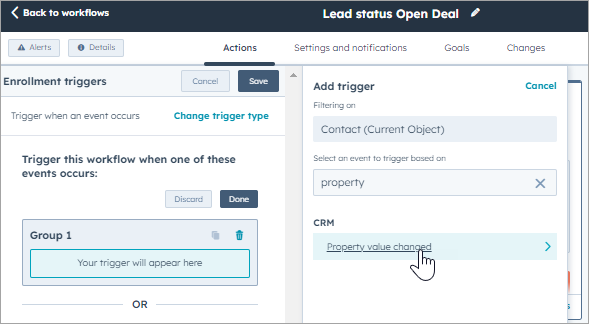
Using the search prompt
-
Similarly, select a suitable property name in the next step.
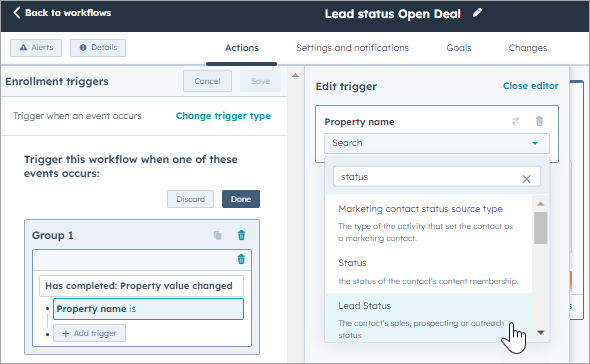
Selecting property name
-
Select one or several values from the drop-down list. Then click Save.
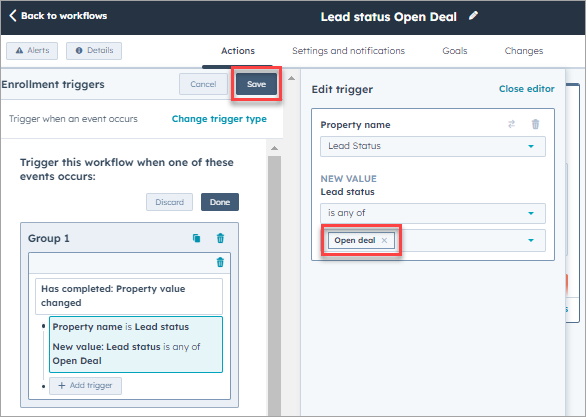
Selecting values
-
Click + to define an action.
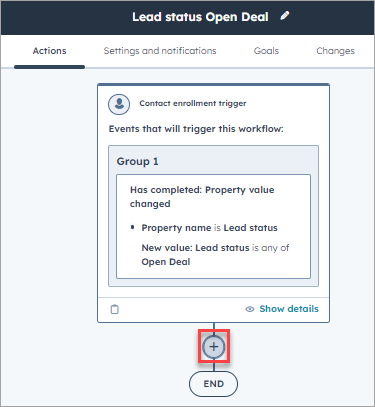
Defining action
-
In the side panel on the right, expand CommPeak under Connected apps and click Send SMS.
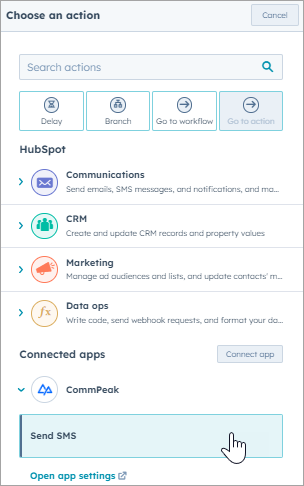
Connected apps: choosing action
-
Complete the sending SMS form:
-
Enter an approved Sender ID in your TextPeak account in the From field.
-
Select the contact's phone number in the To field.
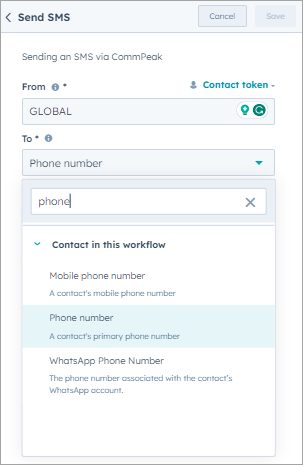
Selecting contact's phone number
-
Write your message in the Message field. Expand Contact token to enter variables in the message and select a needed token.
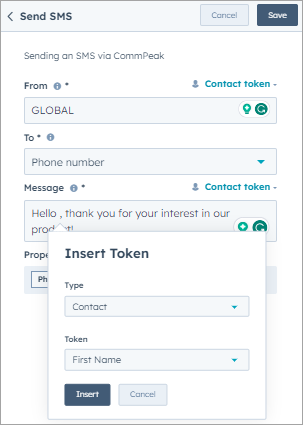
Selecting token
-
-
Click Save.
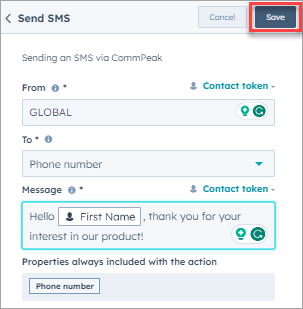
Saving Send SMS event
-
Click Review and publish.
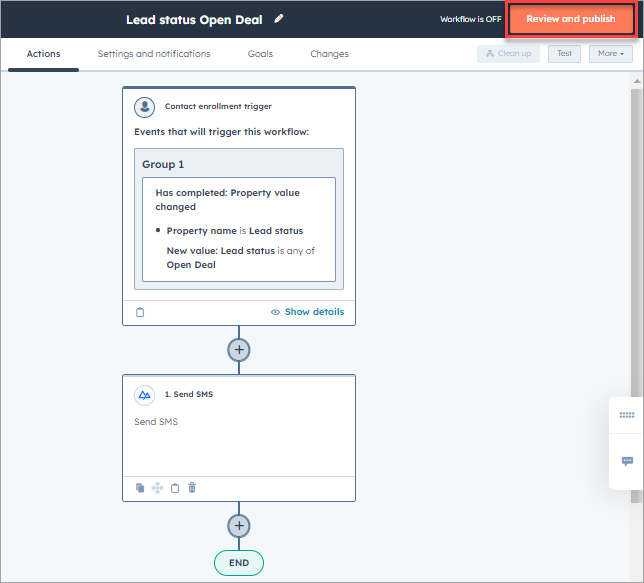
Review and Publish option
-
Review the workflow and make the necessary changes. Then click Turn on.
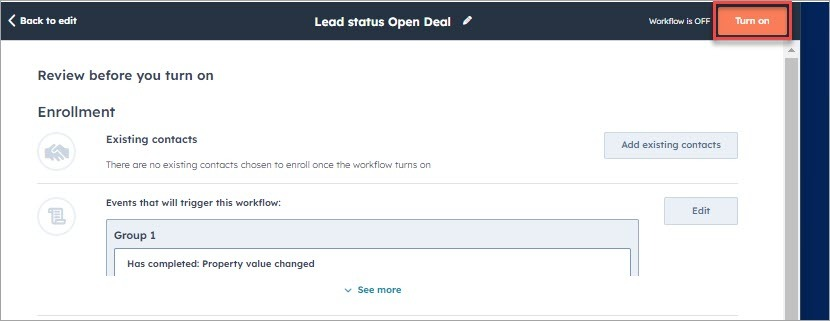
Turning on workflow
-
After you exit the editor, you can see that the workflow is in the list and is on.
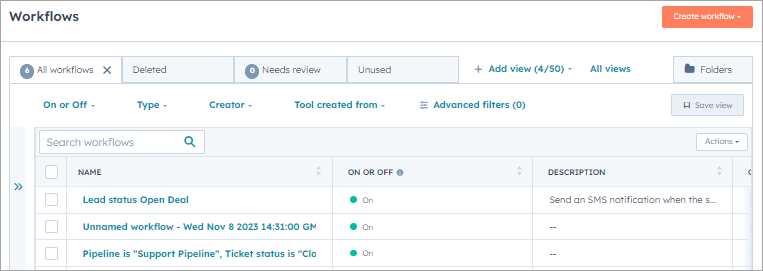
Workflows page
Run History
To view if an SMS message has been sent:
-
Hover over the workflow title on the Workflows page.
-
Go to More and click View details.
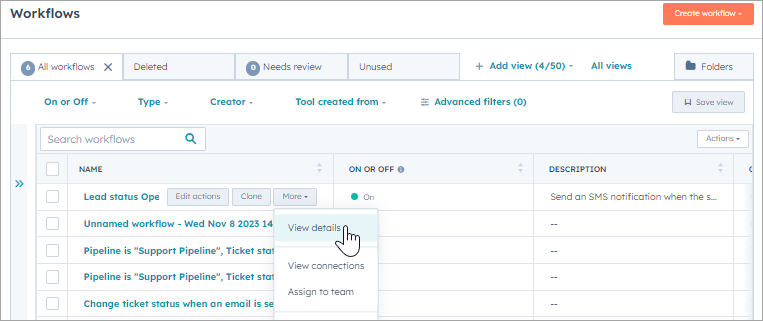
Workflows page options
-
Click the Action logs tab.
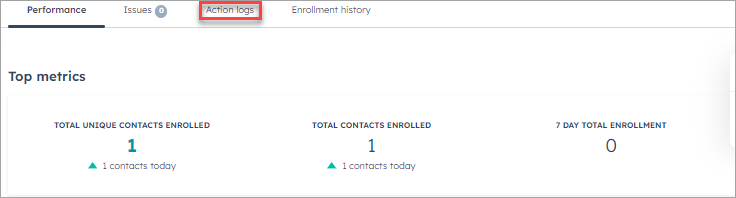
Action logs tab
-
Here, you can view all events in your workflow and their status.
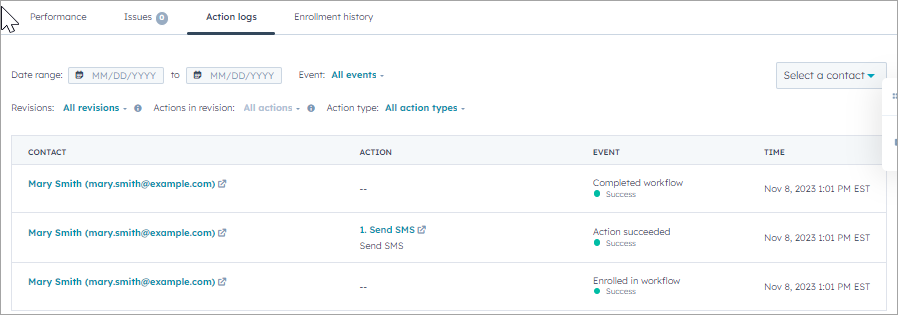
Viewing workflow events
Updated 6 months ago