Managing Users
Manage your users within your TextPeak account spaces and teams: assign, unassign, edit, or delete them; add filters, reset passwords, update settings or delete individual users, and apply mass actions.
You can invite users to join your TextPeak account and assign them to your spaces and teams. To each user, you can assign built-in or custom permissions.
Users can hold distinct role permissions for the Platform and Inbox sections.
On the Users Management page, you can:
- add new users to your account
- remove existing users from your account
- assign users to teams or unassign from them
- manage users' roles and permissions
- perform search for specific users.
To access the Users Management page, log in to TextPeak in your browser with manager access privileges and expand Users in the main menu and click Users Management.
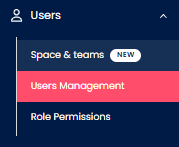
Users Management tab
Here, you can view a table with data about your users and apply search filters.
The table organizes all information about your users in the following columns: Name, Status, Email, Platform Permission, Inbox Permission, Teams, and Actions.
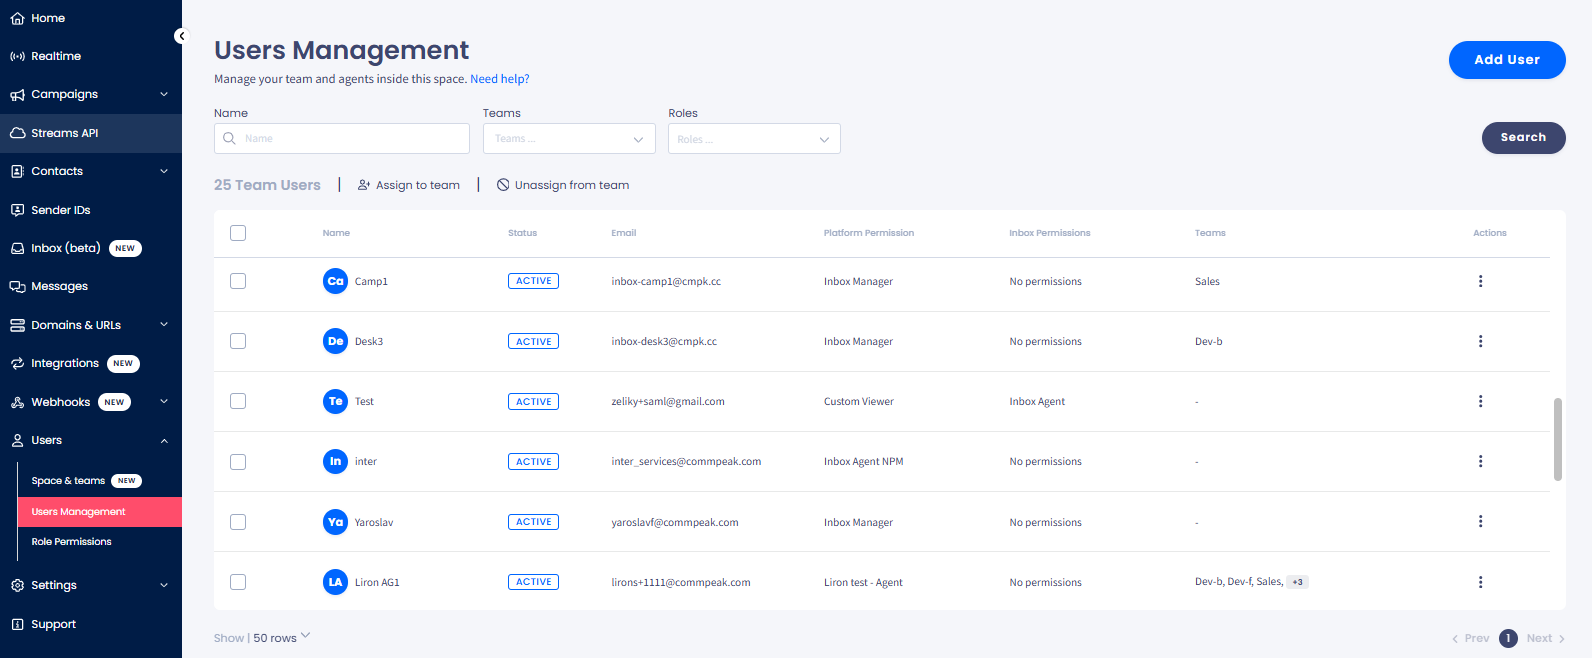
Users Management tab
IMPORTANTOnly the user accounts authorized to access inbox will be able to view the Inbox Permission column.
Adding Users
From the Users menu, you can invite users to your account.
To invite a user:
- In the Users section of the main menu, select the Users Management tab.
- Click the Add User button at the top right of the page.

Adding new users
-
In the pop-up window that appears, enter the new user's name and email. Then select a platform or inbox role from the drop-down list. You can also select both role types. Then click Send.
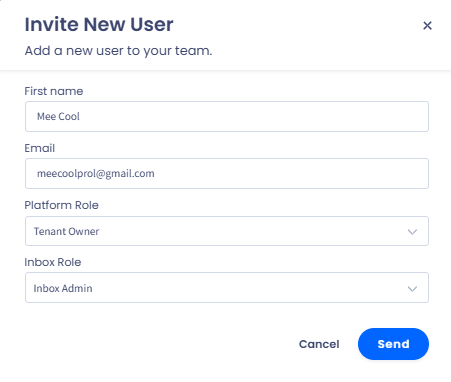
Invite New User dialog
NOTEOne user can be assigned either one or two different roles (one Platform and one Inbox).
-
The user will be added with the PENDING status and receive an invitation email.
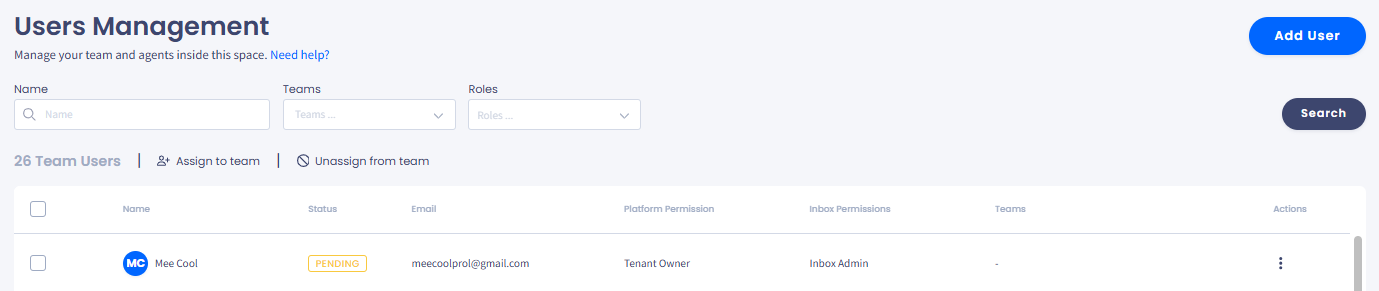
User is invited to account
- When the user clicks CONFIRM and completes registration, their status will change to ACTIVE.

User has completed registration
IMPORTANTA new user does not belong to any team. Check below to learn how to assign this user to a team.
Assigning Users to Teams or Unassigning From Them
You can assign users added to your account to teams by selecting the corresponding checkboxes and clicking Assign to team.
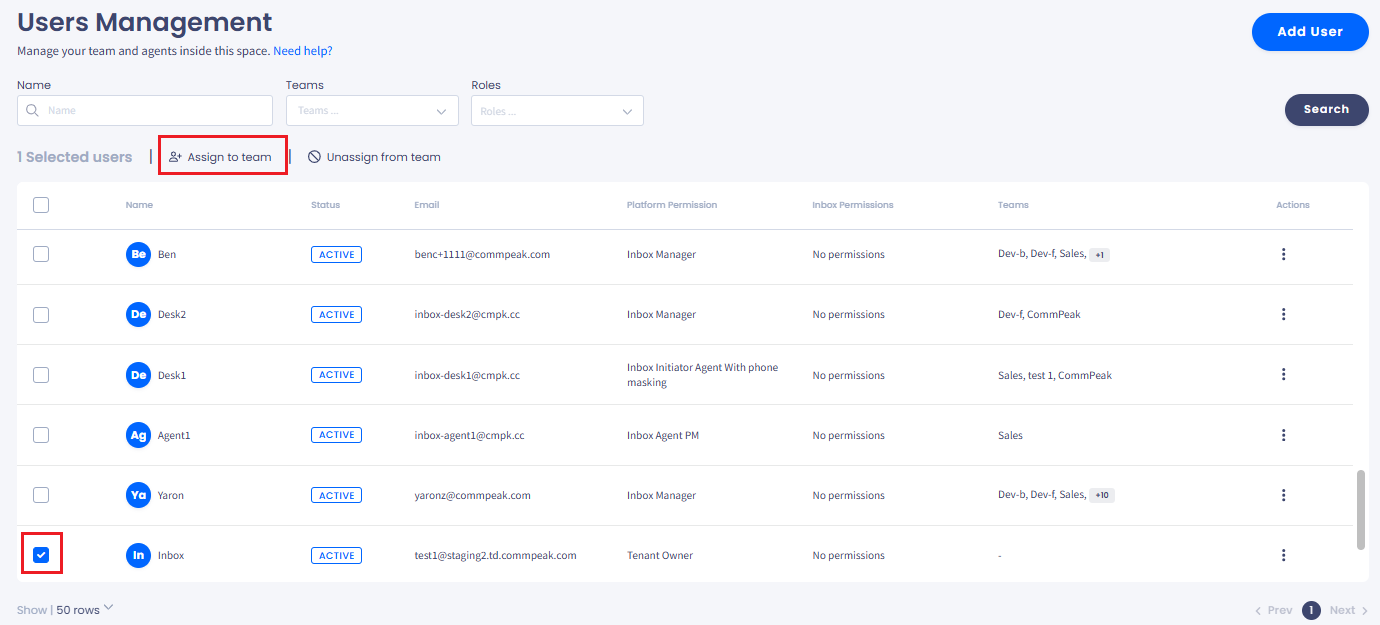
Assigning user to team
Select a role and team from the drop-down lists in the pop-up window, and click Assign.
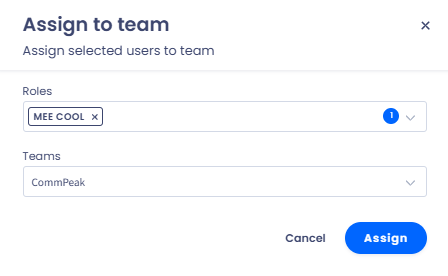
Assign to team confirmation dialog
To unassign a user from the team, select the corresponding checkbox, and click Unassign from team. Select a role and team from the drop-down lists in the pop-up window, and click Unassign.
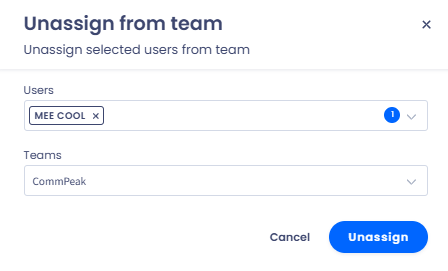
Unassign from team dialog
Next, confirm the operation by clicking Confirm.

Unassign users from team confirmation dialog
Also, you can manage your users in bulk by enabling the corresponding checkboxes and applying one of the actions: Assign to team or Unassign from team.
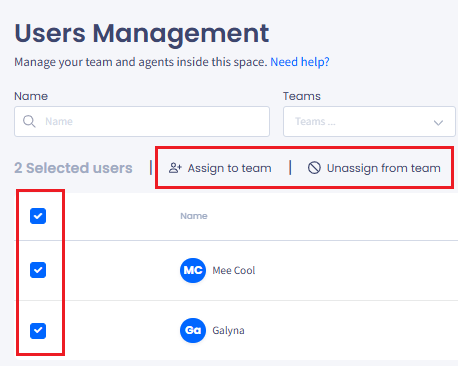
Managing users in bulk
Managing User Roles and Permissions
To change the role for the specific user, click the three-dot menu icon and select Change role.

Change role option
Select a new role from the drop-down lists in the pop-up window, and click Update.
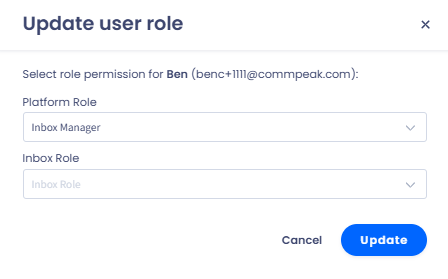
Update user role confirmation dialog
To remove all permissions from the user, click the three-dot menu icon, select Remove all permissions, and confirm the operation.

Remove all permissions option
Removing Users
To remove the user from your account, click the three-dot menu icon and select Delete user. Then confirm the operation.

Delete user option
Search
You can also perform a search by sorting the added users by names, teams, or roles and then clicking Search.

Performing search
Updated 6 months ago