Team Management
A comprehensive guide for managers on how to manage Inbox teams, assign agents, and control which WhatsApp templates each team can use.
In the Team Management view, Inbox admins or managers (provided they hold the corresponding Inbox role permissions) can manage teams assigned to their accounts.
To access the Team Management tab options:
- In your browser, log in to TextPeak with manager access privileges.
- In the main TextPeak menu, select the Inbox tab.
- Next, click Settings at the bottom left and navigate to the Team management tab.
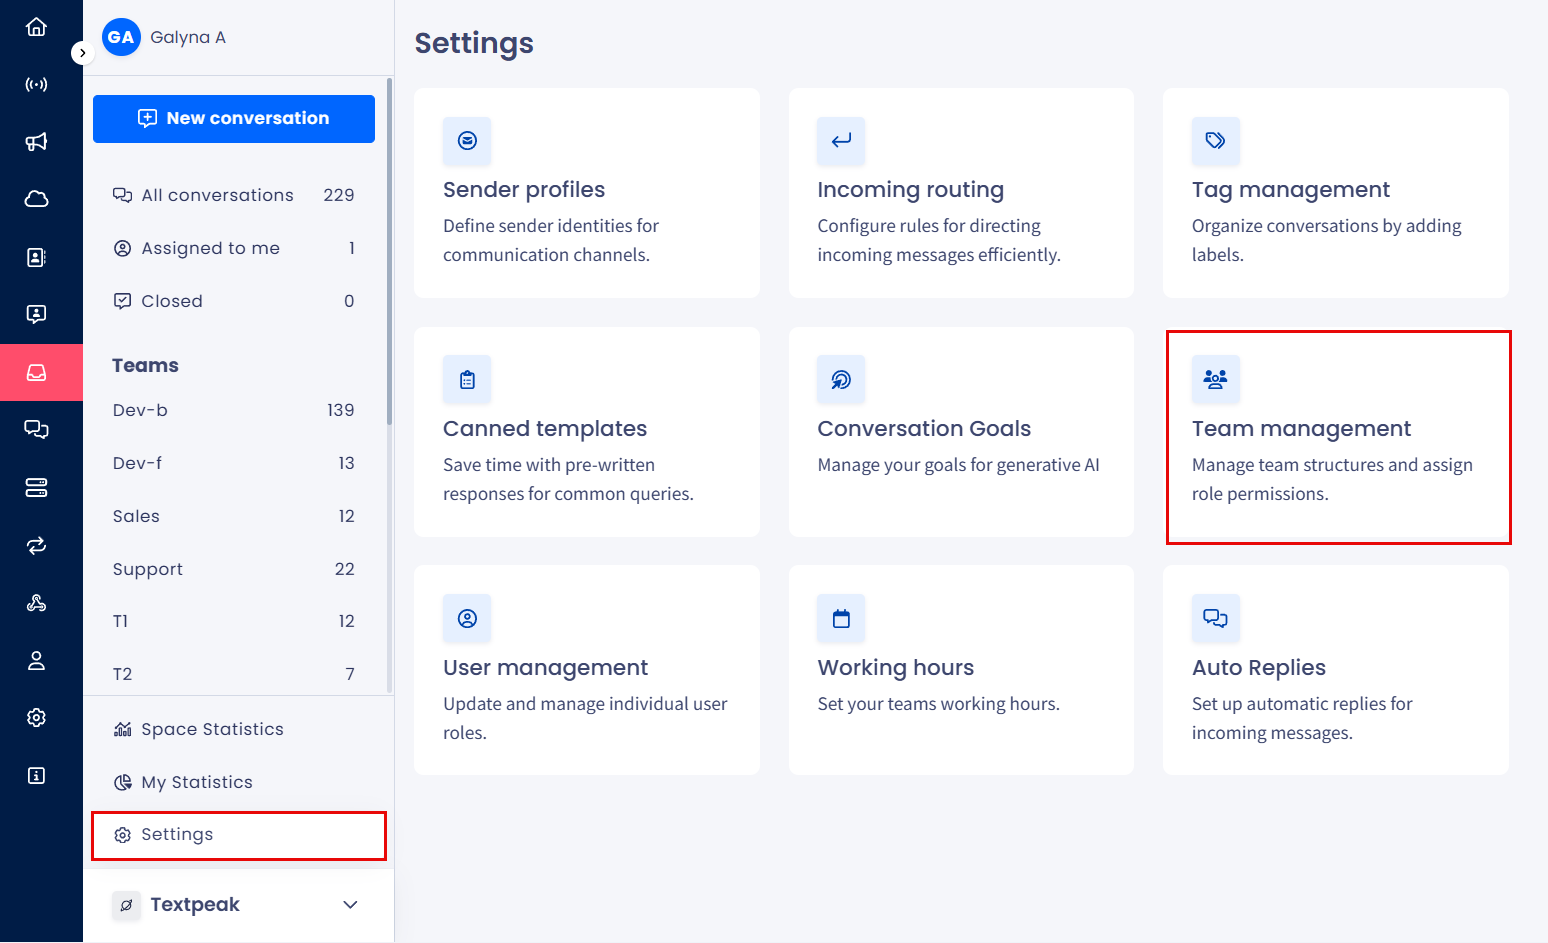
Team management page
IMPORTANT
- Inbox managers can view only the teams they assigned.
- Inbox agents have no access to the Settings > Team Management page and can manage conversations only.
Here, you can view all your teams organized in cards, each with the following information: the team's name and description and the date of its creation. You can also manage your teams and team inbox agents.
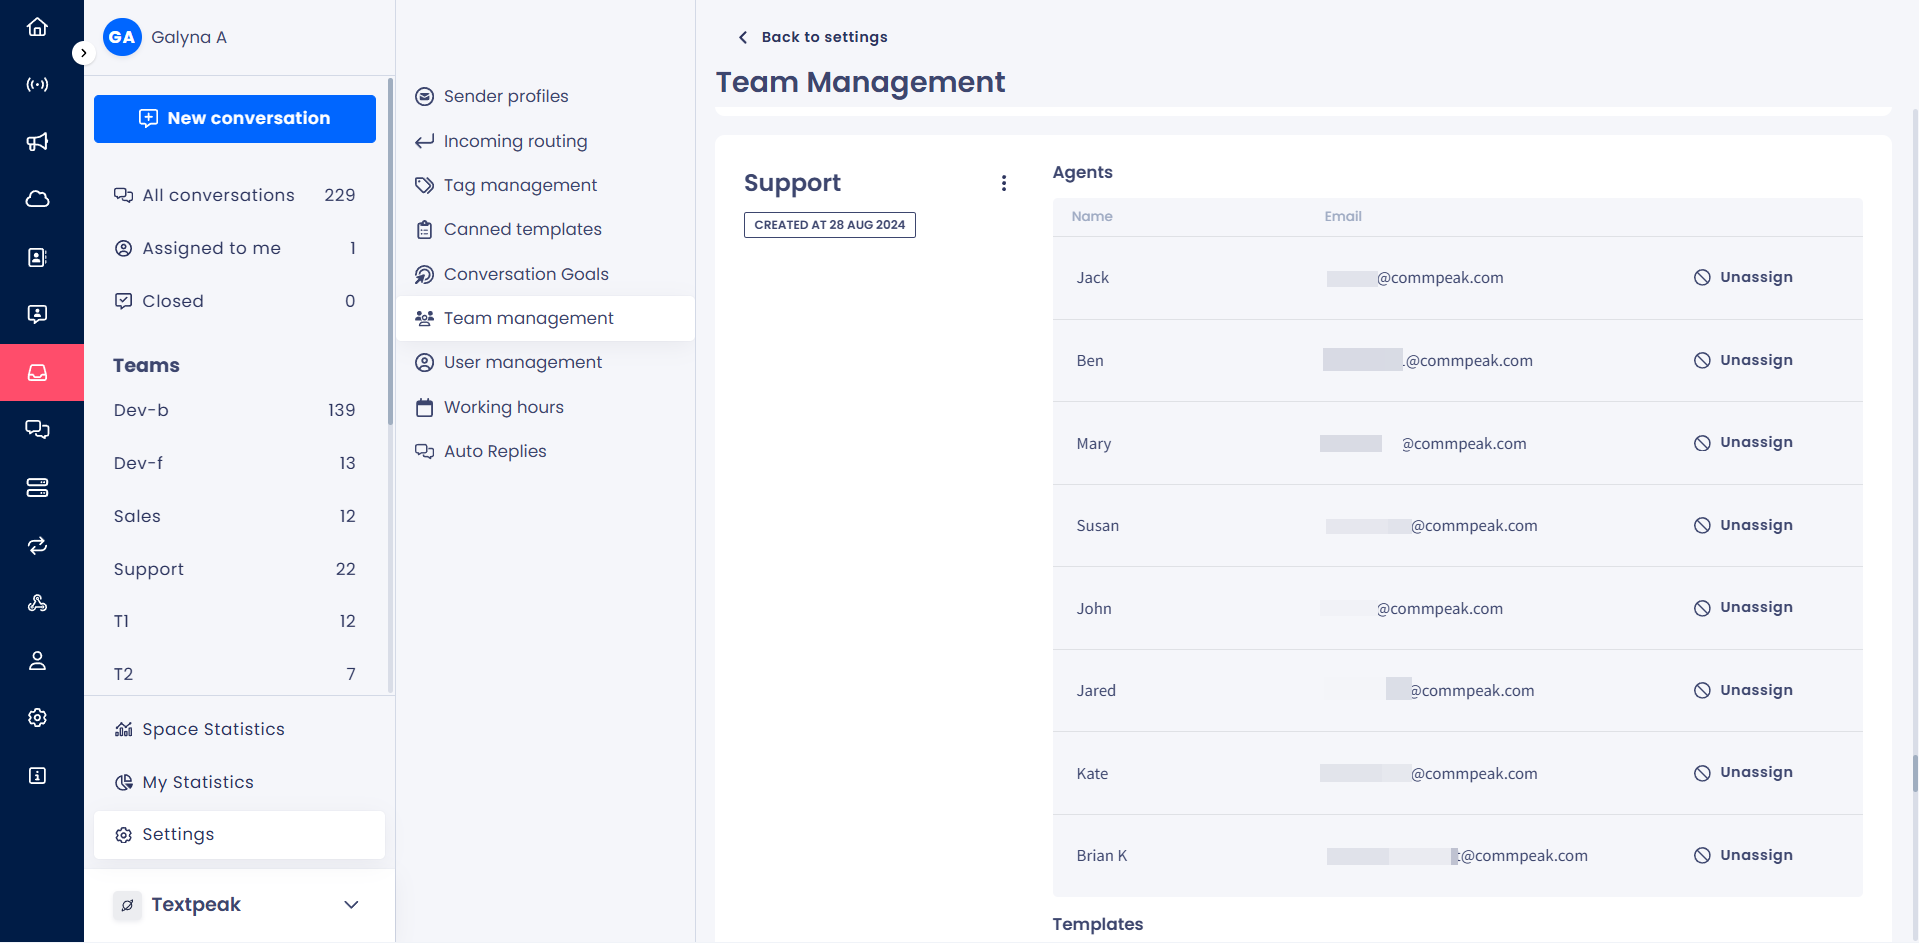
Inbox > Settings > Team Management tab
Click the three-dot icon to open the menu with the following team management options:
- Edit team
- Assign agents
- Assign templates.
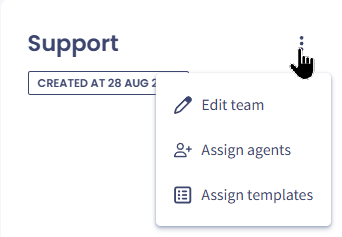
Team management options
Editing Team
To edit your teams:
- Click the three dots and select Edit team.
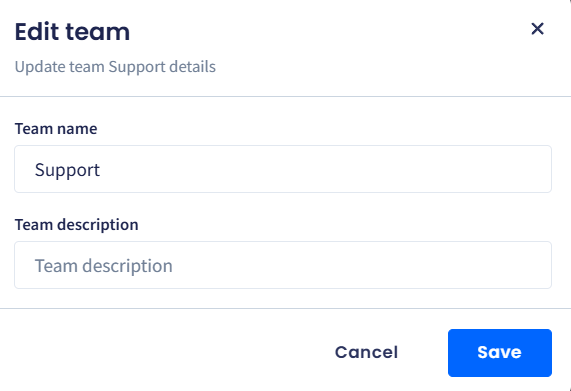
Edit team confirmation dialog
- In the pop-up window that appears, update the team name and description.
- Click Save.
Assigning Agents
You can manage inbox agents within your team (assign to your teams or unassign from them) as follows:
- Click the three dots and select Assign agents.
- In the pop-up window that appears, click on the input field to open the drop-down list of users.
- Add new agents or remove the existing ones from the team by checking/unchecking the checkboxes.
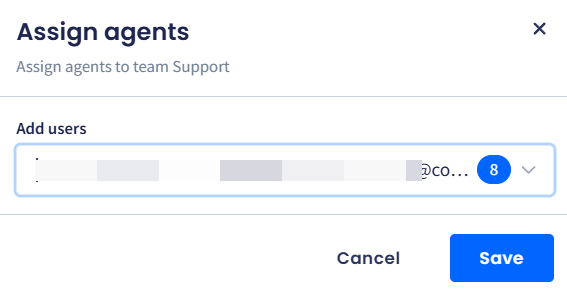
Editing team agents in the Assign agents dialog
- Click Save to update the list of agents assigned to the team.
- Alternatively, click the Unassign link next to the agent record and confirm you want to unassign this agent from your team.
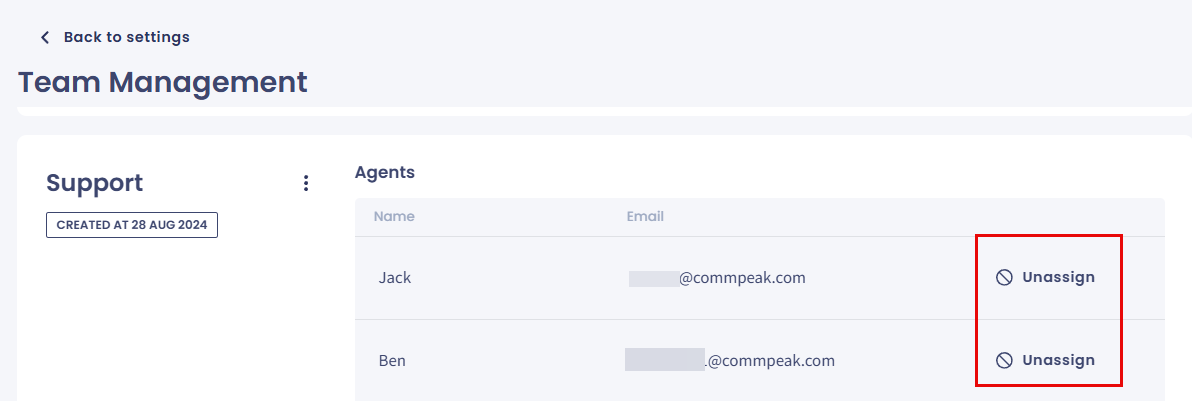
Option of unassigning agents from team
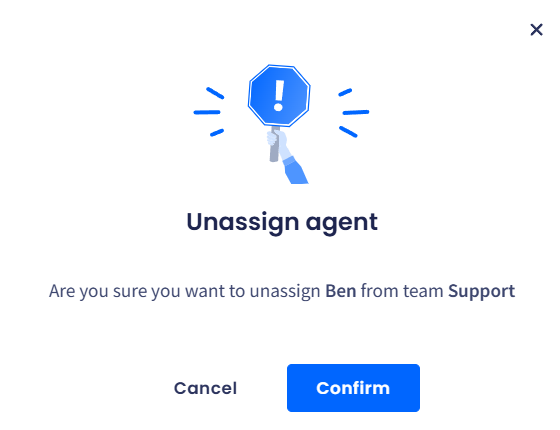
Unassign agent confirmation dialog
- Click Cancel to navigate back to the inbox settings menu.
Assigning WhatsApp Templates to Teams
Restrict which approved WhatsApp templates a team can use when starting new conversations. By default, every team can access every approved template under the tenant; assigning specific templates limits a team to only those.
NOTEIf no templates are assigned to a team, the team retains access to all approved templates. Assigning at least one template switches the team into restricted mode.
To assign templates to a team:
- On the Team management tab, click the three-dot icon for the team and select Assign templates.
- In the Assign Templates dialog, select one or more approved WhatsApp templates from the drop-down list.
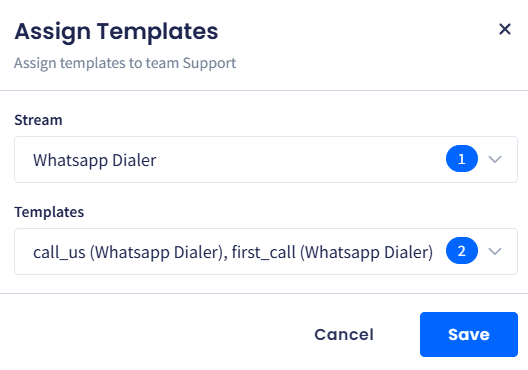
Assign Templates dialog
- Click Save.
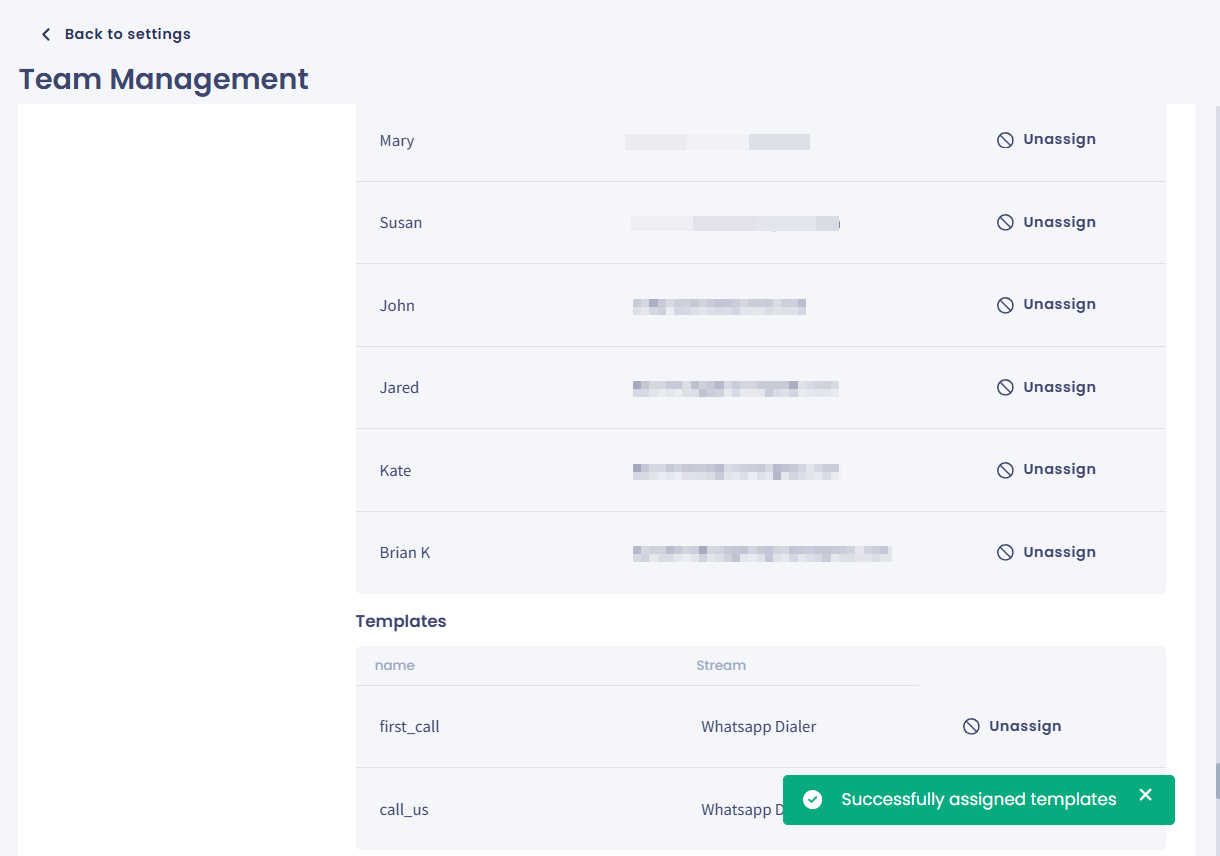
Templates assigned to the team
TIPTo return a team to default access (all templates), open the dialog and clear every selection, then save.
Updated 3 months ago