Creating Contact Lists from CSV Files
Learn how to create new contact lists by uploading multiple contacts from CSV files or integrations, and manage existing ones with detailed information and actions.
Video Tutorial
The Contact Lists tab under Contacts shows you existing lists with lead contact details. The total number of your contact lists is shown at the top of the page.
You can create new contact lists by uploading multiple lead records from a .csv file or integration.
NOTEAll the phone numbers in the file with contact details must be in the international format and include the country prefix.
Later, you can append the list with new contacts.
Adding Contact Lists from Files
To import multiple contacts:
-
Log in to TextPeak in your browser and click Contacts in the menu on the left.
-
Click Create your first contact list on the empty page if you start your work. If you already have some contact lists, just click Add List at the top right.
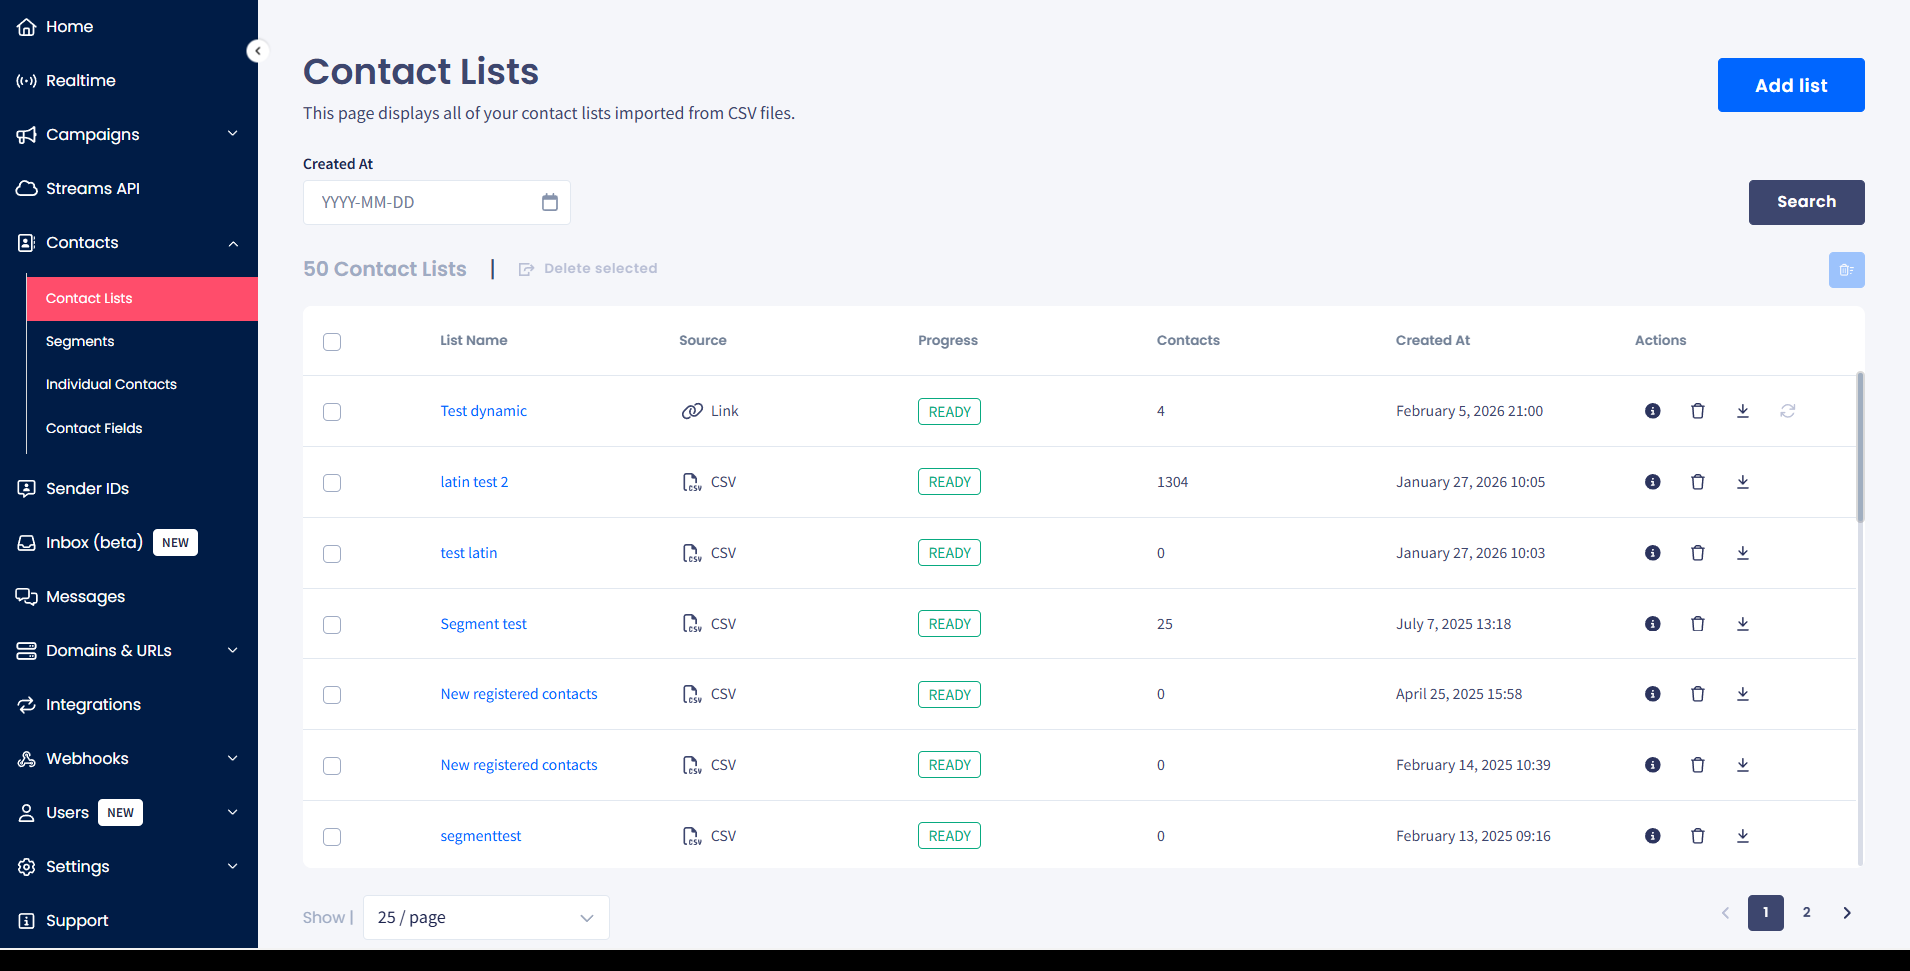
Contact Lists page
-
In the pop-up window, choose how to provide the contacts:
- Import file: drag and drop a .csv file (up to 100 MB) from your computer.
- Integration: connect your contacts from your app integration.
- Dynamic CSV list: paste a public URL pointing to a .csv file hosted on Google Drive, an AWS S3 bucket, or any HTTPS endpoint that returns a CSV. The list can later be re-synced from the same URL to pick up new or updated contacts.
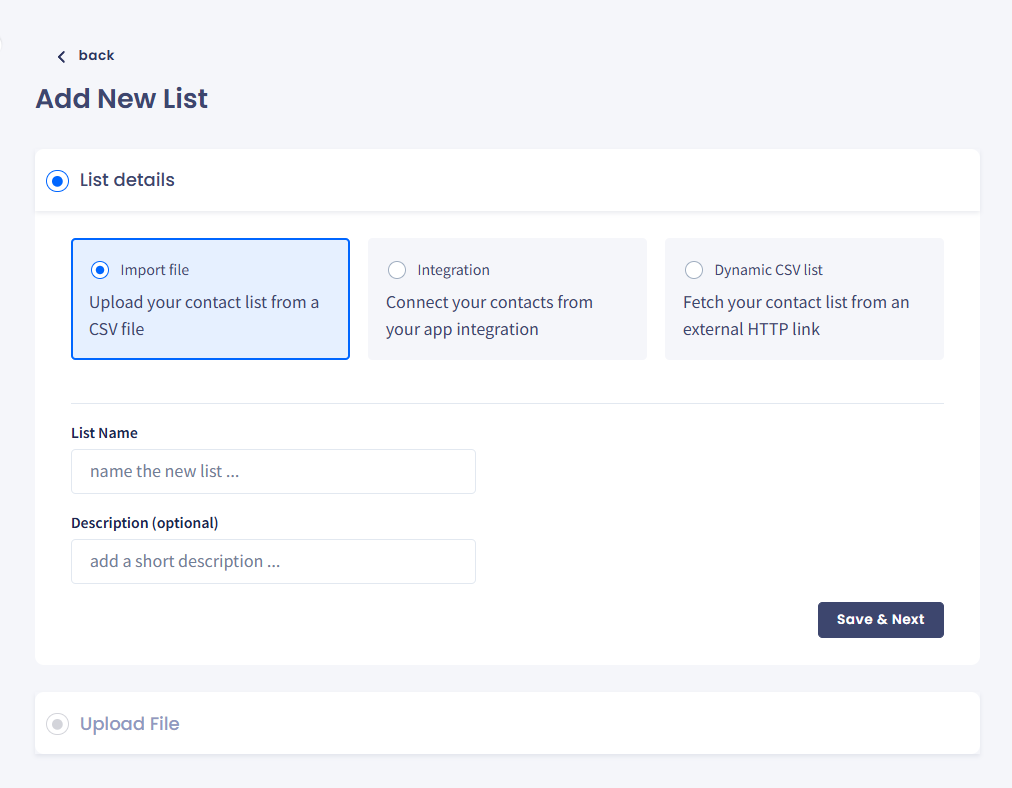
Add New List dialog
LIMITATIONThe URL must return the CSV directly with a public-readable response. Authenticated endpoints, login-walled Google Drive links, or pre-signed URLs that expire before re-sync will fail at import or at the next sync.
-
For all three options, in the List details step, enter the list name and an informative description (optional). Then click Save & Next.
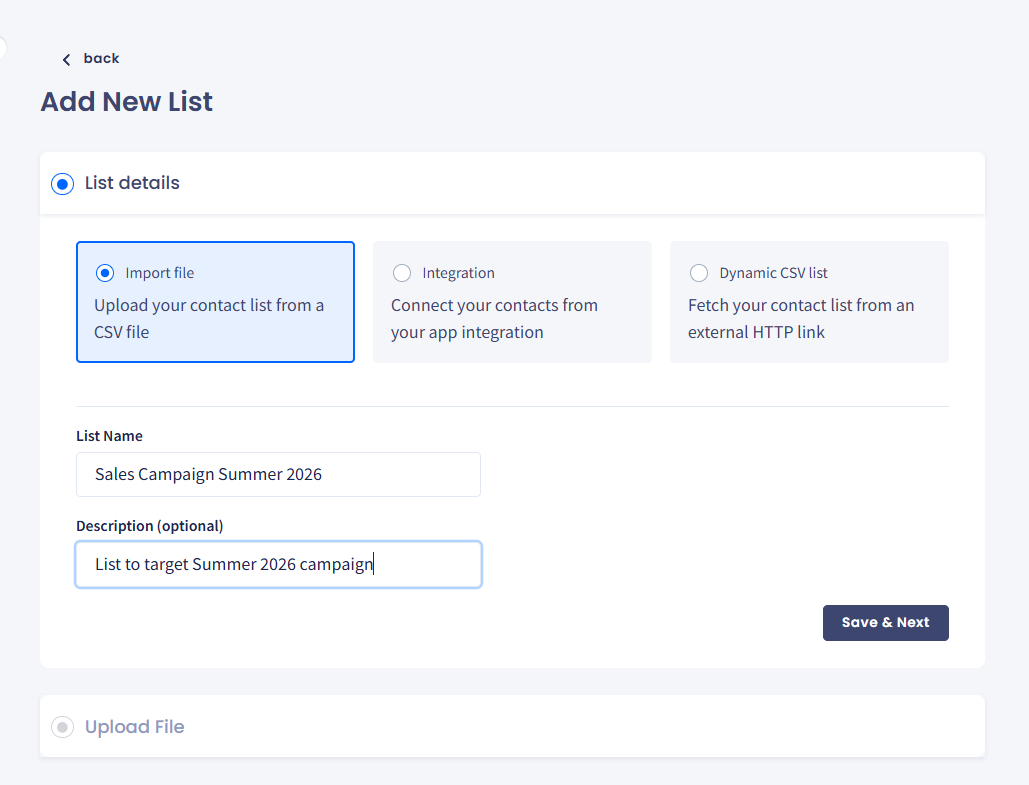
List details section
- For the Import file option, browse or drag and drop the file (up to 100MB in size), then click Save & Next.
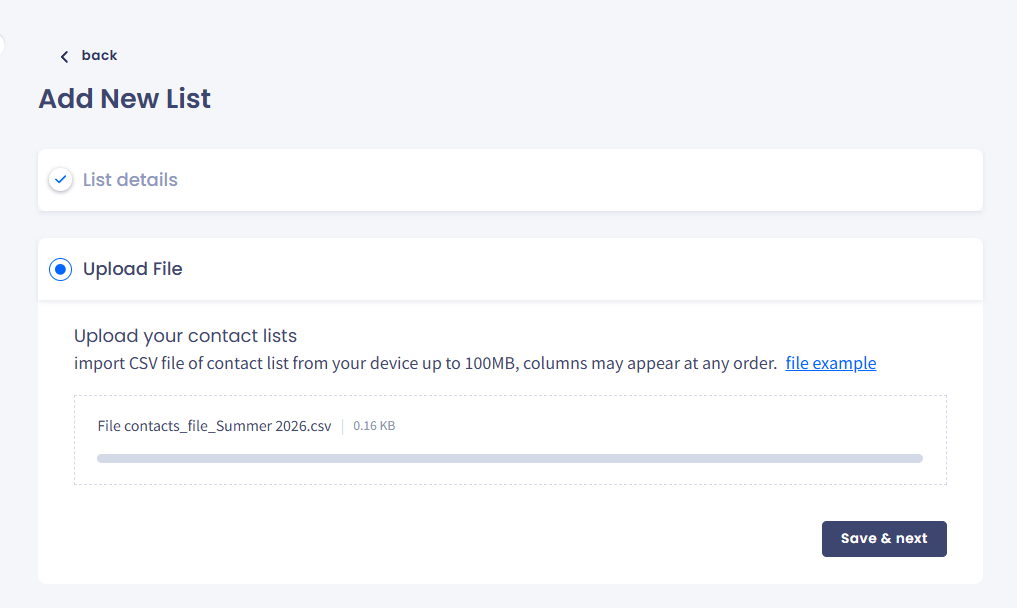
Upload File option
- If the Integration option is selected, set the integration needed and select the connection.
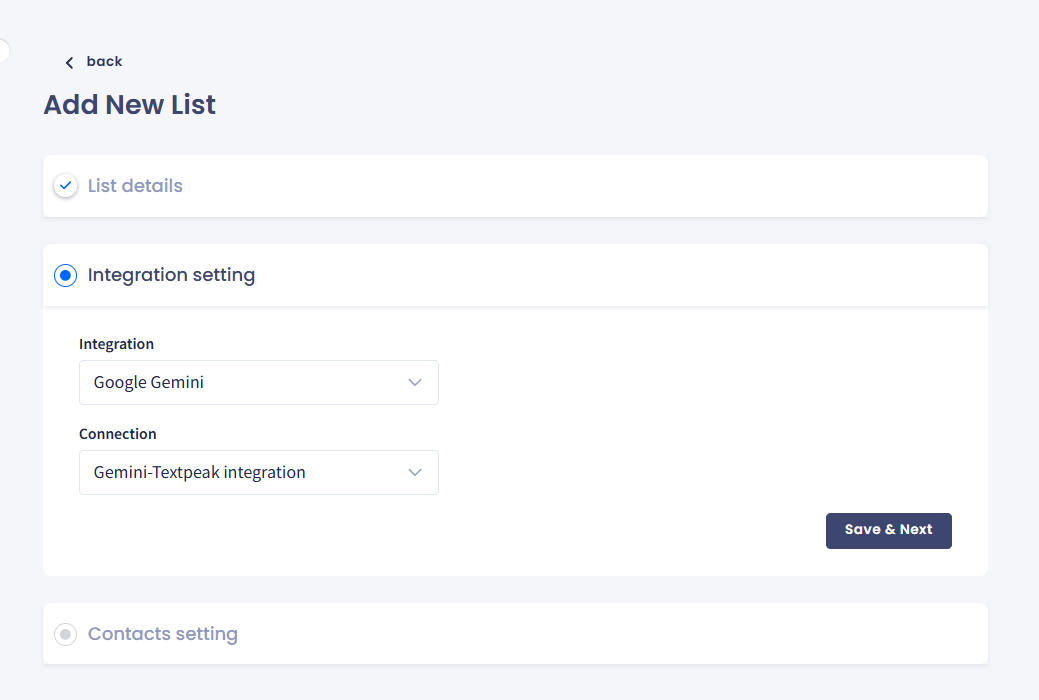
integration setting section
- For the Dynamic CSV list option, provide the external public link to your CSV file. Make sure to click Test link to verify it before you proceed to the next step.
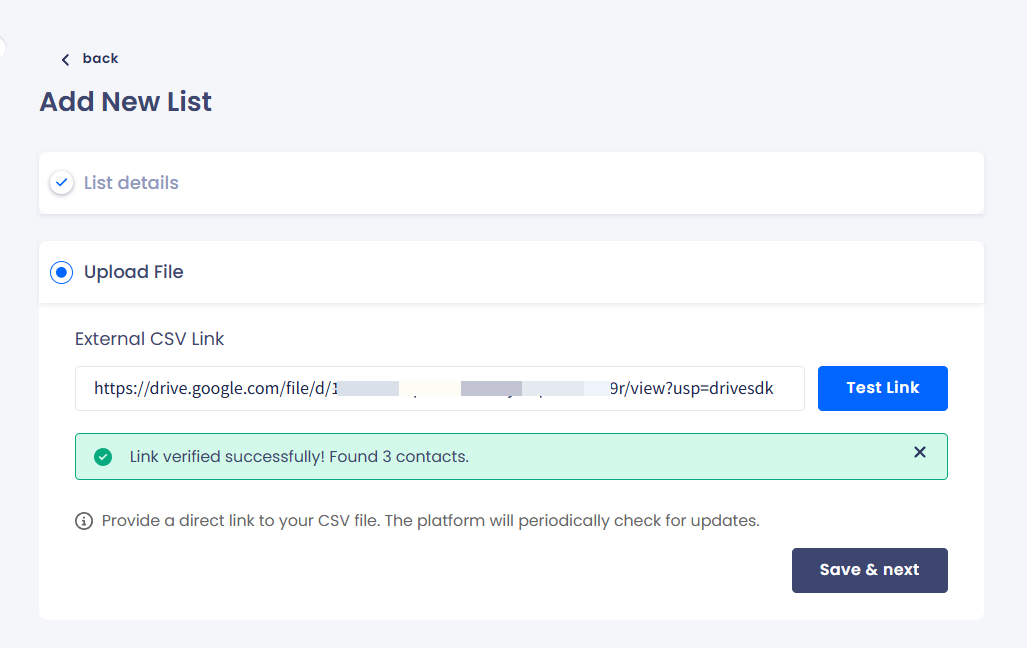
Upload file section
- Map column titles with available contact fields as necessary. One column must contain phone numbers.
Select Ignore first line of the table (column titles) to avoid adding column titles as a separate line.
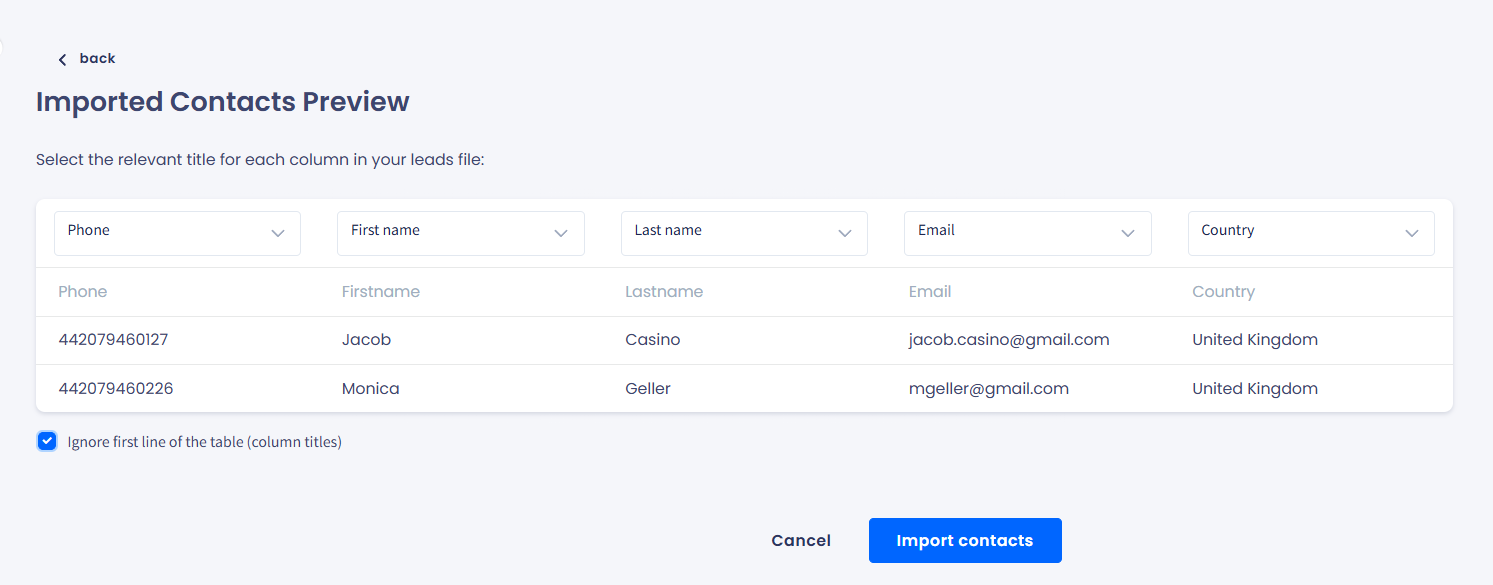
Imported Contacts Preview with the Ignore first line of the table option selected
-
Click Import Contacts.
-
View the list summary and click Continue.
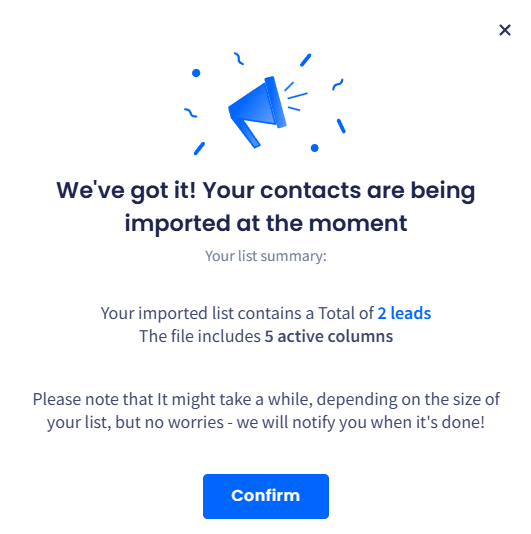
Importing contacts notification
NOTEYou also need to set the contact fields that should be used in mapping and will later be applied in message campaigns to make your messages unique. You can find details in this article.
The new contact list appears at the top and will take some time to process.
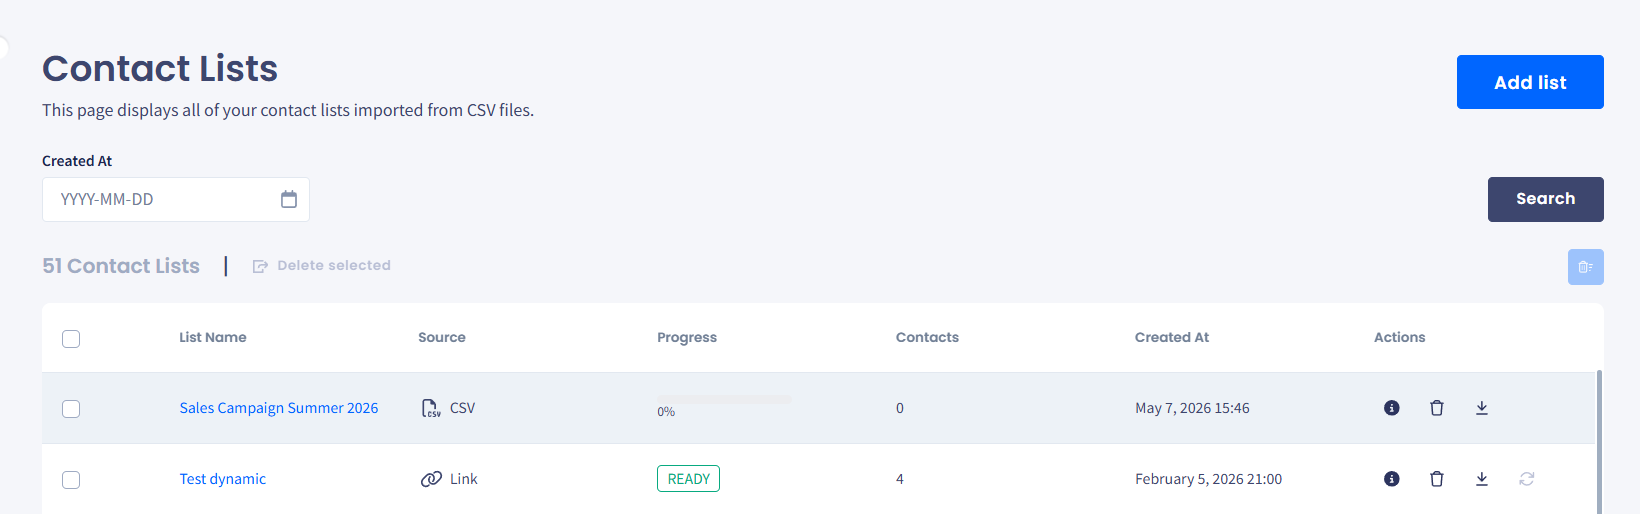
Contact Lists page with the imported list
Refer to the following table for column descriptions in Contact Lists.
| Column | Description |
|---|---|
| List Name | Click the title to open a side panel, which you can also load when clicking the information icon in Actions. It contains details about the list, the parse status of contacts, and the campaigns in which it has been used. |
| Source | One of:
|
| Progress | The Progresscolumn shows the contact import progress. If a progress bar is displayed, the list is still being imported. The Ready status means that importing is complete. |
| Contacts | The Contactscolumn shows the total number of contacts in the list. You can see how many of them are parsed or failed by clicking the information icon in Actions. |
| Creation At | Date and time in UTC when the list was uploaded |
| Actions | This column provides additional controls. |
Actions
You can view more information from the Actions column and delete, download, or sync (dynamic CSV lists only) contact lists.
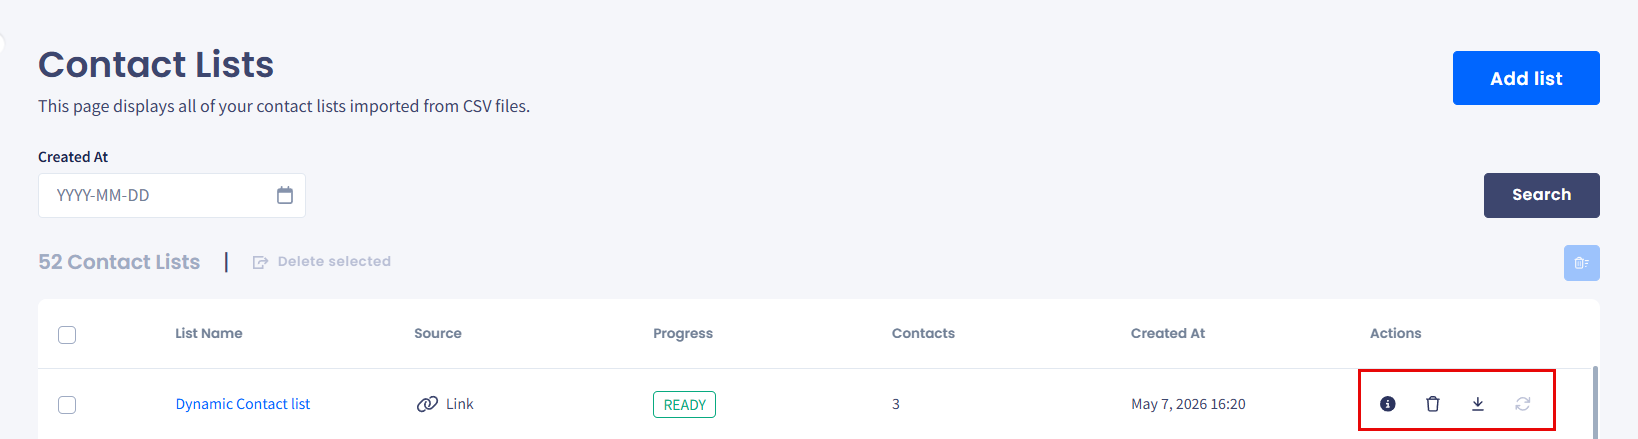
Action menu buttons
To view more information about your contact list:
- Click the information icon in the Actions column.
- On the List Info tab, check how many contact details are added (parsed) or failed to add due to invalid or not mobile phone numbers.
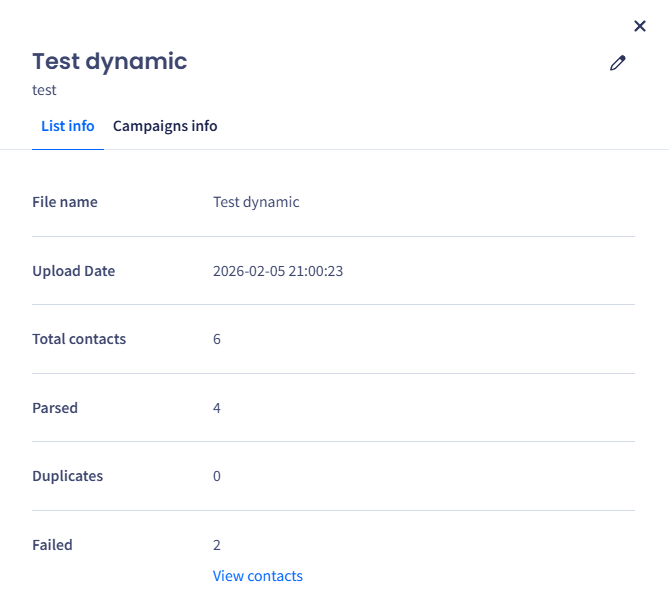
Actions > List Info tab
- If you want more information about the list and its usage in campaigns, go to the Campaigns Info tab.
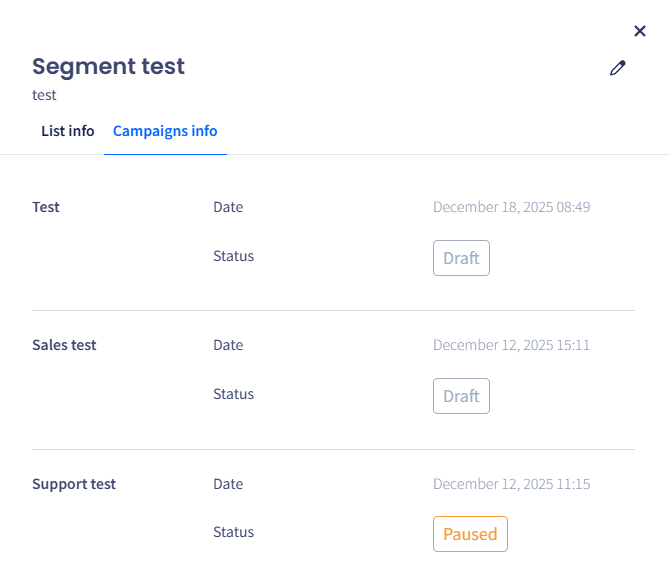
Campaigns Info tab
To delete the list:
- Click Delete in Actions.
- Click to confirm deleting the list.
List deletion confirmation dialog
To save the list as a .csv file:
- Click Download in Actions.
- Note that preparing downloadable files for large lists will take some time.
- Select where you want it on your drive and confirm saving.
- When ready, they will appear in Tasks .
NOTEFor more information, please take a look at the Tasks article.
Re-syncing Lists Imported From a URL
For contact lists created from a URL, TextPeak stores the source URL alongside the list. You can re-fetch the URL on demand to update the list with any new, removed, or modified contacts at the source.
NOTERe-sync is only available for lists with the CSV from URL source. Lists uploaded from a local file or imported from an app integration are not re-syncable.
To re-sync a list:
- On the Contact Lists tab, locate the list you want to refresh.
- In the Actions column, select Sync.
- TextPeak fetches the source URL and re-imports its contents. The Progress column shows the sync status the same way as the initial import.
- When the sync completes, the Contacts count and parse summary refresh to reflect the latest source.
LIMITATIONRe-sync replaces the list against the source. Contacts added directly to the list in TextPeak (without being present in the source CSV) may be removed or marked as failed on the next sync. Keep the source CSV authoritative.
IMPORTANTIf the source URL has expired, become private, or returns a different schema than the original import, the sync will fail with an error in Tasks. Update the URL or re-create the list before retrying.
Updated 3 months ago