monday.com Integration
This guide will walk you through automating your workflows in monday.com boards.
You can implement monday.com SMS automation with a ready-to-use predefined template under CommPeak Integrations.
NOTEFor more information about monday.com integrations, refer to the monday.com Knowledge base.
To set up notifications about various updates in your monday.com board, complete the following steps:
- Install the CommPeak app from monday.com
- Set up a connection to the needed monday.com workspace
- In your monday.com account, create an automation.
Step 1: App Installation
To start with installing the CommPeak app, select one of the following options:
Option 1. Installation From monday.com Marketplace
- Open the CommPeak product page on the monday.com marketplace. Alternatively, go to the monday.com marketplace page and scroll down to search for the CommPeak app or use the search functionality.
- Click Sign in to install .
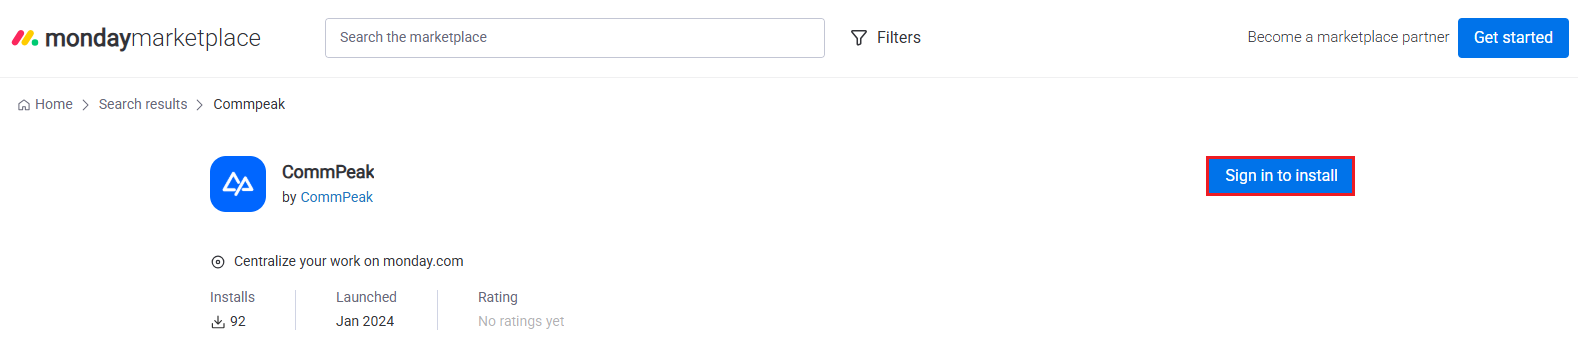
CommPeak:Sign In to install option
- Log in to your monday.com account by entering your work email address or signing in with Google.
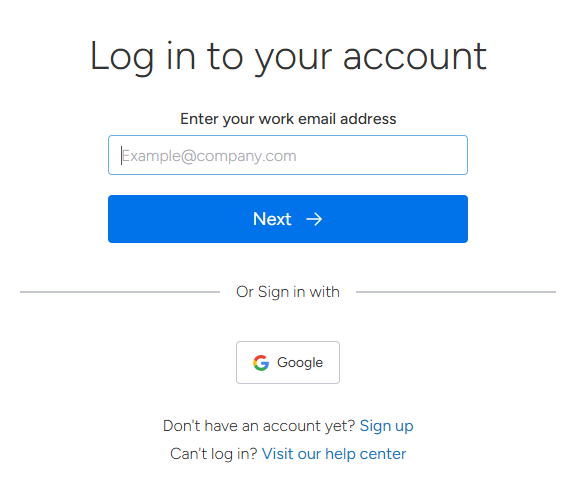
Logging in to your account
- Alternatively, click Install app if already signed in.
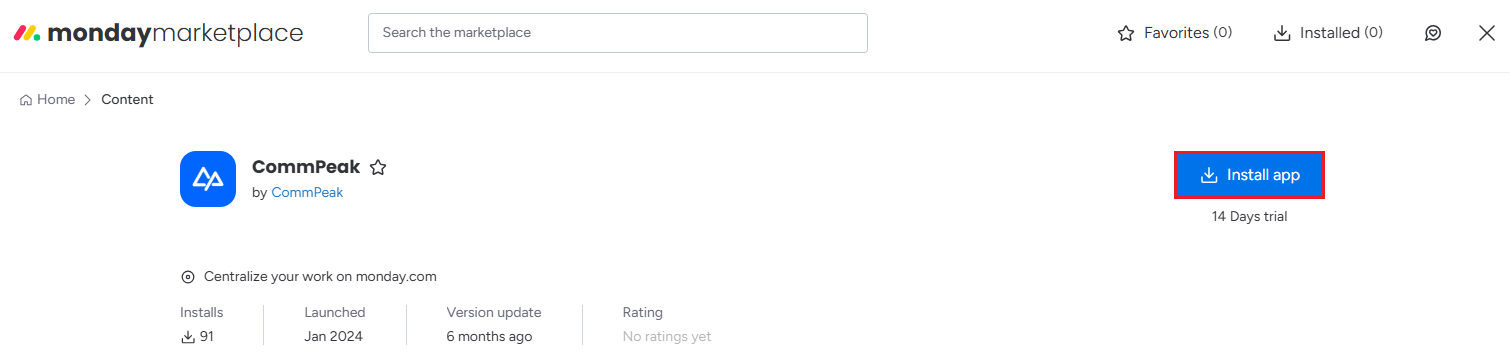
CommPeak: Install app option
Option 2. Installation From monday.com Board
-
In your monday.com board, click Automate in the top-right.
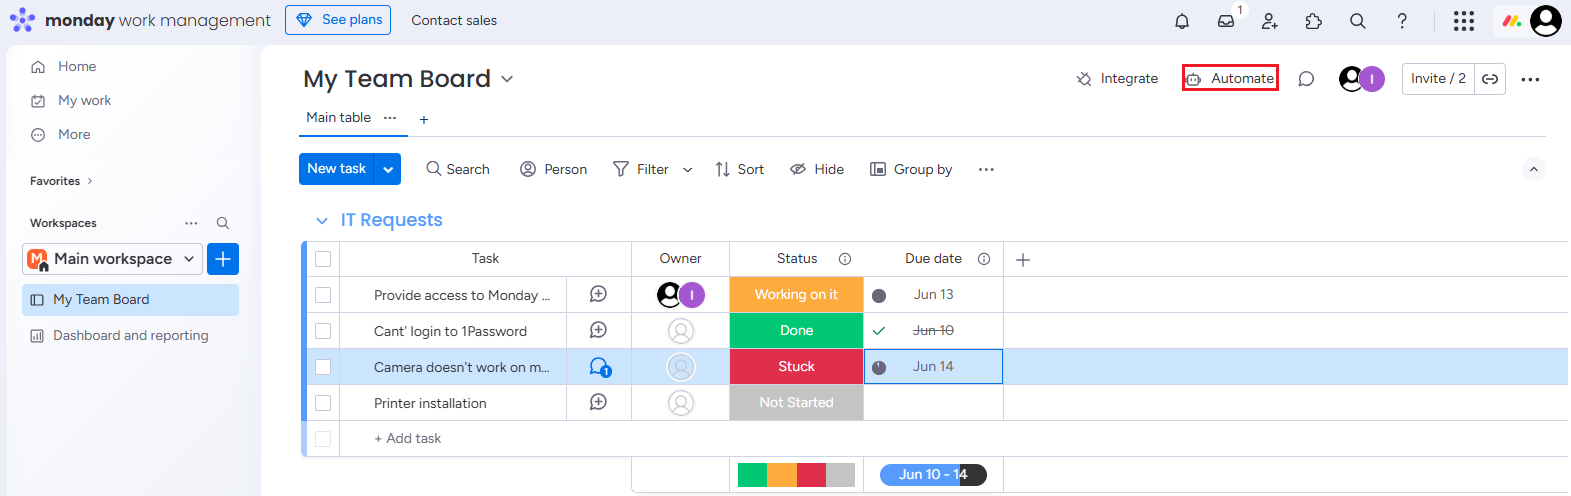
monday.com Automate option
-
Scroll down to search for the CommPeak app or use the search functionality and select it.
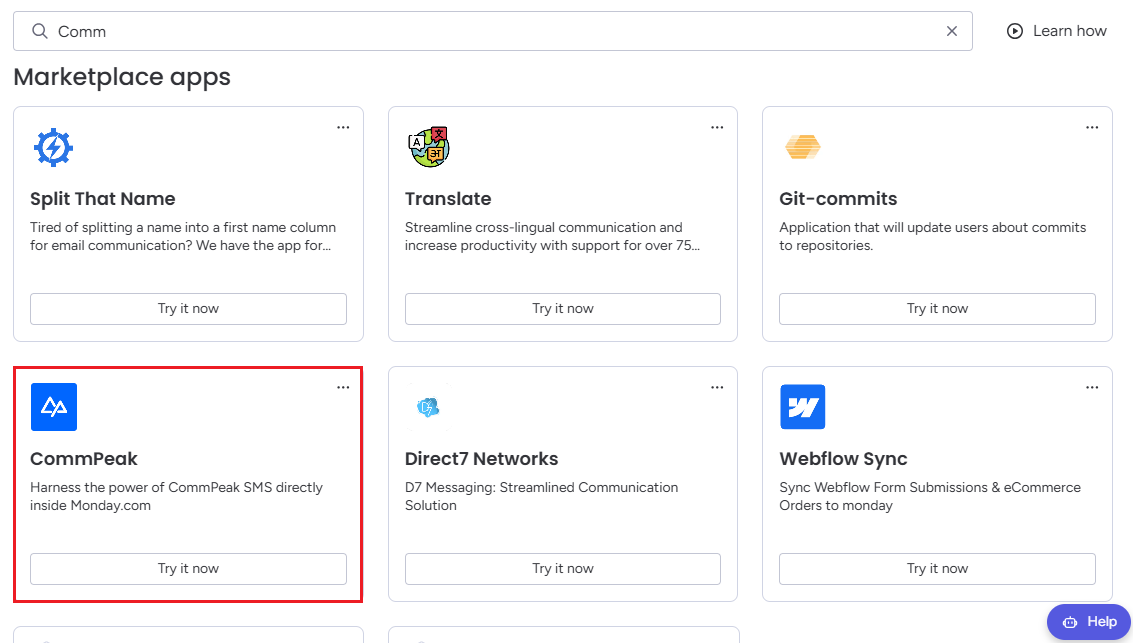
monday.com marketplace apps
-
Click the button to install the app.

Install app button
Option 3. Installation From CommPeak TextPeak Integrations
-
Log in to TextPeak in your browser.
-
Select Integrations in the main menu on the left.
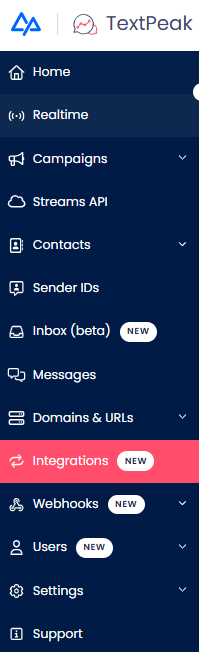
Integrations tab
-
Click Set New Connection in the top right of the Integrations page.
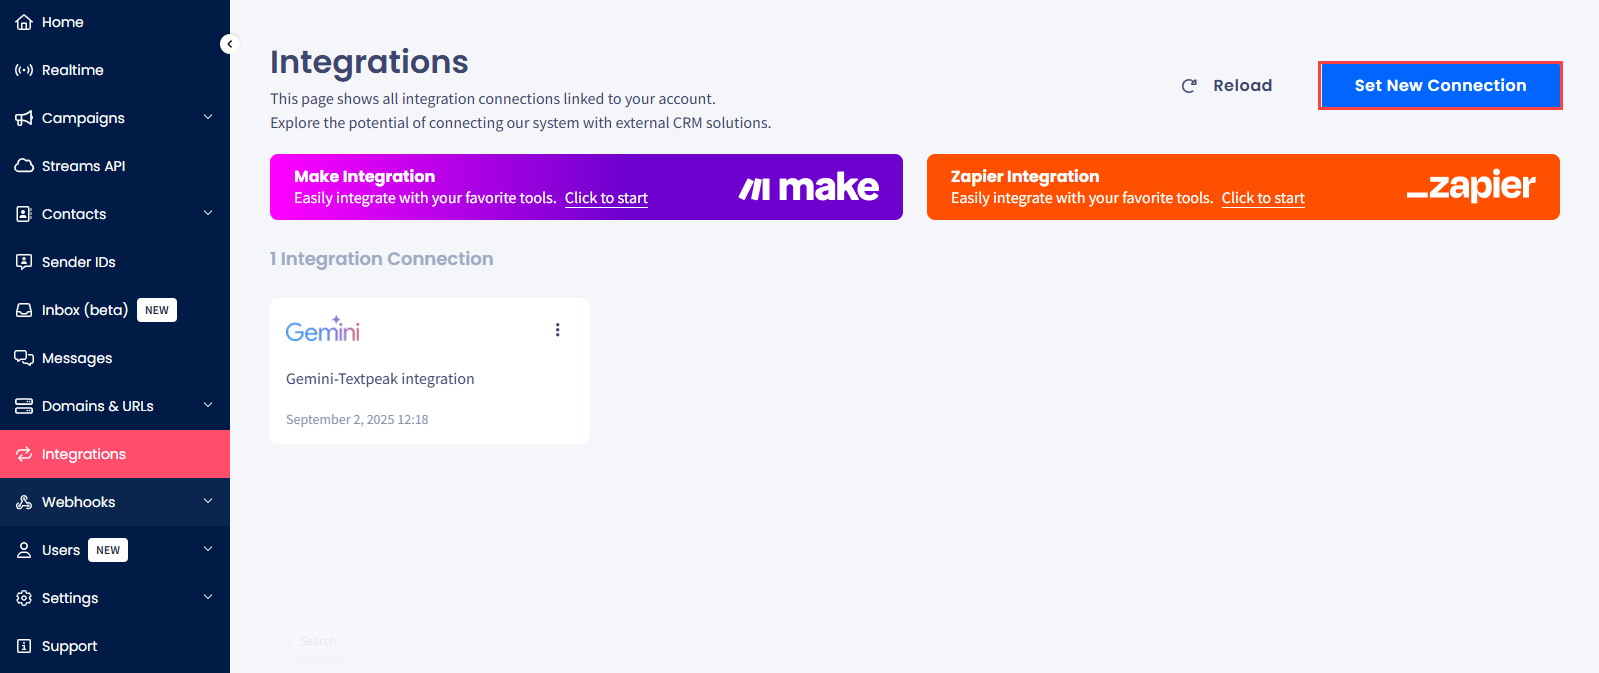
Set New Connection button
-
Select monday.com in the pop-up window.
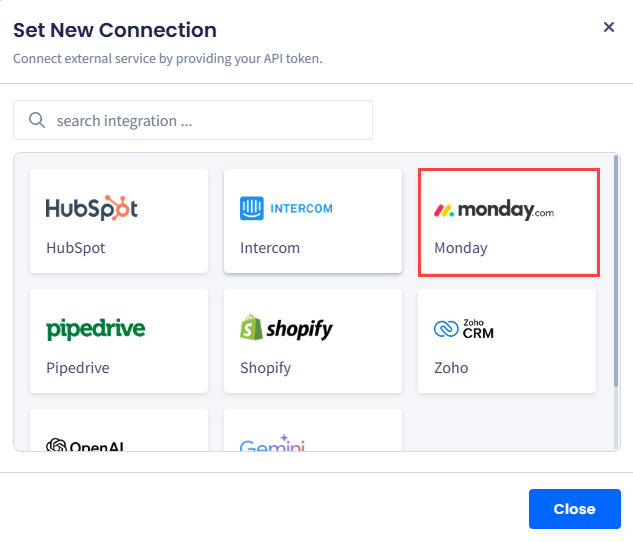
monday.com selection
-
You will be redirected to the CommPeak product page on the monday.com marketplace.
-
Click Sign in to install (or Install app if already signed in).
CommPeak: Sign in to install option
Step 2: Setting up Connection to monday.com Workspace
- Select workplace(s) to install the application and click Install.
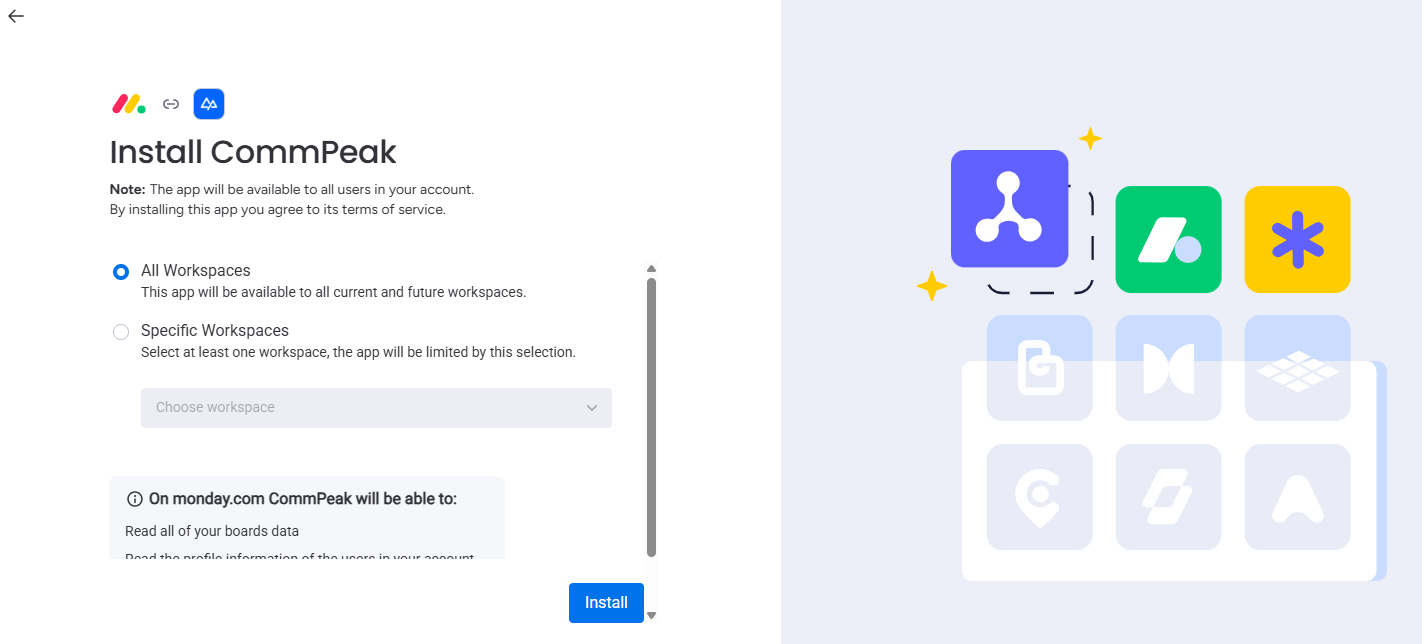
Workspaces selection
- Choose where you want to add the app. Click Add app.
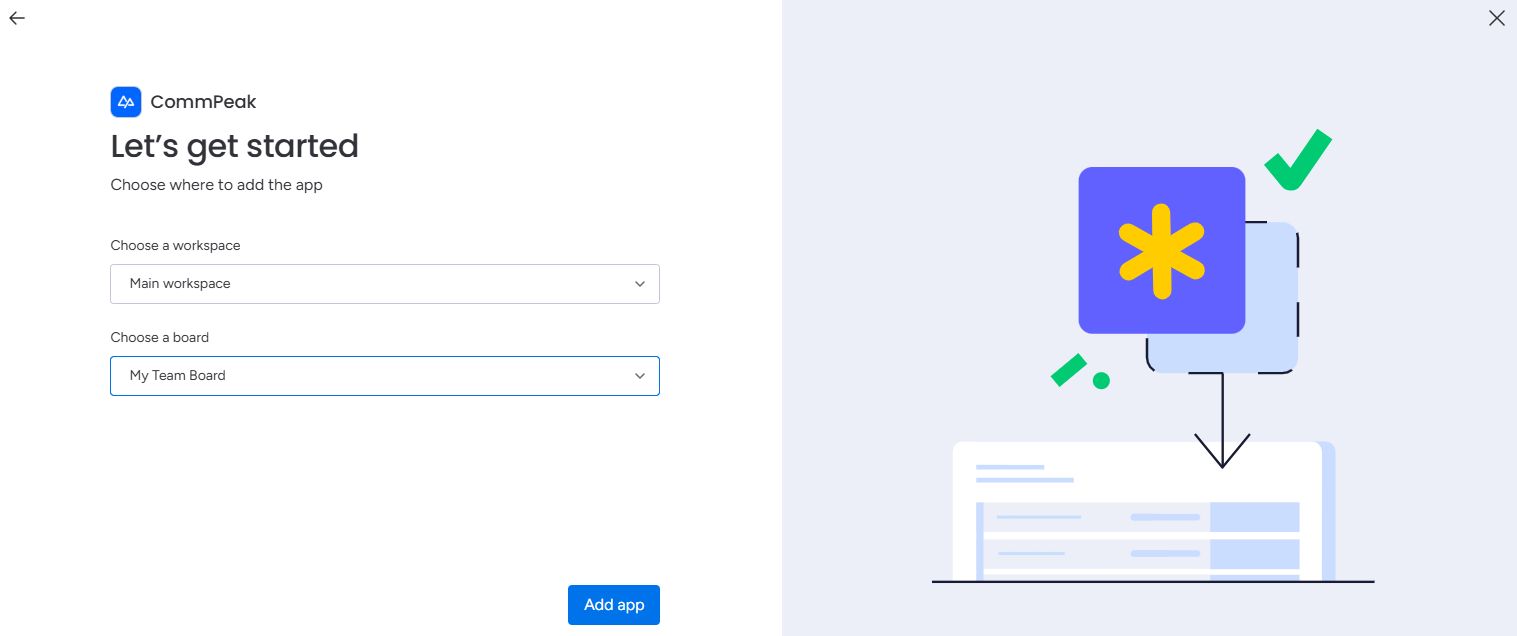
Board selection
- You will be redirected to the board Automations page.
Step 3: Creating an Automation
To create an automation, follow the steps below:
- Select a template to get SMS notifications about your board updates, e.g., stay notified when status changes.
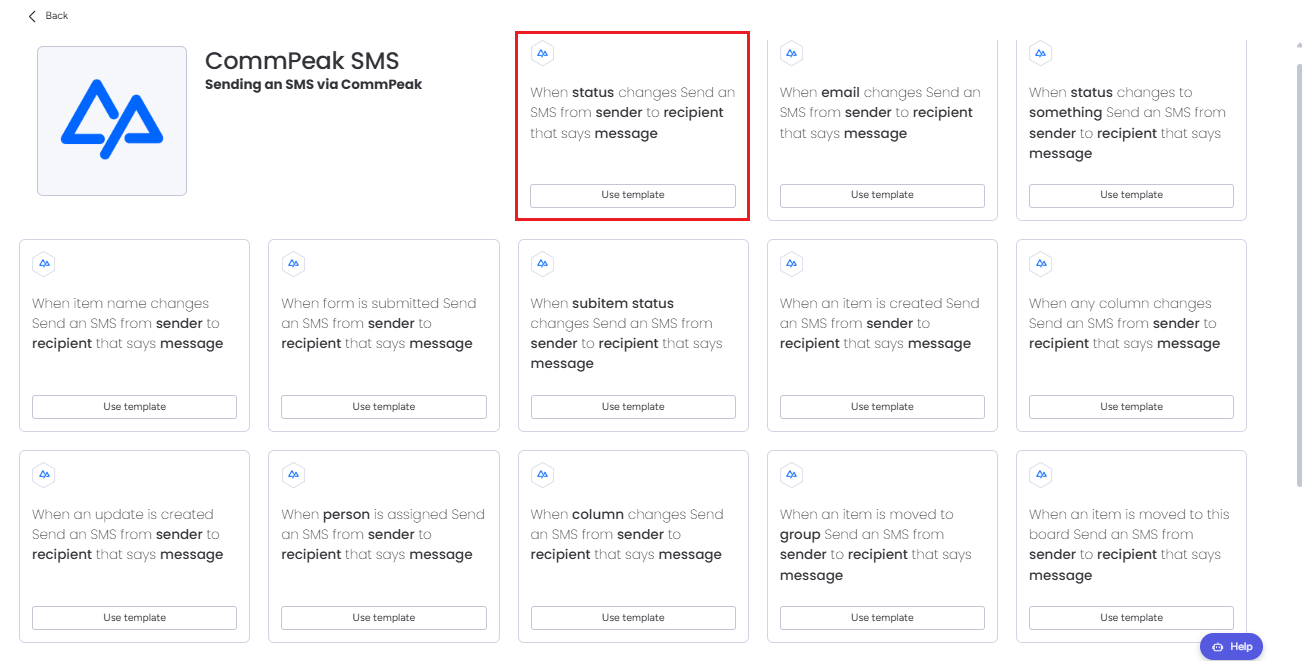
Templates selection
- If asked, enter your TextPeak account credentials, complete the captcha authentication, and click LOGIN.
- Click to authorize the application to use your TextPeak account.
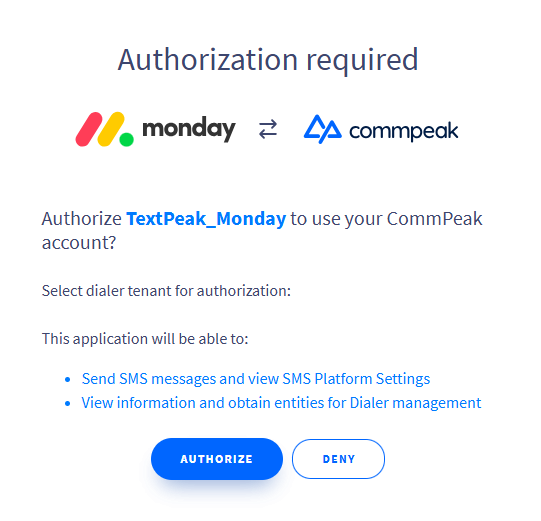
Authorization dialog
- Fill in the details in your template by completing the underlined fields. In our example, we need to define the following:
- Select a column for the status.

Selecting a column for the status
- Select a sender from the approved Sender IDs available in your TextPeak account.

Selecting a sender
- Enter the recipient's phone number.

Enter recipient's phone number
- Type your message and click Done. You can auto-populate fields for board items.
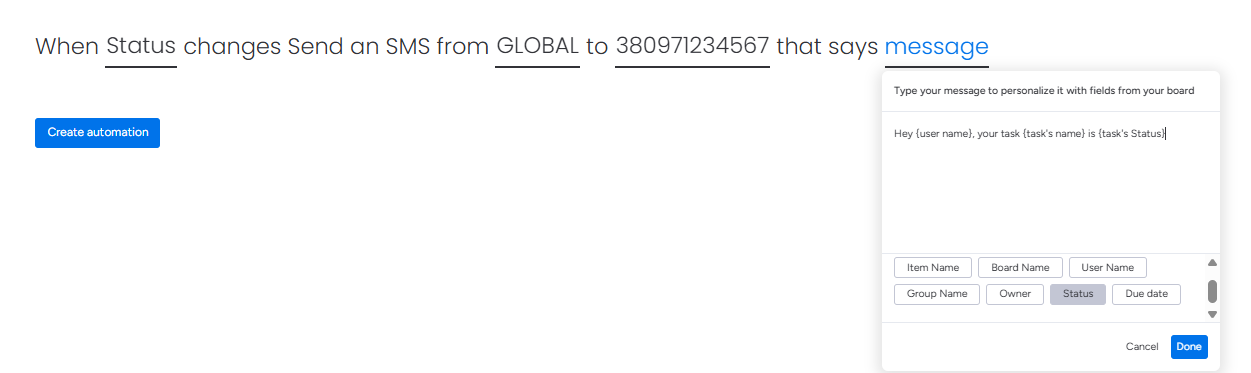
Typing message using auto-population
- Click Create automation.

Create automation button
- A new item will appear on the board Automations tab.
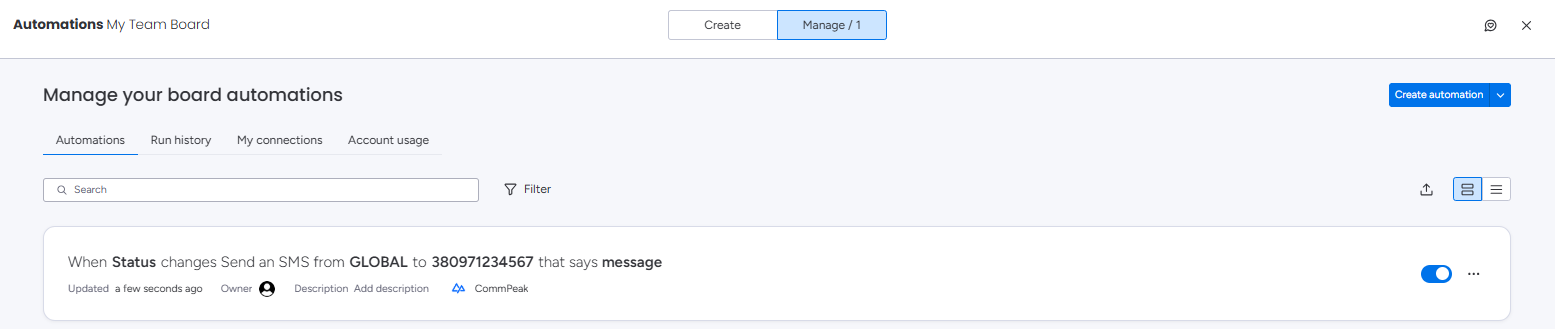
Automations tab
- Now, when the status of the board task changes, the created automation triggers the app action.
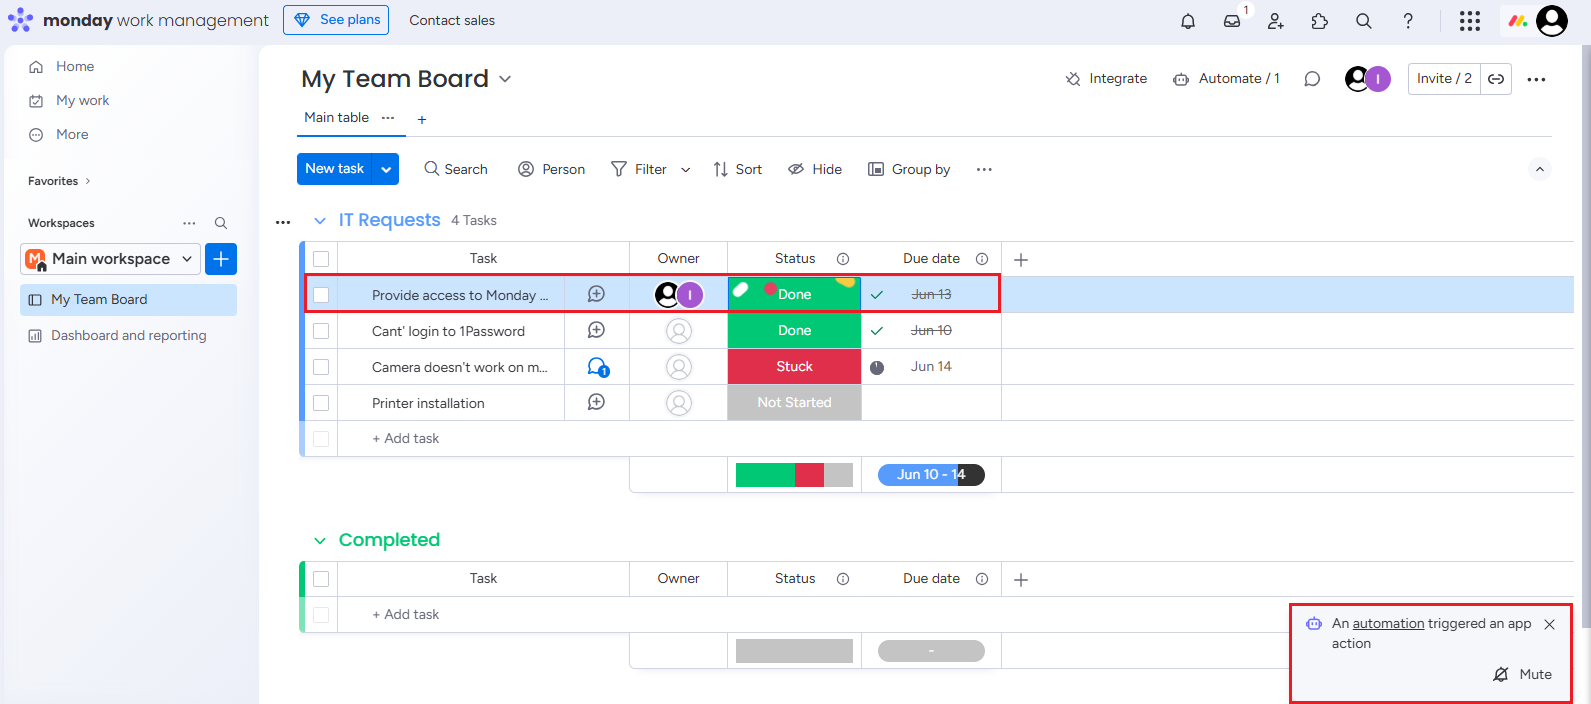
App action triggered
Managing Integrations
You can add as many automations as you need for other activities or phone numbers. All of them are displayed on the board Automations tab.
Here, you can switch off unnecessary items or click the three-dot menu to edit, duplicate, run the automation history, or delete it. You can also opt for transferring the ownership.
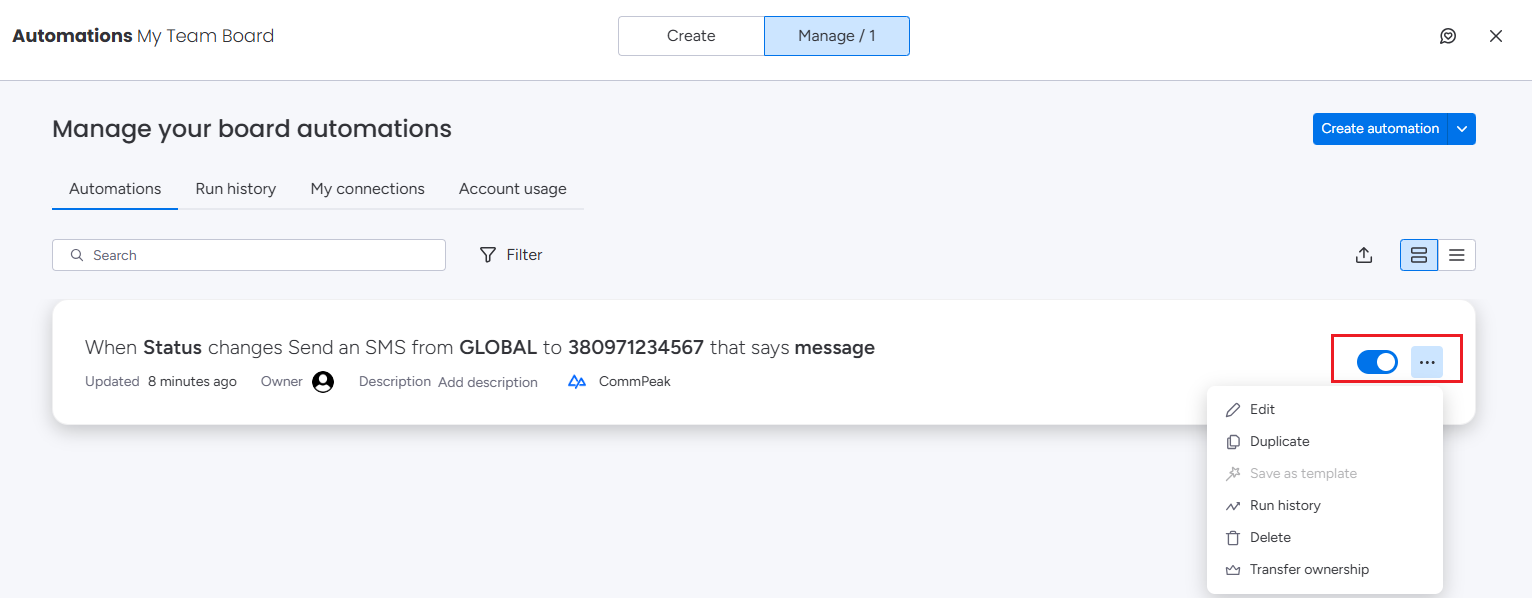
Managing automations
Open the Run history tab or select the corresponding option on the drop-down menu to see the status of your SMS messages.
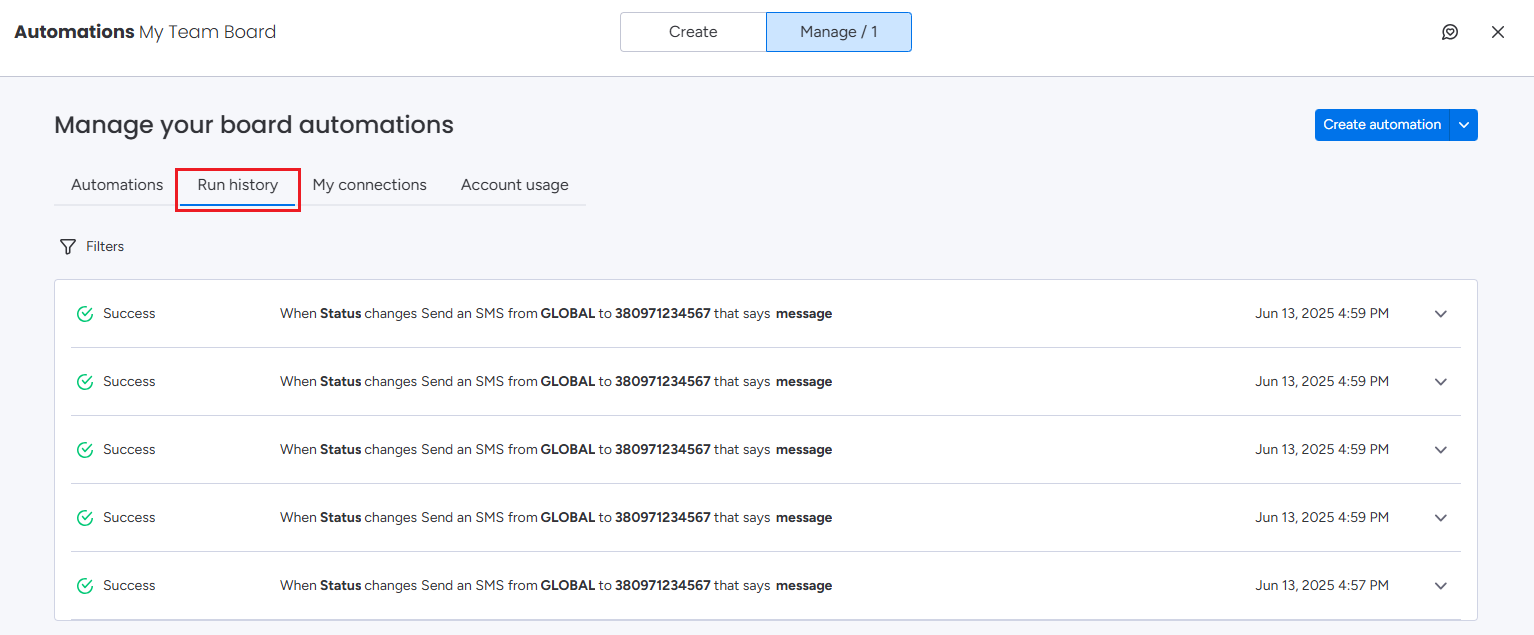
Run history tab
The monday.com connection linked to your TextPeak account will be added to your TextPeak Integrations tab.
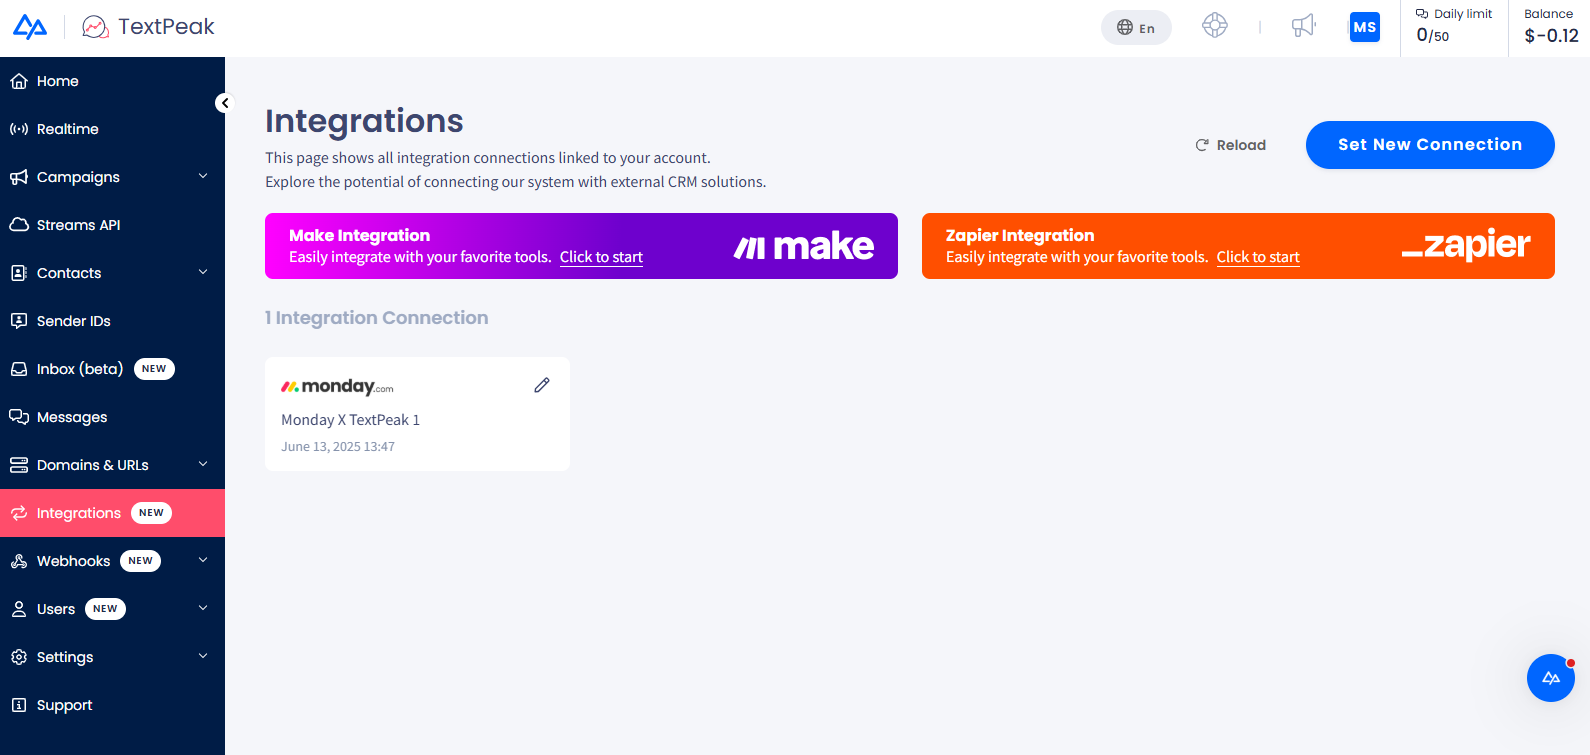
monday.com integration added to Integrations tab
Updated 6 months ago