SIP Account Authentication
Set password-based or IP-based authentication for your SIP account in CommPeak Portal.
Video Tutorial
Password-based authentication is enabled by default. However, you may want to switch to IP-based authentication when setting up a CommPeak server SIP trunk.
To switch between authentication types:
-
Expand VoIP Services in the left pane.
-
Click the SIP Accounts tab.
-
Click Edit for the SIP account you wish to modify.
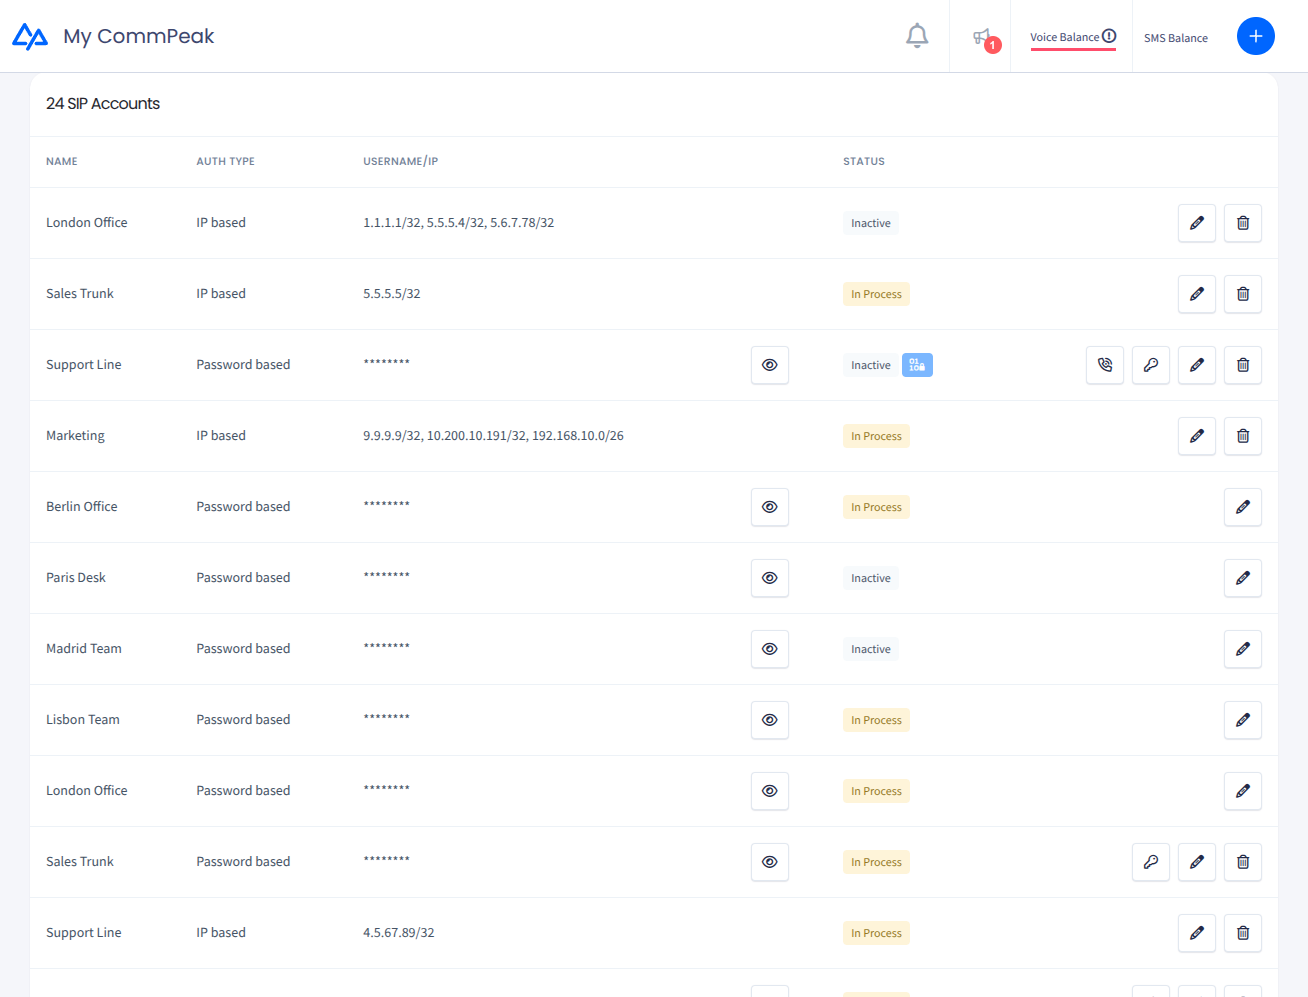
SIP account data in CommPeak Portal
-
On the Edit SIP Account page, go to the Authentication section. Use the Password authentication / IP authentication switch to pick a method, then fill in the corresponding fields.
- IP-Based Authentication
-
Select the IP authentication tab.
-
Enter one or more IP addresses allowed to access this SIP account. To enter an IP address, type in the field and click Add.
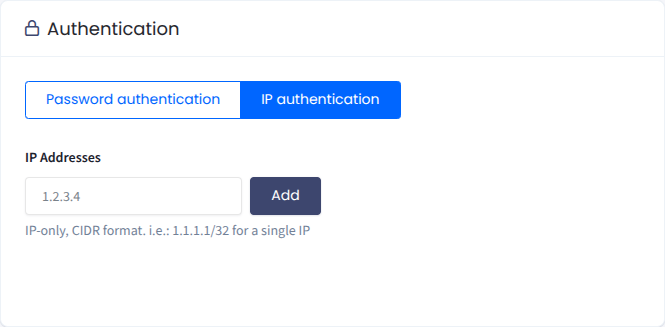
SIP account authentication by IP settings
-
Click Save changes.
-
Confirm the operation by entering your password and click Save Settings:
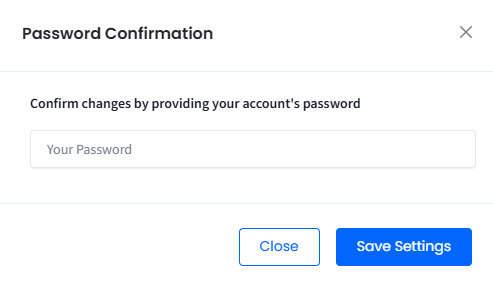
Password Confirmation window
NOTEFor your SIP account, you can only apply IP authentication to static IP addresses. However, Cloud PBX and CommPeak Dialer users have more IP access options.
- Password-Based Authentication
-
Select the Password authentication tab.
-
Enter your username, which must be at least eight characters long, and set a password (at least eight characters). Use the eye icon in the password field to reveal what you typed. Optionally, you can add extra authentication with an IP ACL (access control list) - specify one or more IPs from which you can access the SIP account with these credentials.
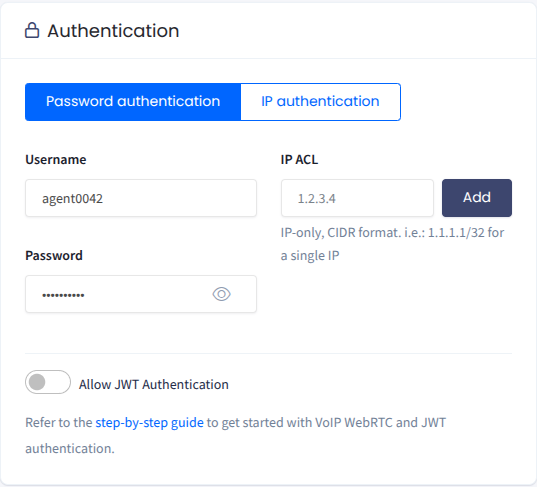
SIP account authentication by password settings
NOTEYour SIP account username can be a combination of lowercase letters and numbers!
-
Click Save changes.
Updated about 1 month ago