Recording Access Accounts
Configure S3 Browser to access call recordings from your CommPeak Cloud PBX instance or connect using the AWS CLI V2, configure access rules, and view access log in CommPeak Portal.
You can create accounts for your Cloud PBX or CommPeak Dialer to access files with call recordings via the S3 protocol.
Creating Access Accounts
To create an access account:
- In the CommPeak Portal expand Dialer and click Dialer Instances.
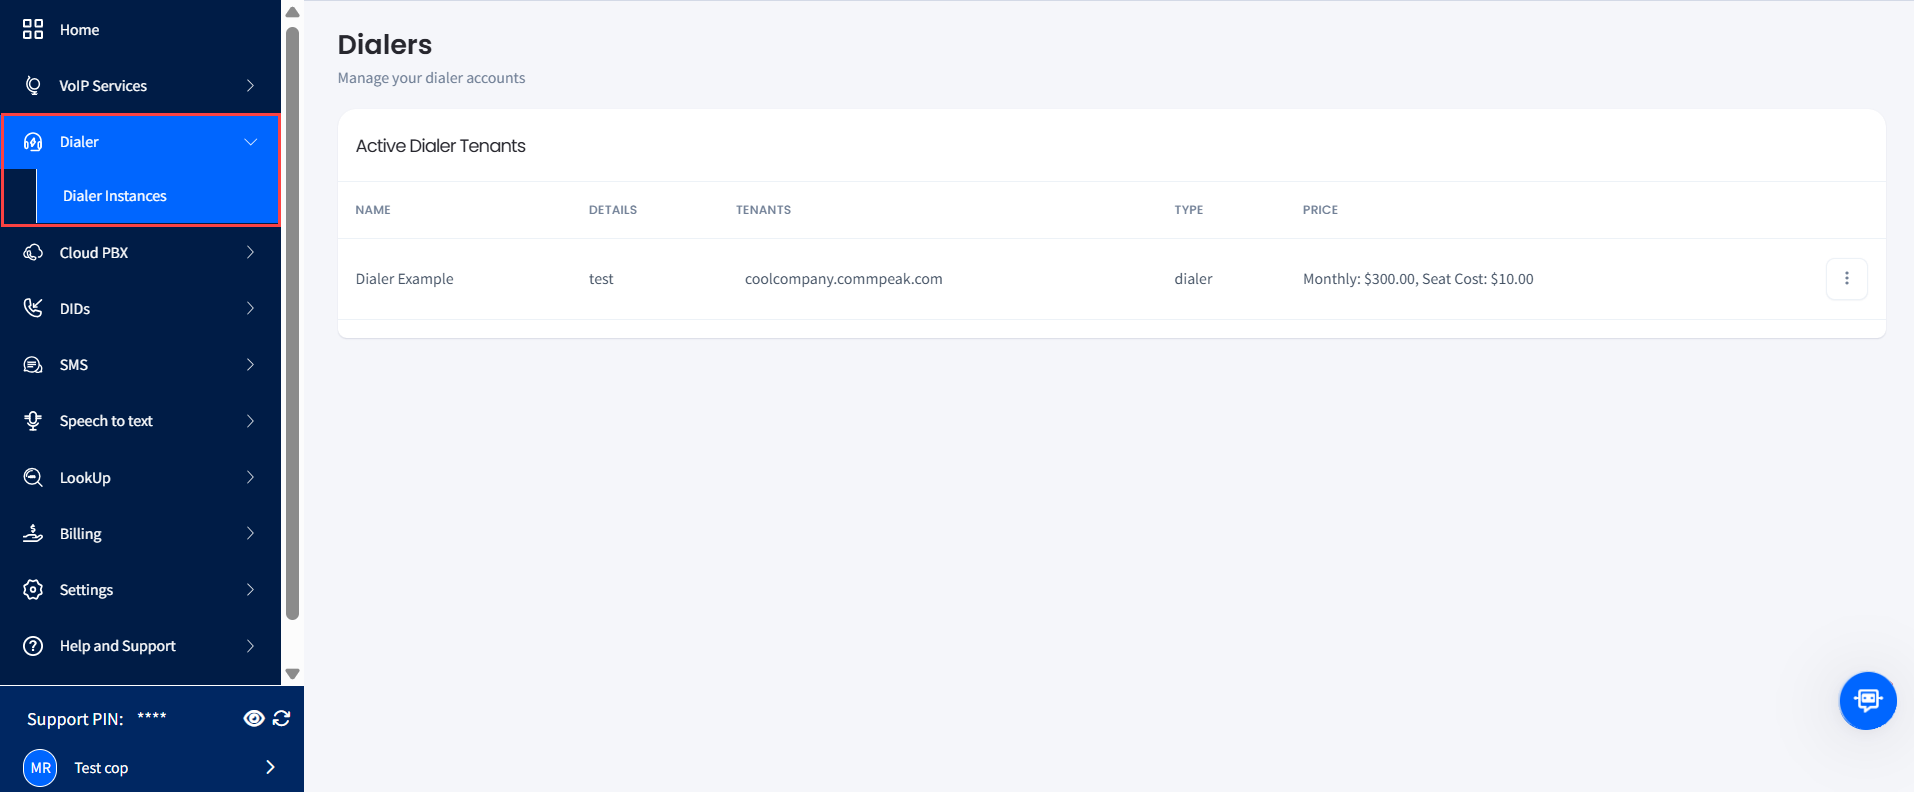
Dialer Instances page
Alternatively, expand Cloud PBX and click PBX Instances.
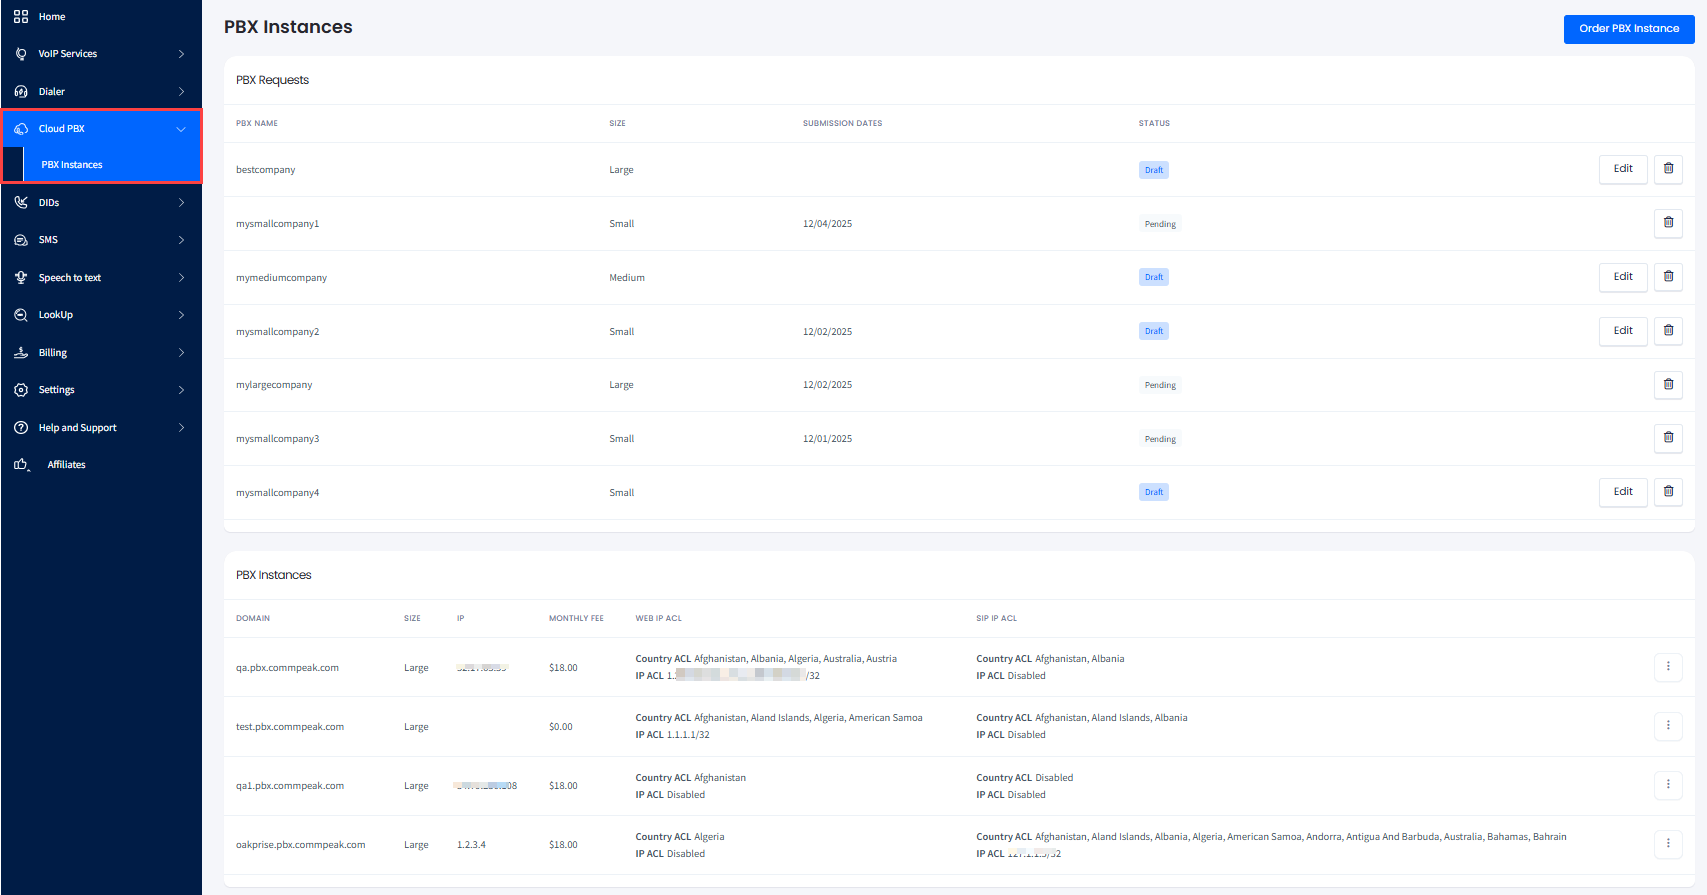
PBX Instances page
- Locate the needed Dialer or PBX instance, click the corresponding three-dot icon on the right of this instance, and select the Recording Access Accounts option:

Recording Access Accounts option
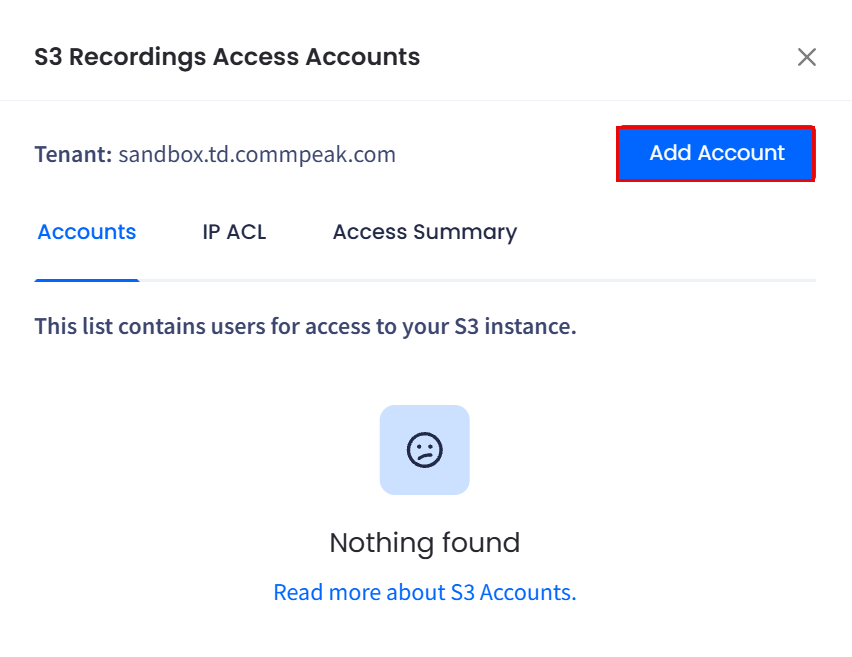
- In the Recordings Access Accounts sidebar that opens, click Add Account.
- Choose the access type:
-
View Only to allow downloading the recording files or
-
View and write to enable downloading , uploading, and deleting the recording files.
NOTEDeleted records cannot be restored. This action is irreversible.
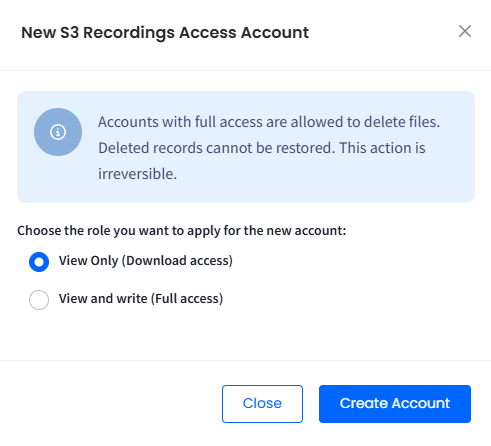
Creating an account for accessing recordings
- Click Create Account.
NOTE
You can create a maximum of two accounts per protocol: one with View Only (Download access) role and one with View and write (Full access) role.
If you try to create a second account of the same access type, the system blocks the action and displays an "Only 1 account allowed of this access type" message.
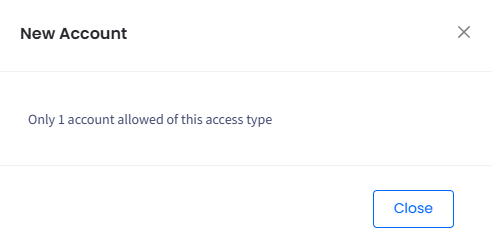
Only 1 account allowed of this access type message
- A message box with a new S3 token will appear on the screen.
IMPORTANTBefore closing the message box, make sure to copy the token because it will not be shown again.
Resetting the S3 secret is not possible.
- When added, the new account appears in the sidebar list.
To remove an account, click the delete icon.
IMPORTANTNote that this action is irreversible!
Connecting via S3 Browser
NOTEEnsure that the public IP address of your remote server or PC is whitelisted in the Access Control List.
- Once you've downloaded and installed the S3 browser, go to Accounts > Add New Account at the top left. Fill in the following information:
-
Display name (alias only): enter your PBX or Dialer name
-
Account type: select S3 Compatible Storage
-
REST Endpoint: enter recordings.commpeak.com
-
Access Key ID: enter your S3 account token
-
Secret Access Key: enter the secret key you copied while creating your S3 account
-
ensure that you select the Use secure transfer (SSL/TLS) checkbox

Adding an account in S3
-
Click Add new account.
-
In the advanced settings of your S3 browser, select the following options:
- Signature version: Signature V2 or Signature V4
- Addressing model: Path style.
TIPIf your recordings bucket contains a large number of files or directories, consider using the Pagination feature. This allows you to divide large bucket listings into manageable pages.
Please refer to the S3 Browser page for information on bucket pagination.
Connecting via AWS CLI V2
Those who prefer command-line tools can use the AWS Command Line Interface (AWS CLI), a unified tool to manage AWS services. It allows you to control multiple AWS services and automate them through scripts.
- Download link: https://docs.aws.amazon.com/cli/latest/userguide/getting-started-install.html
- Run the following commands to connect to your recordings storage via AWS CLI V2:
- To begin, open your computer's command line interface (CLI). This can typically be found by searching for "command prompt" or "terminal" in the search bar.
- Enter the following command:
$ aws configure --profile "your PBX or Dialer name"This will create a new profile for your PBX or Dialer in AWS CLI V2.
- Next, you will be prompted to enter your AWS Access Key ID (your S3 account token) and Secret Access Key (your S3 account secret). These can be found in your S3 account settings. Enter them when prompted.
- You will also be asked for your Default region name and Default output format; feel free to leave these blank for now.
- Now that you have configured your new profile, you can use it to connect to your recordings storage. Enter the following command:
$ aws s3 ls s3:// --endpoint-url https://recordings.commpeak.com/ --profile "your PBX or Dialer name"This will list the bucket name for your recordings storage. Please note that the bucket name will be a long string of numbers and letters, such as
a123465-7891-4234-9c5c-9a1231322ea- To sync your recording files to your local directory, use the following command:
aws s3 sync s3://bucket_name/recordings/ /home/local_directory/ --endpoint-url https://recordings.commpeak.com --profile "your PBX or Dialer name" --page-size 100This will sync all of your recording files with the specified local directory.
Example:
aws s3 sync s3://a123465-7891-4234-9c5c-9a1231322ea/recordings/2024/10/01/14/ /home/root/ --endpoint-url https://recordings.commpeak.com --profile "mypbx" --page-size 100
NOTEReplace your PBX or Dialer name with the real name and your bucket name with the one you obtained in the previous step.
If you encounter any issues or need more information about AWS CLI V2 commands, you can use the --debug flag in your commands to view a full debug report. You can also refer to the AWS CLI V2 documentation.
Storage Directory Structure
- _/{year}/{month}/{day}/{hour}/"audio file with outgoing or incoming call recording.flac"
Example:
/2025/11/11/02/out-441632960770-101-20211111-125343-1636635223.0.flac
/2025/11/11/02/out-3655759816-394-20211111-142929-1636640969.74.flac
/2025/06/07/13/in-16135550146-611900654321-20210607-085238-1623055958.18.flac
/2025/06/10/13/in-16135550146-559552757804-20210610-090143-1623315703.97.flac
Access Control List
To access your storage, you must configure access rules for your S3 accounts.
To set IP ACL:
-
Go to the IP ACL tab in the Recordings Access Accounts sidebar.
-
Enter an IP address with a subnet mask for an account.
-
Click the Add button.
-
Repeat the steps to add more IPs.
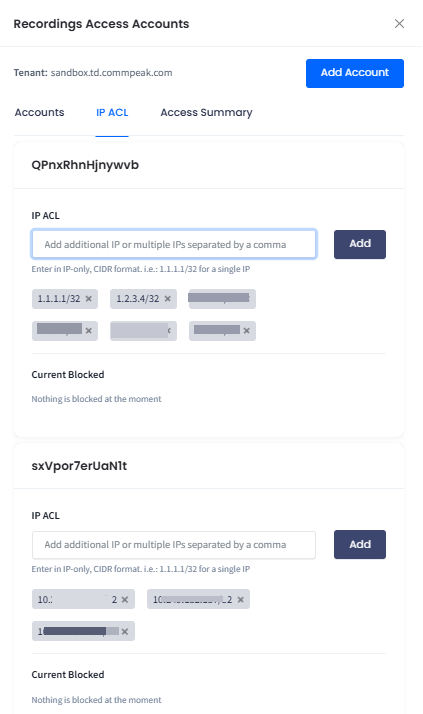
ACL rule settings for accessing the recordings' storage
If the CommPeak system blocks your username for violating the maximum concurrent connections, you can unblock it in Current Blocks.
Access Log
You can view a summary for the selected date range or download a log file with more detailed information.
To view access details:
-
Go to the Access Summary tab in the Recordings Access Accounts sidebar.
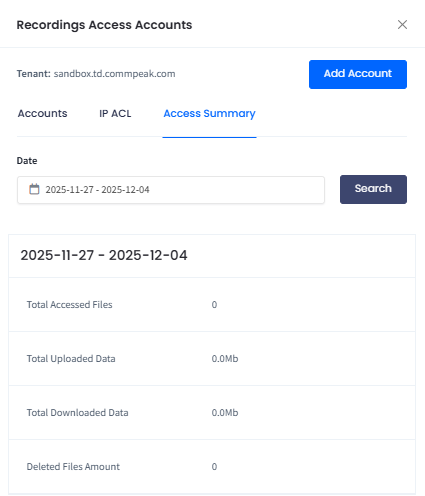
Viewing the access summary
-
Select a date range in the interactive calendar or use presets.
-
Click Search.
-
You will see how many files were opened or deleted and the amount of uploaded and downloaded data during the selected period.
-
Click the download icon to save a .csv file with the access log. The log contains more details, such as IP address, exact time, action, downloaded file path, and errors, if any.
Updated 25 days ago