Canned Templates
A comprehensive guide for managers on how to create and manage the customized Inbox responses for most common customers' queries.
In the Canned templates view, Inbox admins or managers (provided they hold the corresponding Inbox role permissions) can create and manage predefined templates. Using predefined canned templates in the common query responses can save agents' operational time.
To access the Canned Templates tab options:
- In your browser, log in to TextPeak with manager access privileges.
- In the main TextPeak menu, select the Inbox tab.
- Next, click Settings at the bottom left and navigate to the Canned templates tab.
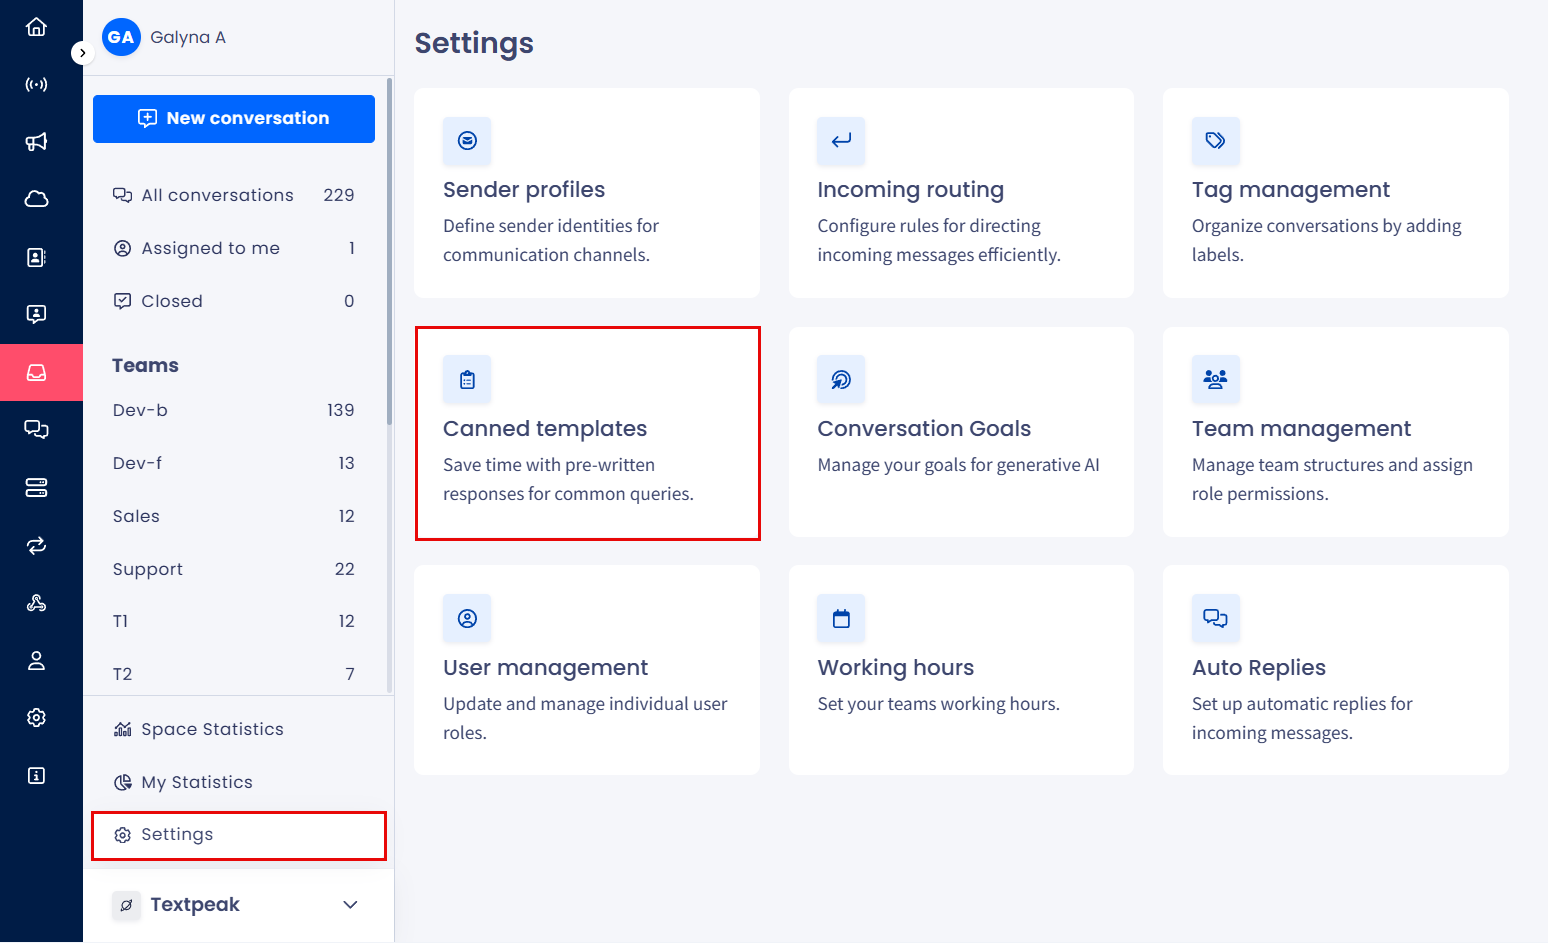
Canned templates page
IMPORTANTInbox agents have no access to the Settings > Canned Templates page and can manage conversations only.
Here, you can view a table with canned templates added to your account.
The table organizes all information about existing templates in the following columns: Template Name, Message, Created At, and Actions.
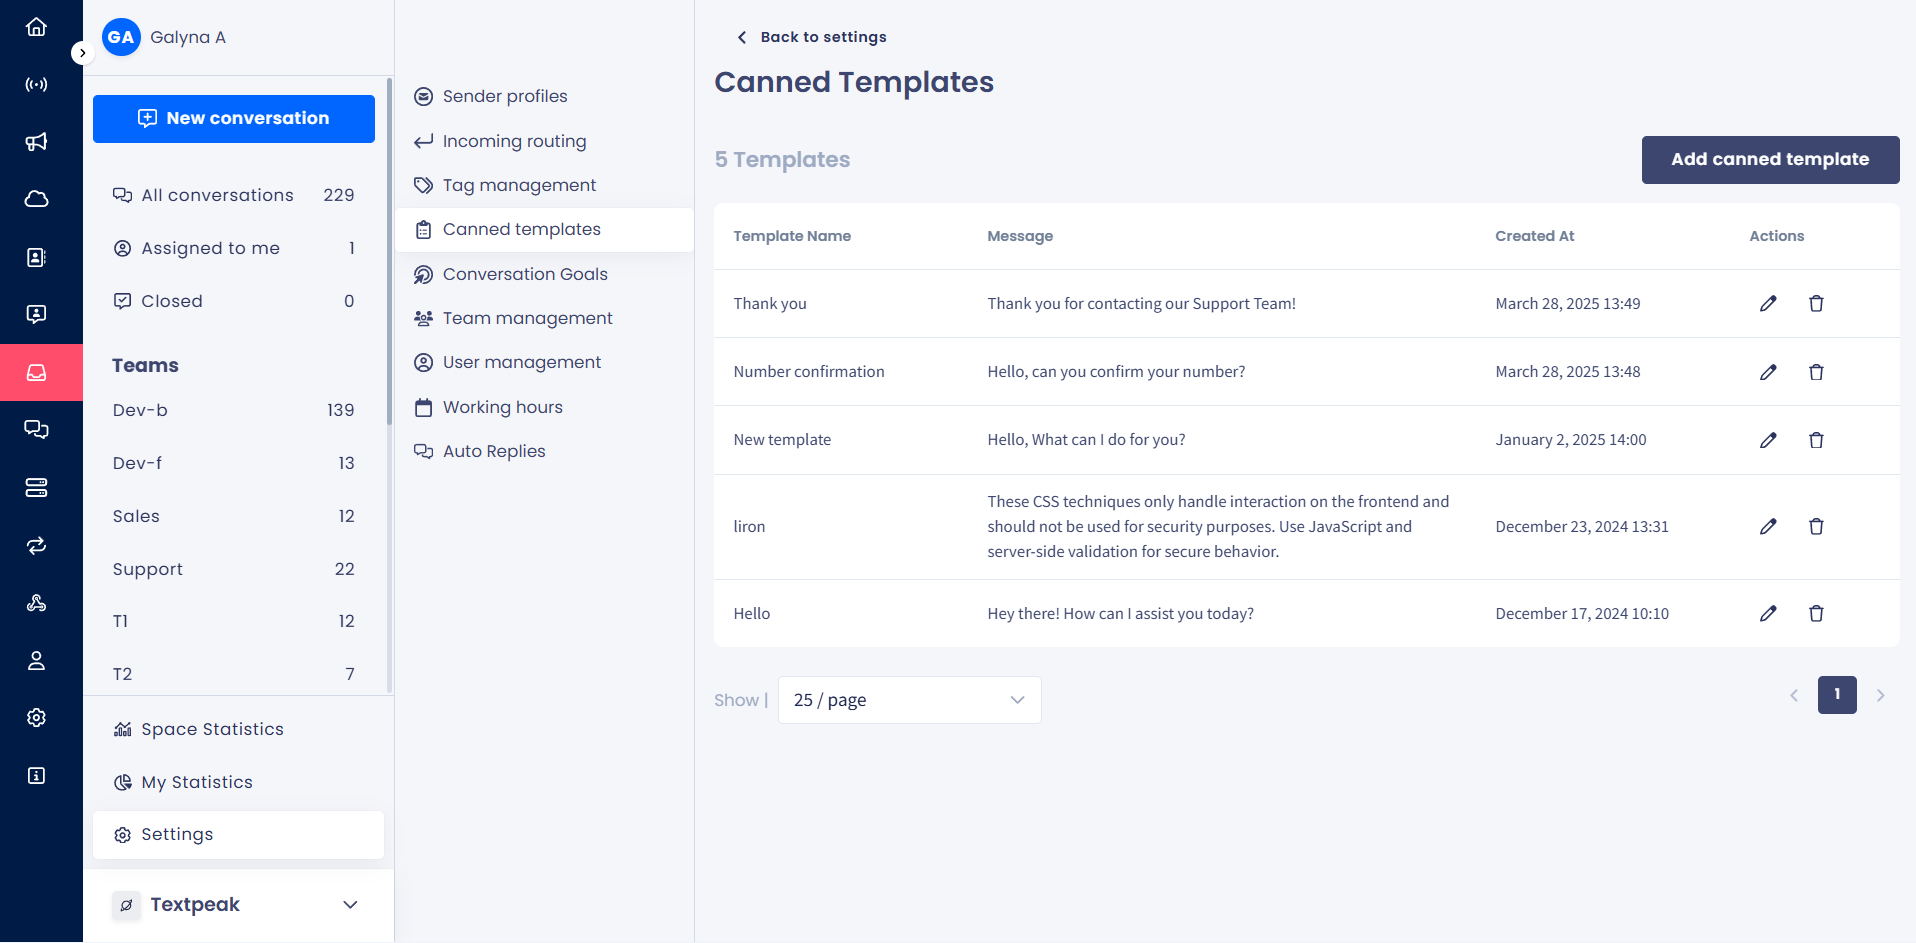
Inbox > Settings > Canned Templates tab
Creating Canned Templates
To create a new canned template:
- Click Add canned template at the top right.
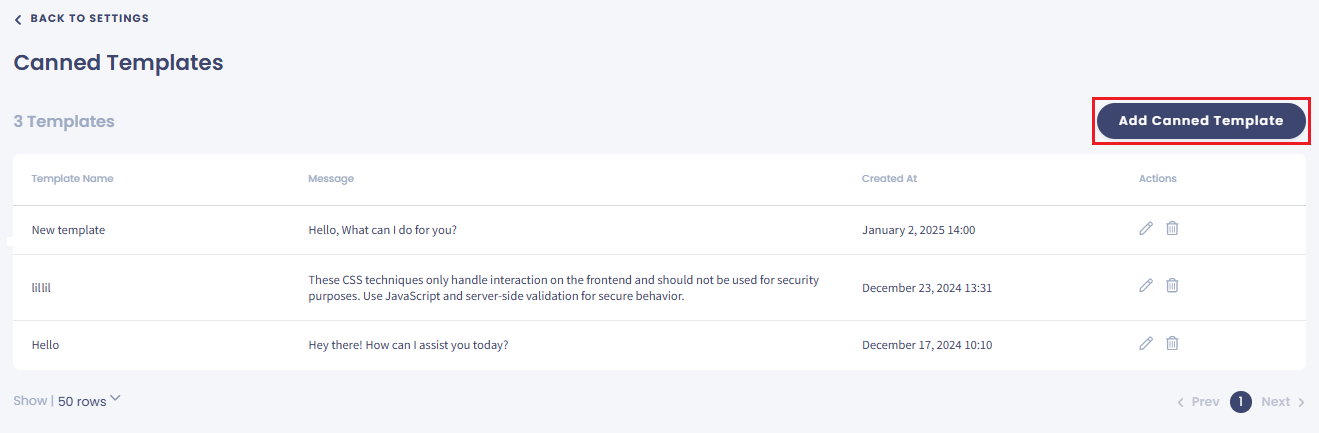
Canned Templates table with the Add Canned Template button
- In the pop-up window that appears, enter a name for your new message template, then enter the template text.
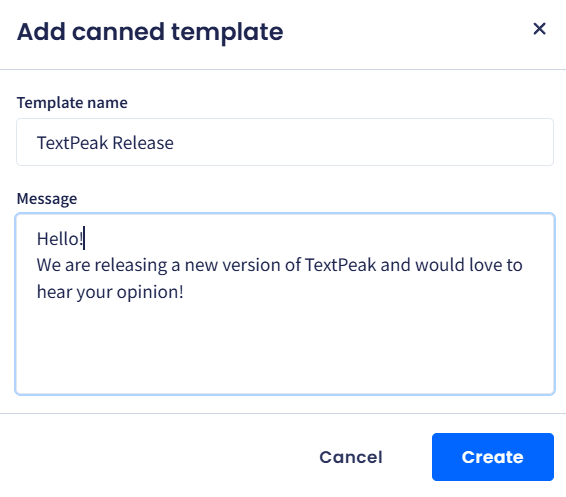
Add canned template dialog box
- Click Create.
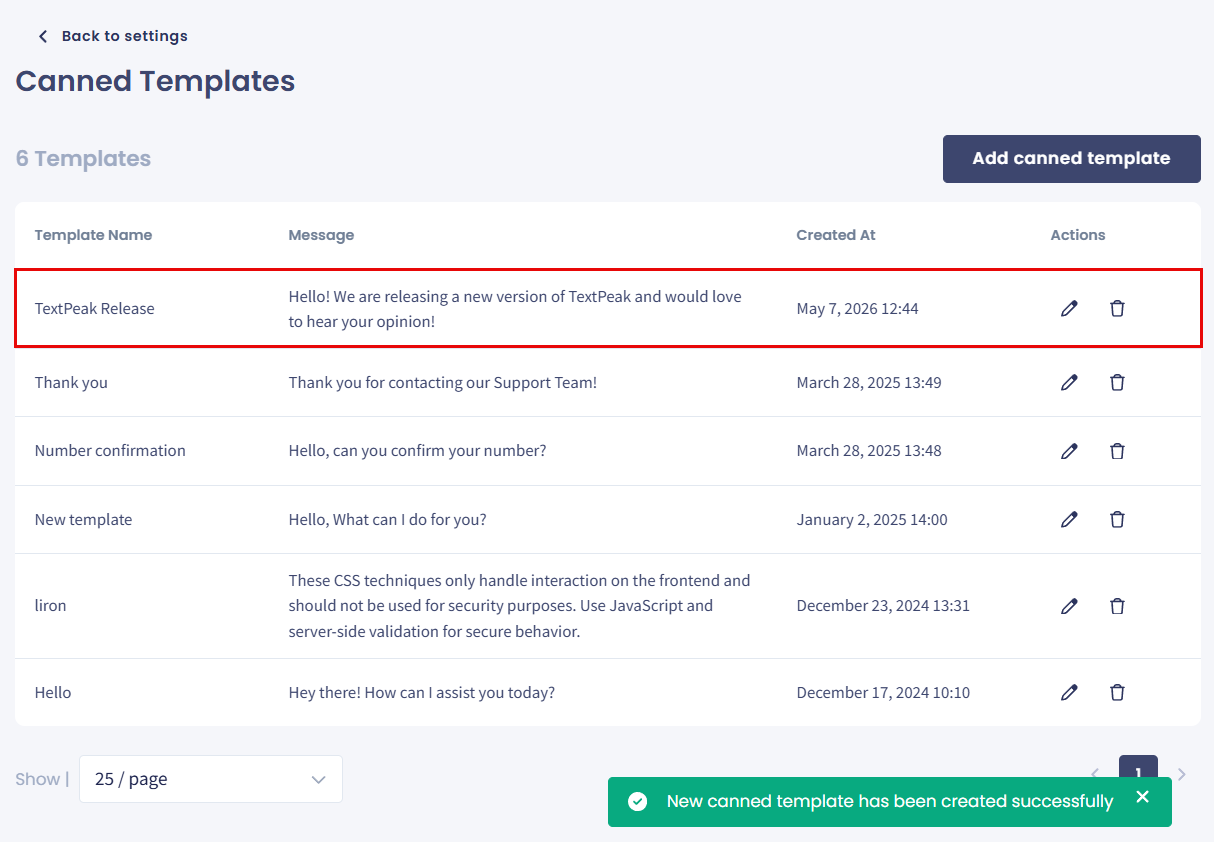
New canned template created
Managing Canned Templates
To edit an existing canned template:
- Click the pencil action button next to the template record.
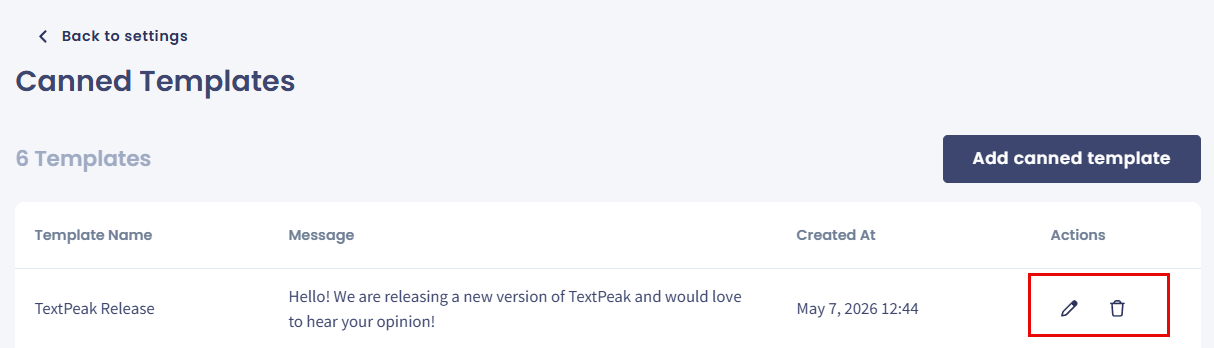
Canned template action buttons
- In the Edit canned template dialog, update the template data.

Edit canned template dialog box
- Click Save.
- Alternatively, to remove the canned template, click the bin button and confirm that you want to delete it.
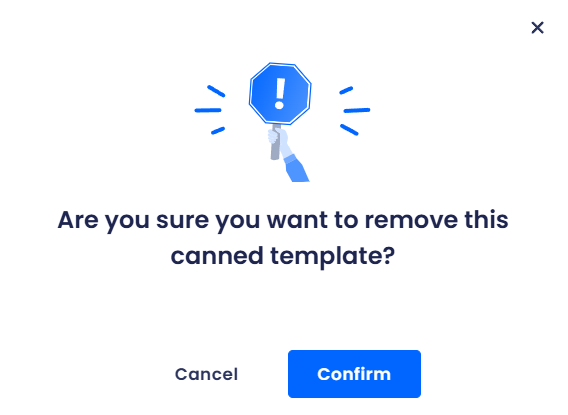
Removing canned template confirmation dialog
- Click Cancel to navigate back to the inbox settings menu.
Updated 2 months ago