Reset a forgotten CommPeak password, complete login verification afterwards, and recover access when you cannot reach the mailbox that receives your recovery link.
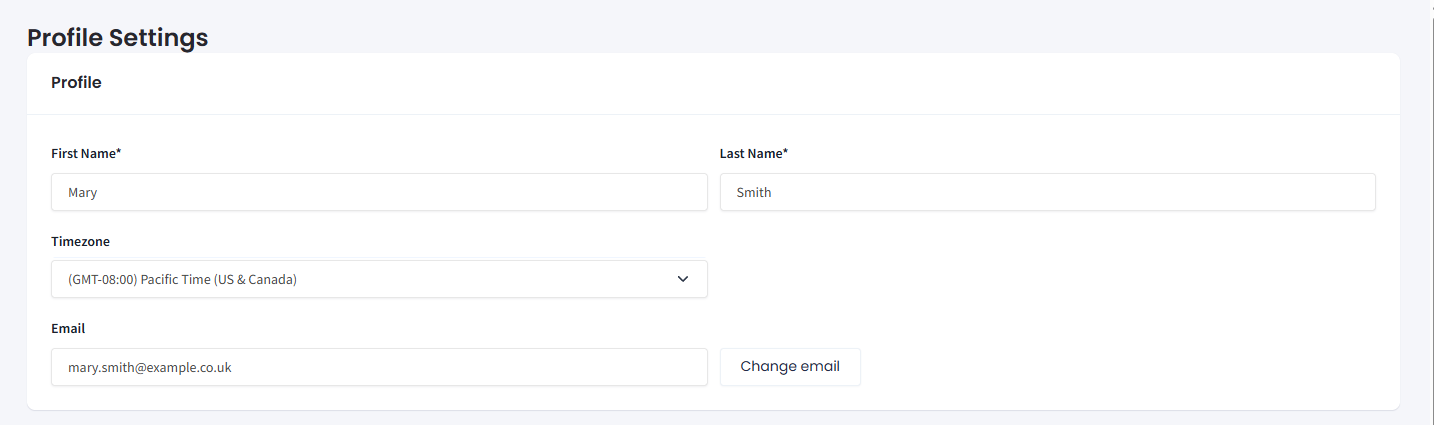
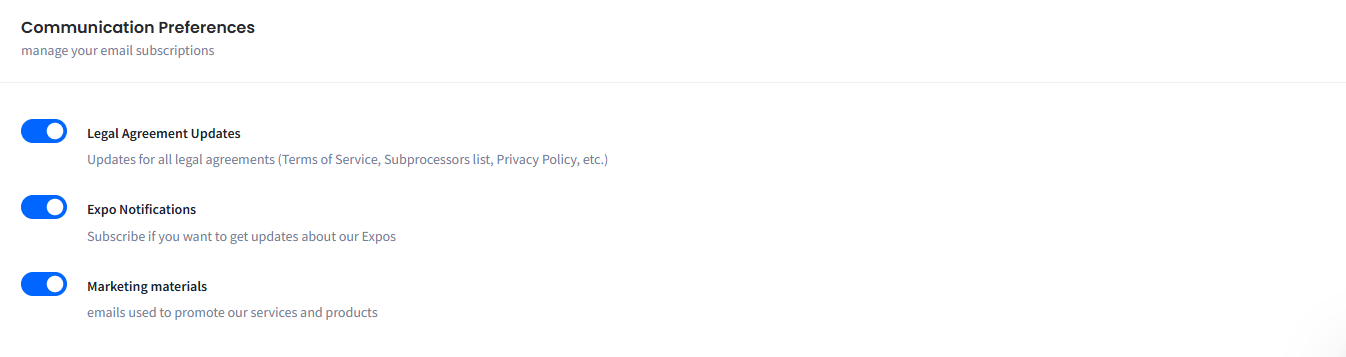
Use the Profile Settings tab to update your personal details, change your email and password, manage social logins, and manage your email subscriptions.
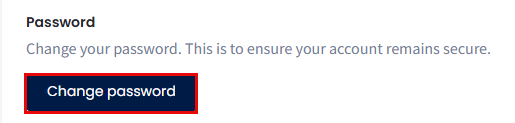
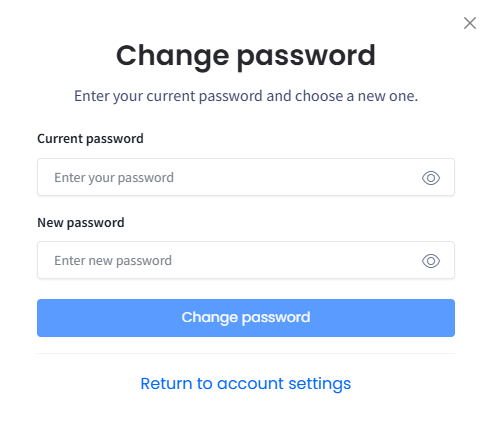
In the Change password dialog, enter your current password and the new one.
Change password dialog
📘
NOTE
Your new password must contain at least 8 characters, both upper and lower case letters, and at least one number.
Click Change password. To go back without saving, click Return to account settings.
📘
TIP
If you've forgotten your CommPeak password or can't sign in for any other reason, you can request a password recovery link from the login screen.
Two-factor authentication
Two-factor authentication (2FA) adds a second identity check after your password, so a stolen password on its own is not enough to reach your account.
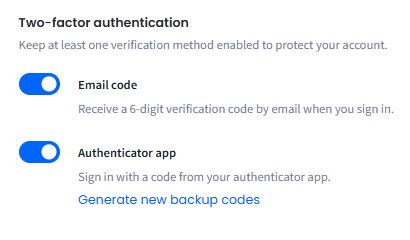
The Security settings > Two-factor authentication section shows which verification methods are active on your account.
Two-factor authentication section with both verification methods enabled
You can use either method, or both:
Email code sends a six-digit verification code to your account email address when you sign in.
Authenticator app uses a six-digit code generated by an authenticator app on your phone, such as Google Authenticator.
📘
NOTE
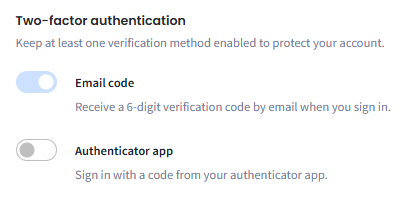
One verification method always stays enabled. You can turn a method off only while the other one is enabled, and the remaining method's toggle then appears dimmed and does not respond until you turn the other method back on. With both enabled, you can switch between them on the Login verification screen without changing your settings.
Authenticator app off, Email code toggle dimmed
Changing your verification methods
Turning a verification method off asks for your password, so nobody can weaken your account security from a session you left open. Setting up the authenticator app starts with the setup dialog instead.
To change your verification method:
In the Security settings > Two-factor authentication section, click the toggle for the method you want to change.
In the confirmation dialog, enter your password and click Continue. To go back without changing anything, click Return to account settings.
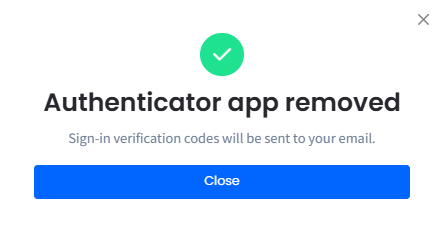
Click Close on the confirmation dialog, which names the change you made and what happens next. Your change is saved at this point, so the Save changes button at the bottom of the Profile tab does not apply to 2FA.
Authenticator app removed confirmation
❗️
IMPORTANT
Removing the authenticator app deletes its backup codes as well. Codes you saved earlier stop working.
To set up the authenticator app:
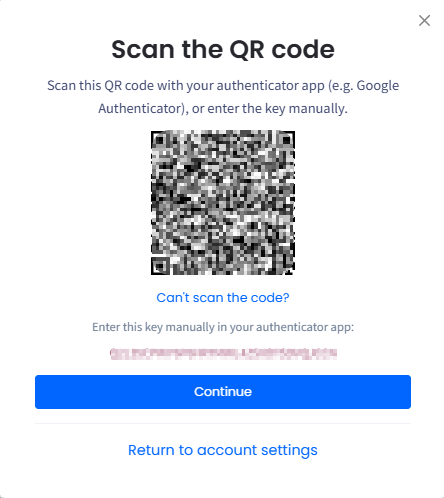
In the Security settings > Two-factor authentication section, turn on the Authenticator app toggle. The Scan the QR code dialog opens.
Scan the QR code with your authenticator app, such as Google Authenticator.
If your app cannot scan codes, or you are setting it up on the same device, click Can't scan the code? and type the key shown underneath into your app instead.
Scan the QR code dialog with Can't scan the code? expanded
❗️
IMPORTANT
The QR code and the key below it are credentials. Anyone who photographs the code or copies the key can generate valid sign-in codes for your account. Do not screenshot the dialog, share it, or leave it open on a screen others can see.
Click Continue to proceed with the app entering the code your authenticator app shows. Alternatively, click Return to account settings to go back without adding the app.
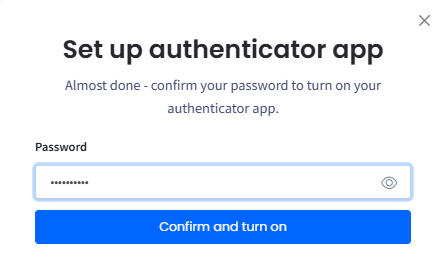
Provide your password to turn on the authenticator app.
Set up authenticator app confirmation dialog
The Save your backup codes dialog opens; store the codes somewhere safe and click I saved my backup codes to close the dialog.
The Authenticator app method is enabled with the option to generate new backup codes.
Backup codes
Backup codes belong to your authenticator app and let you sign in when you cannot reach it. Each code works once, and the set is shown to you only when you generate it. Removing the authenticator app deletes its backup codes, and the Generate new backup codes link disappears from the section until you turn the app back on.
To generate a new set of backup codes:
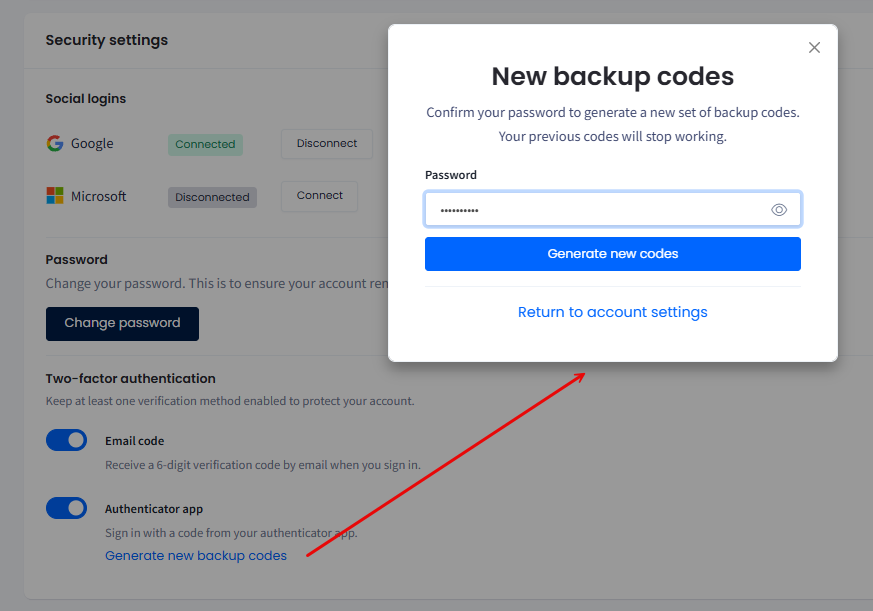
In the Security settings > Two-factor authentication section, click Generate new backup codes.
In the New backup codes dialog, enter your password and click Generate new codes. To go back without generating codes, click Return to account settings.
New backup codes dialog
❗️
IMPORTANT
Generating a new set cancels the old one. Any backup codes you saved earlier stop working as soon as the new set appears.
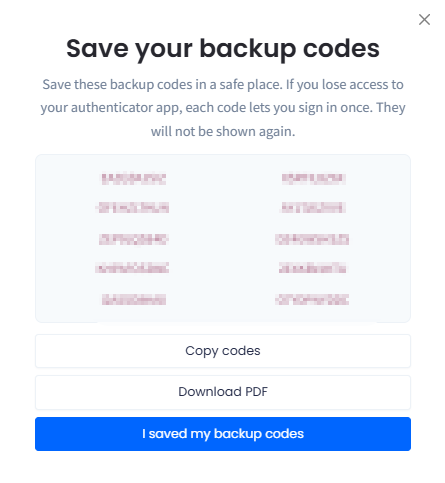
In the Save your backup codes dialog, store the codes somewhere safe. Click Copy codes to copy them to your clipboard, or Download PDF to save them as a file.
Save your backup codes dialog
Click I saved my backup codes to close the dialog.
🚧
WARNING
The codes appear once. After you close the Save your backup codes dialog, you cannot view them again. If you lose them, generate a new set.
Verifying your login
After you enter your password, CommPeak Portal shows the Login verification screen and asks for a six-digit code.
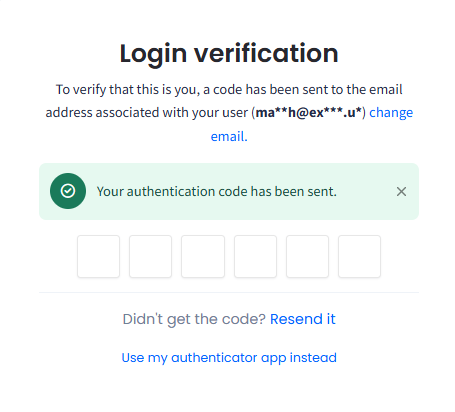
If you verify by email, the code goes to the address on your account. Check your inbox and enter the code in the six boxes.
Login verification screen for the email code
If the code does not arrive, click Resend it. A countdown runs before you can request another one.
To switch methods for this login, click Use my authenticator app instead.
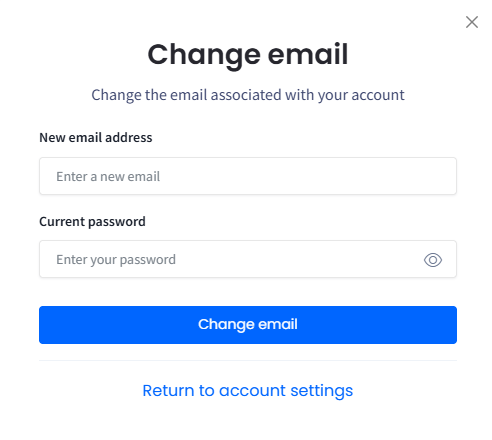
To correct the address the code goes to, click change email.
If you cannot reach that address at all, click Can't access your email? and confirm the details about your account instead. See Logging In for the full walkthrough.
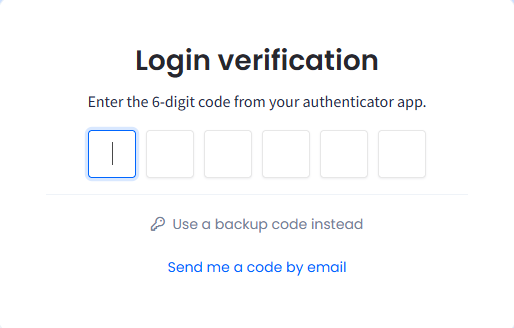
If you verify by authenticator app, open the app on your phone and enter the current six-digit code you see there.
Login verification screen for the authenticator app code
To sign in with a backup code, click Use a backup code instead.
To switch methods for this login, click Send me a code by email.