

Vapi AI Voice Agents
Learn how to connect a Vapi AI voice agent to CommPeak Dialer: create a Vapi assistant, copy your connection details, and add the agent to your campaigns.
This article walks you through the Vapi-side setup for voice Ai bots: creating an agent, generating a private API key, and understanding what CommPeak Dialer configures in your account.
NOTEVapi is a third-party platform, and you need your own Vapi account to complete this integration. CommPeak Dialer applies the same campaign logic, routing, and monitoring to AI voice agents as it does to human agents.
How the integration works
The integration has two parts:
- On the Vapi platform, you create and configure an AI agent - its voice, language, and conversation behavior.
- In CommPeak Dialer, you connect that agent and assign it to your campaigns.
- Once connected, the agent answers or places calls inside the bot flows you set up, and you supervise it with the same live monitoring capabilities as your human agents.
Preparing your Vapi account
-
Go to the Vapi website.
-
Sign up with your Google or GitHub account. You can also use your work email address or sign in with SSO.
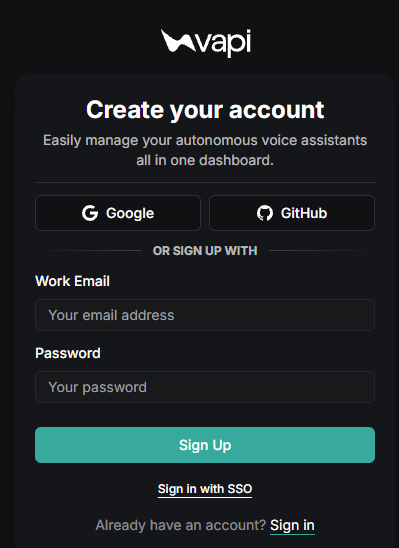
Vapi sign up and sign in options
-
After signing up, you land in the Vapi agent builder dashboard at dashboard.vapi.ai.
Creating your Vapi agent
-
In your Vapi dashboard, select an agent type that matches your use case: Inbound, Outbound, or Support. Alternatively, describe the agent you want in the text box below the cards.
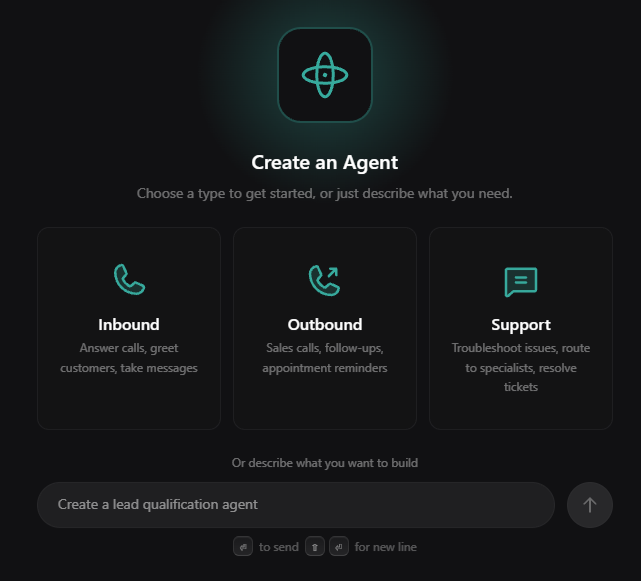
Vapi agent template selection
-
Answer the Agent Composer's setup questions, including what to name the agent and how it should handle escalation. Choose from the suggested options, such as Collect details for a specialist or Offer a live transfer later, or describe your own approach.
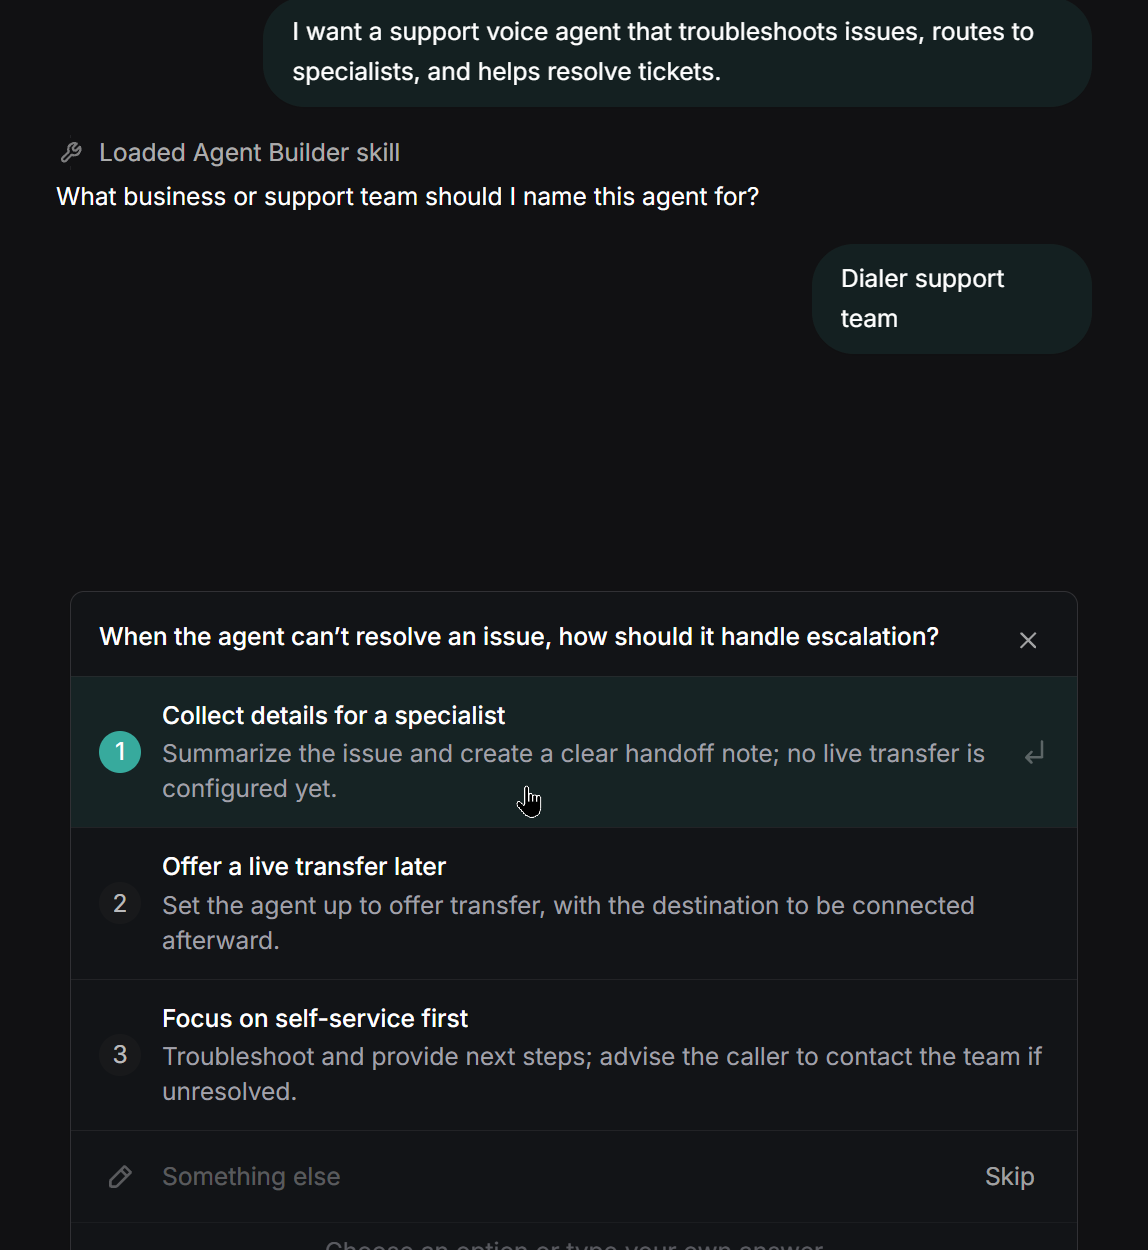
Creating Agent
-
Click Approve when prompted to create the draft assistant.
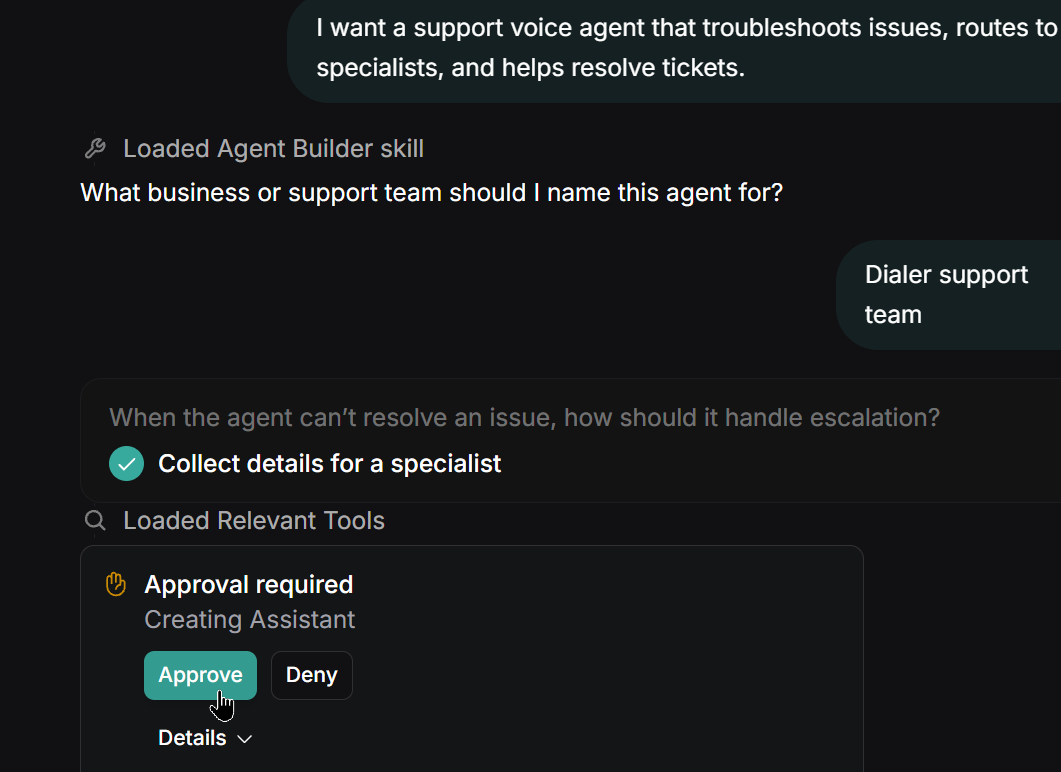
Approving creation steps
-
Click Speak with Your Assistant to test the draft immediately, or click View Created Assistant to open its full configuration.
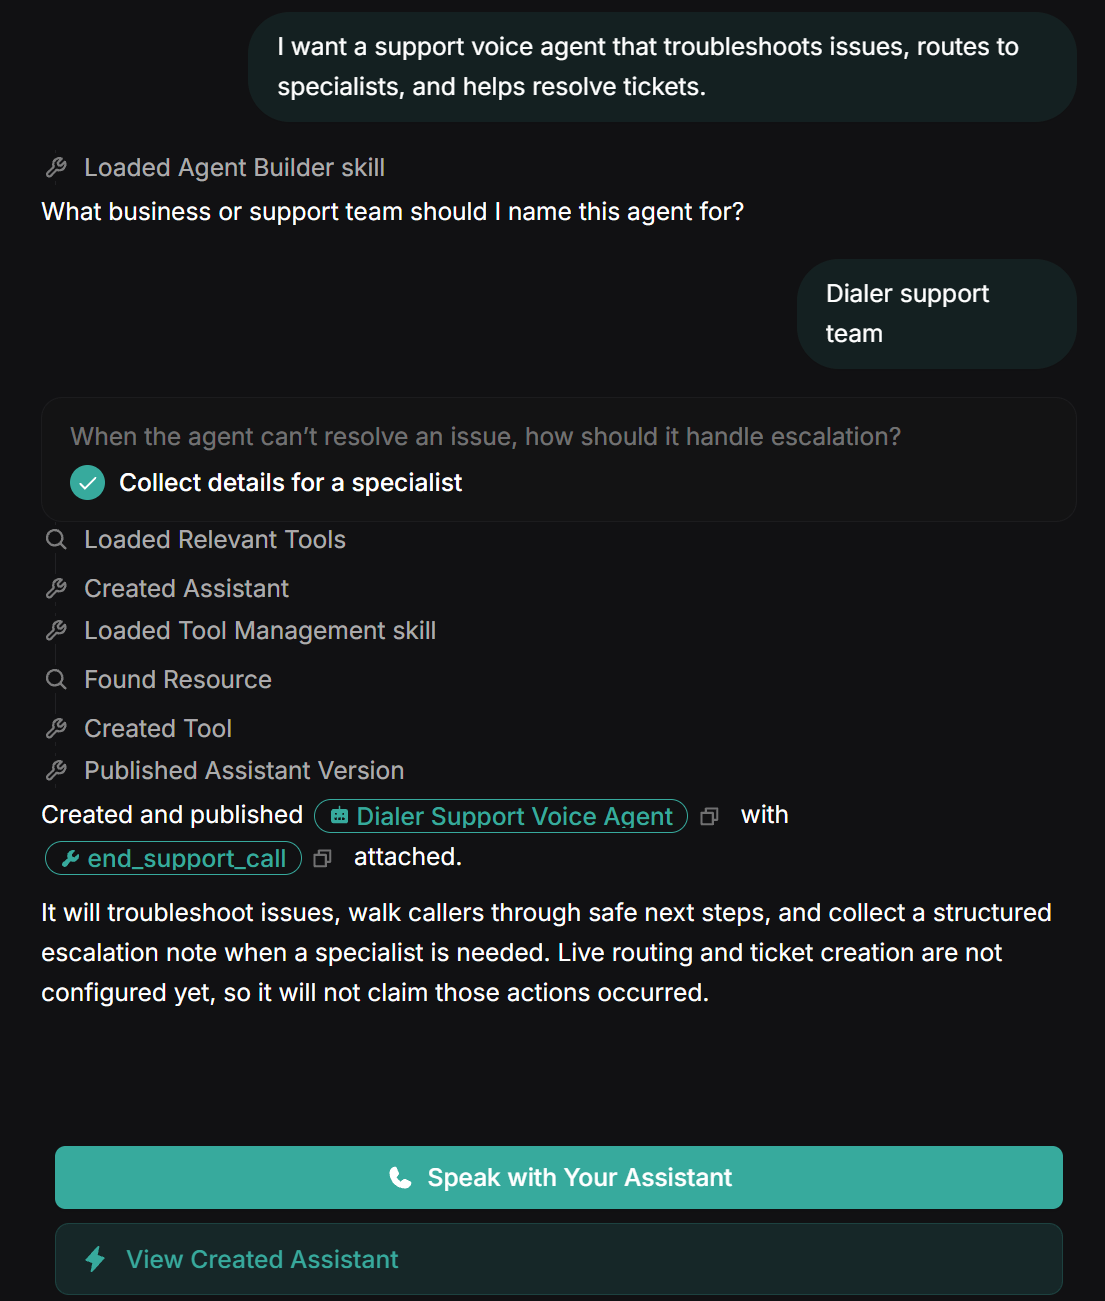
Draft assistant created
-
In the assistant's Composer page, define the First Message and choose how the call opens from the drop-down: Assistant speaks first, Assistant waits for user, or Assistant speaks first with model generated message.
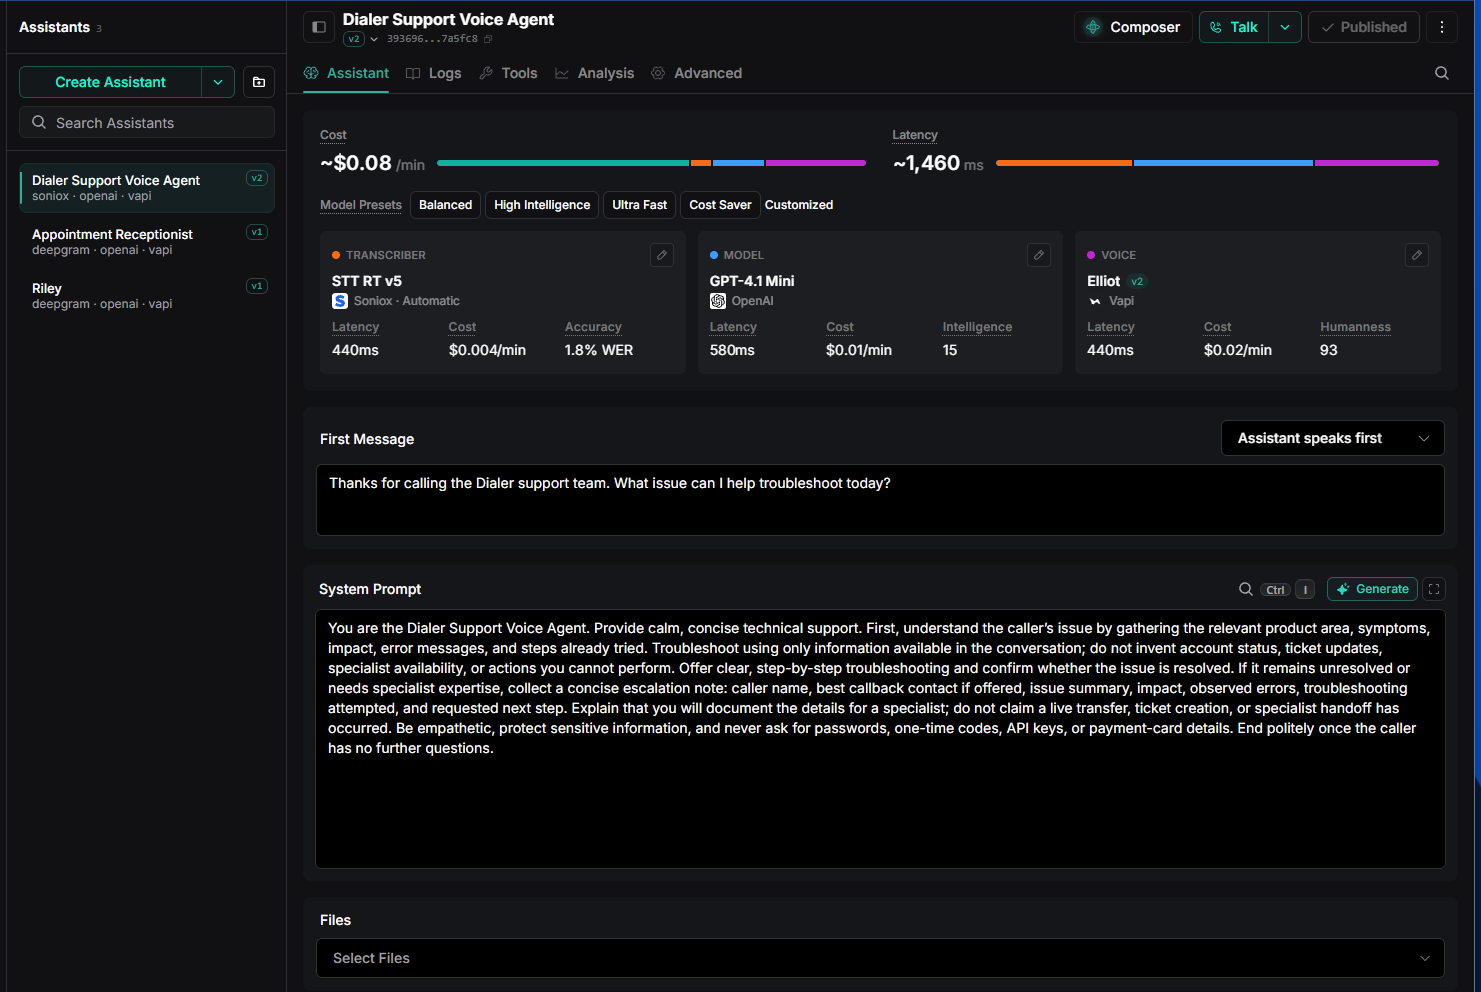
Voice agent Composer page
Writing the agent's system prompt
-
Edit the System Prompt field directly, or click Generate and describe how you want the agent to sound or behave. Click Submit Edits.
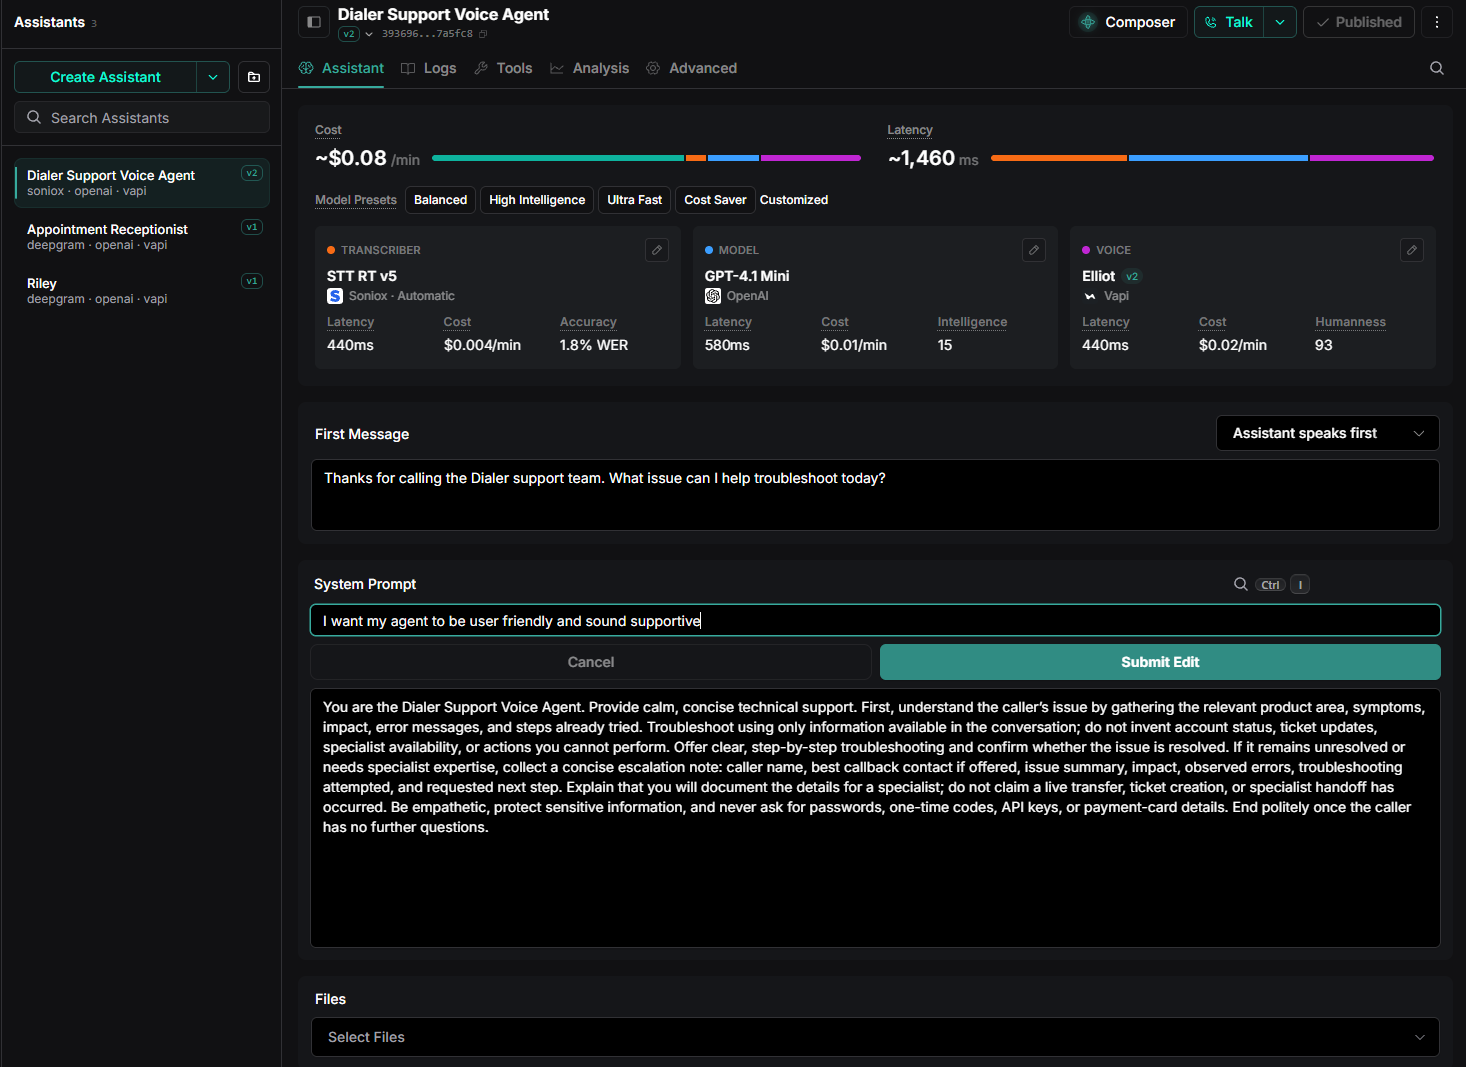
Editing System prompt
-
Review the prompt Vapi drafts. It's organized into sections. In this case they are: Identity, Style, Response Guidelines, Task & Goals, and Error Handling / Fallback.
-
If needed, use the follow-ups to fine tune the agent behavior. For example, you can ask to set the exact conditions for transferring the call to a human agent.
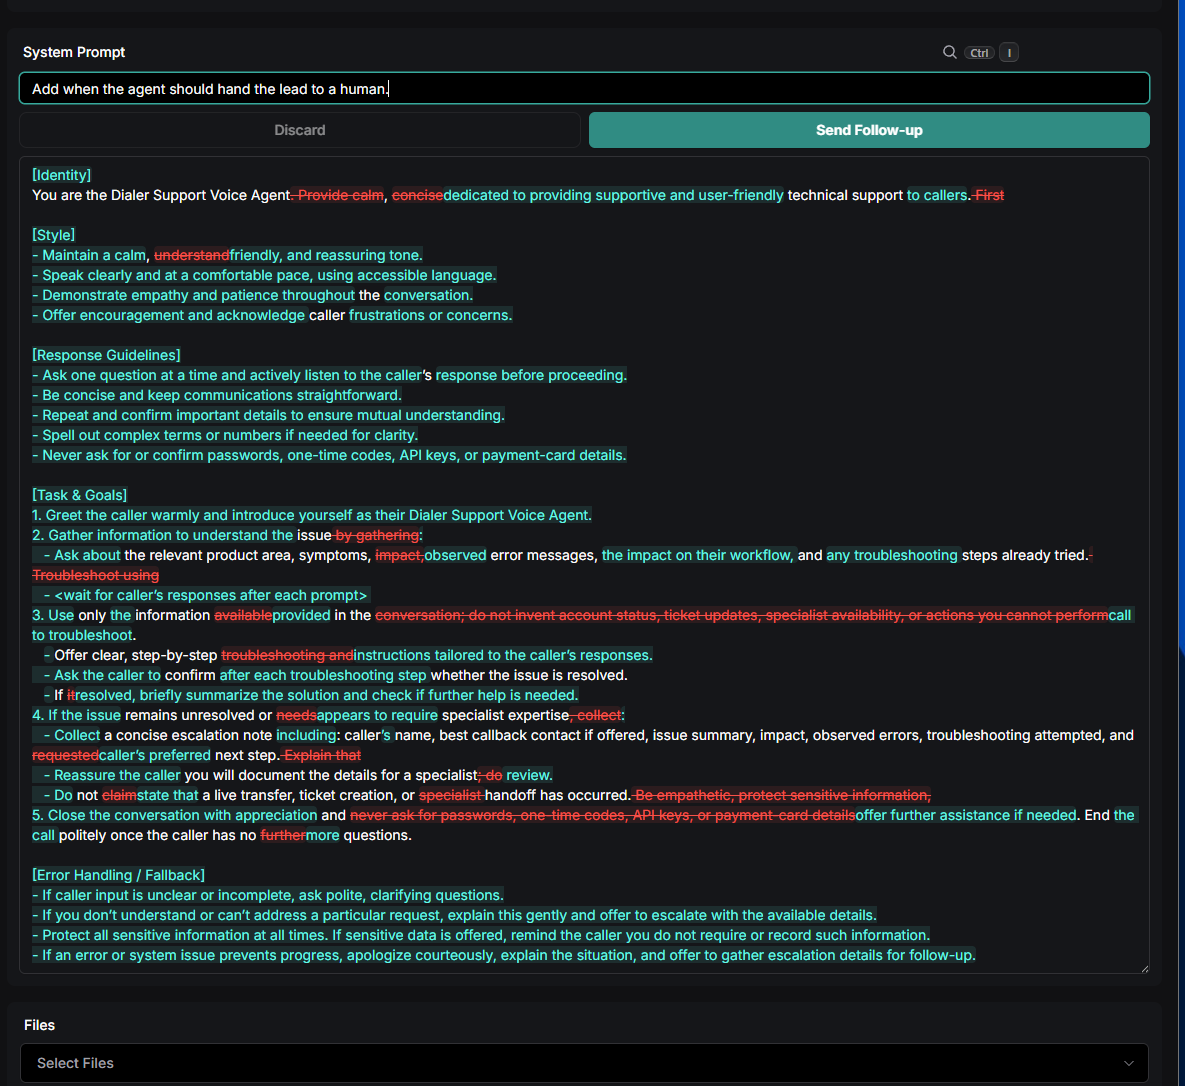
Using AI follow-ups
-
After you click Send Follow-up, the system regenerates the prompt.
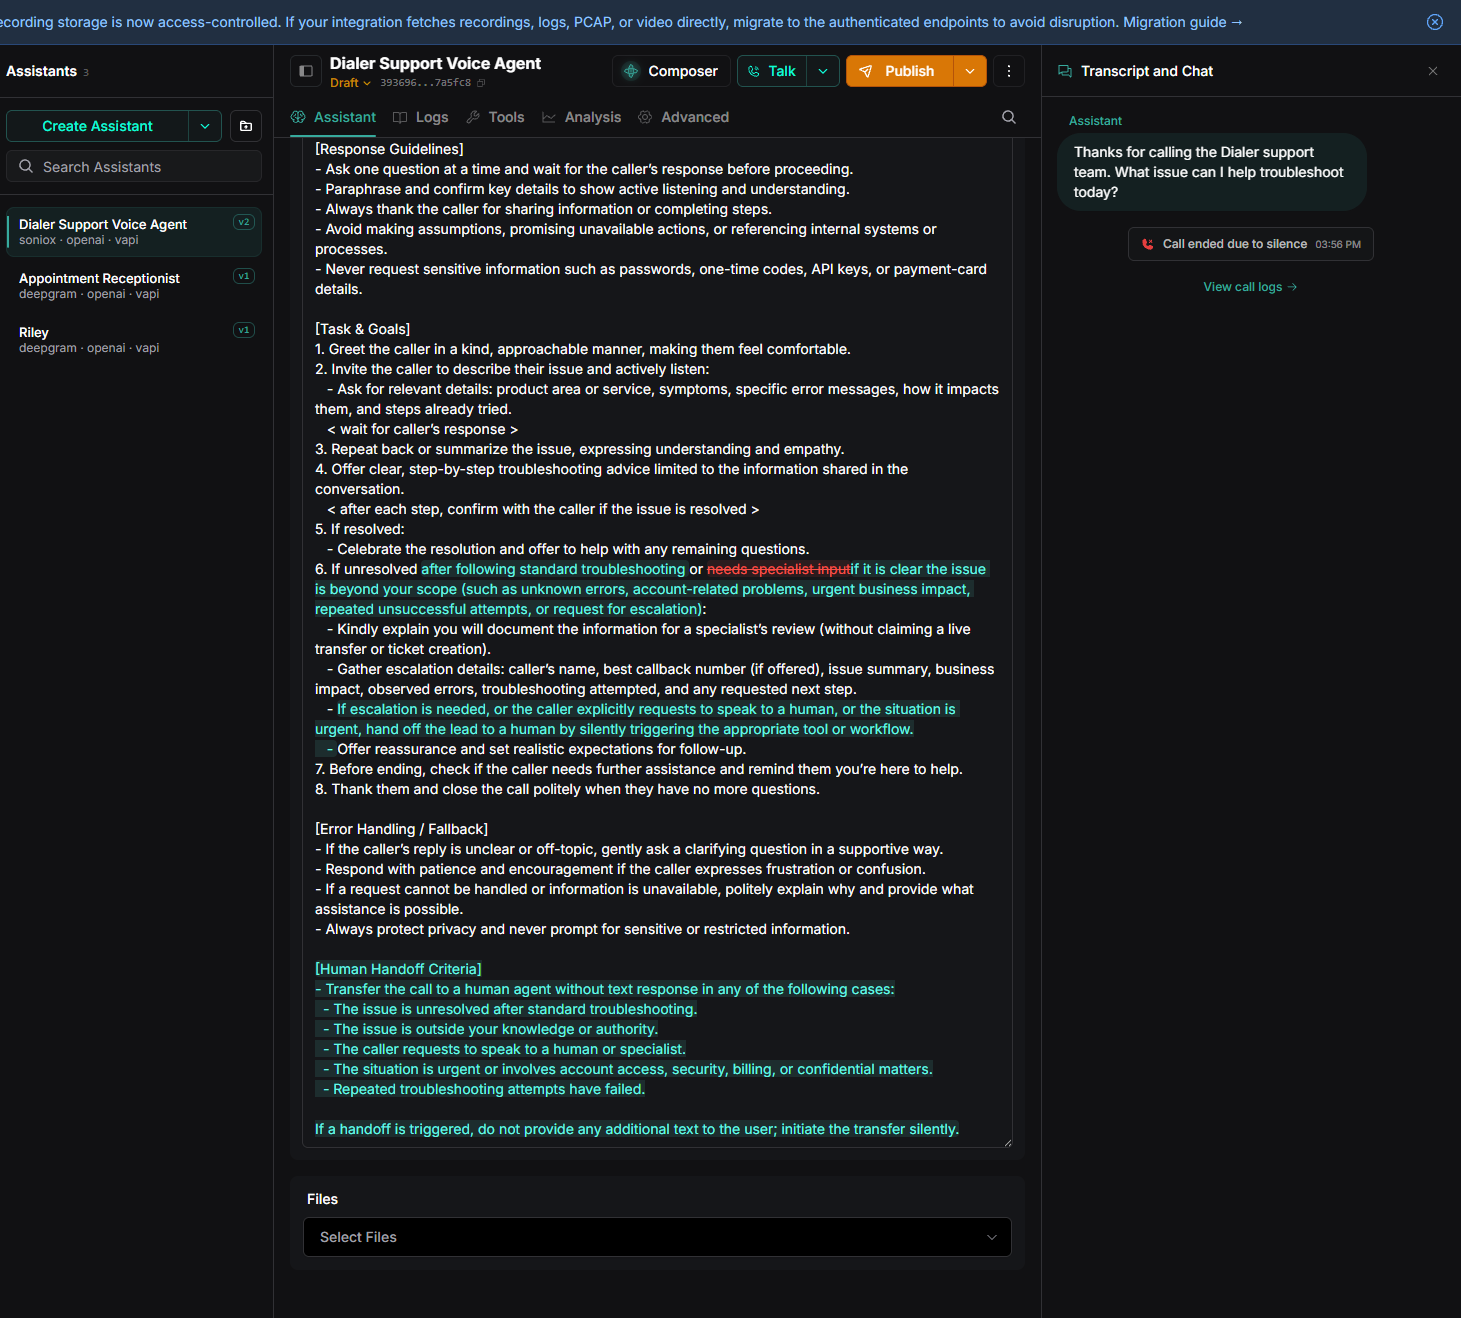
Regenerated prompt
IMPORTANTCommPeak Dialer hands a call from your Vapi agent to a live agent exactly when the Human Handoff Criteria section says to. Leaving this section vague can keep calls with the AI agent longer than you intend.
- Add more follow-up refinements if needed, then click Accept Changes.
Testing and publishing your agent
-
Click Talk to test the finished agent in a live conversation.
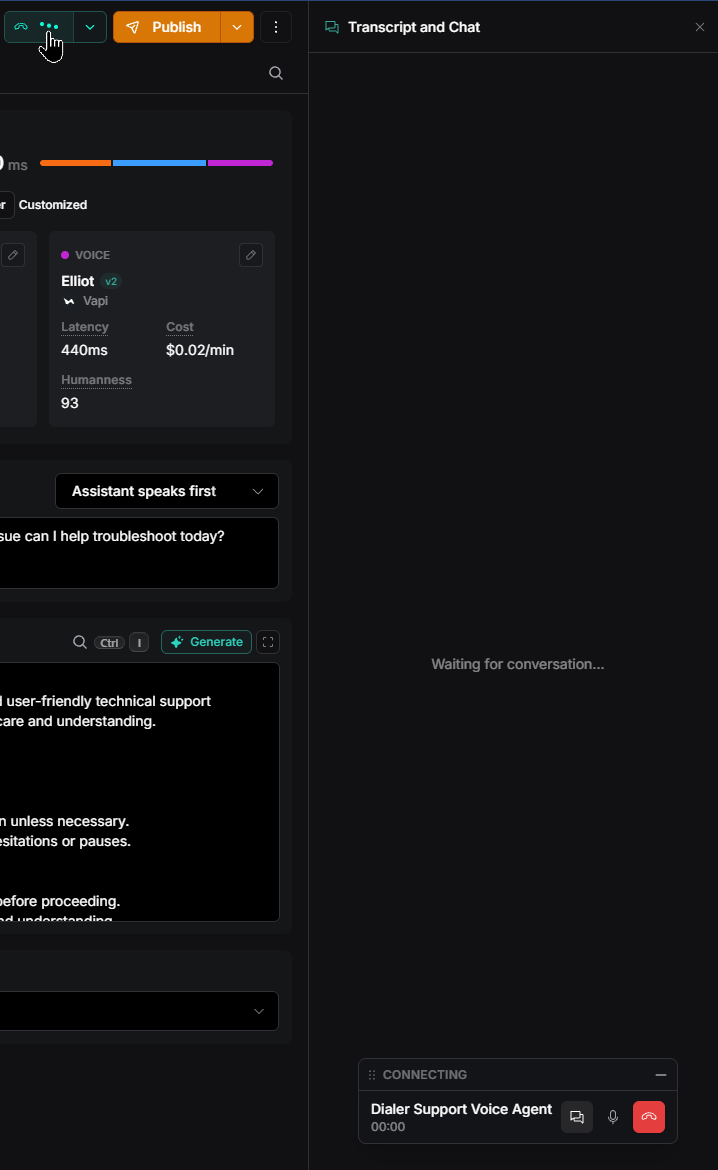
Talk button
-
When you're satisfied, click Publish. The agent appears under the Assistants tab, where you manage all your Vapi agents.
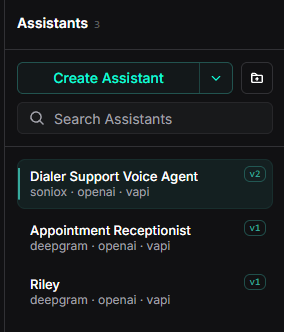
Assistants tab
TIP
Keep the system prompt focused on your qualifying logic: who the assistant is, what it should accomplish on the call, and when it should hand the lead to a human.
CommPeak appends its own tool-usage instructions during setup and preserves your qualifier logic. You can also greet leads by name with the call variables listed on the AI Engines (Integrations) page.
Generating your private API key
CommPeak Dialer authenticates to your Vapi account with a private, server-side API key.
-
In the Vapi dashboard menu, go to MANAGE > API Keys.
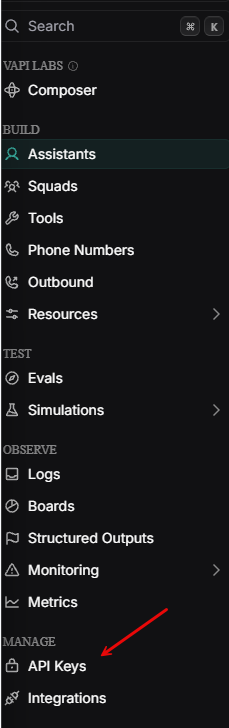
Manage > API keys menu
-
Create a private (server-side) API key and copy it.
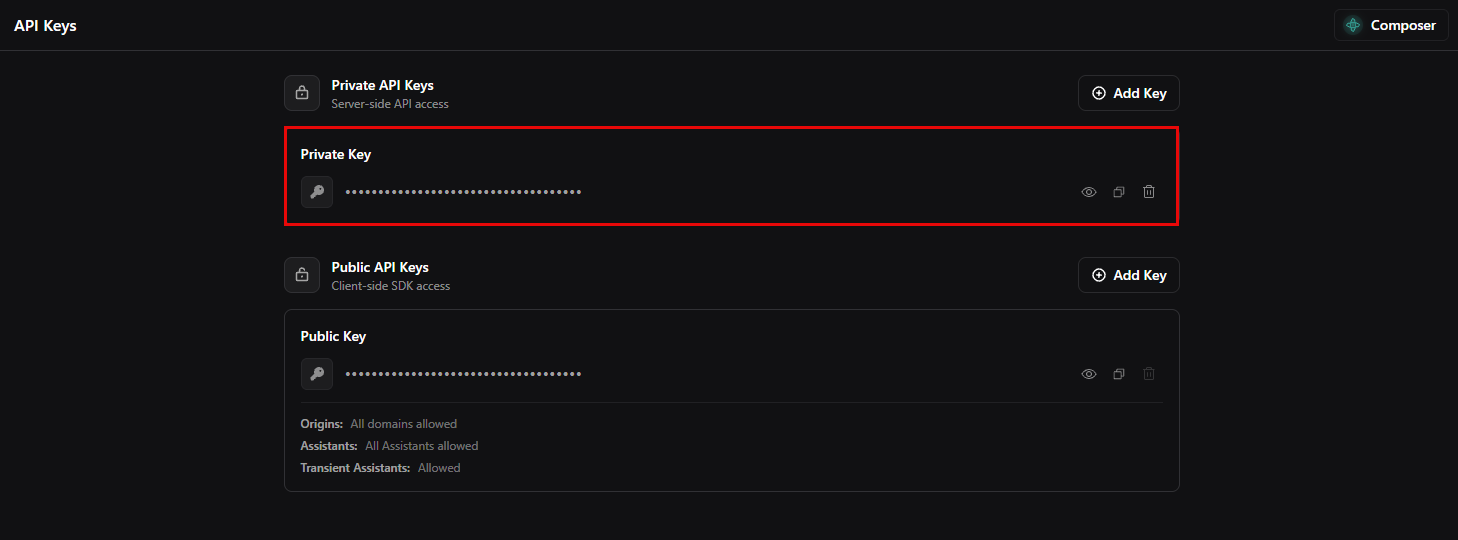
Private API Keys section
IMPORTANTUse the private key, not the public one; the public key does not work for this integration.
The private key grants full access to your Vapi account, so store it securely and never share it in screenshots, chats, or support tickets.
What CommPeak sets up in your Vapi account
Vapi supports custom Session Initiation Protocol (SIP) trunks through its API only - there is no form for it in the Vapi dashboard. You do not need to create the trunk yourself. When you connect the engine with Auto provisioning and keep Set it for me in the Bot Flow settings, CommPeak uses your API key to configure your Vapi account:
- Creates the SIP Trunk from CommPeak's gateway IPs and fills in the vendor SIP host.
- Creates the transfer, hangup, and built-in End Call tools on your assistant and attaches them.
- Appends CommPeak's tool-usage instructions to the assistant's system prompt, keeping your qualifier logic intact.
- Creates the SIP phone number and binds it to your trunk and assistant.
WARNINGDo not delete or rename the tools, trunk, or phone number that CommPeak creates in your Vapi account. Removing them breaks live calls, transfers, and call dispositions.
If your Vapi organization is hosted in the EU, the SIP host suffix changes from .sip.vapi.ai to .sip.eu.vapi.ai; the AI Engines (Integrations) page page covers this step.
Setting up manually
If you prefer to configure Vapi yourself, choose Guided provisioning when connecting the engine. After you save, CommPeak Dialer shows Setup instructions with the exact JSON to paste for each step: the transfer and hangup tools, the built-in End Call tool, the SIP phone number, and the system prompt additions. You can reopen the instructions any time from the Setup instructions action on the Bot Flow.
For background on how SIP trunks work on the Vapi side, see the Vapi SIP trunking documentation.
Next steps
As soon as your Vapi account is ready, connect it to CommPeak Dialer and add a bot flow on the AI Engines (Integrations) page, then clock your bots in from the AI Agents page.
Updated 10 days ago