Setting Triggers in Make
Create triggers to send data to Make and set up further actions after customers respond to your SMS messages or click links.
Perform several steps as follows.
To elaborate further, visit the Webhooks section in the Make Help Center.
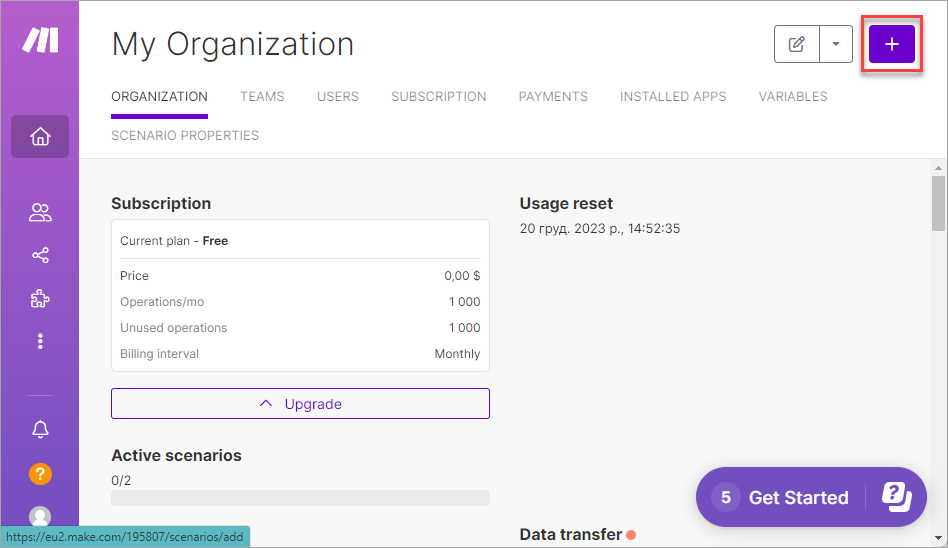
Step 1: Start Creating a Scenario
-
Click Create a new scenario at the top right of your organization page.
Create a new scenario button
-
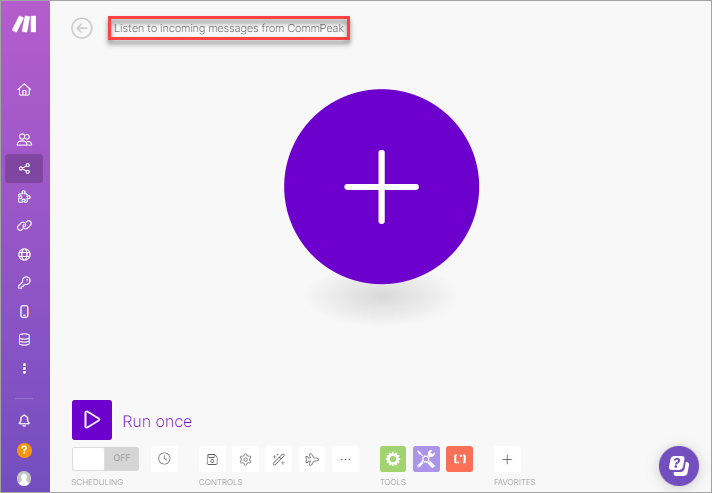
Give a name to your scenario.
Naming scenario
-
Click + again.
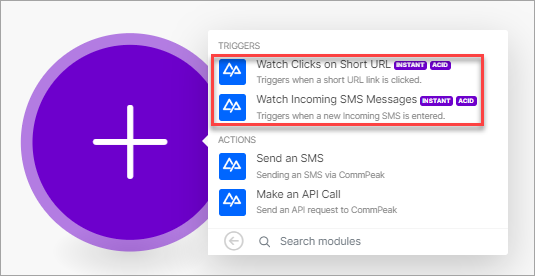
Step 2: Set up a Trigger
-
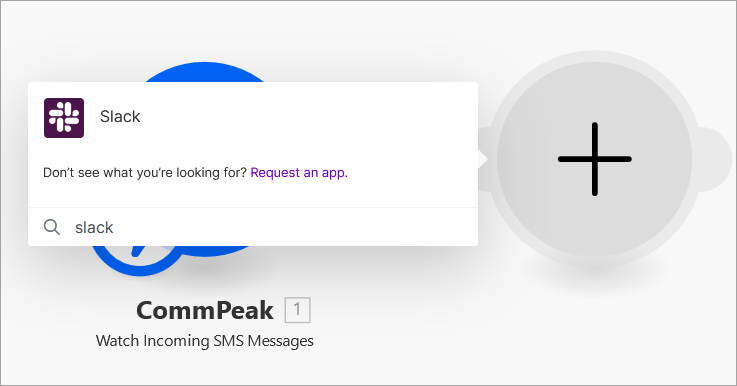
Search for CommPeak, click it, and select a trigger. Currently, we provide the following instant triggers:
-
Short URL clicks and
-
incoming SMS messages.
Setting up triggers
-
-
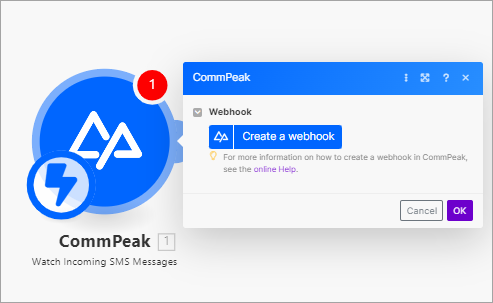
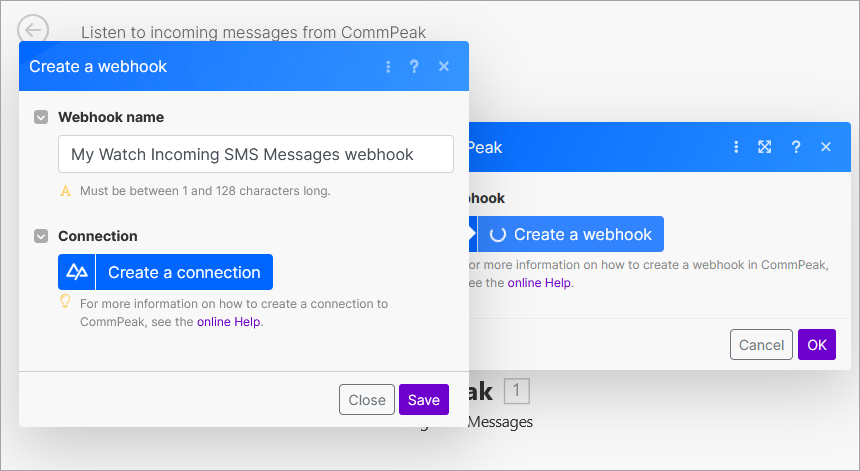
Click Create a webhook to add a Webhook.
Create a webhook dialog
-
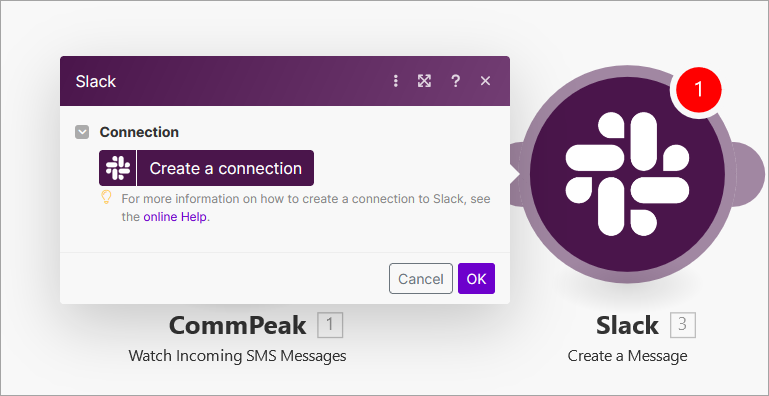
Click Create a connection.
Create a connection option
-
Enter the connection name and click Save.
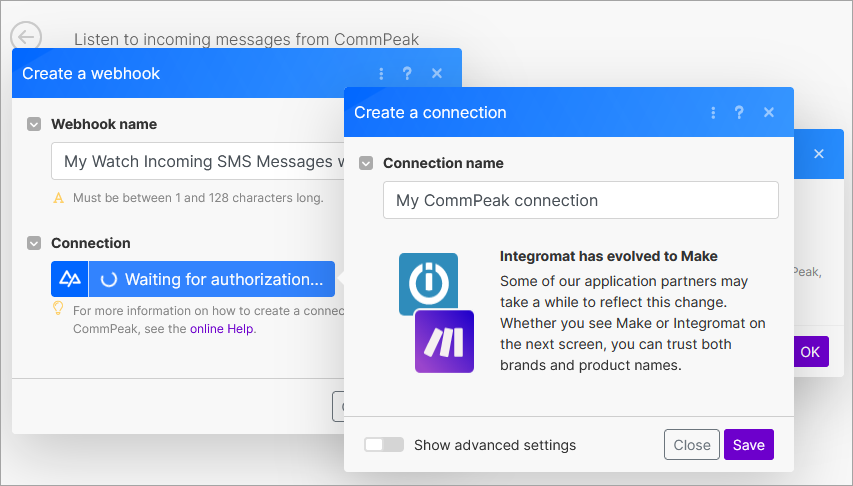
Create a connection dialog
-
Connect to your CommPeak Portal account. To do this, enter your credentials, complete the captcha authentication, and click LOGIN .
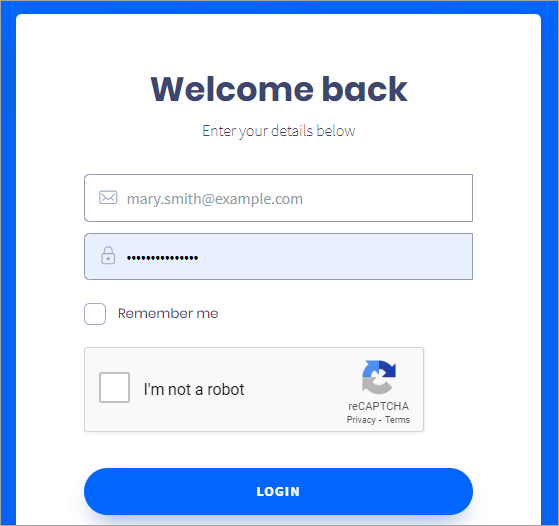
CommPeak login screen
-
Authorize Make.

Authorization dialog
-
Click Save.
-
Click OK. Your new trigger is ready and listening to incoming messages from CommPeak.
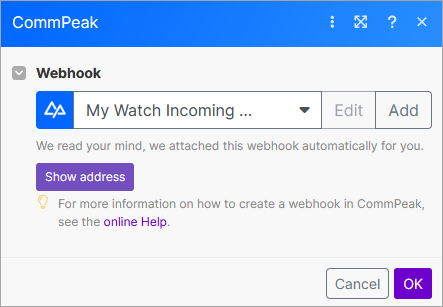
Webhook dialog
Step 3: Add Another Module
In our example, we want to send a response via Slackbot.
-
Click + Add another module.
-
Find Slack and select it.
+ Add another module option
-
Select an action.

-
Create a connection with Slack and then provide permission to access your workspace.
Creating a connection with Slack
-
Complete the action form and click OK.
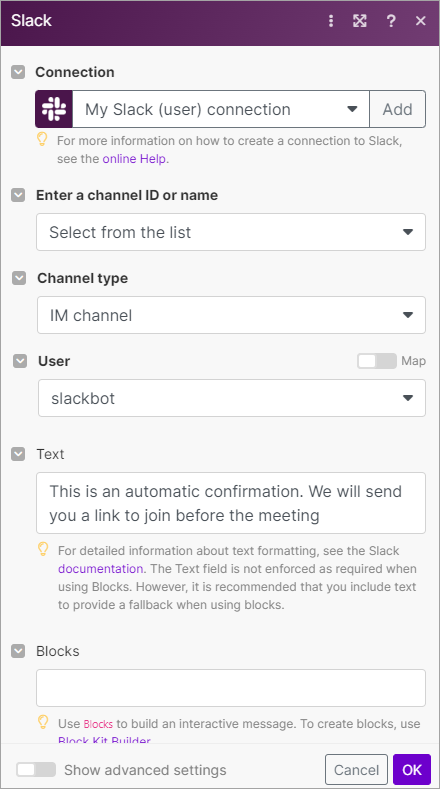
Defining the connection with Slack
-
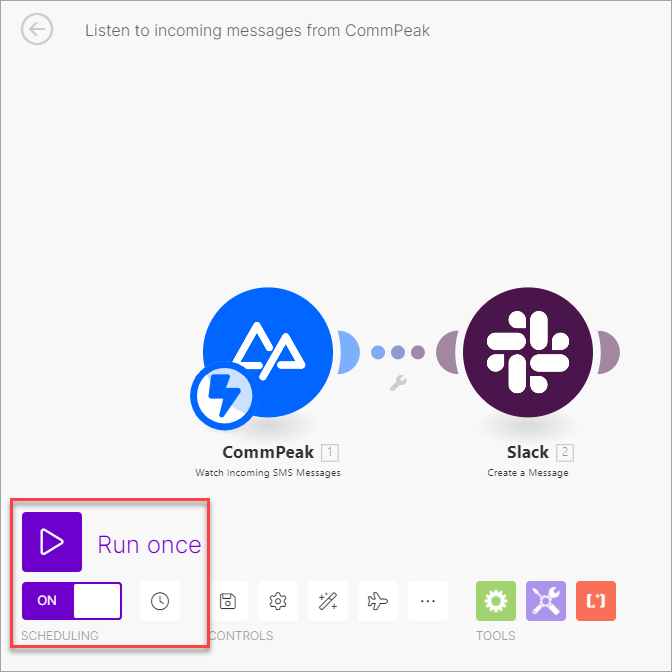
Click Run once to test the scenario and enable it.
Testing scenario
That's it! Your new scenario is active.
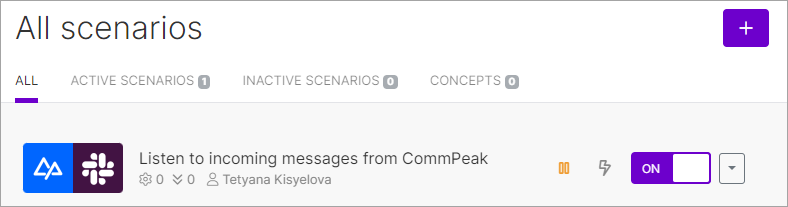
All scenarios tab
Updated 6 months ago