Call Analytics
Find out how to generate, customize, and schedule call analytics reports, apply filters, group data, save templates for recurring reports, which can be automatically emailed at specified intervals, and build a failed-calls report grouped by error code.
Call Analytics is a highly customizable report that provides a wide variety of filter options and enables you to extract mainly all the data you need.
Using configurable filters, you can extract data for any time frame or call value and focus only on necessary information.
NOTEIn the Call Analytics report, users can view system-wide data, not limited to the desks or skill groups they are assigned to.
By saving a template, you can quickly load previously set filters, which you can also transform into a scheduled report. The system will regularly run the scheduled report for you with the chosen frequency.
Generating a Report
To generate a call analytics report:
-
Click Reports on the CommPeak Dialer home page, move to Call Analytics in the Customized section, and select Call Analytics.
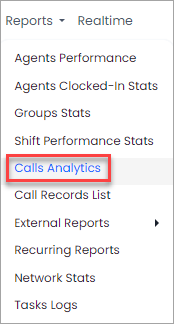
Call Analytics in the Reports menu
-
Set filters in Period, Group, Column, and Search by sections.
a. Period
Specify the date and time range for the report. On the Dates tab, select the starting and ending date and time:
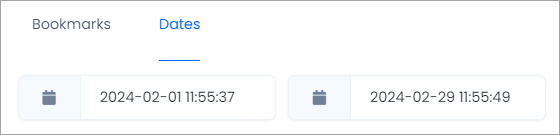
Specifying time range for report
Alternatively, on the Bookmarks tab, select one of the predefined ranges from the drop-down list. If you wish to save a template, use the bookmarks.
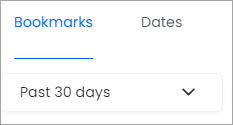
Selecting predefined time ranges
The Beginning of week means the time frame between the beginning of the week and now. You can set the first day of the week (Sunday or Monday) in Settings.
IMPORTANT
The time in the Period field is UTC 0, which can differ from your timezone.
Setting a period is mandatory.
There are also several optional time fields with year/month/day selected automatically. Unselect all fields or click in the area to choose per which period to show data in the report. Please remember that selecting additional time fields will increase the report size and time for generating it.
- Unselect the month and day to display data per year
- Unselect the day to display data per month
- Click in the hour and minute fields to display data per minute in the hour
- Click in the day of the week field to add the day of the week to the date
b. Group
Select at least one parameter by which to group the report data. Click in the field and select additional groups from the dropdown list. When entering a field title, it pops up from the list.
Select a weight step to group by weight ranges.
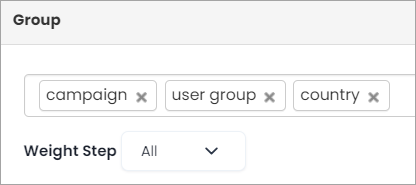
Grouping report data
c. Columns
Click the names of the columns you want to include or exclude from the report output.
Some of the column names have been selected already. Click on other names to include more columns or exclude them.
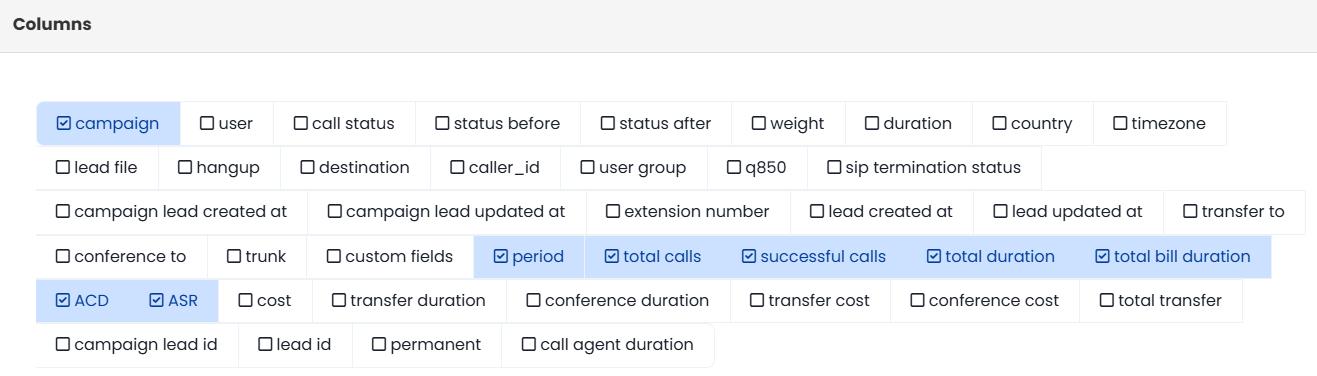
Report columns
NOTEIf you selected some parameters in Group, you must also make sure you choose them in columns. The parameters specified in the Group will be displayed in the first columns of the report, and the rest of the parameters in the next columns adjusted by the group parameters.
d. Search Filters
You can add specific values to the report in the Search by values section. For more information, please see the example below.
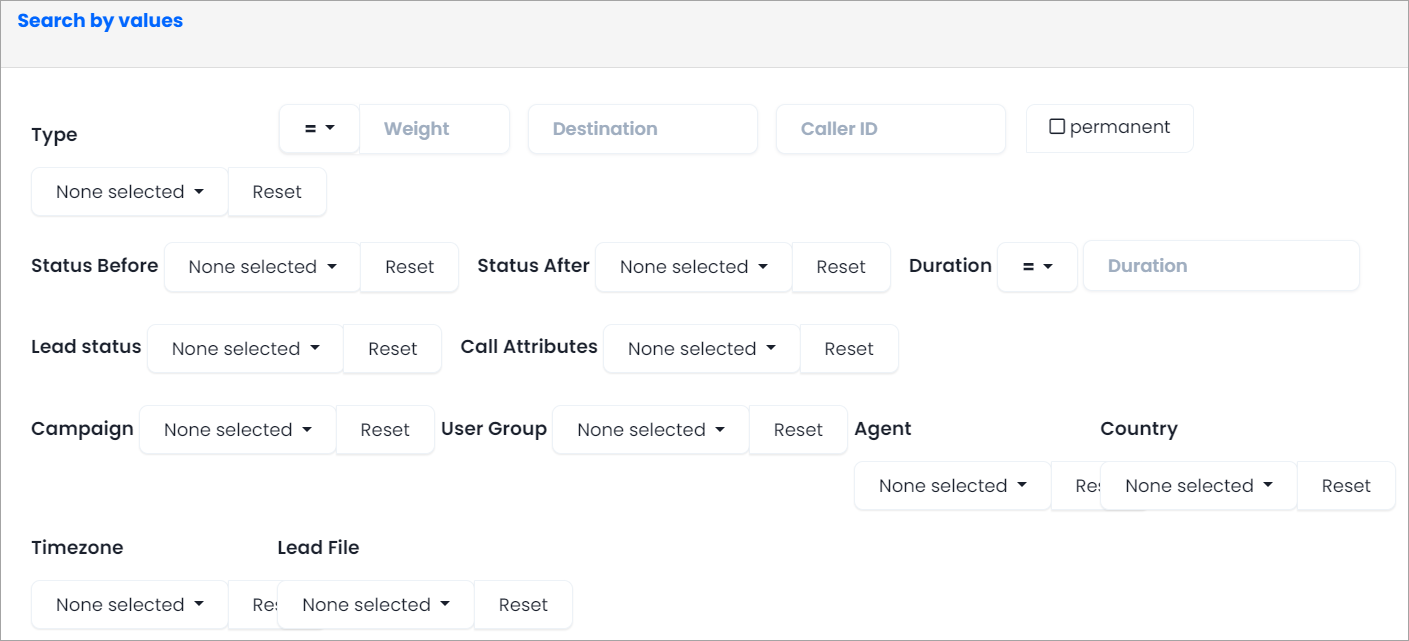
Searching by values
IMPORTANTIf you wish to use the search by values option to display data about a specific user or any other specific parameter, you need to choose that parameter from the Columns section and not from the Group section.
There are more fields and settings in the Search by customlead fields section. Click Add new field to add more fields to the report. For example, to search for a specific lead, use the original_identifier area.
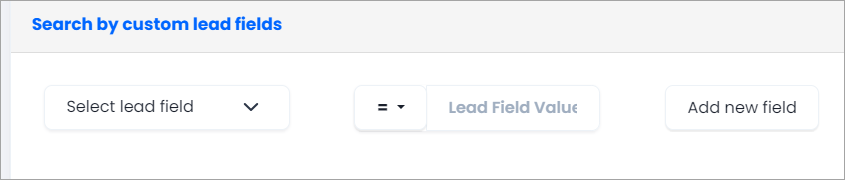
Searching by custom lead fields
- Define how you wish to run the report:
-
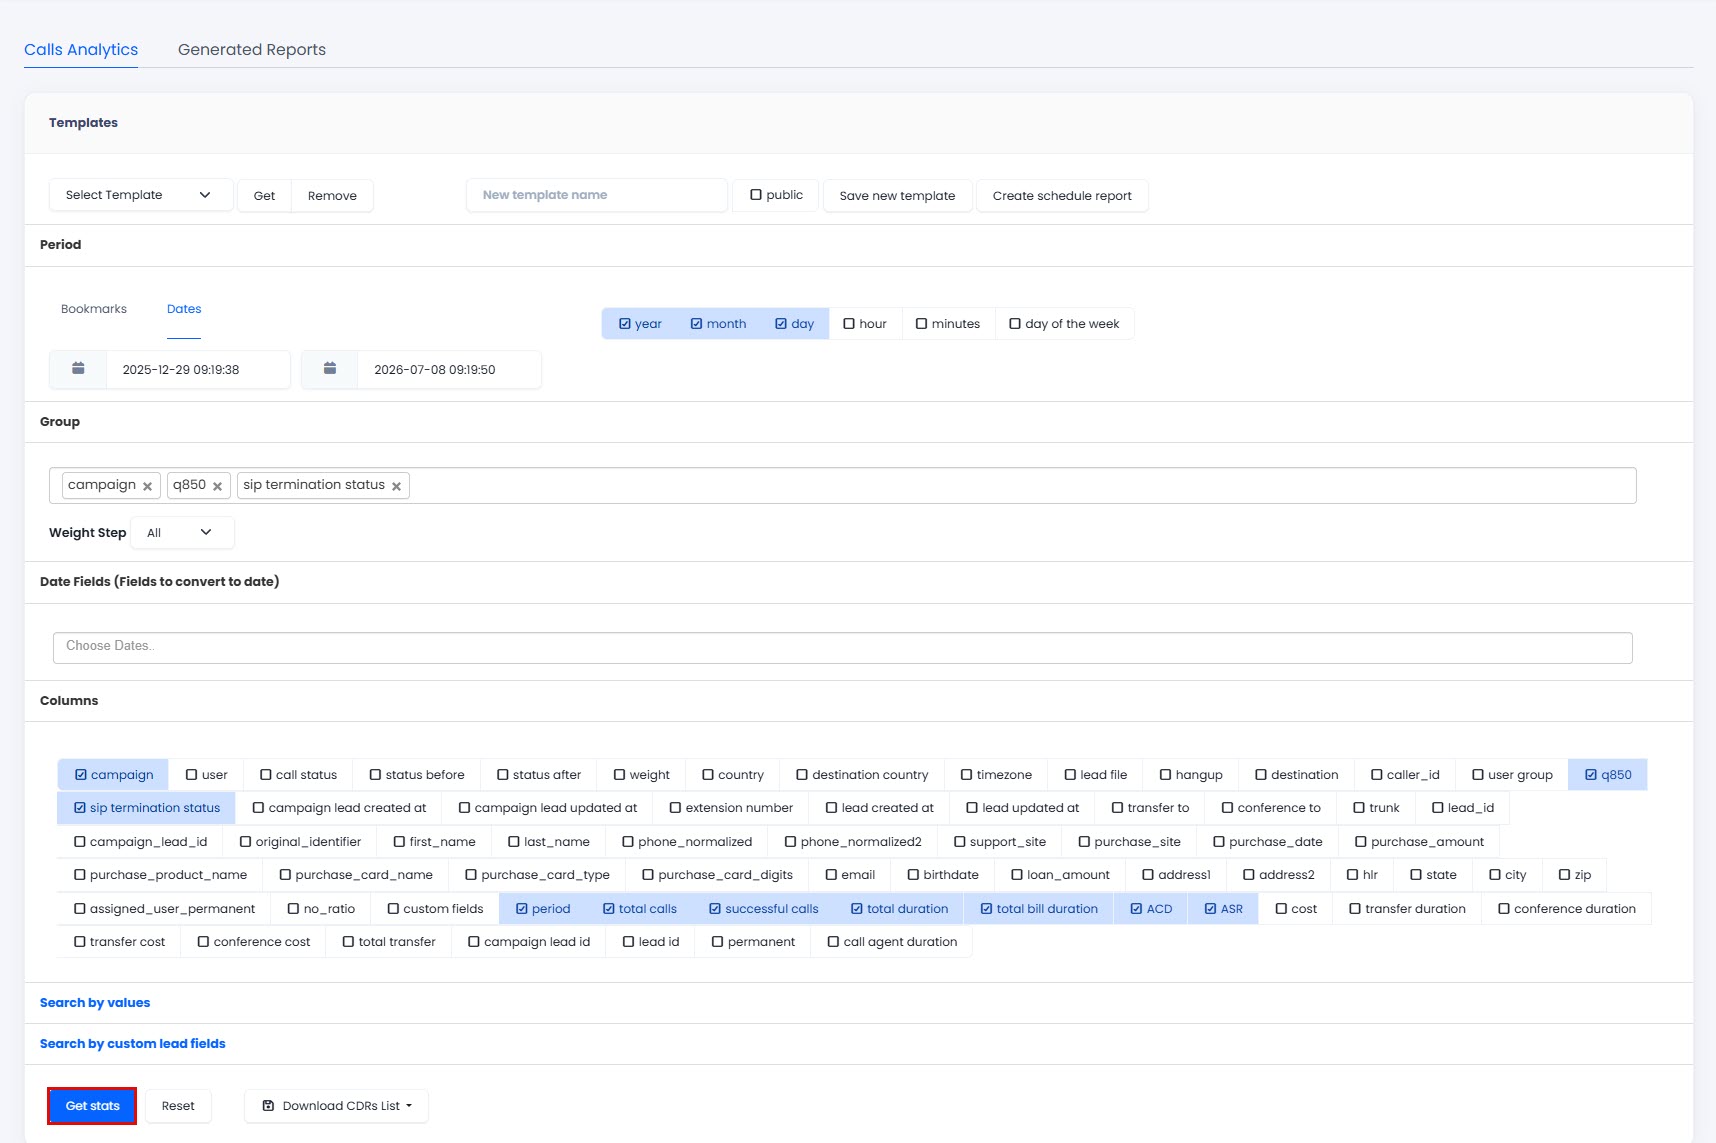
Click Get stats to display the report in the lower section of the page. If you expect a big report size, click Export To instead to save without displaying it.

Report output controls
Report output on the screen
- Click Export To and select to save it as a .csv or .xlsl file. It is on the Generated reports page (Reports > Call analytics > Generated reports).
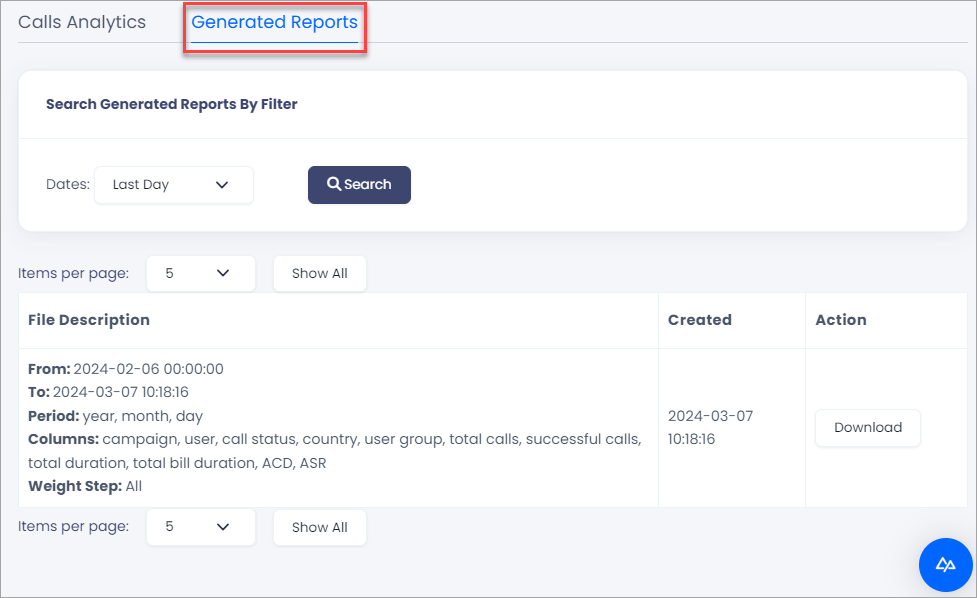
Generated Reports tab
- Click reset to reset filters.
- Сlick DownloadCDRs List to download CDR records for the report as a .csv file. You can find the file on the Generated reports page when it has been generated.
Example
There is a need to extract a report with the following conditions:
- for all agents who worked between February 16, 2024 UTC 0 and the current moment
- and who were assigned the General Meeting status after the call
- and show the total number of calls with call duration above 7 seconds, ACD (the average call duration) and total bill duration (the amount of time the client was charged for).
Set report filters as follows:
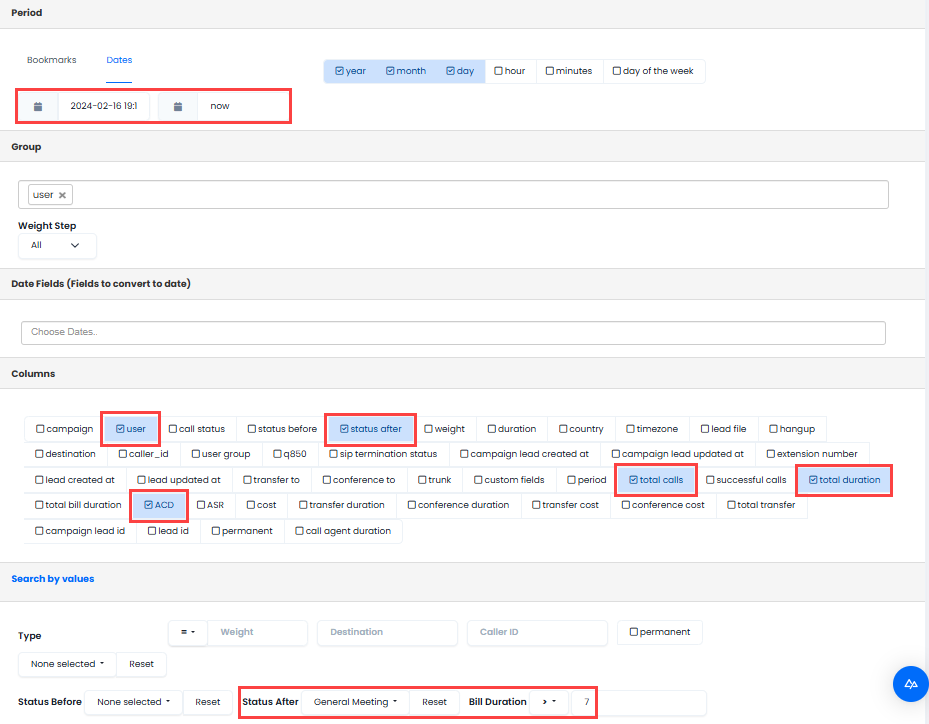
Setting report filters
To display data for specific agents, select the agents from the Agent drop-down box in the Search by values section:

Selecting specific agents
Ensure you also select the user in the Columns section and Campaign in the Group section.
Reporting on failed calls by error code
You can use Call Analytics to see how many call attempts failed, which disconnect reasons and SIP codes were received, and how many calls ended with each of them.
- Go to Reports > Call Analytics and select Call Analytics.
- In the Period section, set the date and time range for the report.
- In the Group section, select Q850 and SIP Termination Status. To break the results down per campaign, also select Campaign.
- In the Columns section, make sure Q850, SIP Termination Status, Campaign (if grouped by it), and Total Calls are selected.
NOTEEvery parameter you select in Group must also be selected in Columns. Otherwise, the grouped values won't appear in the report output.
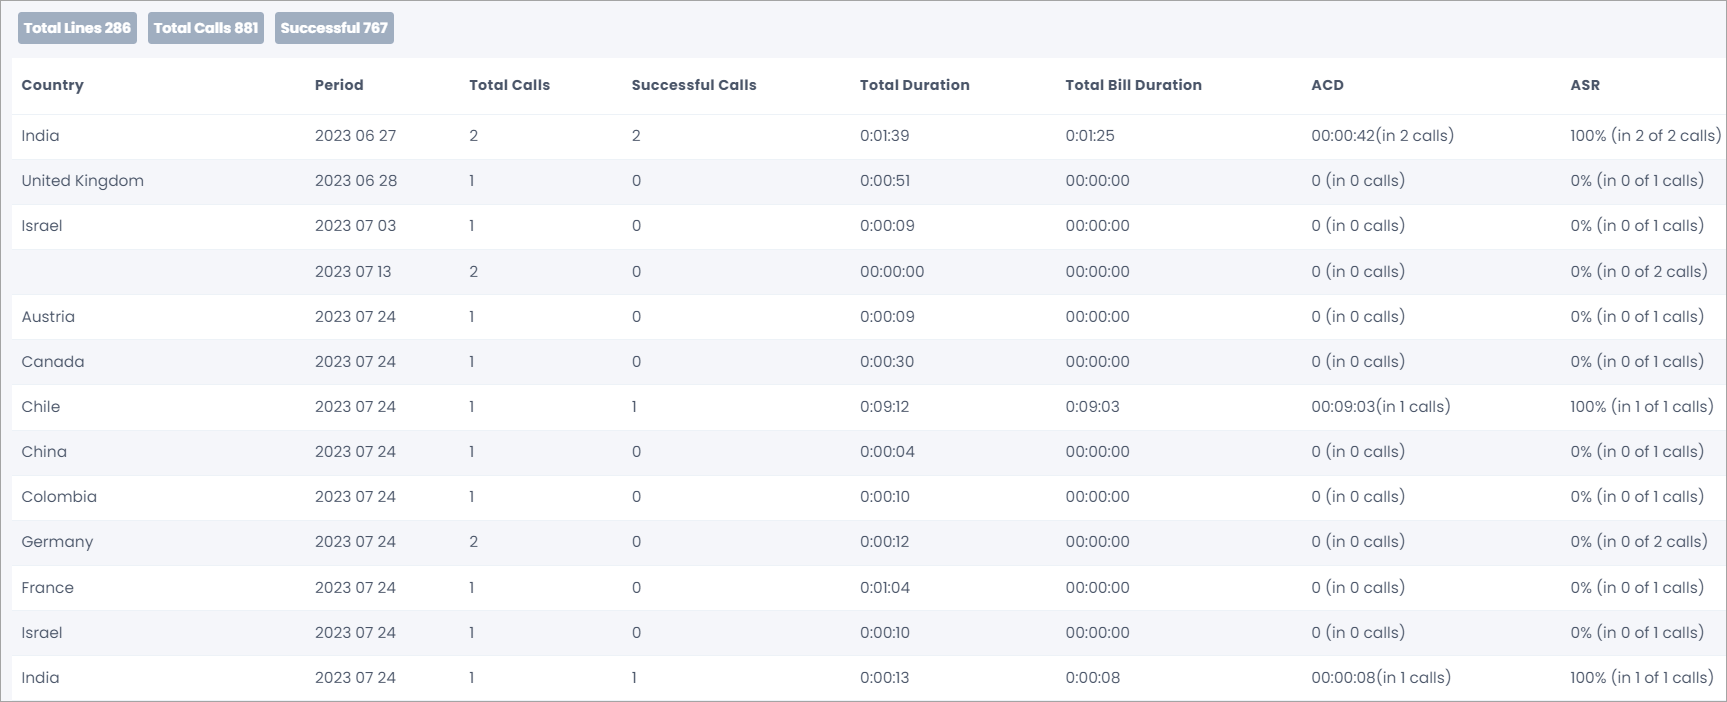
- Click Get stats to display the report.
The report shows one row for each combination of disconnect reason and SIP code, with the number of calls in the Total Calls column.
Calls Analytics page
| Column | Description |
|---|---|
| Q.850 | The Q.850 disconnect cause: a short text description of why the call ended, for example, No answer from user, User busy, or Unallocated (unassigned) number. |
| SIP Termination Status | The SIP response code the call ended with, for example, 404, 480, or 486. A value of 0 means the call ended without a final SIP response code. |
| Total Calls | The number of calls that ended with this combination of disconnect cause and SIP code. |
NOTERows with the Normal call clearing cause and the 200 SIP code are successfully answered calls. To count failed attempts only, exclude these rows or filter them out after exporting.
EXAMPLE
The initial outbound SIP INVITE request to your lead carrying the metadata, which will also be delivered via SIP REFER to the CommPeak DID:
To find out how many calls failed because the dialed number doesn't exist, look for rows with the Unallocated (unassigned) number cause and the
404SIP code. The Total Calls value in that row is the number of affected call attempts.
For account-level analysis of SIP errors across all CommPeak services, see the Failed SIP Calls Analysis page.
Report Templates
After you have set the necessary filters, you can save them as a template for your own or public usage.
IMPORTANTTo save a template, use the bookmarks in the Period section, so you won't need to manually change the time frame each time you use the template.
To save a report template:
-
Enter the template name in the box at the top of the page.
-
Click Save new template. Click in the public field to make your template available to other users accessing the Call Analytics page.
The newly saved template will appear in the Select Template... drop-down list.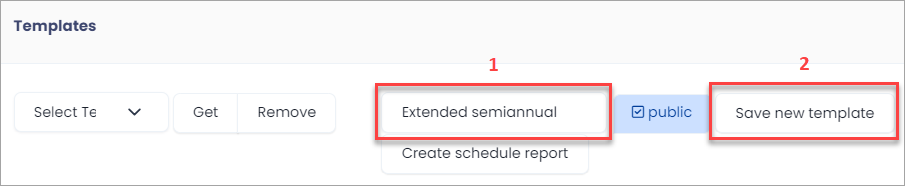
Saving a report template
To apply a report template:
-
Select a template from the drop-down list.
-
Click Get.
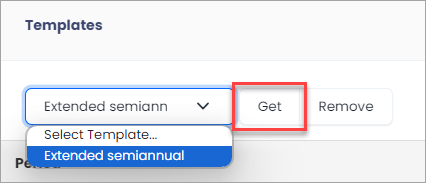
Applying a report template
After you've applied the template, click Get stats or Export To to run the report.
Recurring Reports
You can schedule automatic reports the system will run for you. Each day, week, or month the system will generate a password-protected and zipped .csv file and send it to the email addresses that you have specified.
To create a recurring report:
-
Create and save a template with all required filter options. Use bookmarks in the Period section, as recommended above.
-
Click Get to load the template.
-
Click Create scheduled report:

Adding a recurring report
-
Populate the New Scheduled Report page as instructed in the table below.
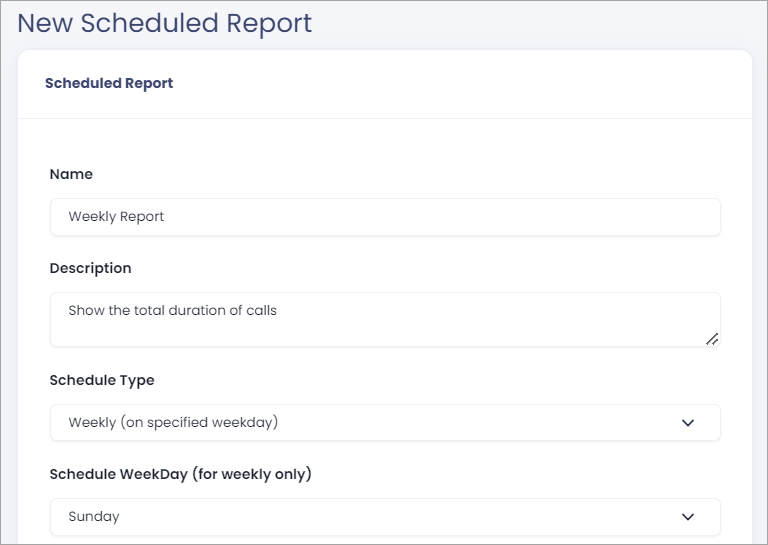
Configuring a scheduled report
-
Click Create.
| Parameter | Description |
|---|---|
| Name | Enter the report name |
| Description | Enter a detailed description of the report |
| Schedule Type | Select Daily, Weekly, or Monthly
|
| Schedule weekday | For the weekly report, select a weekday on which the system will run the report |
| Emails list | Enter emails to which the system will send the report file |
| Password for 7zip file | Please enter a password for the zipped file or leave it blank to turn off the password protection |
| File Format | Select the file format for saving the report: .csv or .xls |
| Enabled? | Select the checkbox to enable the report |
| Masked? | Select the checkbox to enable Phone Number Masking for this scheduled report. Only users with the "unmasked" permission can see the unmasked phone numbers. NOTE: For the setting to work, phone number masking should be activated per campaign or tenant. If it is deactivated, all the phone numbers will be displayed without masking. |
You can view your scheduled reports on the Recurring Reports page. Go to Reports and select Recurring Reports.

Recurring Reports page
- Click Test Report to run the scheduled report. The system will send it at 1 AM GMT 0.
- Click Edit to modify the parameters stated in the table above.
- Сlick Remove to unschedule.
Updated 10 days ago