Managing Spaces & Teams
Easily manage your TextPeak account spaces and teams to keep your business organized.
Video Tutorial
On the Space & teams page, you create spaces and add your teams to spaces. For each team, you can assign users.
Creating Spaces
Log in to TextPeak in your browser with manager access privileges and expand Users in the main menu, then click Space & teams to access the page.
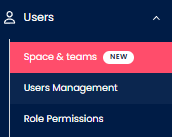
Space & teams tab
To create a space:
- Log in to TextPeak in your browser.
- Click Create New Space in the top right:
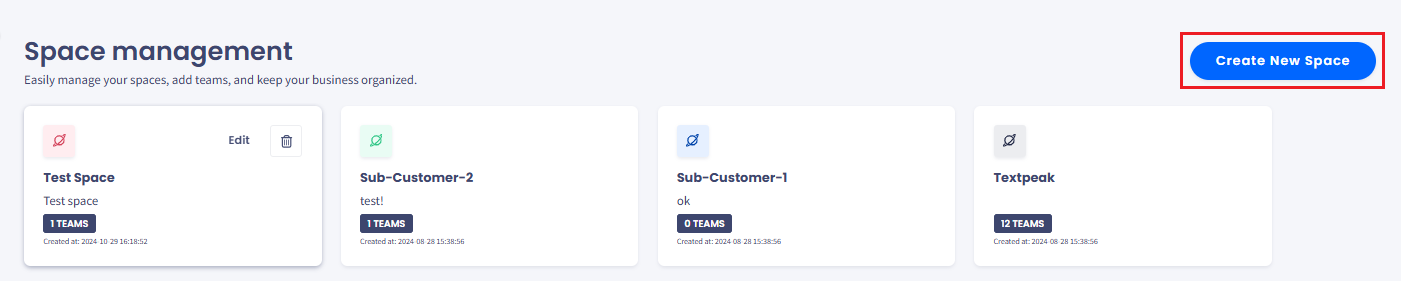
Create New Space button
- Give your new space a name and provide the space description.
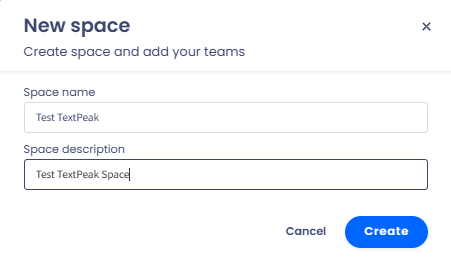
New space creation dialog
- Click Create.
The space is created, and you can create a team in your SMS platform space by adding users and inviting them to join. To each user, you can then assign built-in or custom permissions.
Creating Teams
To create a team:
- Click Create Team in the top right:
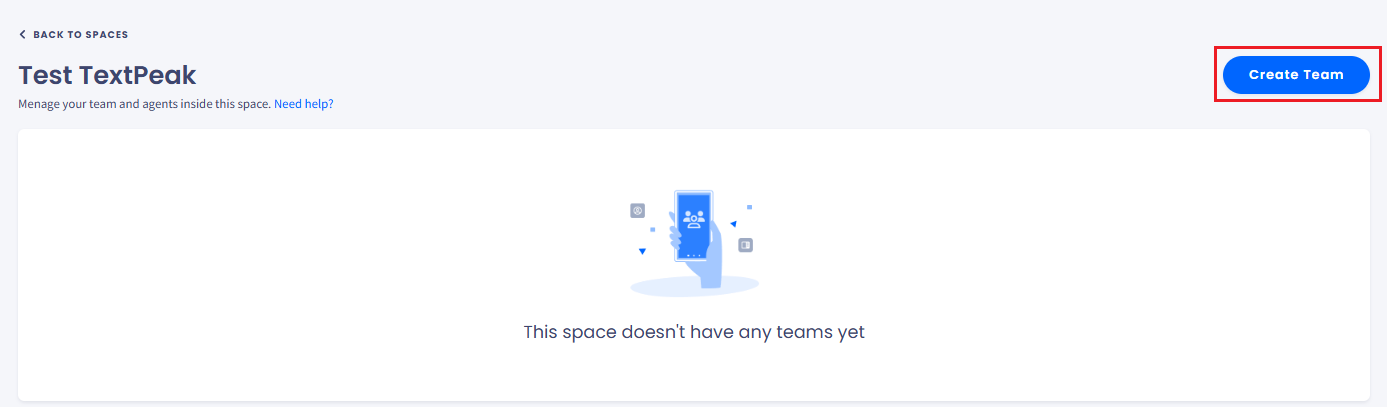
Create Team button
- Give your new team a name and provide the team description.

Create new team dialog
- Click Create.
Assigning Users to Team
Now, you can assign users to your team.
NOTEBefore you can assign users to your team, you must invite them to your account.
To assign users to your team:
- Click in the input field to open the drop-down list of users.
- Add new users to the team by checking the checkboxes:
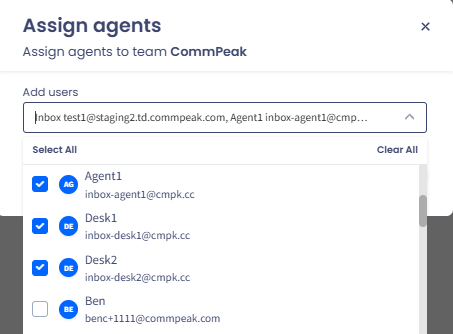
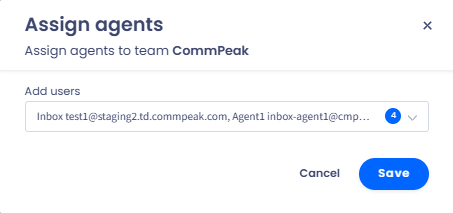
Assign agents dialog
- Click Save.
Your team is created, and you can now manage your team and agents inside this space.
Team Management
In this view, you can manage your team and team users.
Click the three-dot icon to open the menu with the following team management options:
- Edit users
- Edit team
- Move to space
- Delete team.

'CommPeak' team table with management options
Editing Users
You can edit users within your team (unassign or assign new users) as follows.
- Click the three dots and select Edit users.
- Click in the input field to open the drop-down list of users.
- Add new agents or remove the existing ones from the team by checking/unchecking the checkboxes.
Editing team agents in the Assign agents dialog
- Click Save to update the list of users assigned to the team.
- Alternatively, click the Unassign link next to the user record and confirm you want to unassign this agent from your team.

Unassign agent confirmation dialog
Click BACK TO SPACES to navigate to your spaces list.

BACK TO SPACES navigation button
Space Management
On the Space Management page, you can see all your spaces organized in cards with the following information: name and description of the space, number of teams created under it, and date of space creation.
Hover over your space card to access the space management menu.
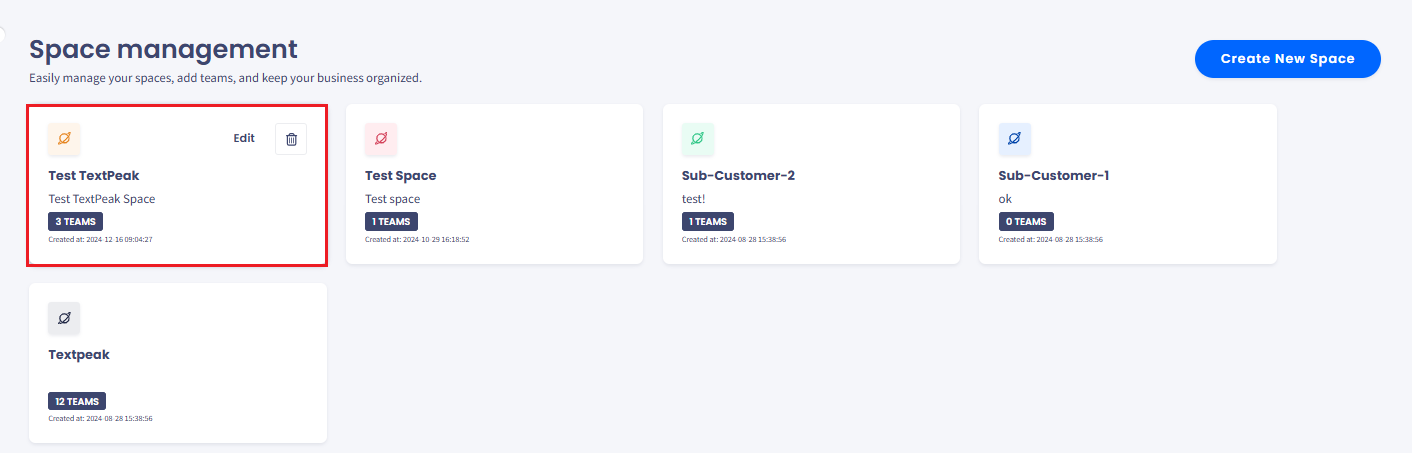
Space Management page
Select Edit to update the space name and description. When done, click Update.
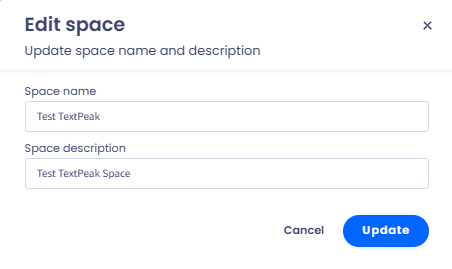
Edit space dialog
Click Delete to unassing all the teams from this space. Alternatively, select a new space to move all the teams to it. When done, click Confirm.
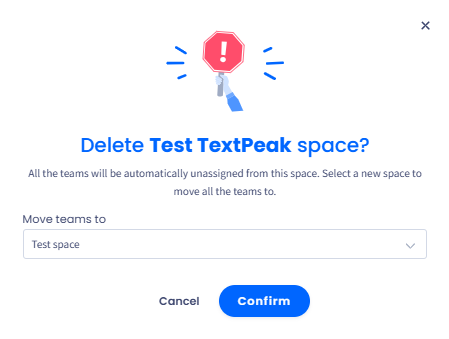
Delete space confirmation dialog
Updated 4 months ago