Configuring a Device and Logging in to Zoiper Softphone
Step-by-step guide to registering in Zoiper softphone
Video Tutorial
To make calls via your PBX, you must register the necessary extension (device) in a Softphone application or an IP phone.
If the device is a fixed one, at this point, the agent is ready to make calls. For ad hoc devices, you should also be able to log the agent into the softphone/IP phone.
If you want more information about device types, please refer to the Devices article.
NOTETo demonstrate the steps where a softphone application is required, we will use Zoiper, an application available for Windows, macOS, and Linux, as well as Android and iOS. This is third-party software used for illustration only.
Instead, you can use MicroSIP or any other softphone available for download.
Below are the steps to make calls for fixed and ad hoc devices.
Configuring a Fixed Device
-
In PBX Stats, go to Configuration > Devices.
-
You can find the device you want to register in the softphone: you will need its credentials.
To find out the password:-
Click Reset Password in the Password column and proceed.
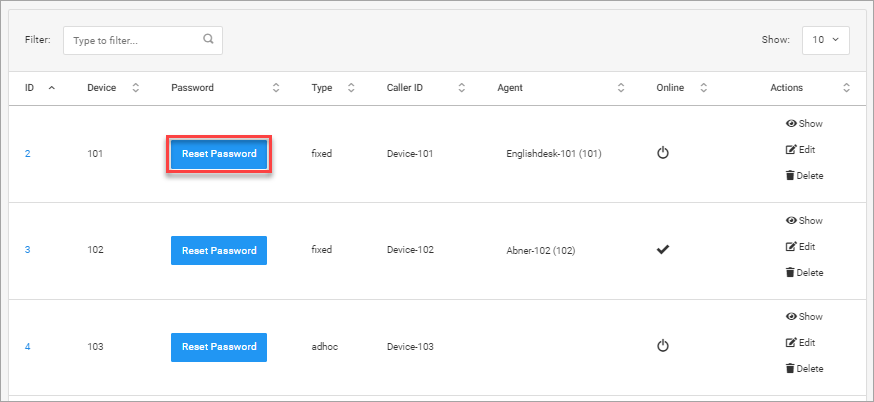
Configuration > Devices tab: Reset Password option
-
Copy the password in the following window.
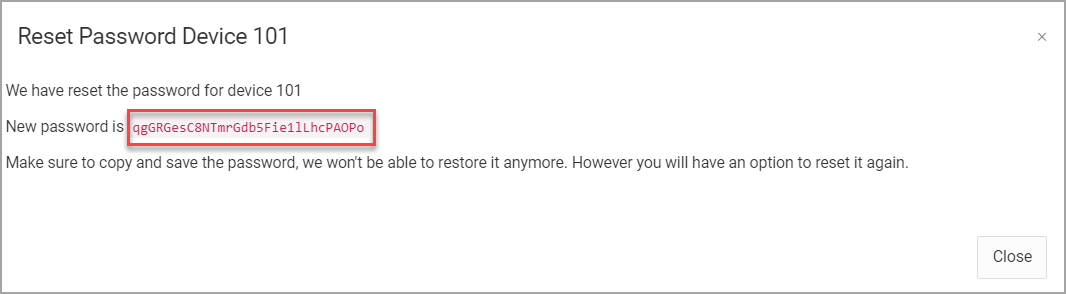
New password
-
-
Start your softphone application.
-
Specify your device ID and password in the start window and click Login.

-
In the next window, enter your hostname (your PBX domain name followed by pbx.commpeak.com).
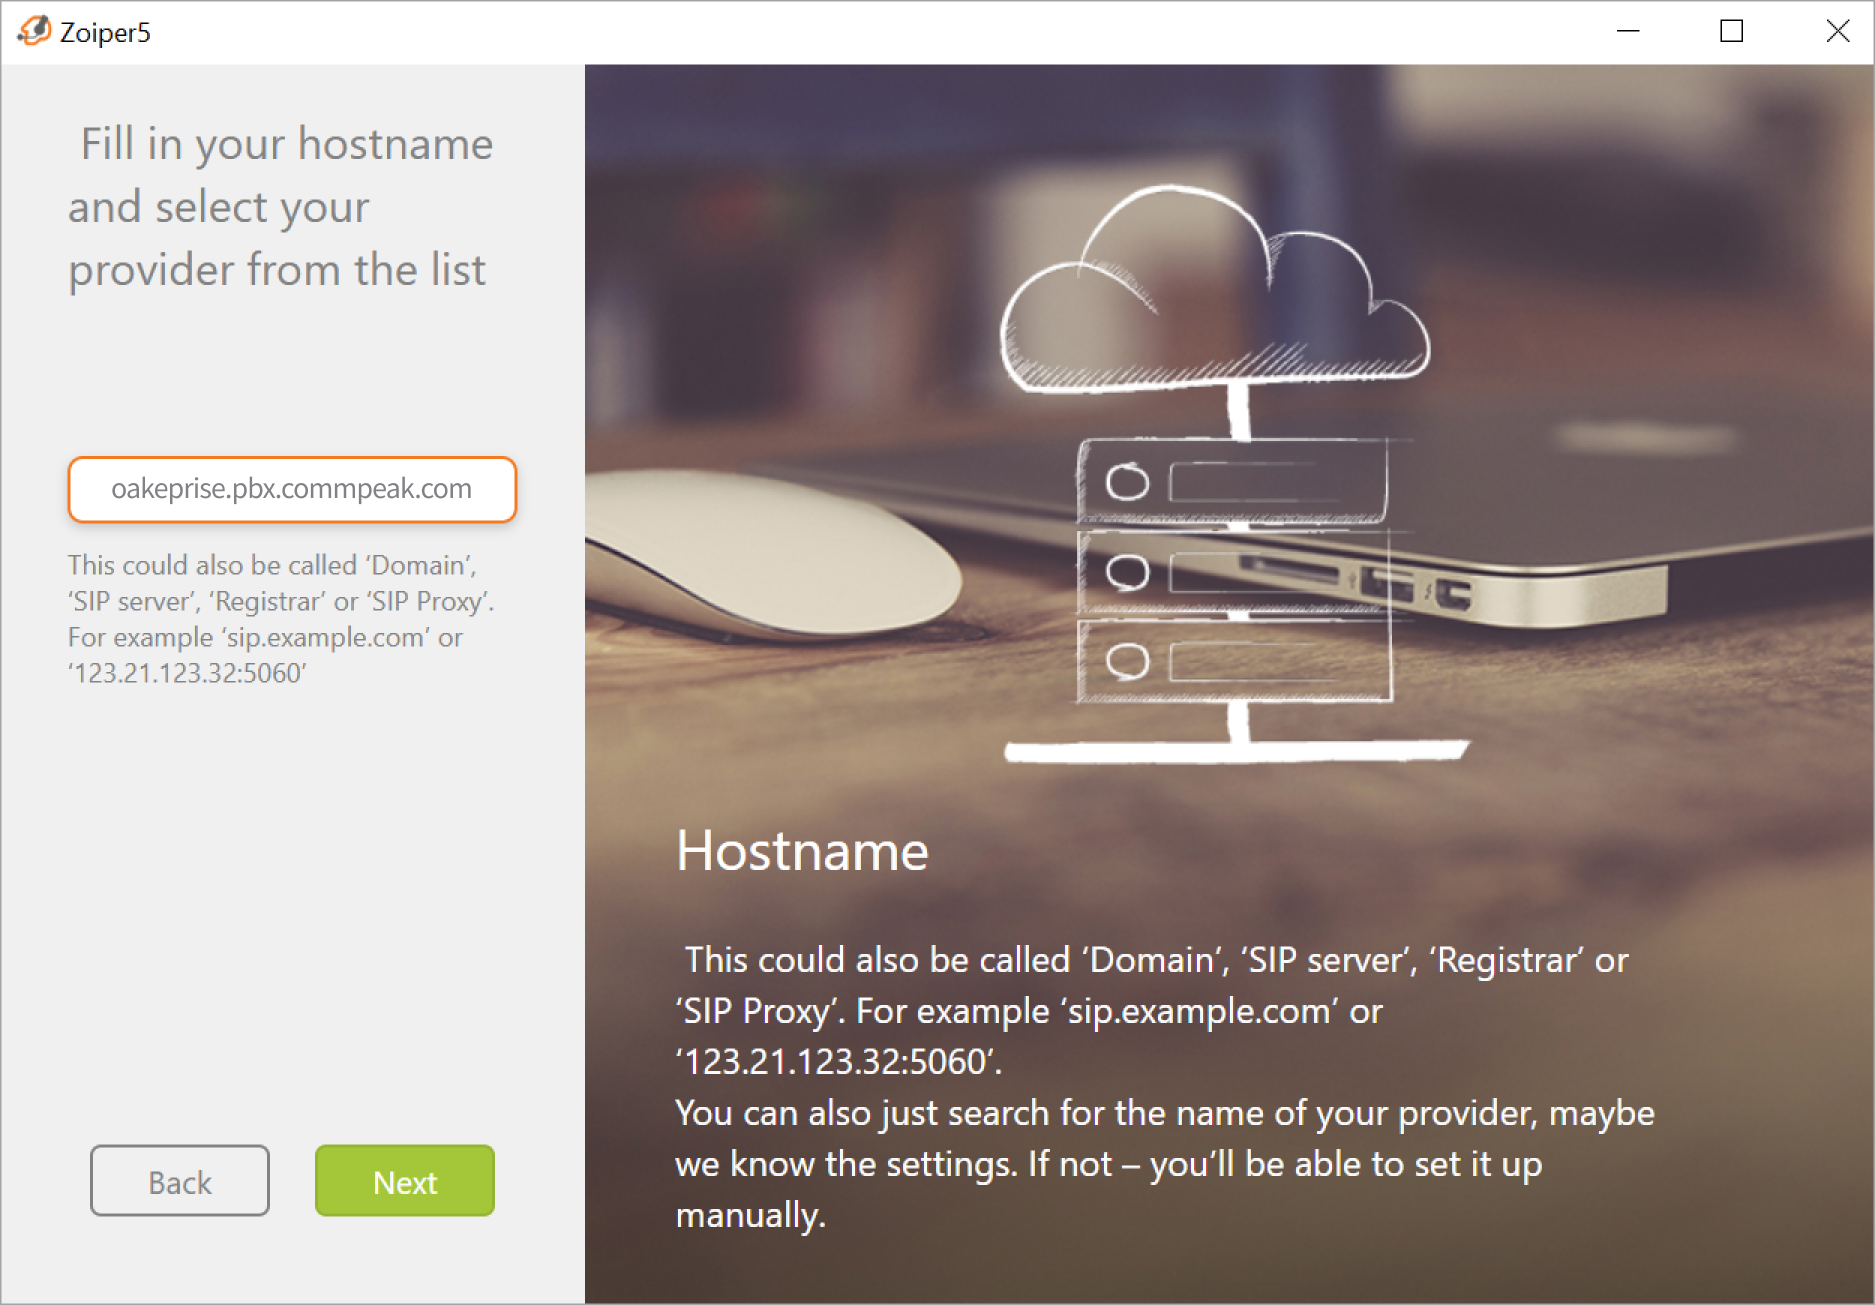
Zoiper hostname screen
-
Perform all the further steps needed to register the device.
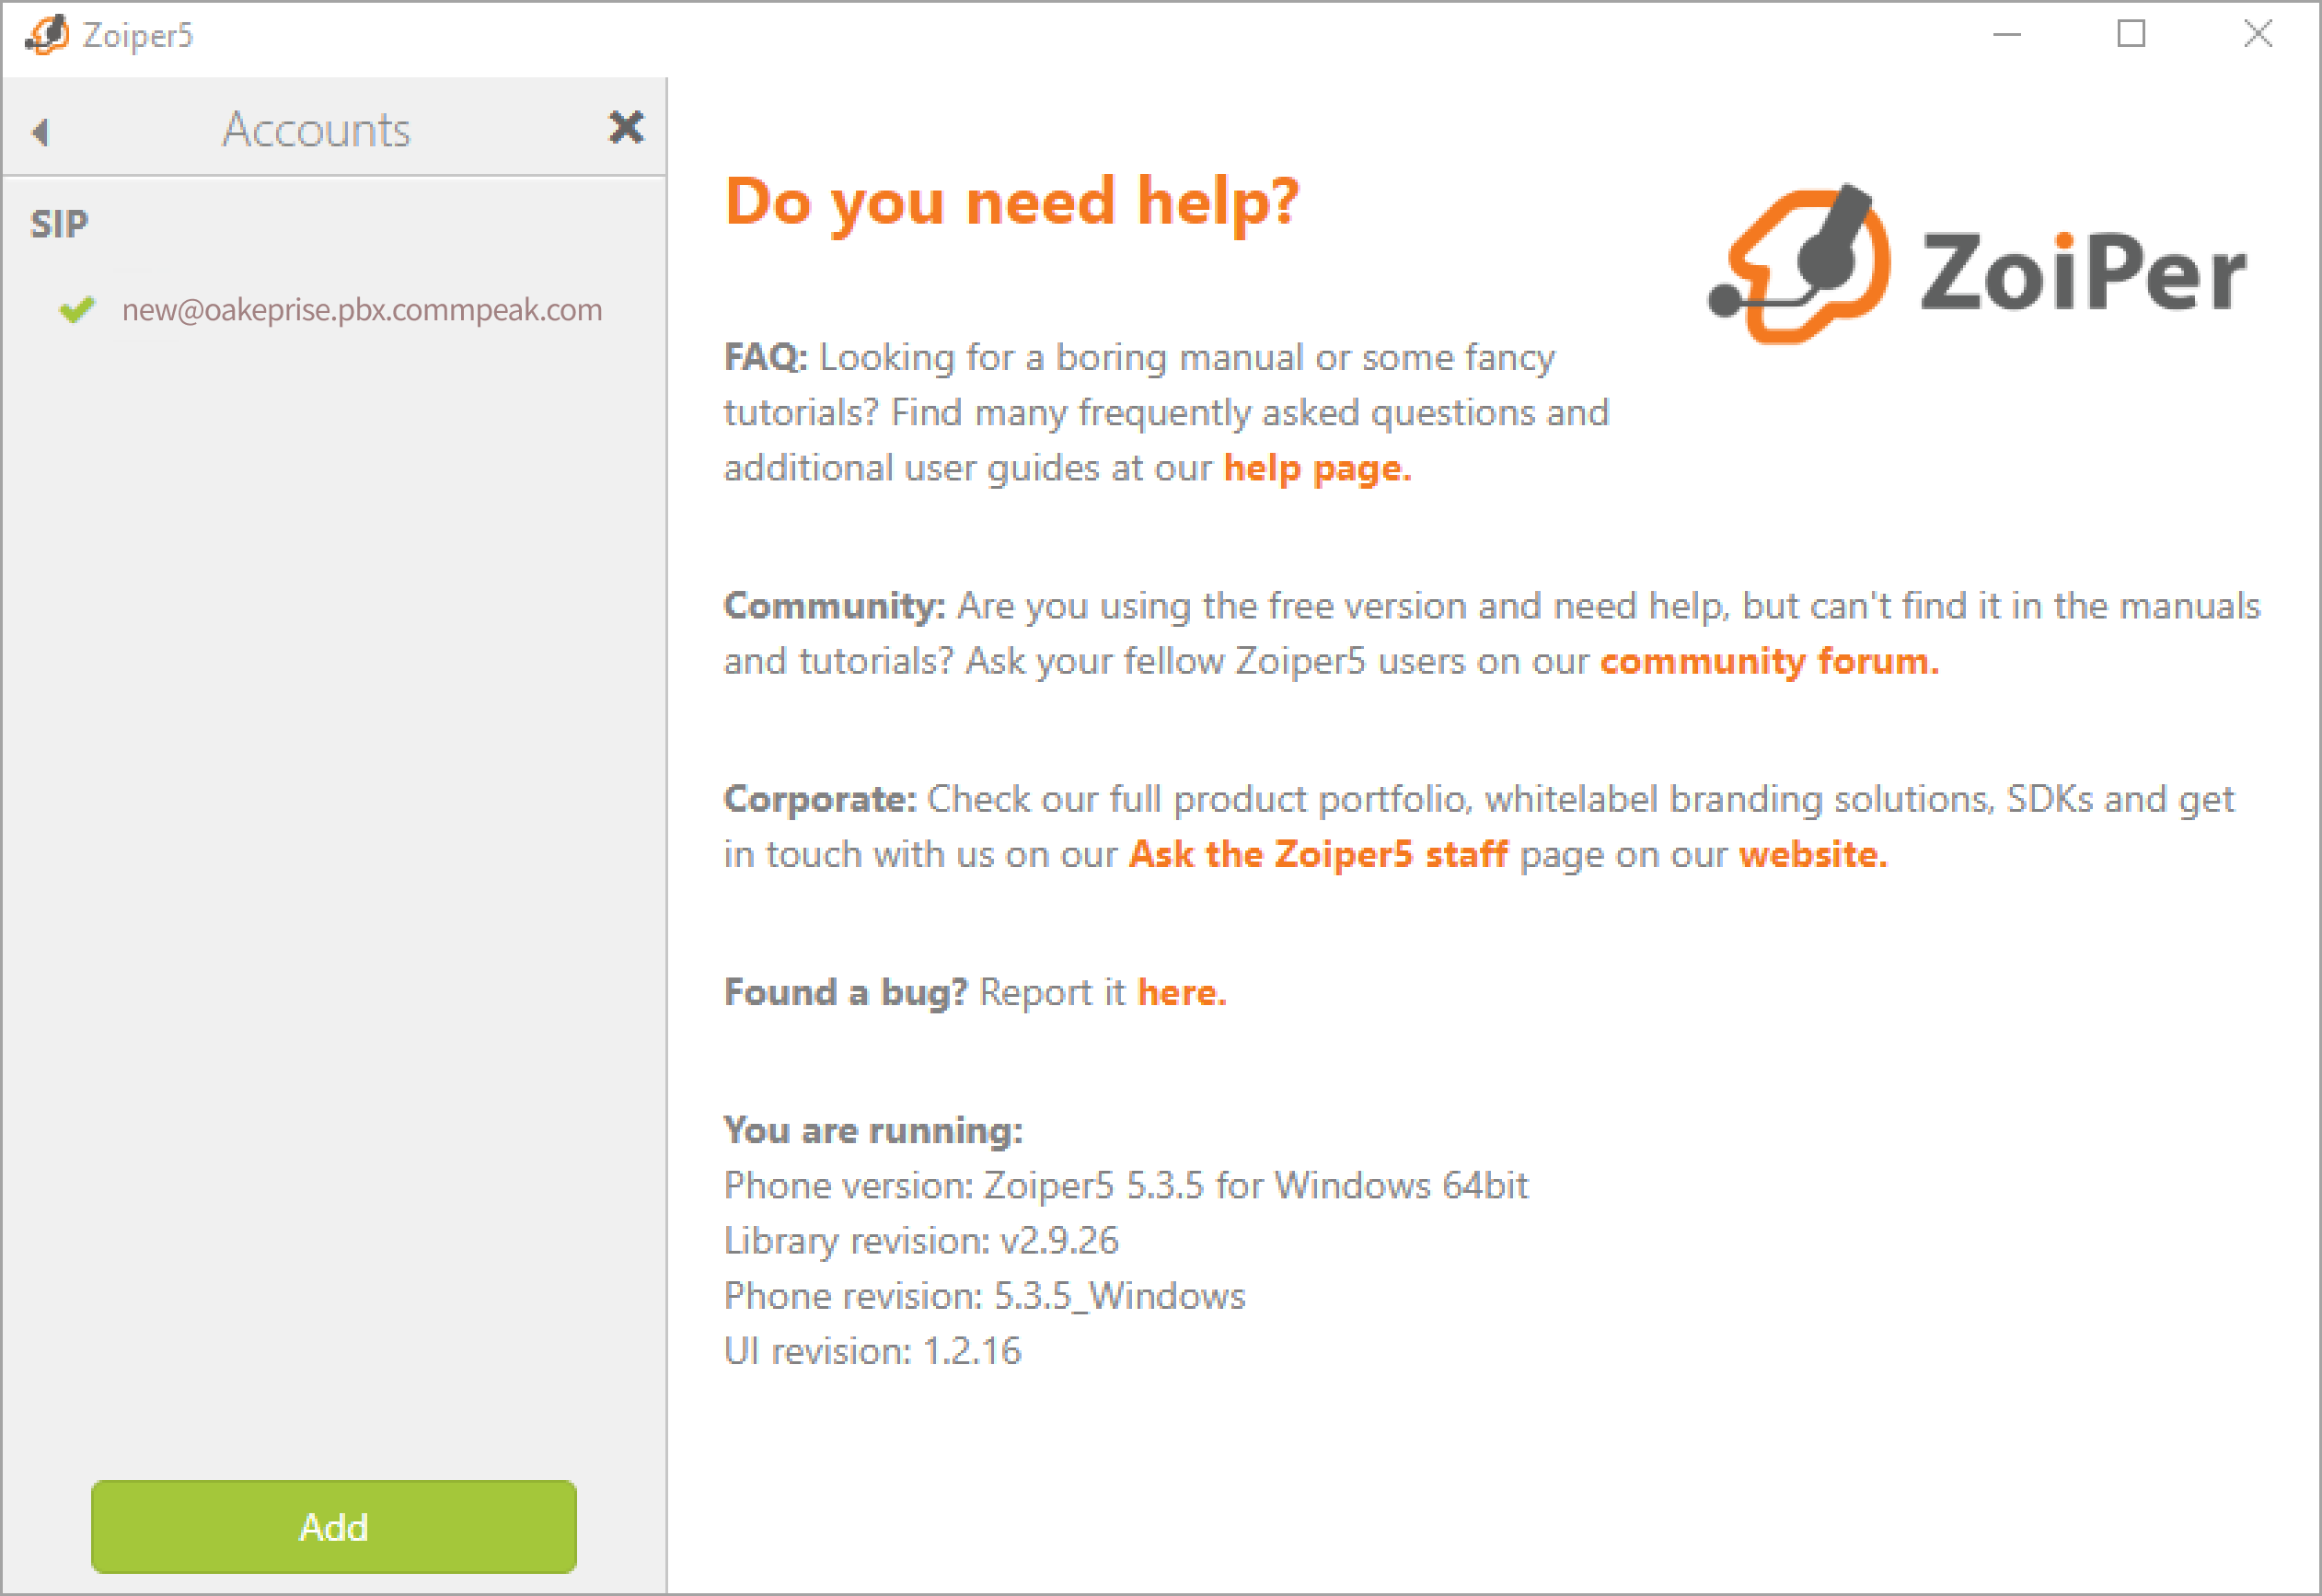
Zoiper help screen
Now your agent can log in to the agent workspace and start making and receiving calls.
Configuring an Ad Hoc Device and Logging In an Agent
First, take the steps needed for a fixed device described in the previous section.
After that, proceed as follows:
-
In PBX Stats, go to Configuration > Agents.
-
Find the agent who will be using the previously registered device and take their login.
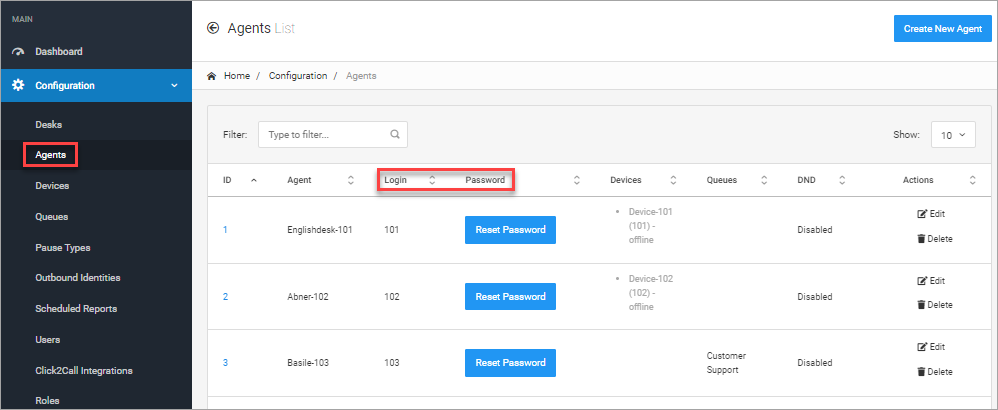
Configuration > Agents tab: Login and Password columns
-
To find out the password:
-
Click Reset Password in the Password column and proceed.
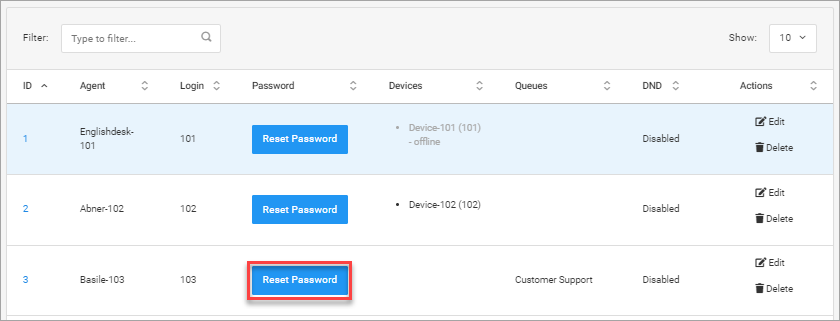
Configuration > Agents tab: Reset Password option
-
Copy the password in the following window.
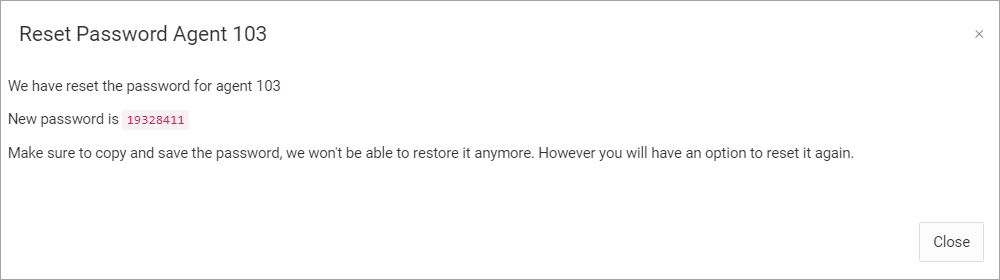
New password
-
-
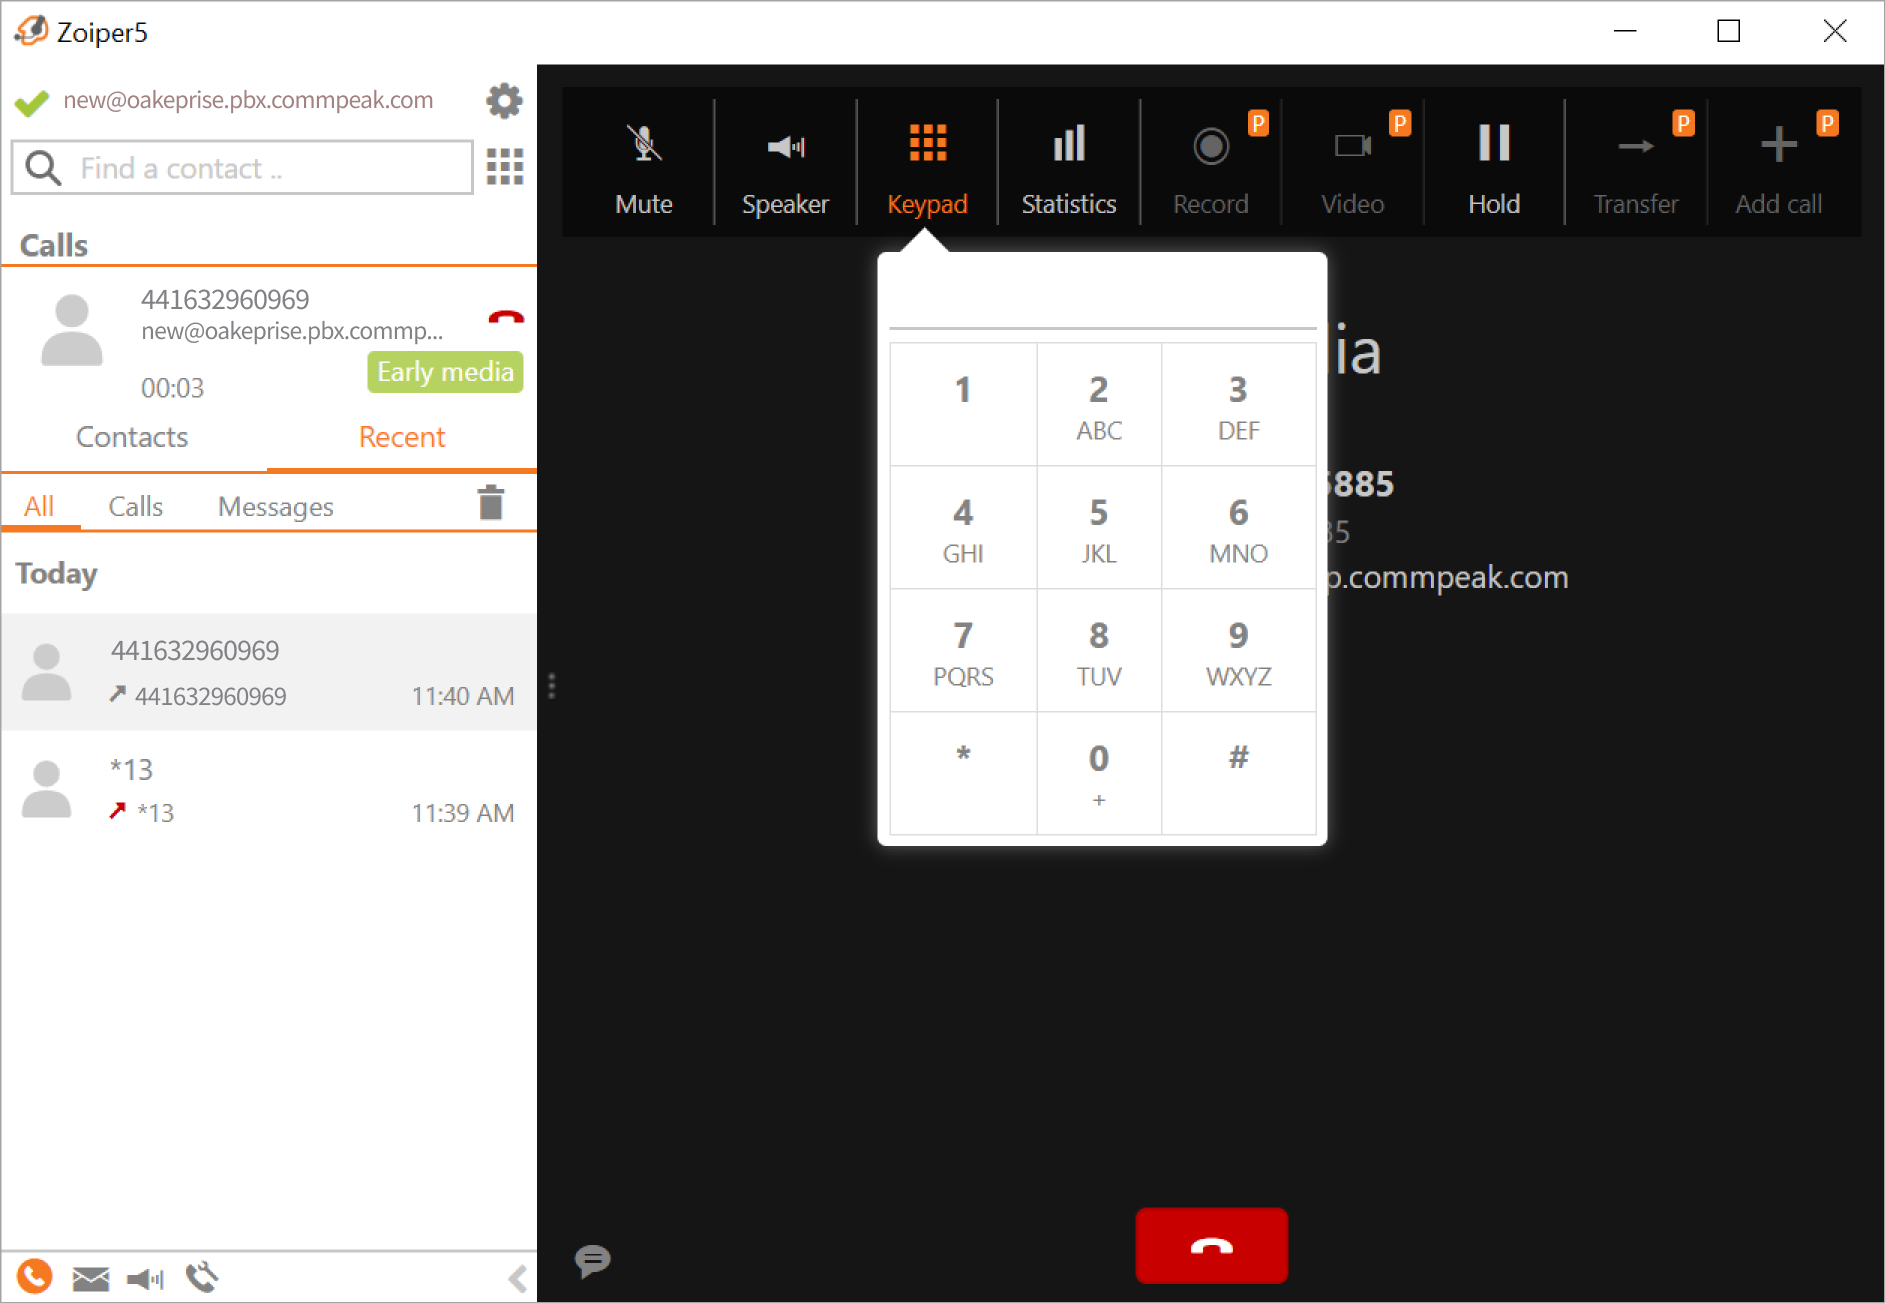
In your softphone, dial *11 to start the agent log-in process.
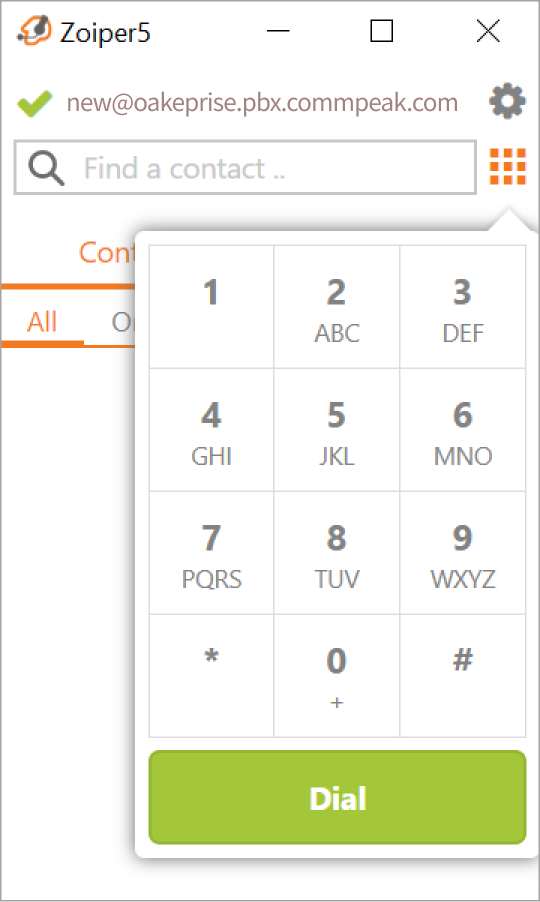
Softphone dialpad
-
Then, using voice prompts, dial the agent's login and password, each followed with #. You will hear a voice message informing you that the agent is logged in. Now, the agent is ready to make and receive calls.
Dialing agent's login and password
-
At the end of the shift, log out by dialing *12 on the keypad.
Updated 6 months ago