Departments
Learn how CommPeak account owners can create departments, assign users to them, and manage existing departments.
In Settings > Departments, you can create departments and assign users to them.
Users can be grouped into virtual departments by any criteria you need: a language, a country, an actual department, users' experience, or any other purpose.
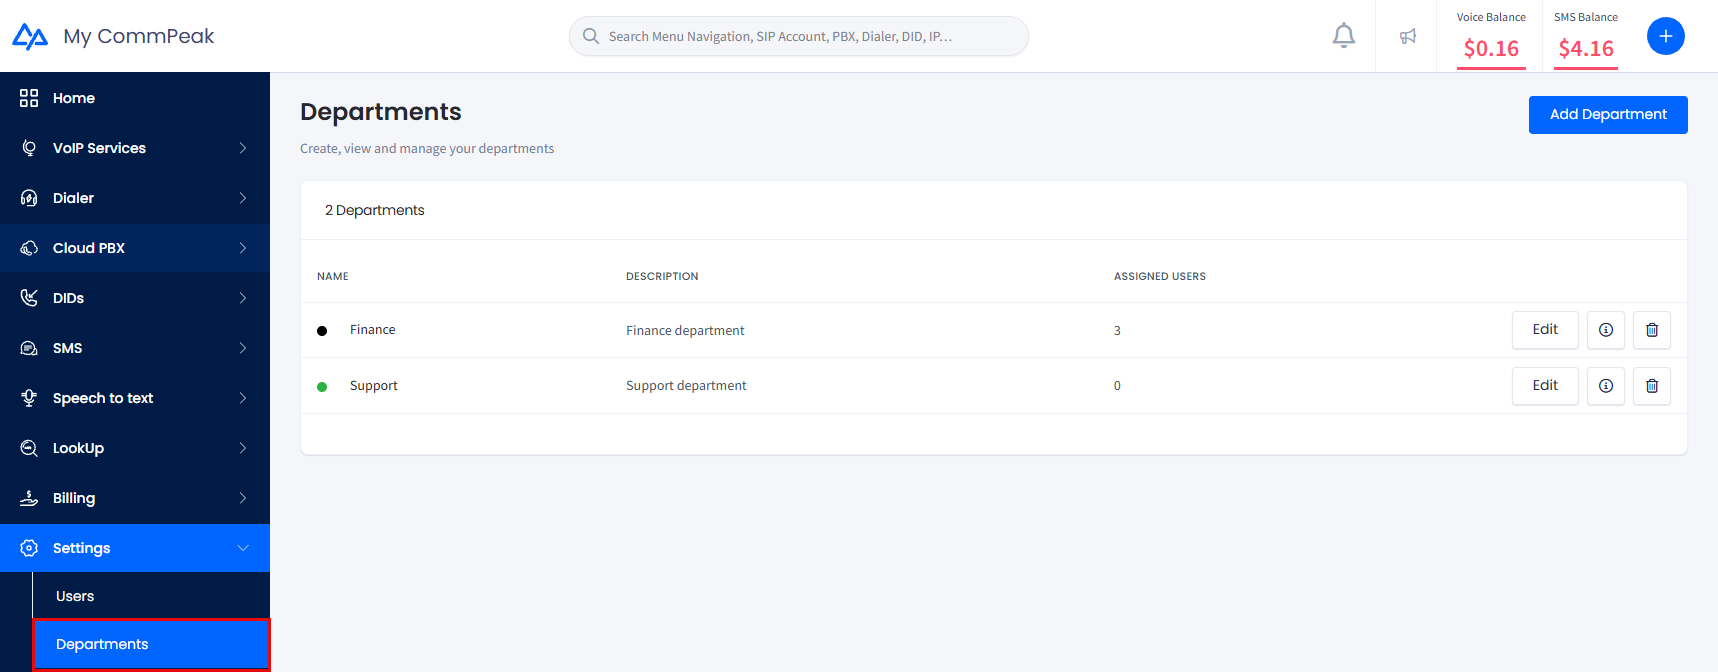
Settings > Departments tab in the main menu of the CommPeak Portal
Departments allow the account owner filter support tickets and limit the visibility of tickets for other users so they see requests related to their department only.
Creating Departments
To create a new department:
-
In Settings > Departments, click Add Department at the top right of the page. This will open the Add new department page.
-
In the Department details section, enter the department name, description, and select the color.
-
Optionally, assign user(s) to the department by clicking the button on the right in the user list. After that, you can switch the toggle to see assigned users only.
-
Click Save.

Adding a new department
-
A new department will be added to the list.
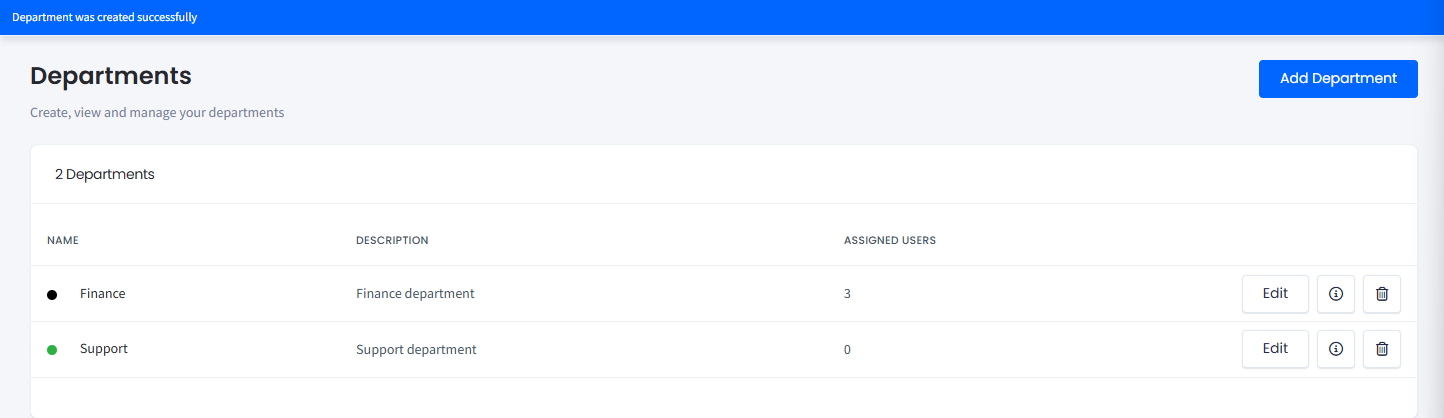
A new department created
Managing Departments
On the Departments page, you can manage the existing departments as follows:
-
View the department list with names, descriptions, and the number of assigned users.
-
Edit departments. Click the edit button, and change the name or description, assign or unassign users.
-
Click the information button and view department details in the sidebar.

-
Delete a department.

TIPYou can also assign a user to a department when creating a new user.
Updated 14 days ago