User Management
A comprehensive guide for managers on how to manage Inbox agents.
In the User Management view, Inbox admins or managers (provided they hold the corresponding Inbox role permissions) can manage inbox agents assigned to their accounts.
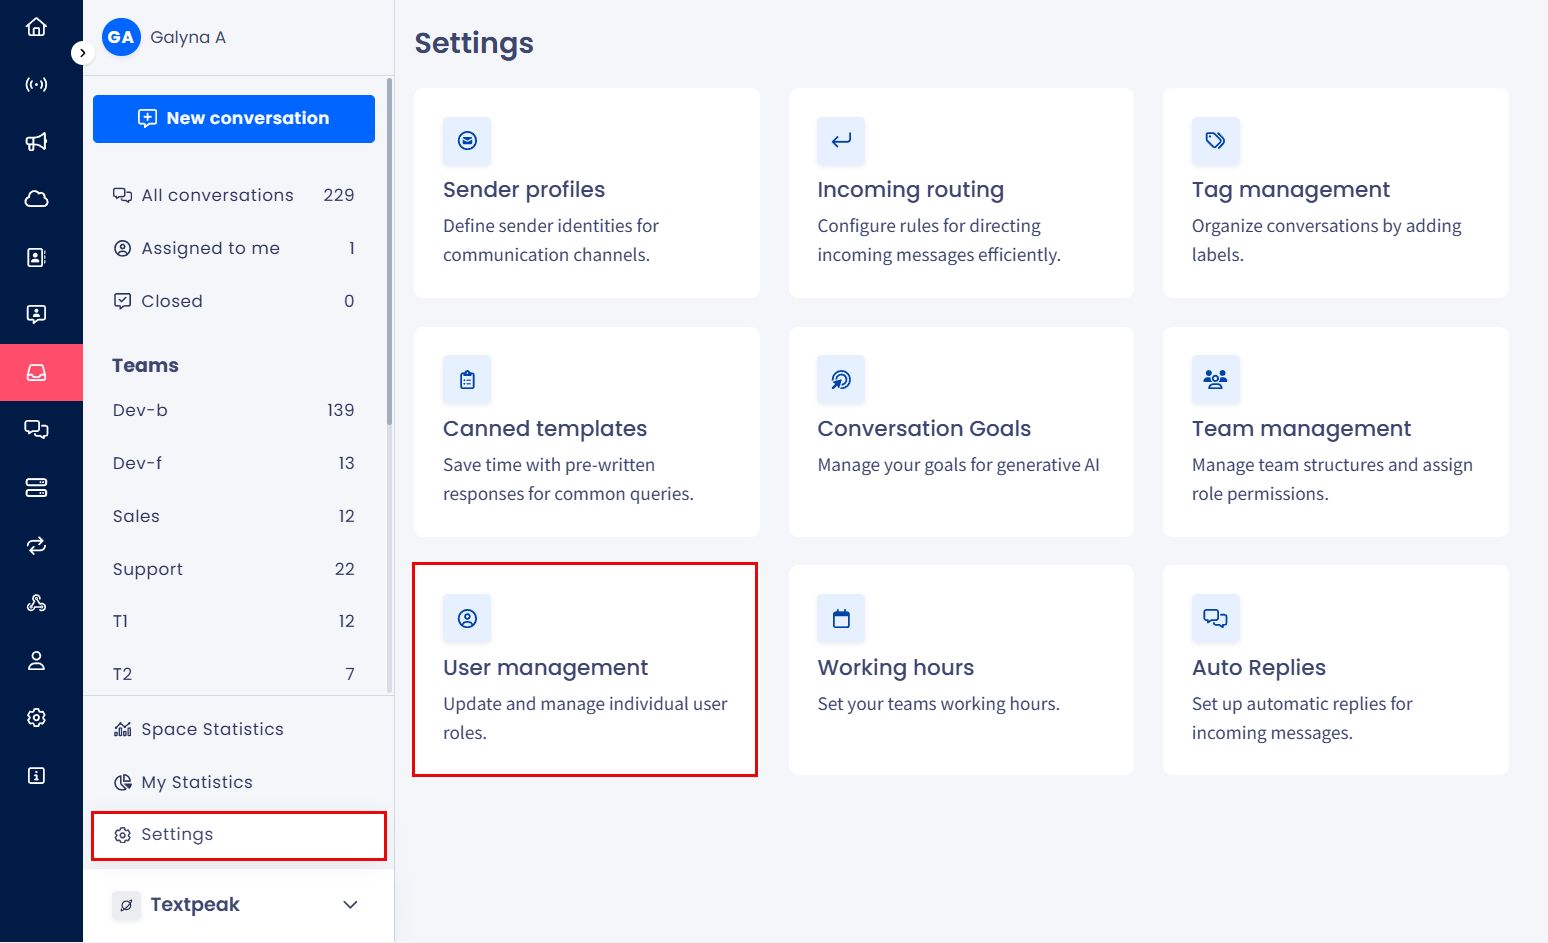
To access the User Management tab options:
- In your browser, log in to TextPeak with manager access privileges.
- In the main TextPeak menu, select the Inbox tab.
- Next, click Settings at the bottom left and navigate to the User management tab.
User management page
Here, you can view a table with all the users assigned to your account.
IMPORTANT
- Only Inbox admins can change the roles.
- Inbox managers can view only the users that assigned to their teams.
- Inbox agents have no access to the Settings > User Management page and can manage conversations only.
The table organizes all information about users in the following columns: Name, Email, Inbox Permissions, Teams, and Actions.
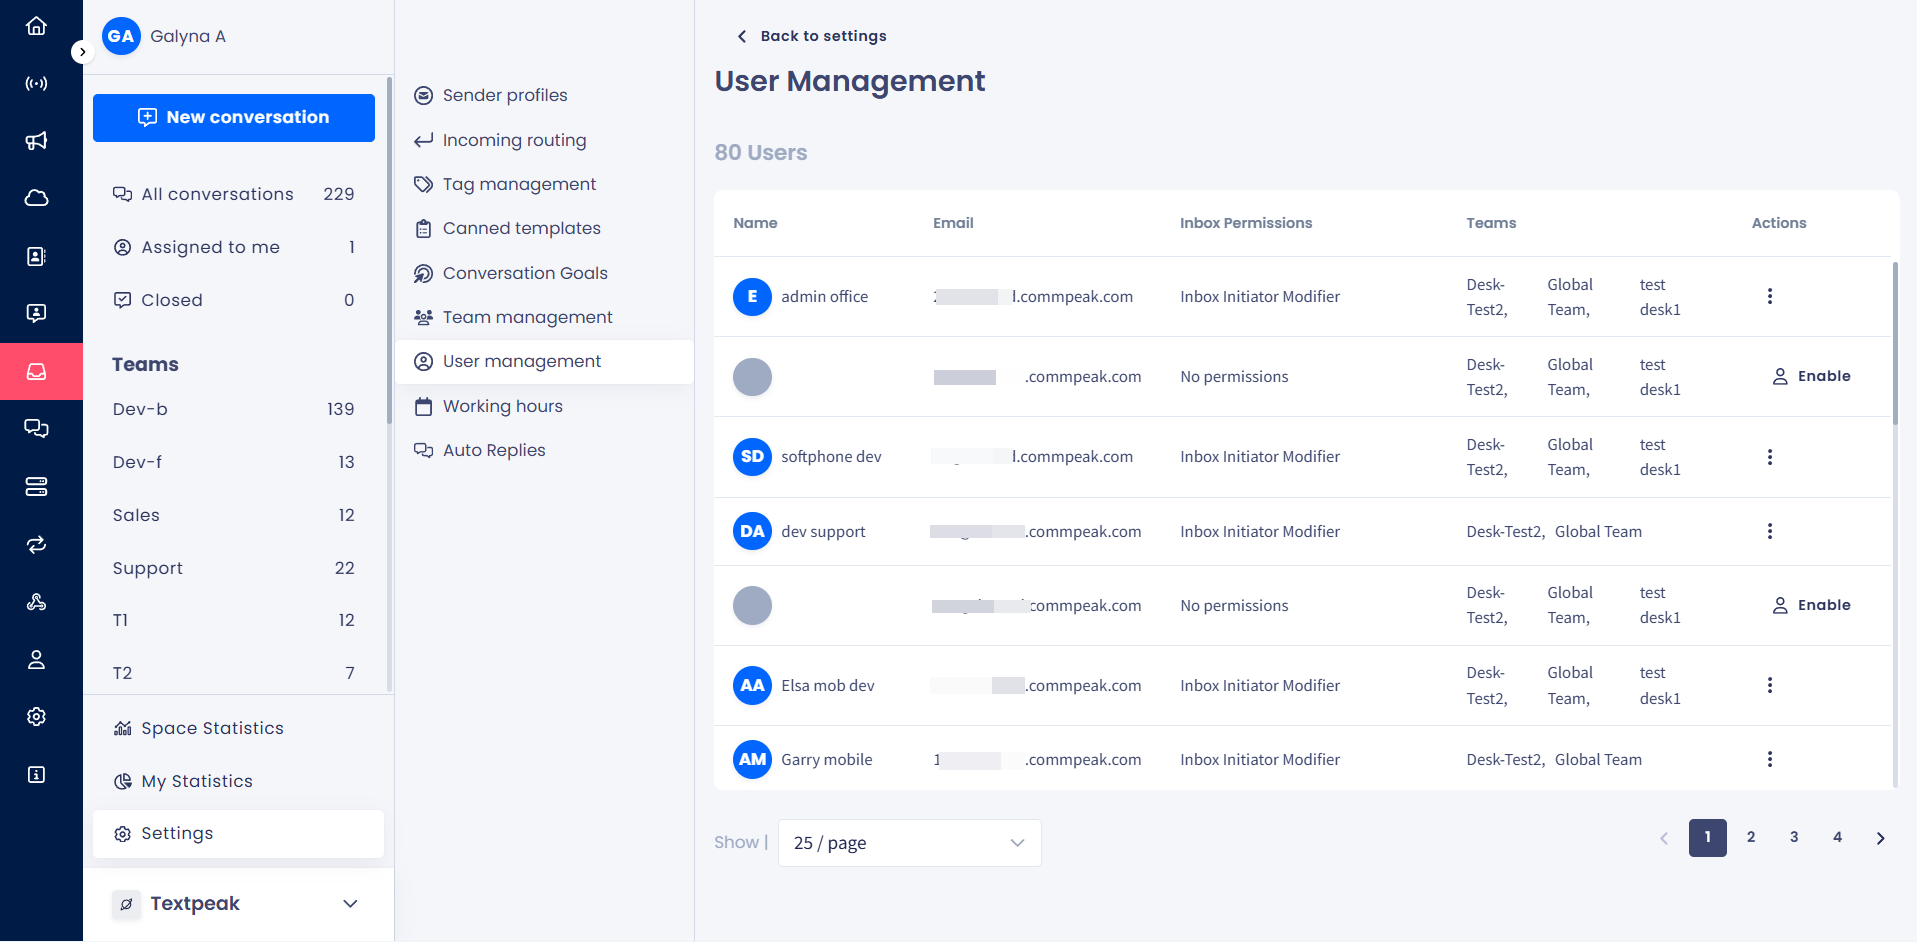
Inbox > Settings > User Management tab
NOTEUsers can view only the inbox users that are assigned to their teams.
Click the three-dot icon to open the menu with the following inbox user management options:
- Change role
- Remove all permissions
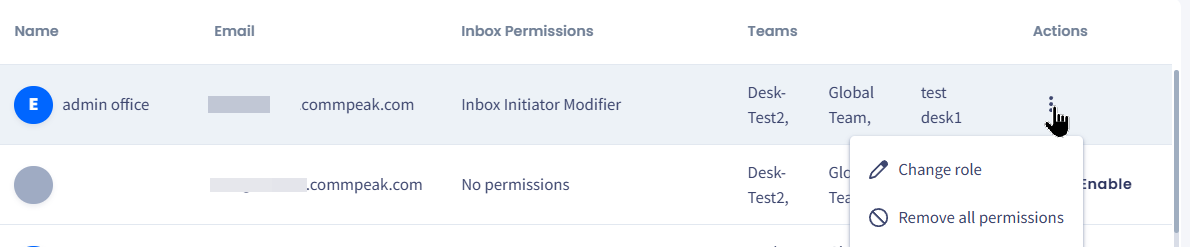
User management options
NoteTo manage inbox agents within your teams (assign to your teams or unassign from them), proceed as described in Assigning Agents.
Managing Inbox User Roles and Permissions
- To change the role for the specific user, click the three dots and select Change role.
- Select a new role from the drop-down list in the pop-up window.
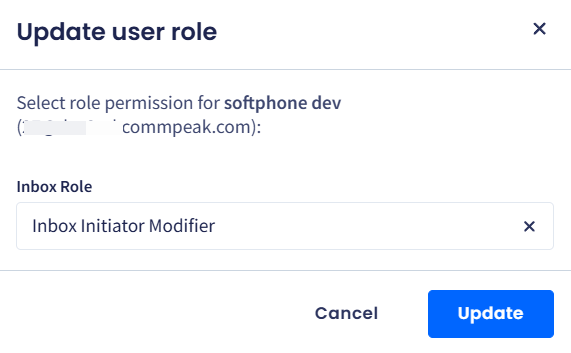
Update user role confirmation dialog
- Click Update.
- Alternatively, to remove all permissions from the user, click the three dots, select Remove all permissions and confirm the operation.

Removing all user's permissions confirmation dialog
- Click Cancel to navigate back to the inbox settings menu.
Need to restrict file sharing?Inbox Managers can disable the sending of docs and media in WhatsApp Business conversations. Reach out to CommPeak support for assistance setting this up.
Updated 3 months ago