Streams API in the CommPeak SMS platform provides routes for two-way conversations in Telegram. Learn how to create a Telegram bot and complete adding a stream in TextPeak.
Creating Telegram Bot streams is a Beta feature that is not available to all users by default. If you are interested in trying it, you first need to request access.
Requesting Telegram Bot Streams Access
To submit your Telegram Bot Streams access request:
Log in to TextPeak in your browser.
Select Streams API in the main TextPeak menu on the left.
Click Create Stream API on the page that opens.
Create Stream API button
For the Telegram Beta option, click Request Access.
Choose stream type pop-up window with Request Access buttons
A TextPeak support agent will review your request and follow up with you shortly.
Request Received! notification
📘
NOTE
If you retry accessing the Beta feature you already requested access to before your request gets approved, you will see the following pop-up window:
Request Already Sent pop-up window
Getting Started with Telegram Bot Streams
Once authorized to access the feature, you can start creating and managing Telegram Bot SMS streams.
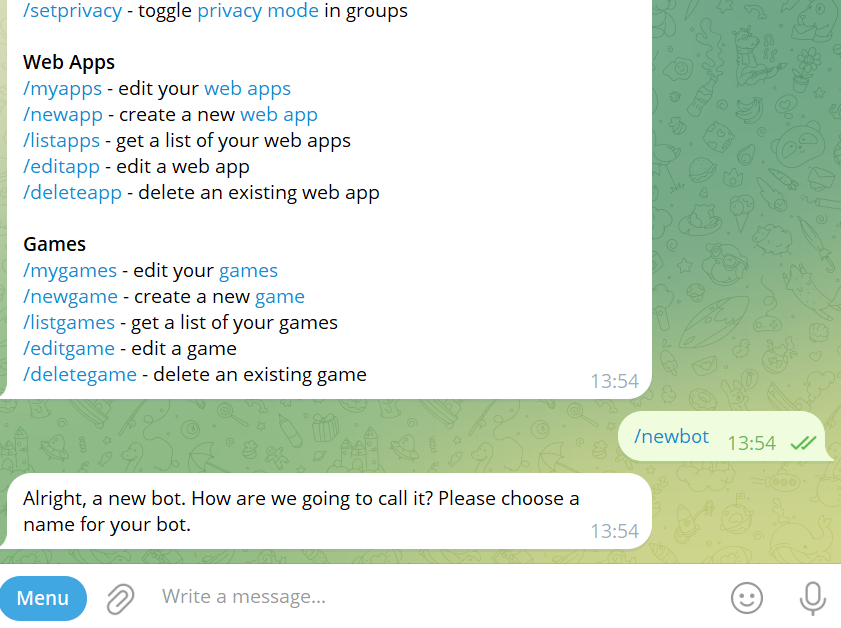
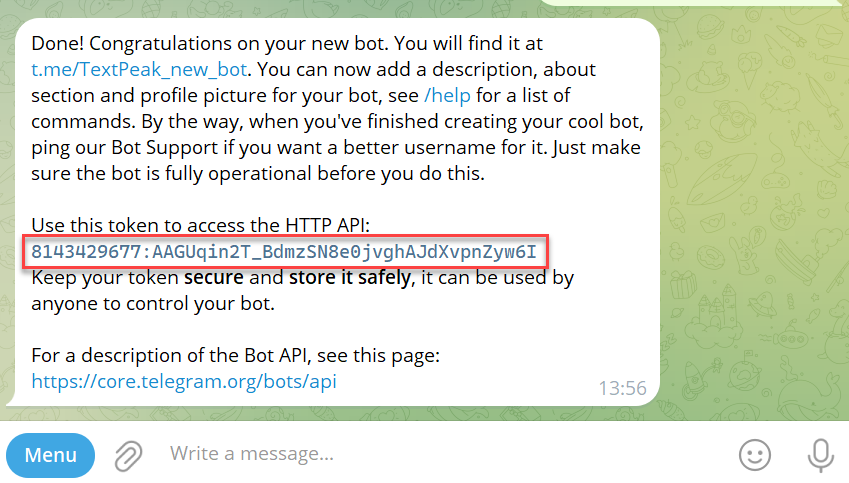
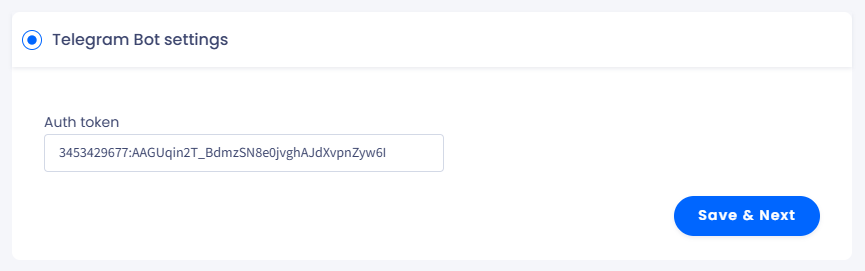
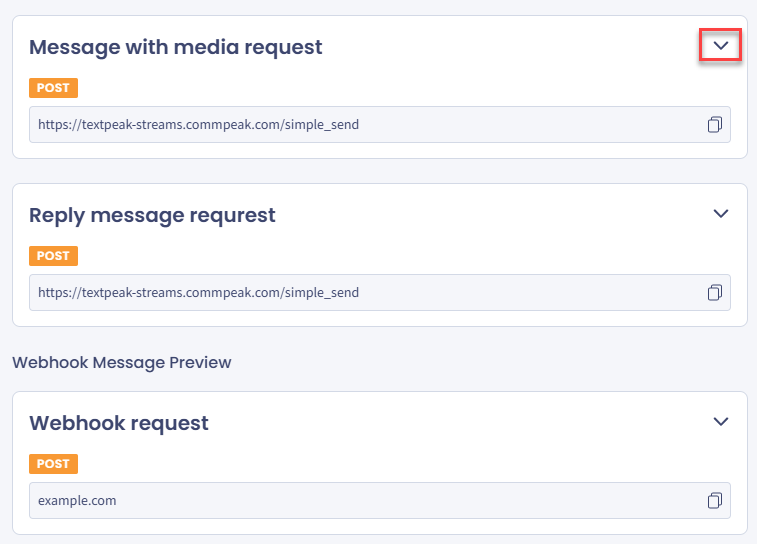
When adding a stream, in Step 4, you will be asked to provide an authorization token generated in Telegram.
Authorization token generated in Telegram
Step 2: Load Stream Creation Wizard
To start, select Streams API in the main menu on the left and click Create Stream API on the page that opens.
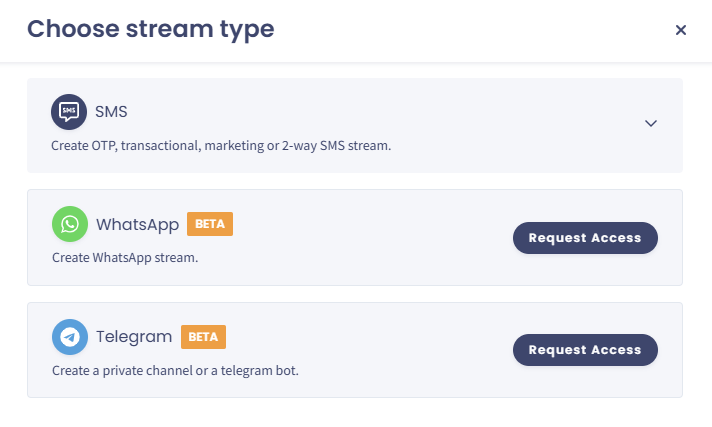
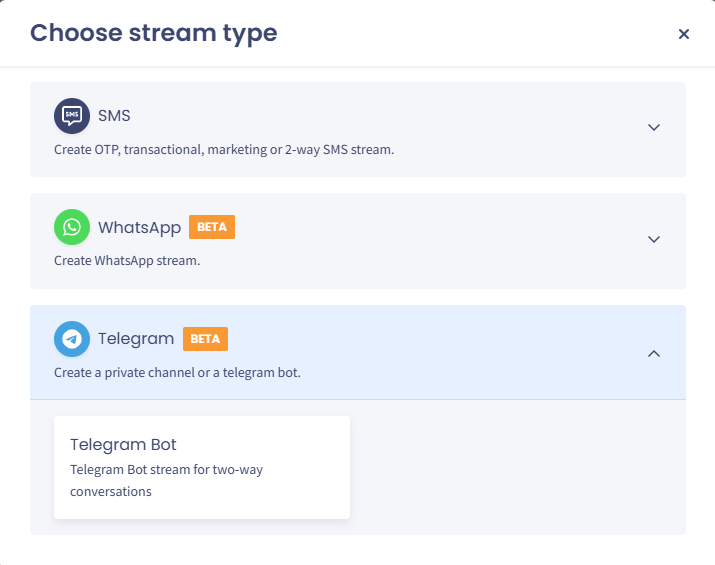
In the pop-up window, click to unfold the Telegram option and select it.
Stream type pop-up window with access granted: Telegram
The Create New Stream wizard will load. Fill in the necessary information to complete the steps below.
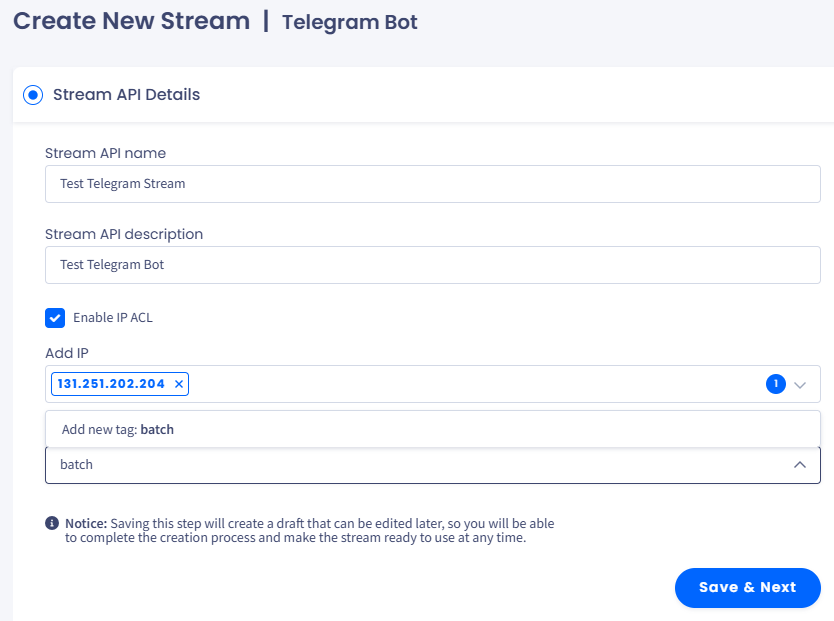
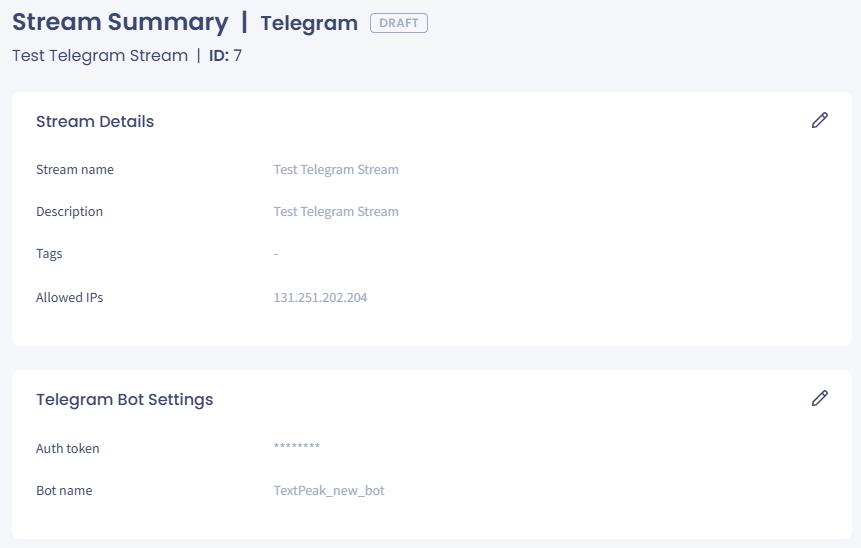
Step 3: Stream API Details
Start with entering stream details:
Stream API name - enter a meaningful name to locate the stream quickly.
Stream API description - provide more information that will be visible when you open the stream.
Enable IP ACL - optionally, select the checkbox to limit access to the stream. Then, in the Add IP field, add one or more IP addresses from which you will make API calls. To add an IP, enter it and click Add.
Tags - create tags and apply them immediately to categorize your streams and quickly find the ones you need (optional). To add a tag, enter it in the field and then select from the drop-down.
Create New Stream page
Click Save & Next to proceed to the next step.
📘
NOTE
You can save the stream as a draft on each step and then complete the rest at any time later.
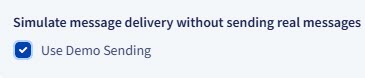
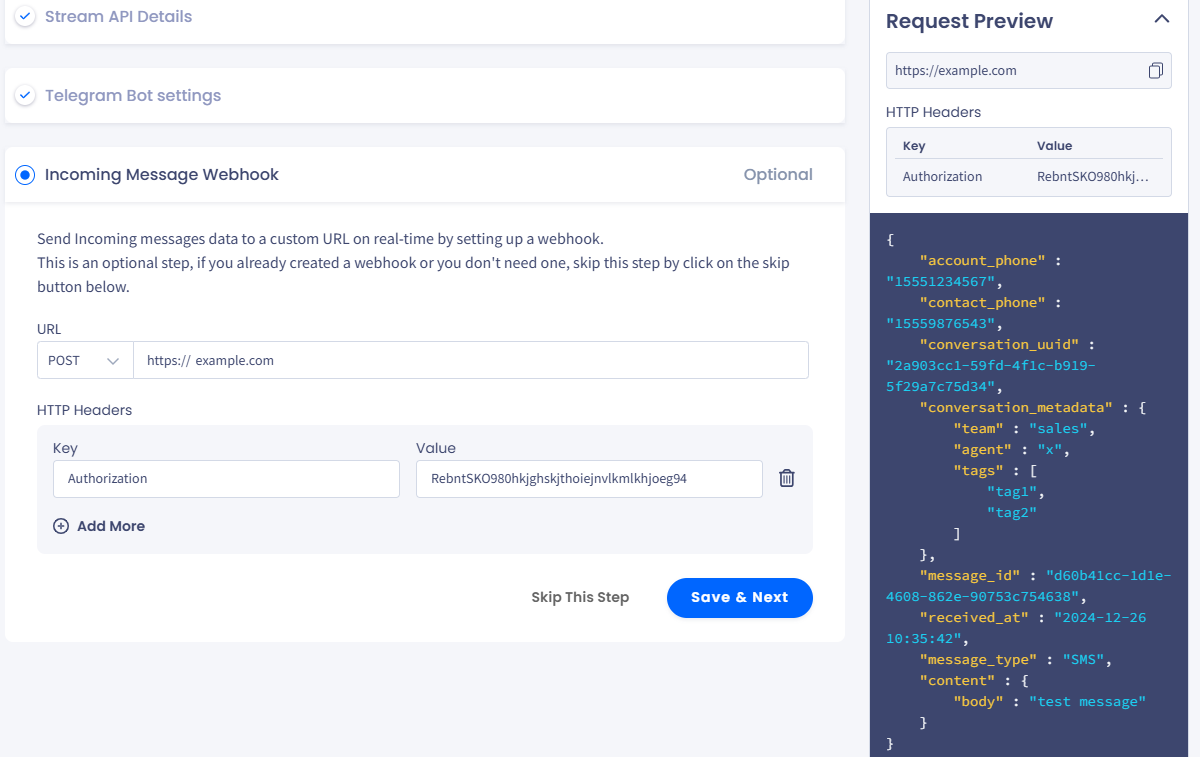
Step 4: Telegram Bot Settings
Enter your token to access the HTTP API generated when creating a new bot. Then click Save & Next to proceed to the next step.
Telegram Bot settings section
Step 5: Incoming Messages Webhook (optional)
Create a Webhook right away to receive incoming messages through the API.
URL - select the GET or POST method and enter the URL to which you want to send data
HTTP Headers - optionally, provide the key name and value.
The requests' preview is available on the right. You can copy the request body while creating the webhook or creating the stream summary.
Incoming Message Webhook section
You can skip this step for now. Otherwise, click Save & Next to proceed to the next step.
Step 6: Stream Summary
You can review stream details here.
Stream Summary section
The incoming message webhook settings will be displayed at the bottom if a webhook was created in Step 3.
Reviewing Incoming Message Webhook section
The API requests preview is available on the right. Click the expand button to view the request.
API requests preview: expand button
You can copy the endpoint or request body immediately.
Message with media request section with the Code Copy option
After you click Create Stream, a pop-up window appears. You can copy your authorization token here.
Stream IP was created successfully success window
Finally, click Done. The new stream will appear at the top of your Streams API table.