Creating and Assigning DID Numbers Tags
Create DID tags and assign them to your DID numbers in the CommPeak Portal.
You can create tags for the DID numbers in your CommPeak Account and assign them as needed.
Creating DID Number Tags
To create a tag:
- Log in to the CommPeak Portal.
- On the main menu on the left, navigate to DIDs and select Configure. The DID Configuration page opens with the table listing all DID numbers added to your CommPeak Account.
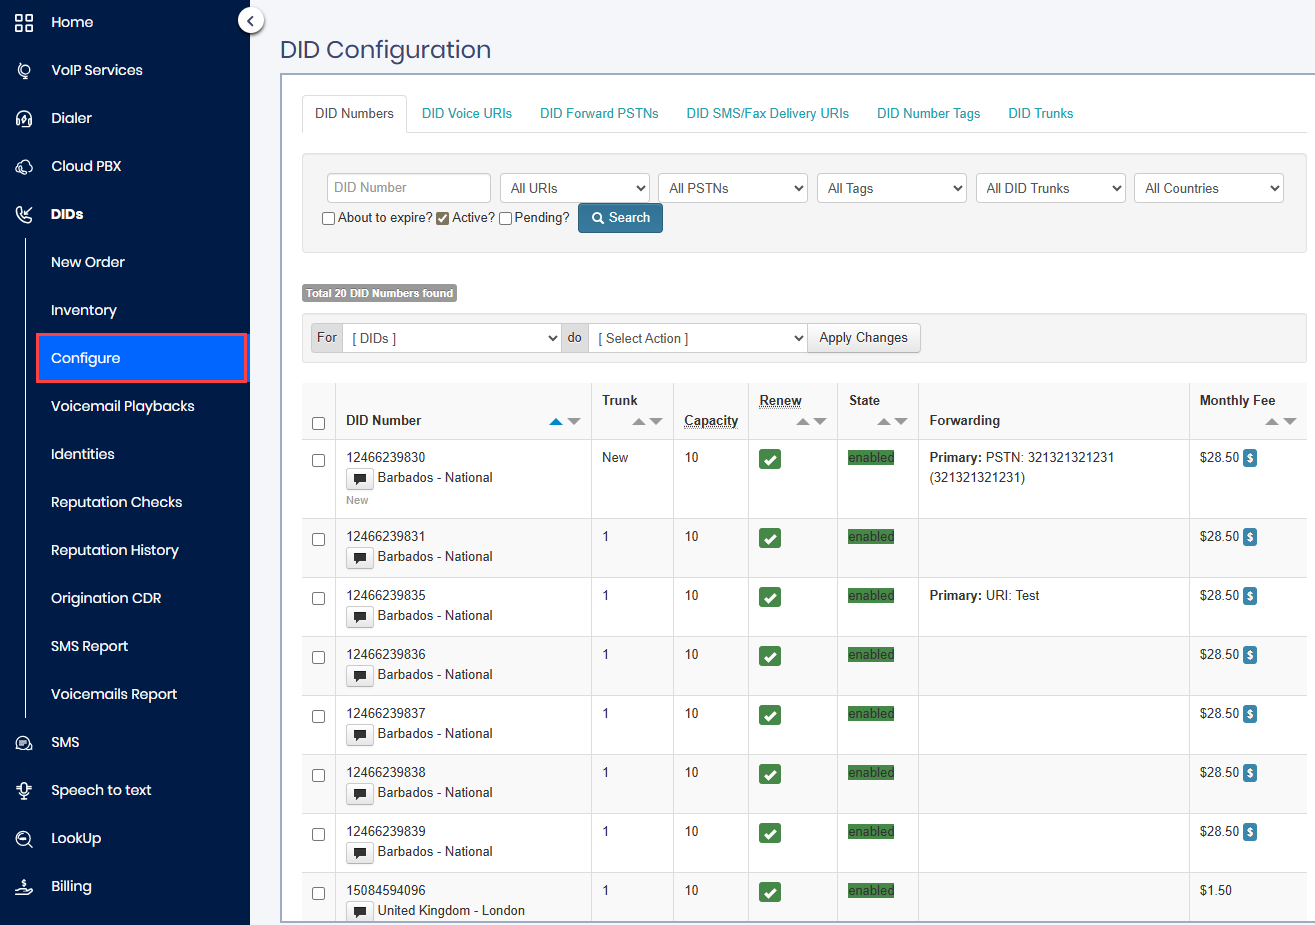
DIDs > Configure tab
- Select the DID Number Tags tab and click the + Create DID Tag button.
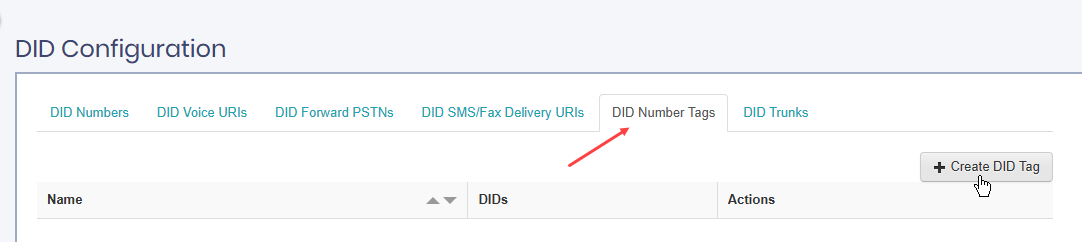
DID Number Tags tab
- Enter a name in DID Tag Name and click Save.
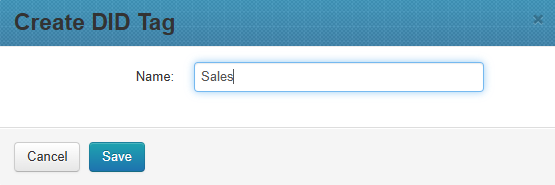
Creating DID tag
- The tag is created. You can now assign it to the DID numbers under your account.
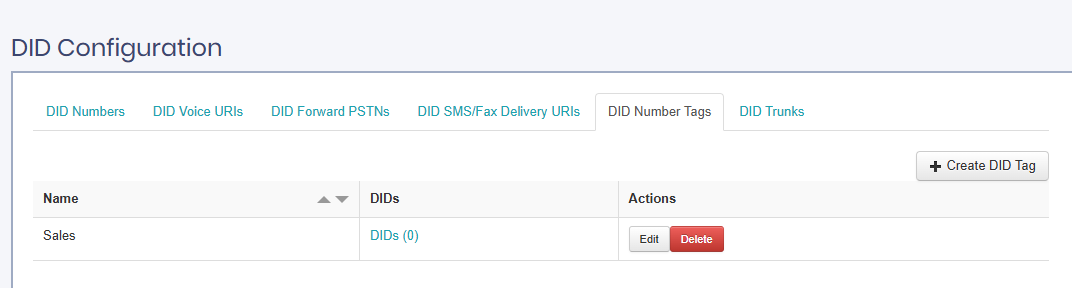
DID number tag created
Adding Tags to DID Numbers
To assign a tag to a DID number:
- Go to the DID Numbers tab or click the DIDs (0) link in the table above.
- Apply the Search filters to search for the needed DID, or select it from the list of DIDs under your account.
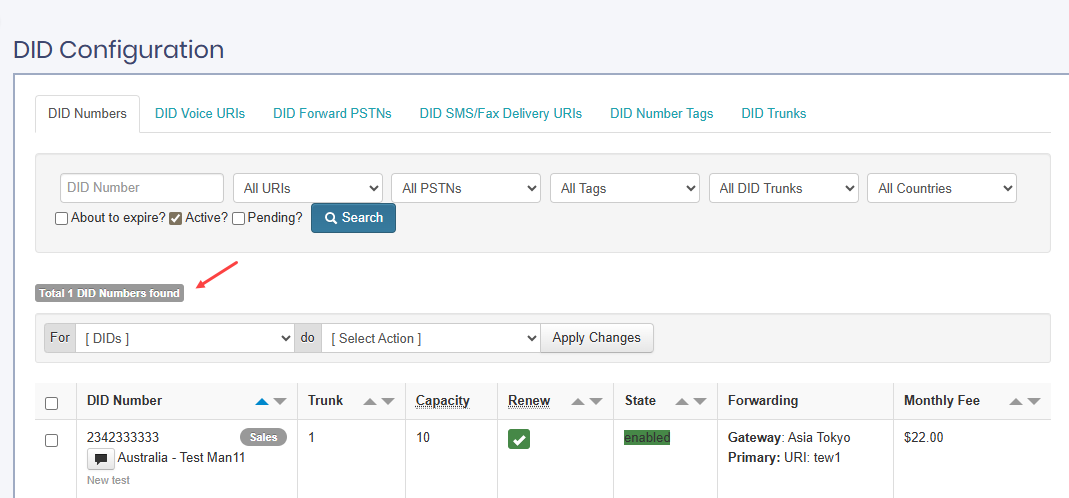
Filtered DID Number
- Select the filtered DID number or numbers, then choose the Add DID Tag action.
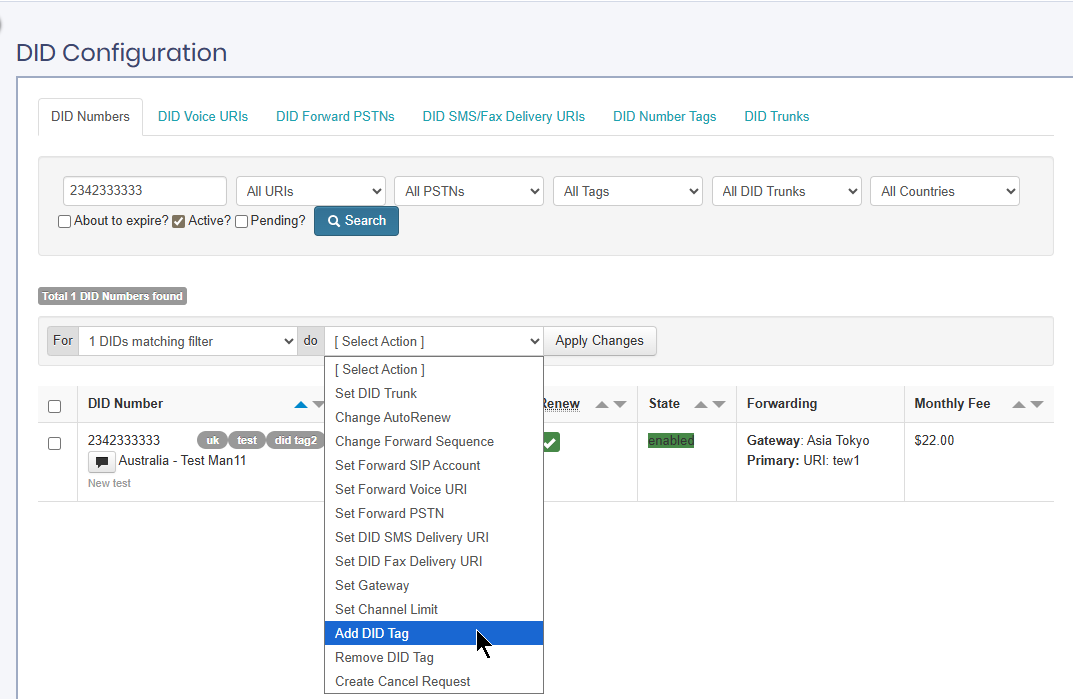
Selecting Add DID Tag action
- Select the tag you want to apply and click Apply Changes.
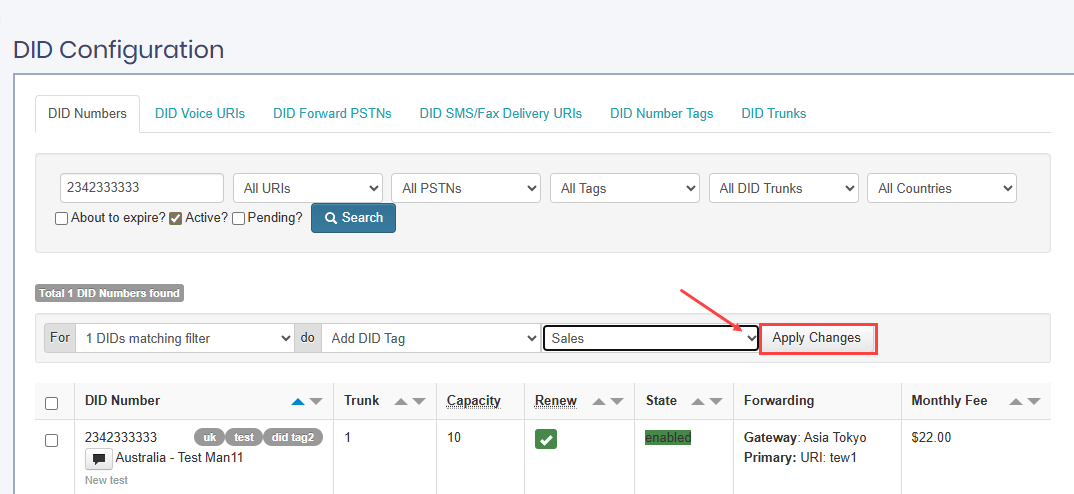
Applying changes to the selected DID number
- Confirm your choice.
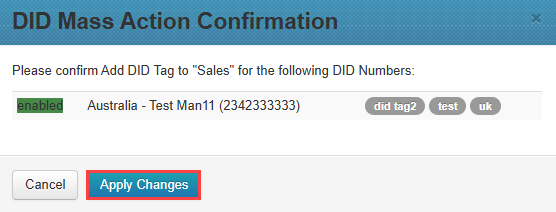
Confirming adding a tag
- In a moment, you can see the updated tags list applied to the DID number.

Tag added to the DID number
- Switch to the DID Number Tags tab to confirm that the tag is assigned to one (1) DID number.

Indicator that the tag assigned to 1 DID number
Updated 3 months ago
Did this page help you?