Zapier Integration
This guide will walk you through creating SMS integrations with CommPeak in Zapier
Zapier integrations allow you to receive SMS notifications triggered by an action in any connected app. Implement this SMS Automation using TextPeak integrations to reach a large audience with minimal effort.
NOTE
You can find more information about managing Zaps in the Zapier help center.
Creating an Automation
To create a Zapier integration to receive SMS notifications triggered by an action in any connected app complete the following steps:
- Sign up to Zapier
- Create and publish Zaps from templates prepared by CommPeak
- Alternatively, create Zaps for sending messages via TextPeak from scratch.
1. Sign Up for Zapier
NOTE
If you already have a Zapier account, go to the next sections.
To sign up for Zapier, select one of the following options:
Option 1. Signing Up From CommPeak TextPeak Integrations
-
Log in to TextPeak in your browser.
-
Select Integrations in the main menu on the left.
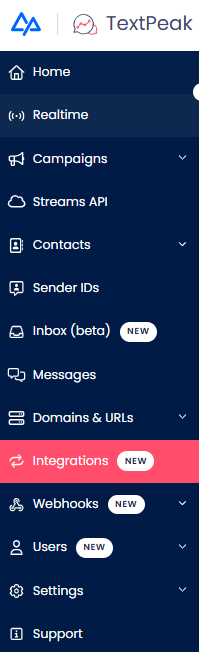
Integrations tab
-
Click Zapier Integration in the top right of the Integrations page.
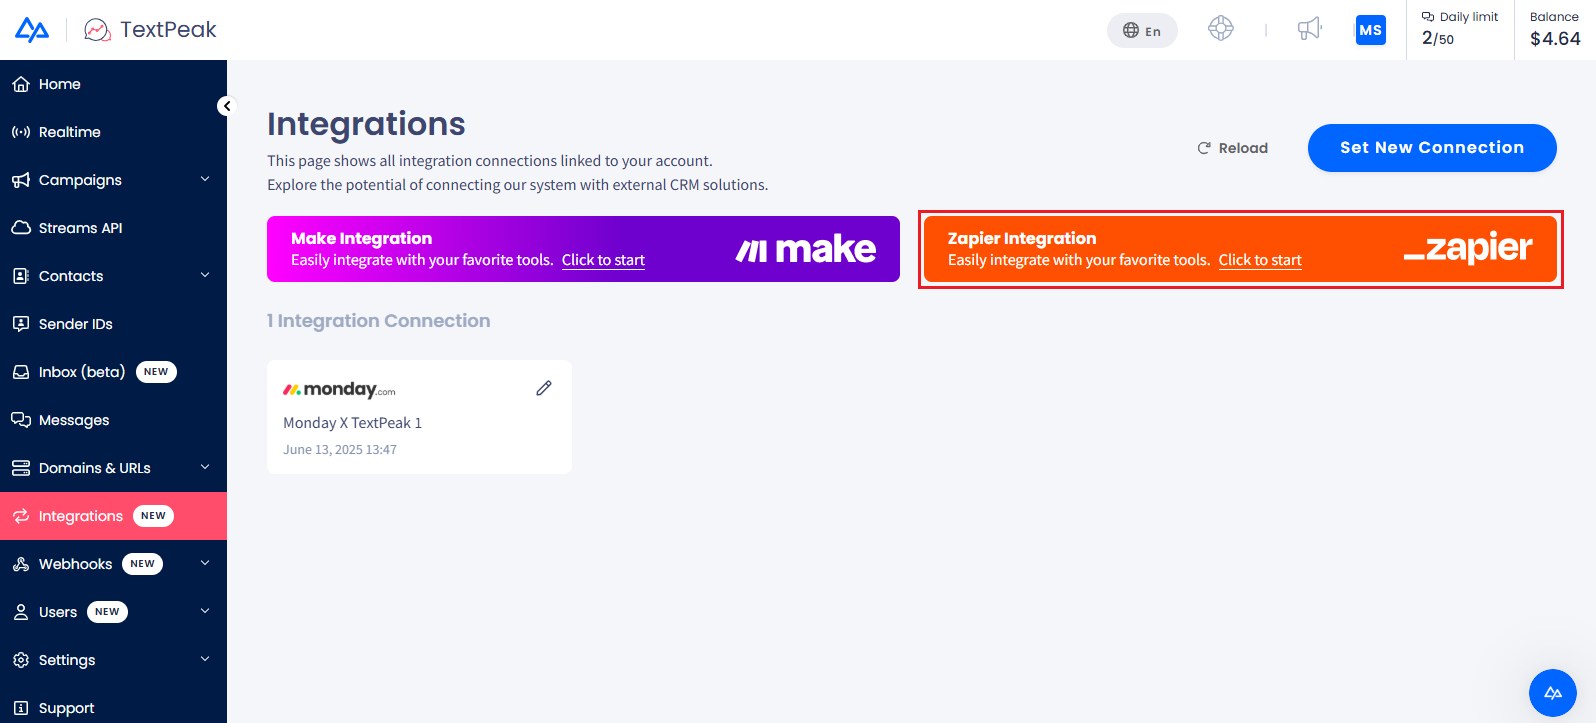
Zapier Integration option
-
You will be redirected to the CommPeak product page on the Zapier marketplace.
-
Sign in to your Zapier account and proceed as described in this section.
Option 2. Signing Up From Zapier Integrations Page
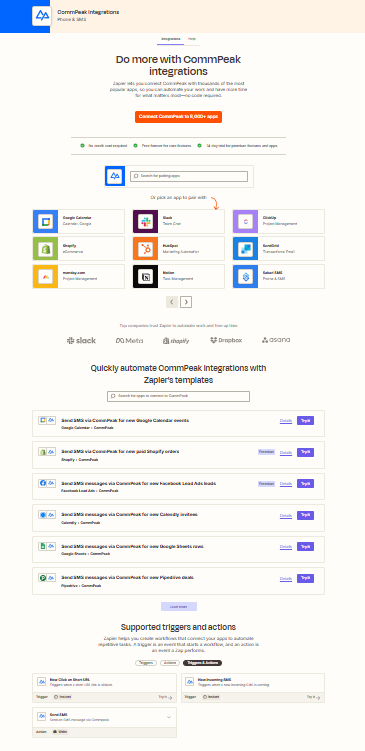
- Navigate to the CommPeak Integrations page on the Zapier website. Here, you can select a signup option that is most suitable for you.
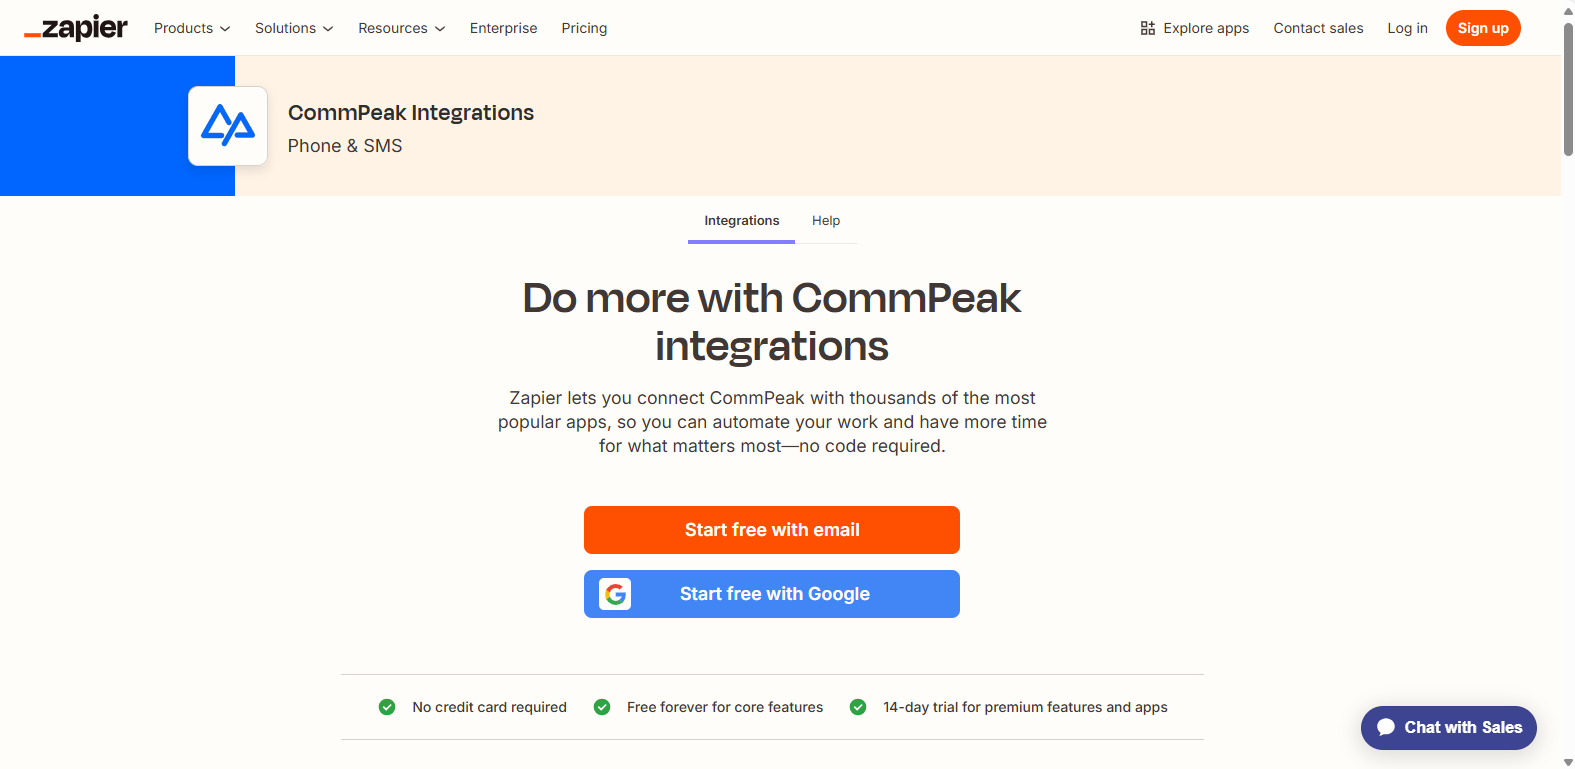
Integrations page on the Zapier website
- Provide more information about yourself and your company. Then click Continue to finish setup.
- You can also search for the CommPeak app on the Zapier Apps and Software Integrations page, along with other apps you use, to get tailored recommendations and then continue with connecting it to more apps.
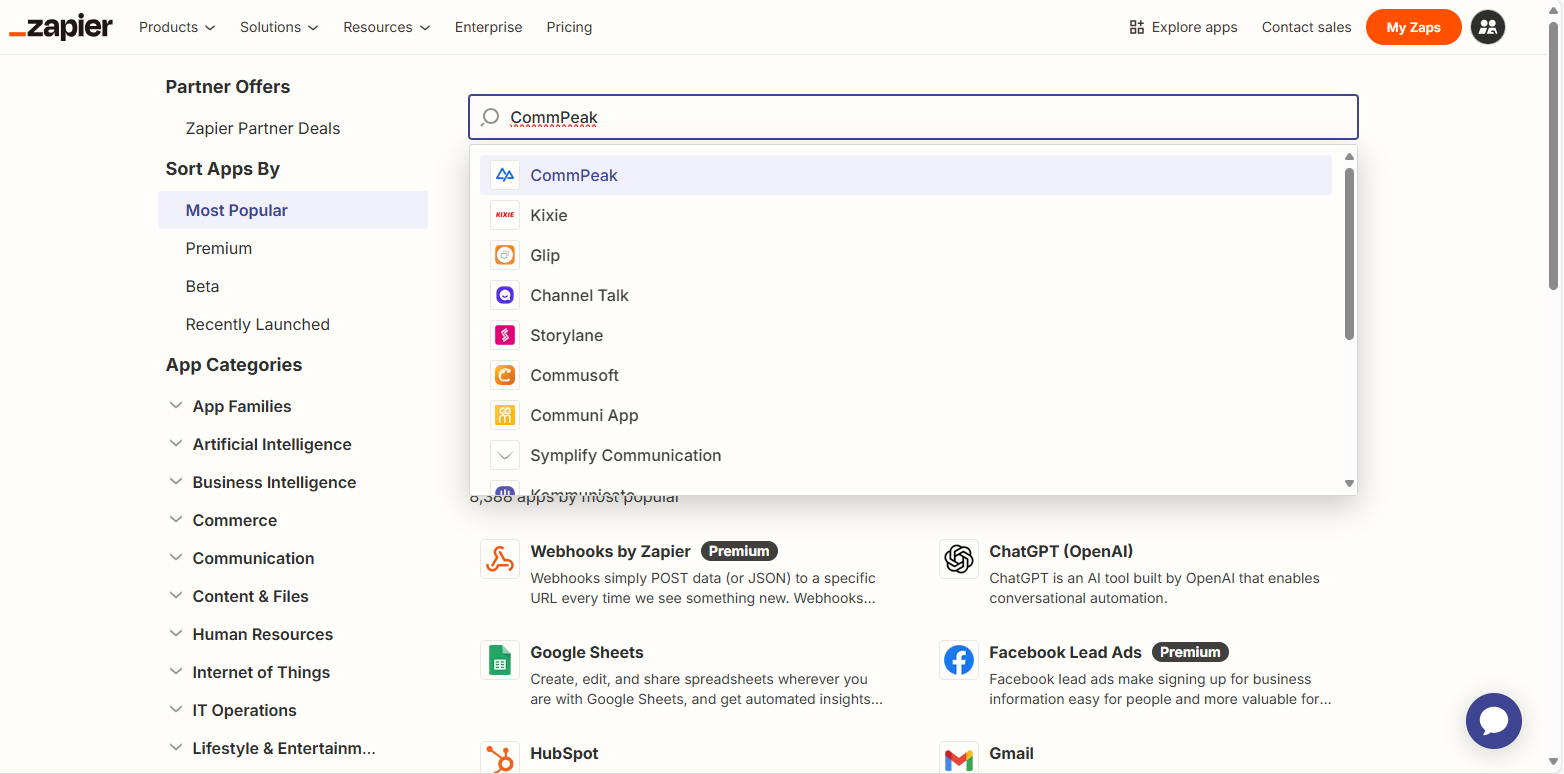
Search for CommPeak app
2. Publish Your Zap Based on CommPeak Template
Now, let's see how to create Zaps from templates prepared by CommPeak. We will demonstrate adding Zaps for two workflows:
and
NOTE
You can also check our Setting Triggers in Zapier guide to learn how to create triggers to send data to Zapier and perform further actions after customers respond to your SMS messages or click links.
You can also try other apps as you wish.
To start, navigate to https://zapier.com/apps/commpeak/integrations and scroll down to see the pre-created templates.
CommPeak Integrations page
SMS Notifications About New Events in Google Calendar
Step 1: Select a Template
Find a template for Google Calendar and click Try it.
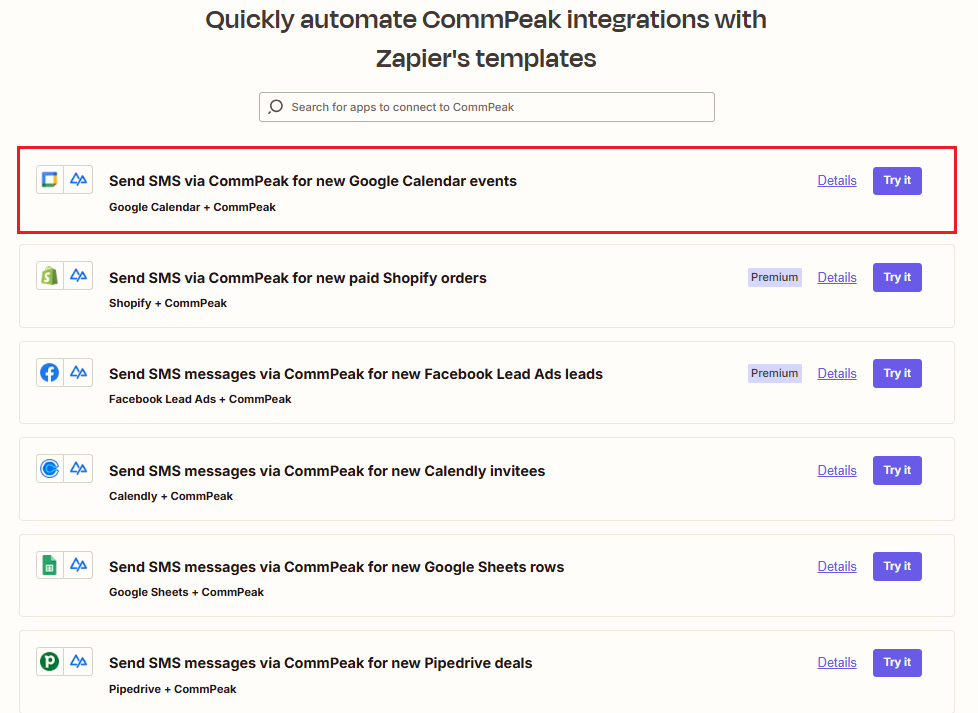
Google Calendar template selected
NOTE
You can change the trigger event later.
Another way to get to the right template is to click Details on the template. You will see the list of templates associated with Google Calendar. Click Try it on the New Event template.
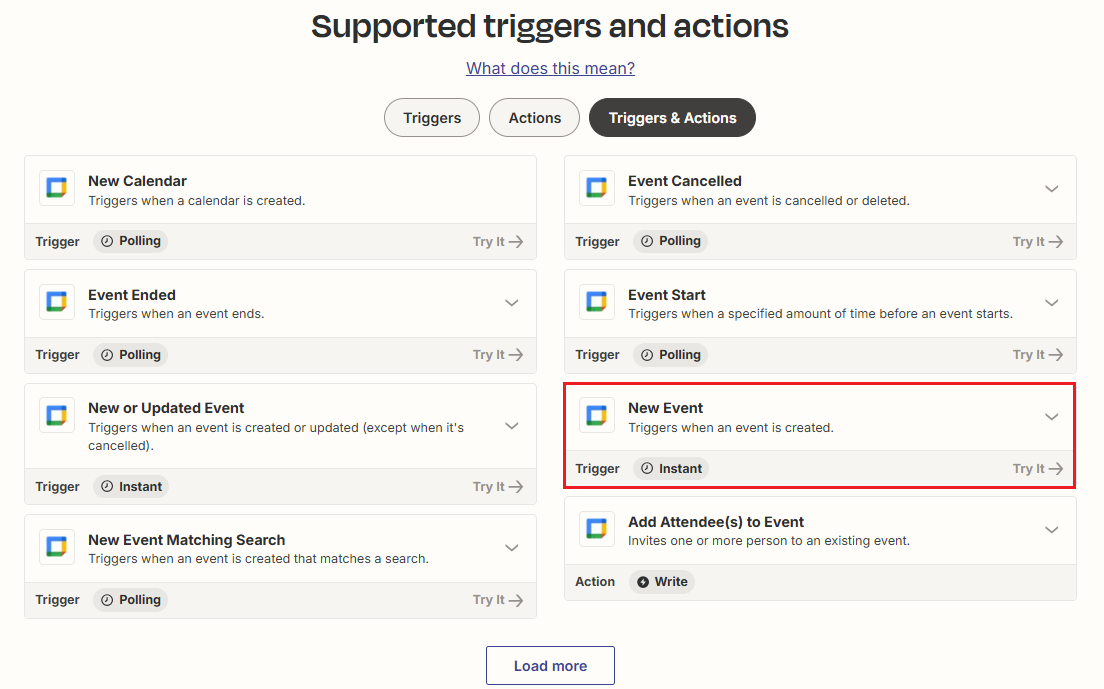
Google Calendar templates selection
Step 2: Name Your Zap
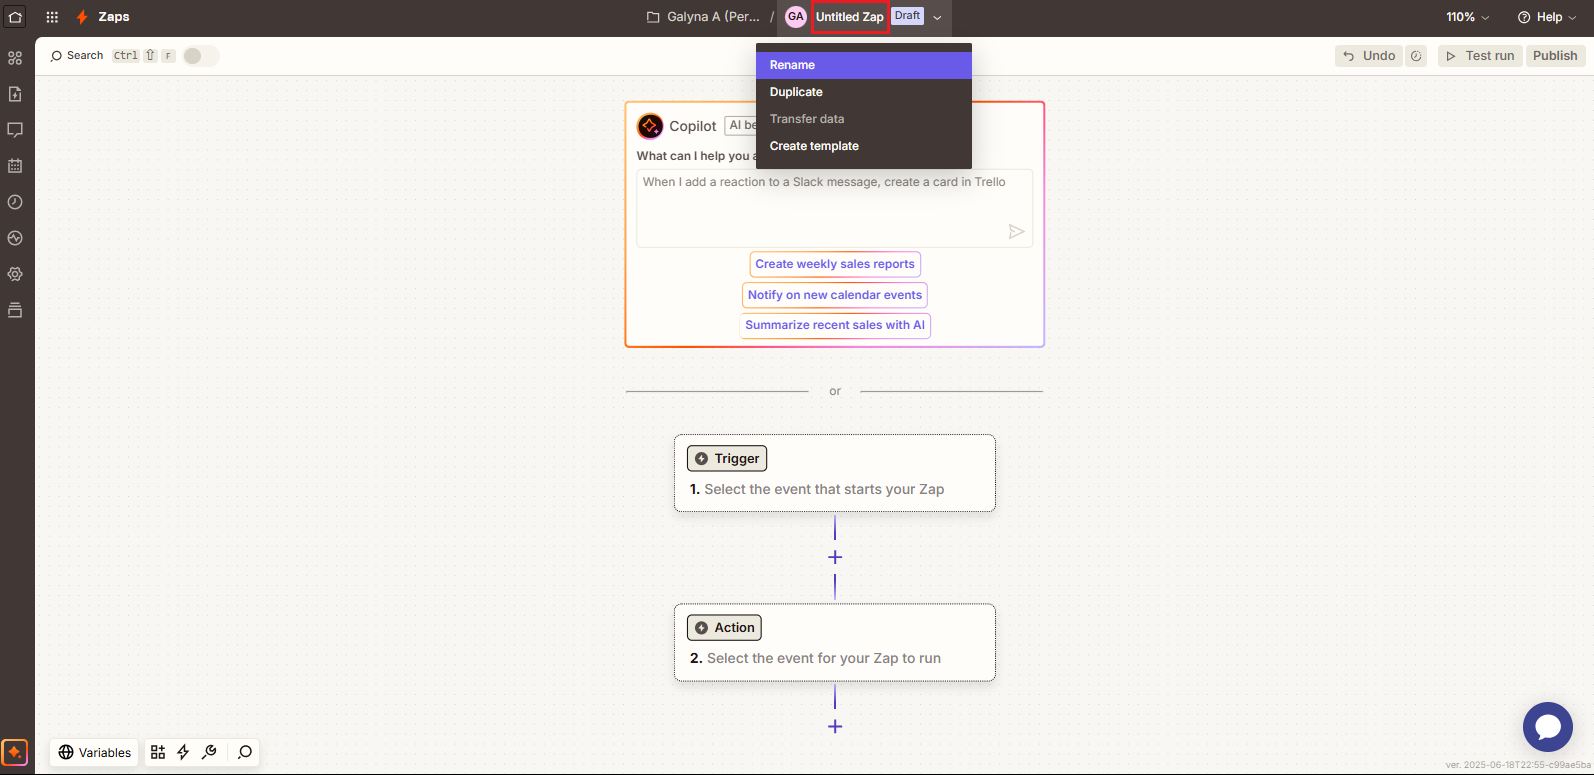
The Zapier editor opens with your draft Zap. To modify its name, click Untitled Zap in the editor header and select Rename; enter the name and confirm the action.
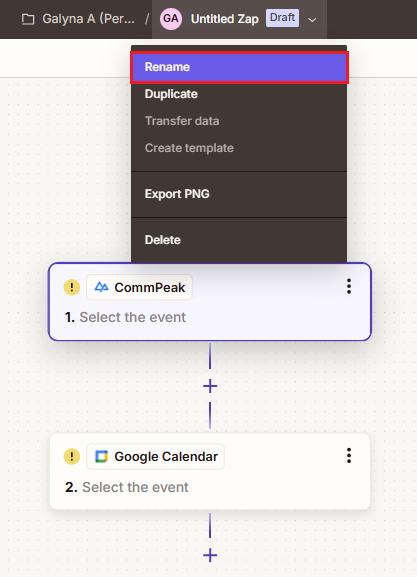
Naming your draft Zap
Step 3: Complete Trigger Settings
- On the editing pane on the right, review the app you will use and the event that will trigger your Zap. You can change these settings here as needed. In our example, we select New Event.
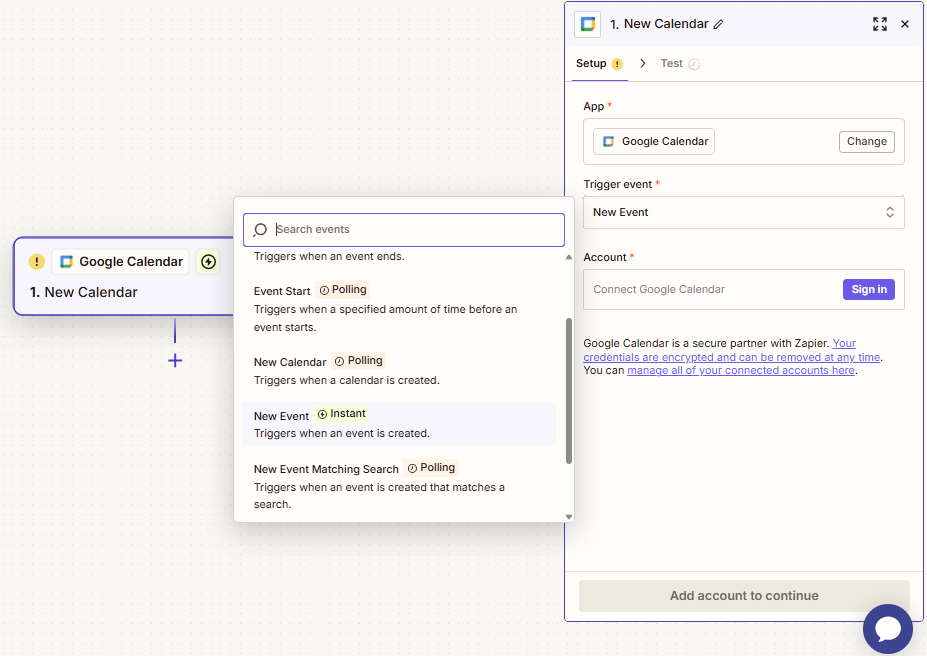
Setting up trigger event
- For the Account field, click Sign in, perform the required steps to sign in to your Google account, then click Continue.
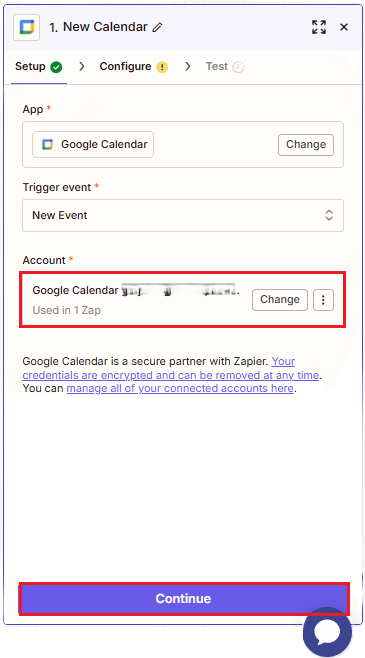
Signing into Google account
- On the Configure tab, select the calendar you want to use for this Zap.
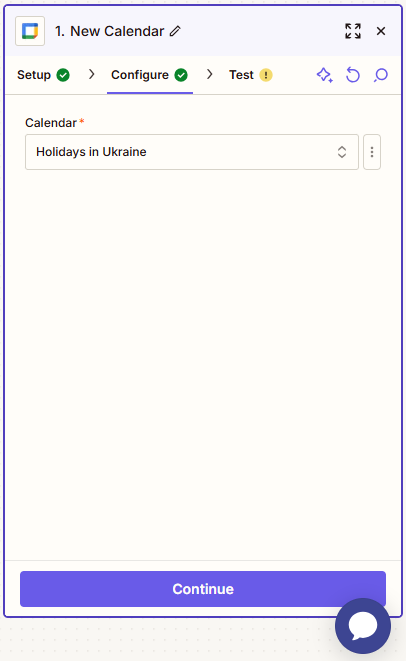
Configure tab
- Continue to the Test tab. Click Test trigger.
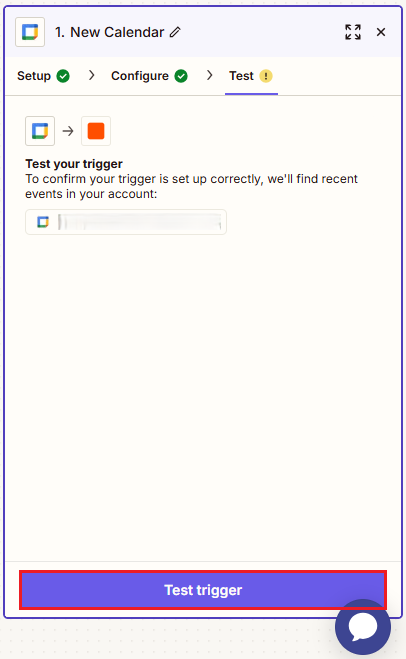
Test trigger option
- Select a record and click Continue with selected record.
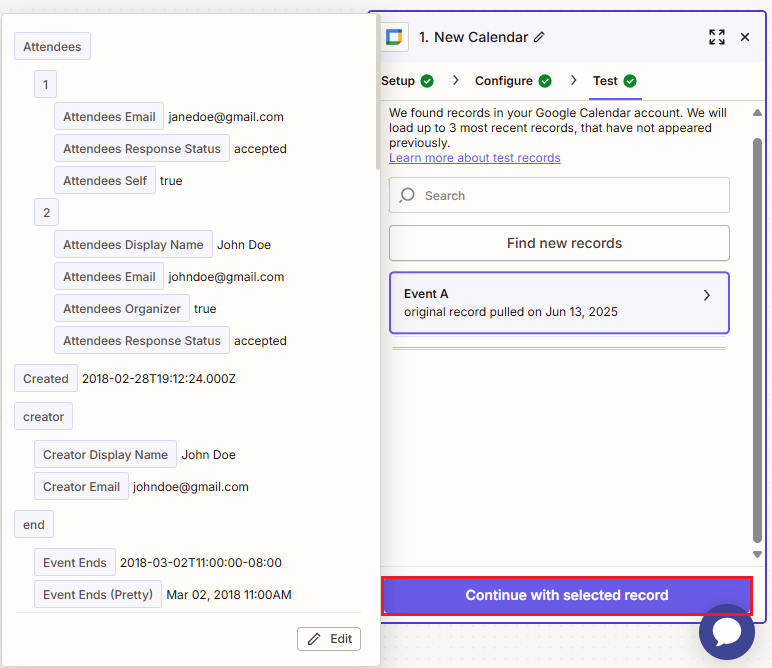
Continue with selected record option
Step 4: Complete Action Settings
- The Setup tab must be auto-filled from your chosen template. Otherwise, select the CommPeak app option.
- Then, select the Send SMS event, and continue to the Account field.
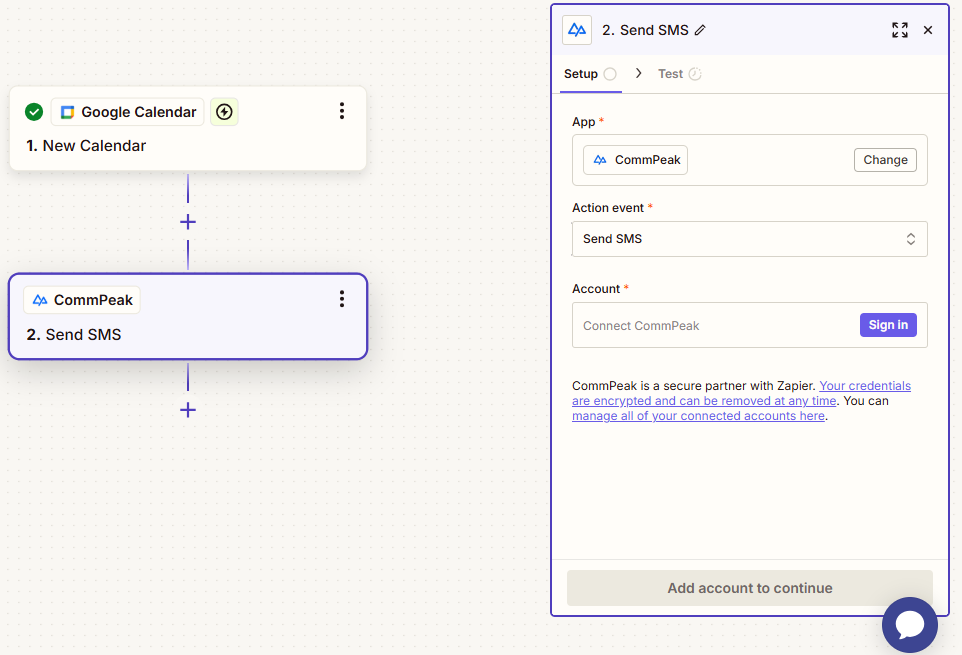
Send SMS action event
- Click Sign in to connect to CommPeak, then click to authorize Zapier to use your CommPeak account.
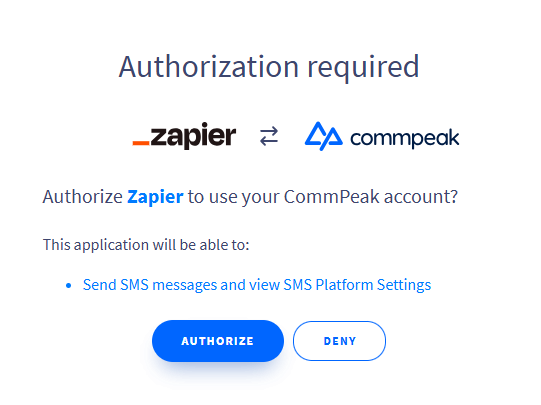
Authorization required
- Click Continue.
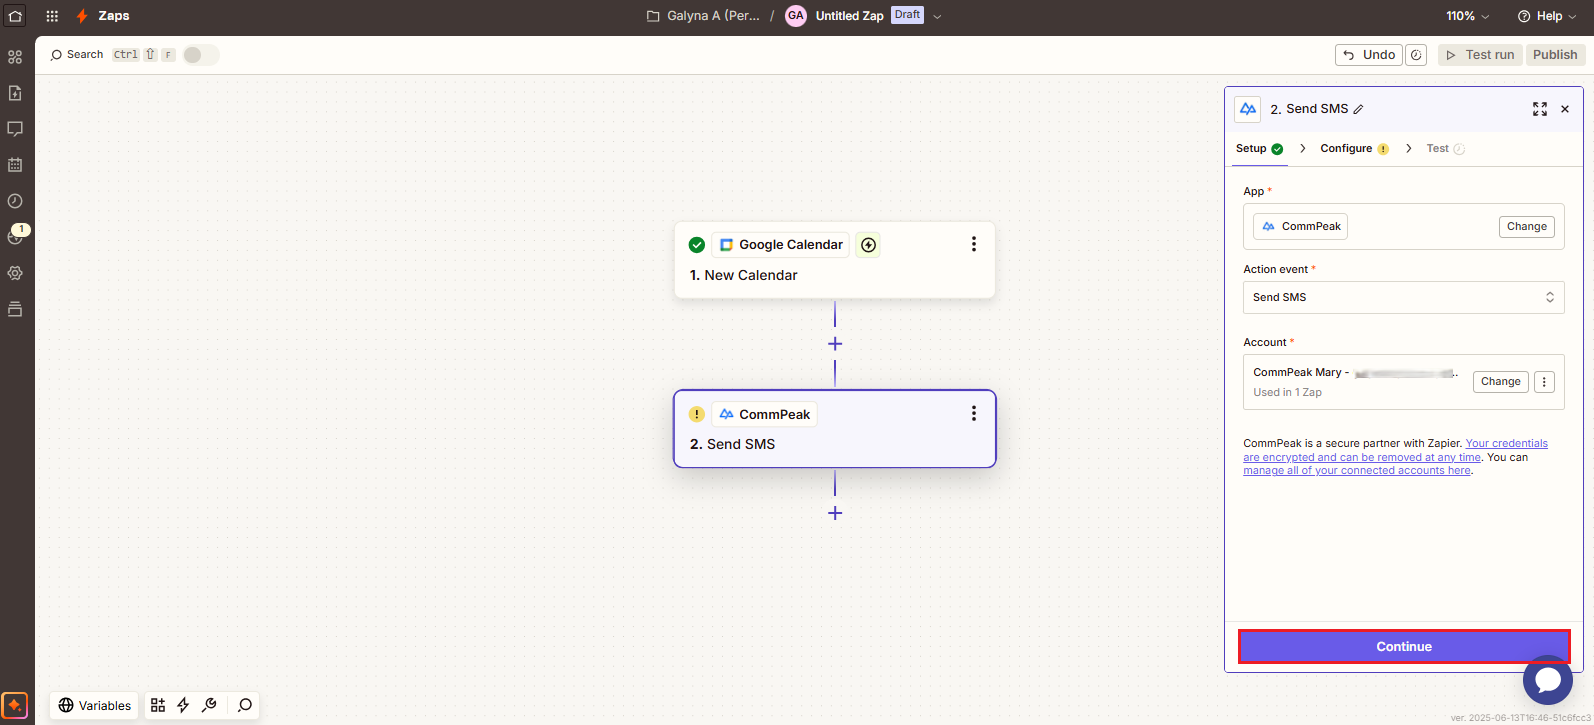
Continue button
- On the Configure tab, complete the required fields:
- Select a Sender ID from your approved sender IDs in TextPeak platform
- Enter a target phone number
- Set up the message. Click the plus icon to use the data insert wizard.
- You can modify the suggested message and insert data, such as the event description or time. Then continue to the Test tab.
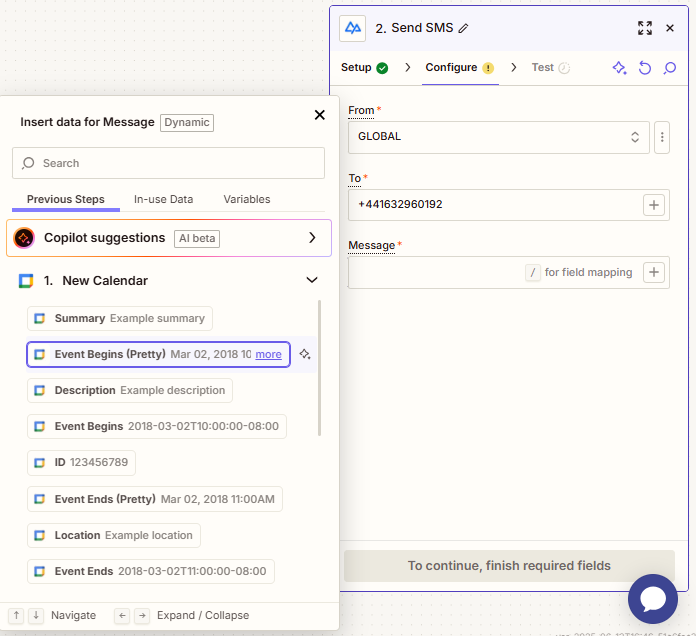
Configure tab
- Click Test step (you can skip testing for now).
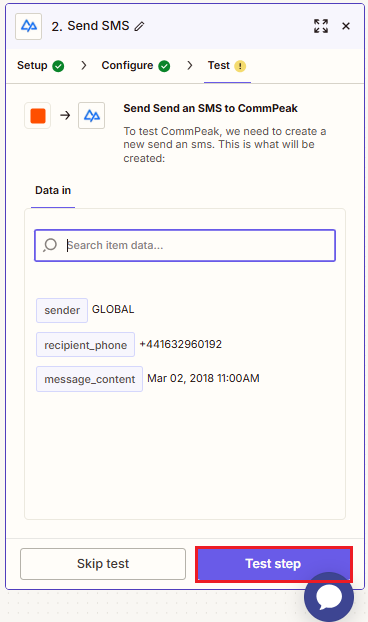
Testing step
- The system will send a test SMS message to your target phone number.
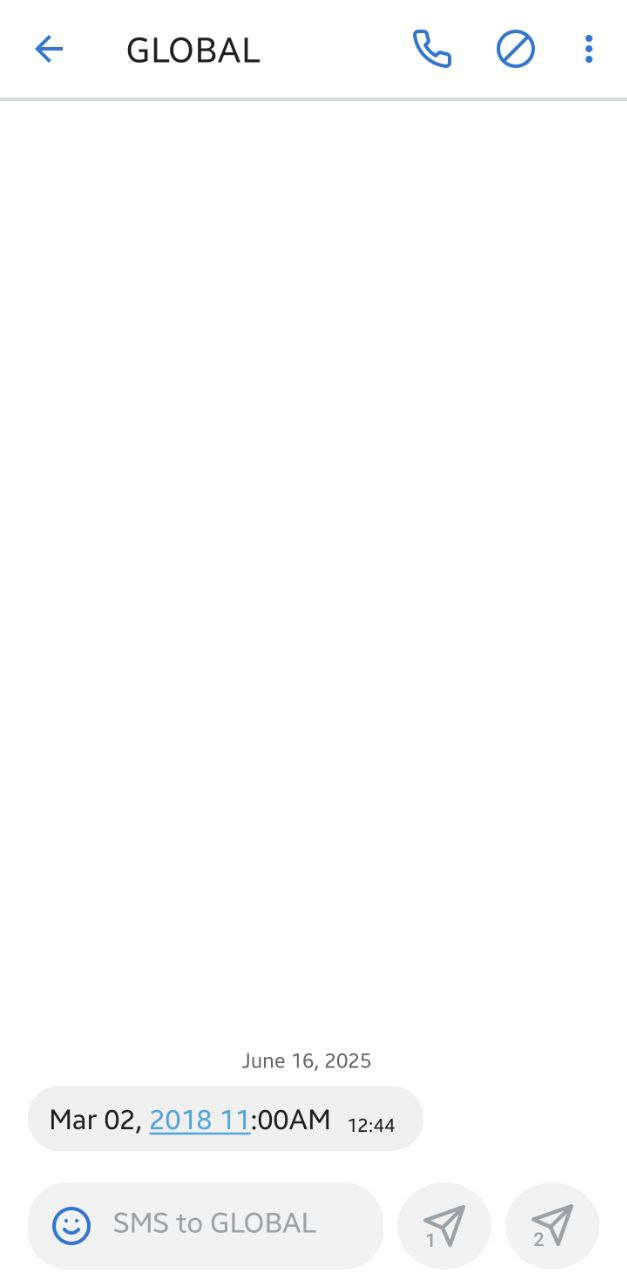
Test SMS
- Also, in your Zap, you will see the Data out section with the SMS details. Click Publish.
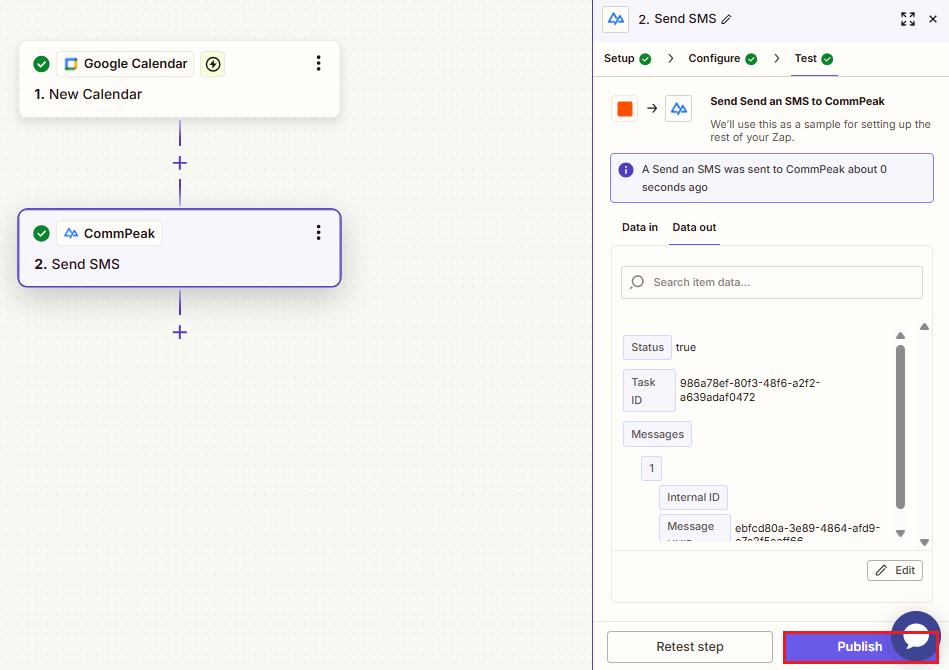
Test tab
Congratulations! You've published your first Zap.n
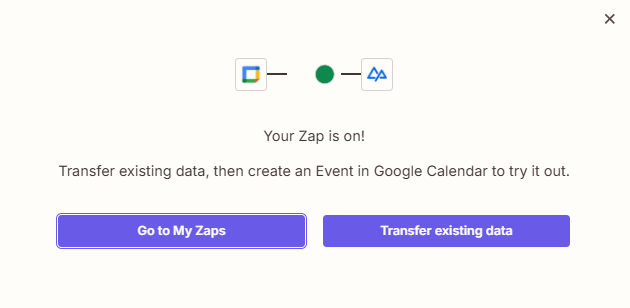
Publish success screen
SMS Notifications About New Paid Orders in Shopify
Step 1: Select a Template
Navigate to the section with CommPeak integrations with Zapier's templates and find a template for the new paid Shopify orders. Click Try it.
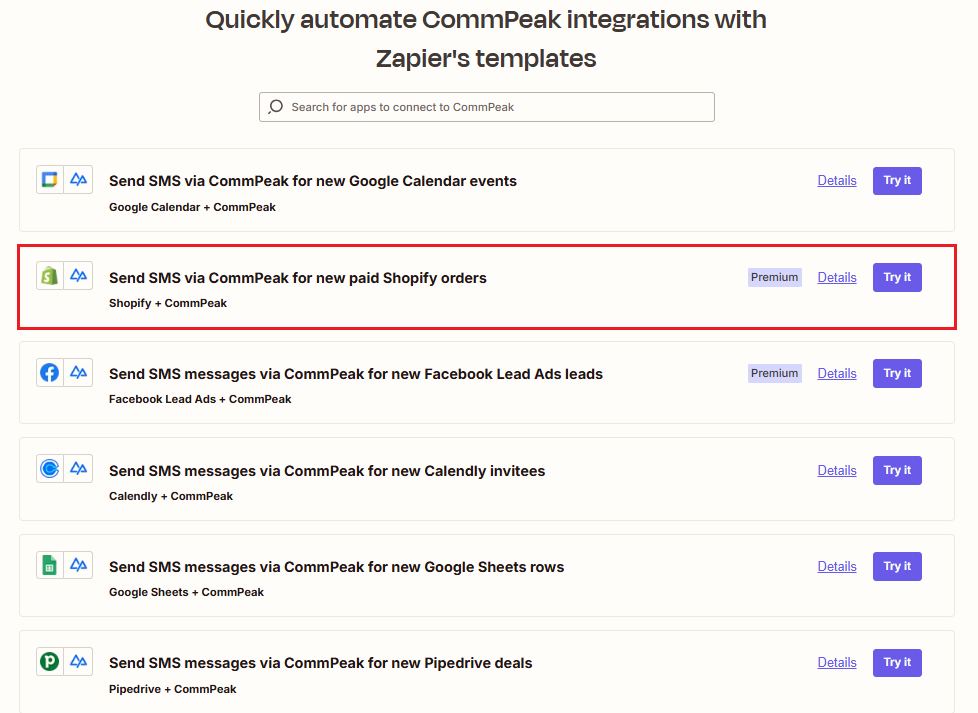
Template selection: Shopify
Alternatively, click the https://zapier.com/apps/commpeak/integrations/shopify link to open a default template for your app.
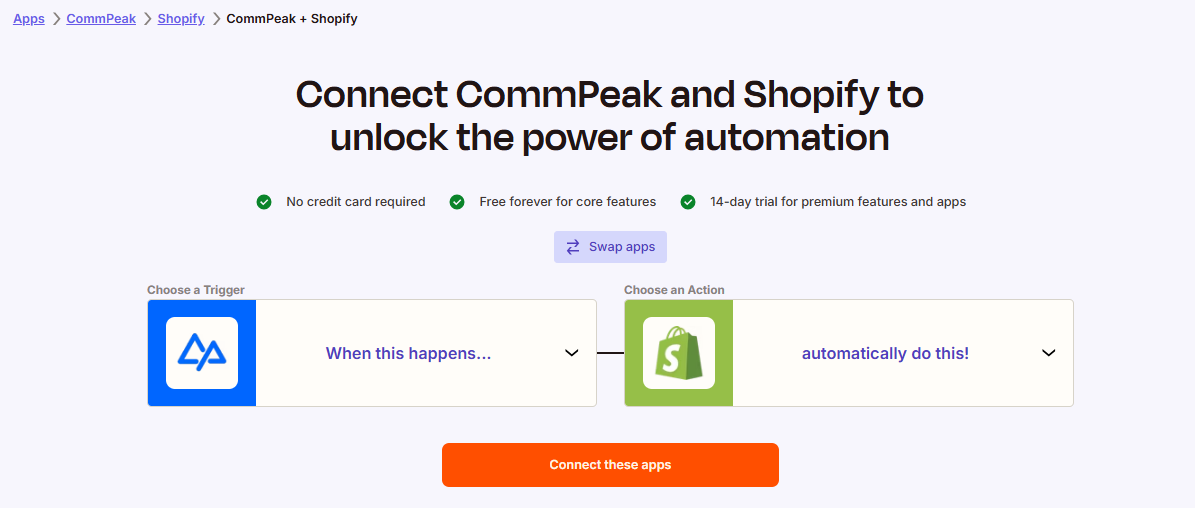
Connecting CommPeak and Shopify
Step 2: Name Your Zap
The Zapier editor opens with your draft Zap. To modify its name, click Untitled Zap in the editor header and select Rename; enter the name and confirm the action.
Naming your draft Zap
Step 3: Complete Trigger Settings
-
On the editing pane on the right, review the app you will use and the event that will trigger your Zap, New Paid Order.
-
For the Account field, click Sign In (or Change) to connect to Shopify, then allow Zapier to access your Shopify account.
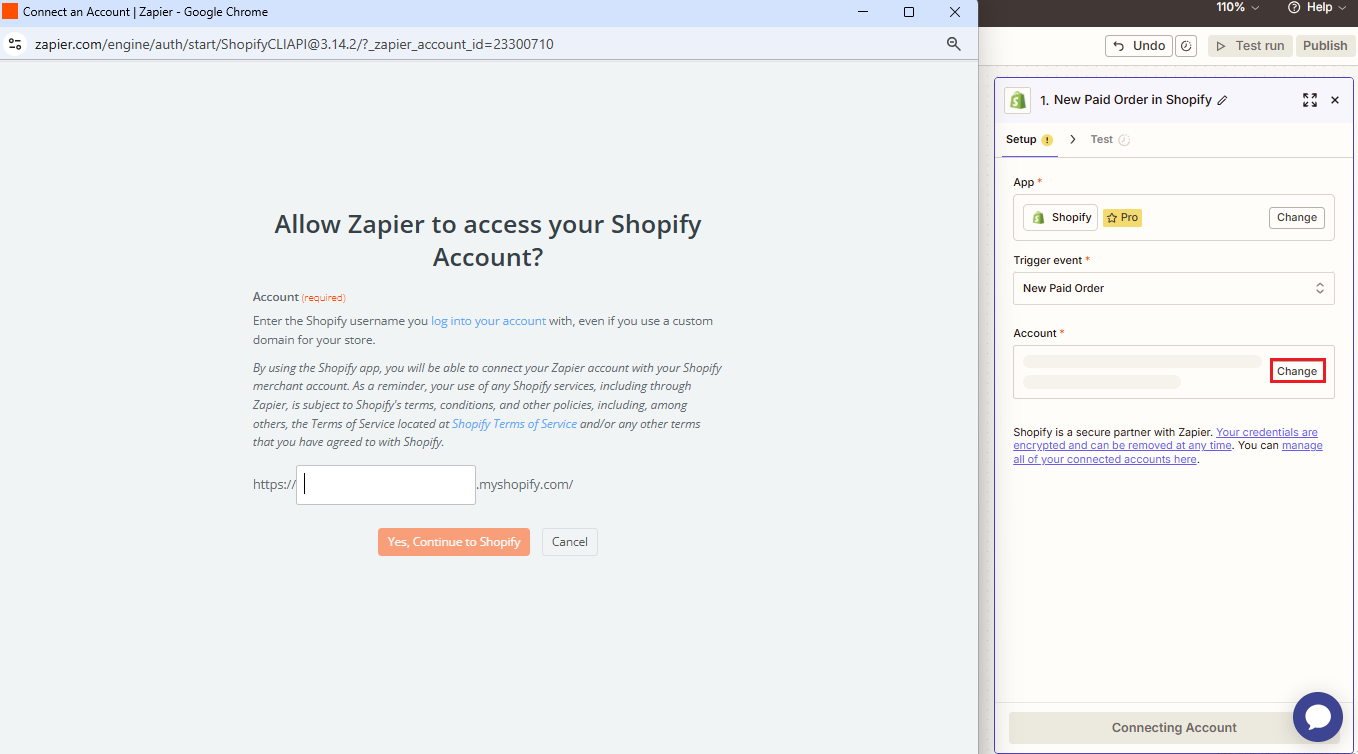
New Paid Order in Shopify dialog
-
Sign in to your Shopify account, then click Install.
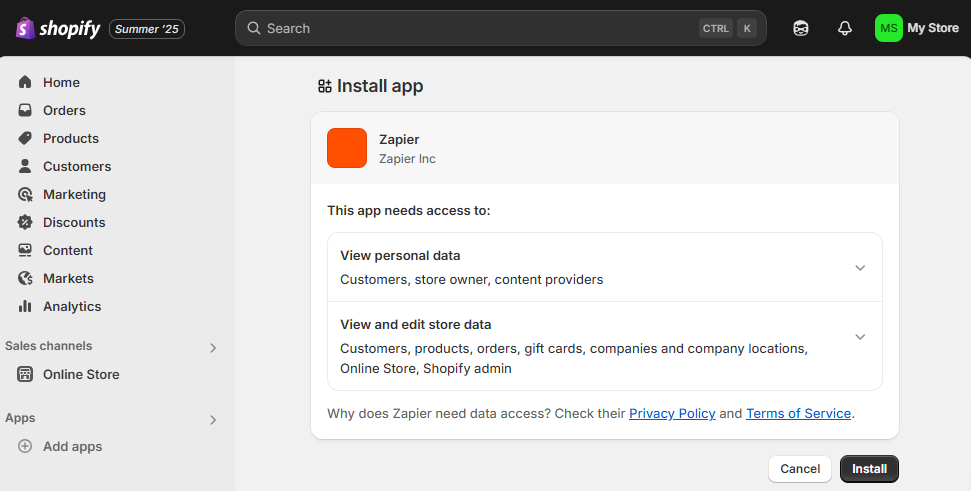
Installing Shopify app
-
Click Continue.

Setup step complete
- Continue to the Test tab. Click Test trigger.
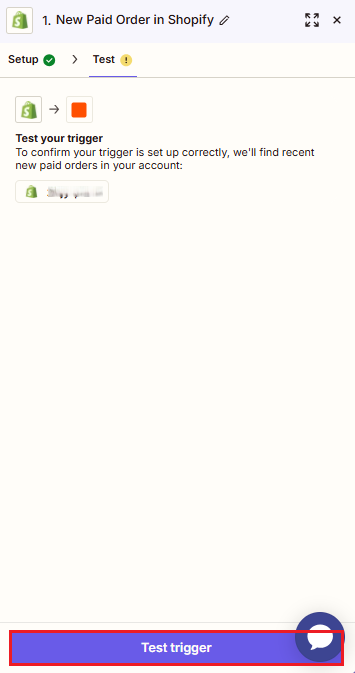
Trigger testing
- Select a record to perform the test and click Continue with selected record.

Continue with selected record option
Step 4: Complete Action Settings
-
The Setup tab must be auto-filled from your chosen template.
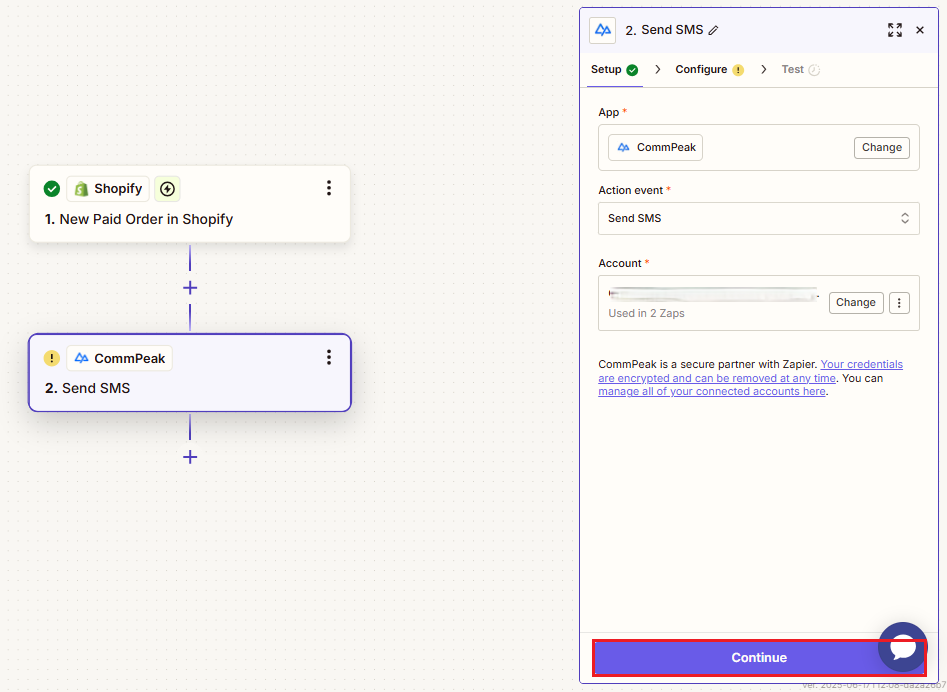
Setup tab
-
Otherwise, select the CommPeak app and the Send SMS event and click the Sign in button for the Account field. In the new window, click to authorize Zapier to use your CommPeak account.
Authorization required
- Click Continue.
- On the Configure tab, complete the required fields:
- Select a Sender ID from your approved sender IDs in CommPeak SMS platform
- Enter a target phone number
- Set up the message. You can modify the suggested message and insert data, such as the purchase description or customer name by clicking the plus icon and using the data insert wizard. Then click Continue to open the Test tab.
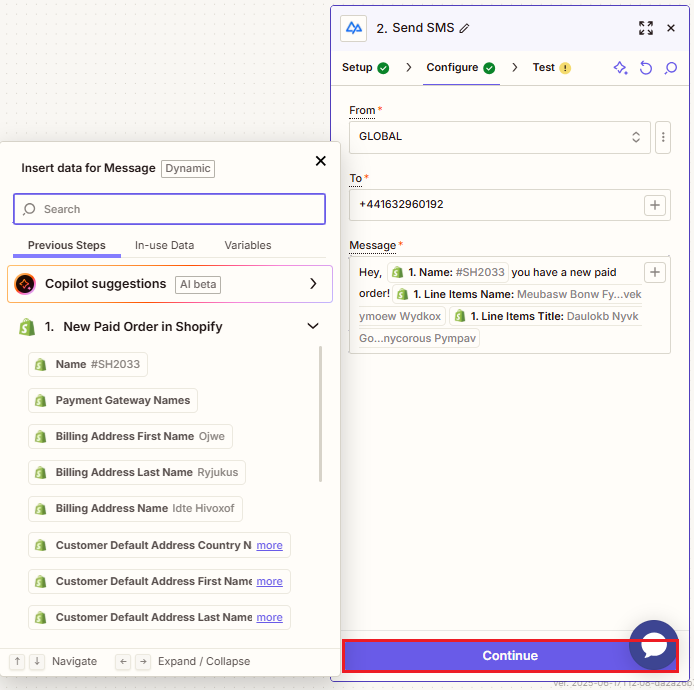
Creating message
- On the Test tab, click Test step. The system will send a test message to your target number.
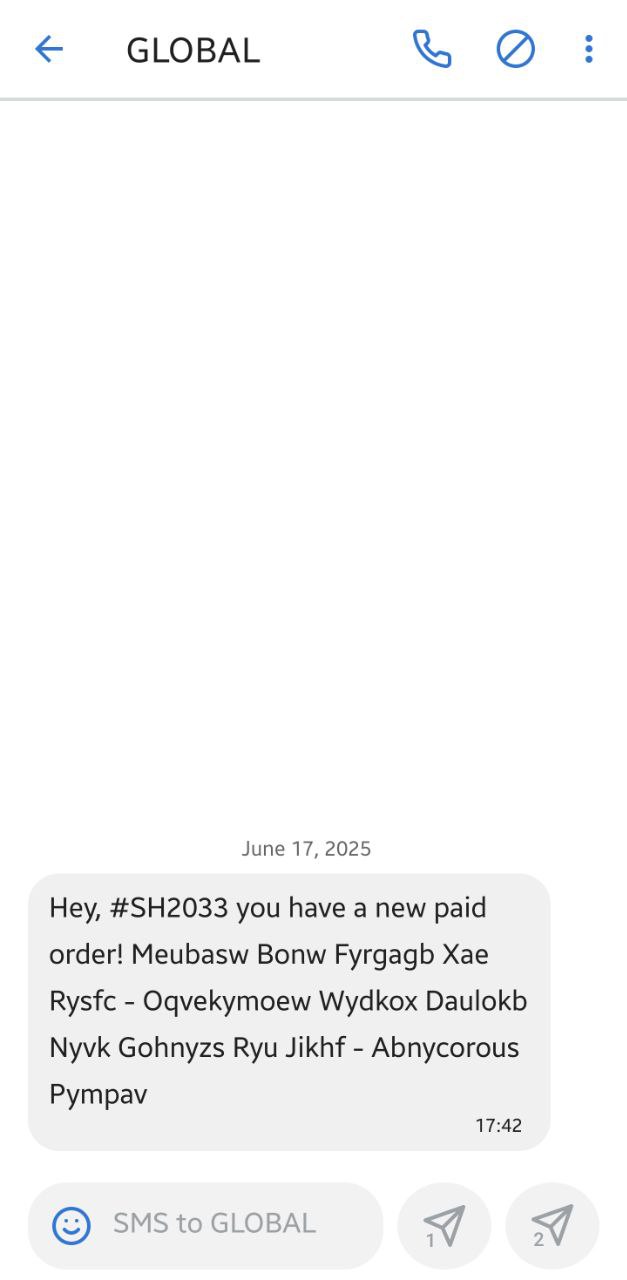
Test message
-
Also, in your Zap, you will see the Data out section with the SMS details.
-
Click Publish.
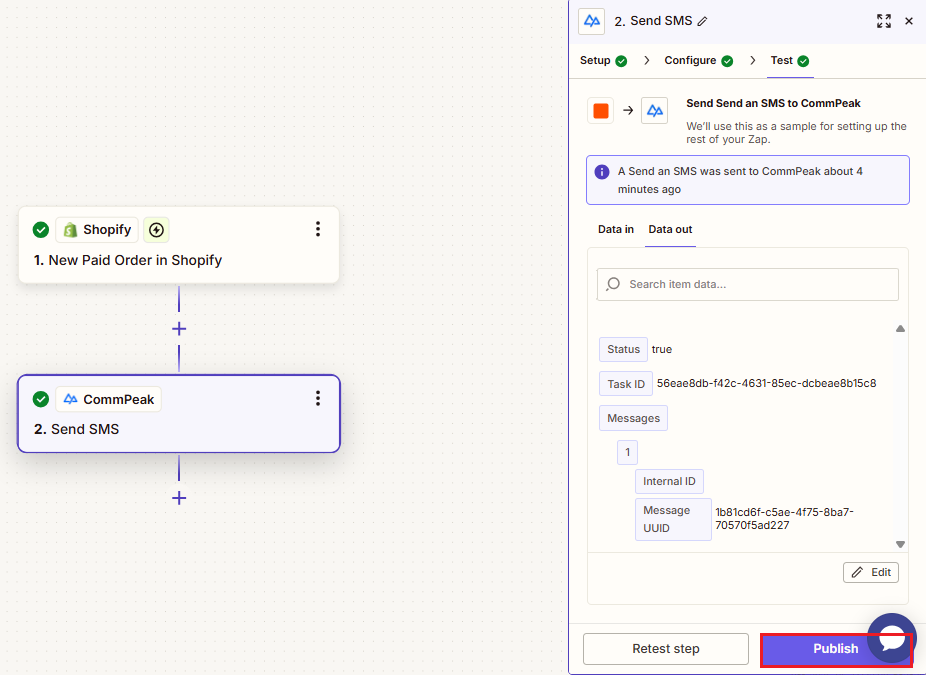
Publish option
Congratulations! Your new Zap is ready.
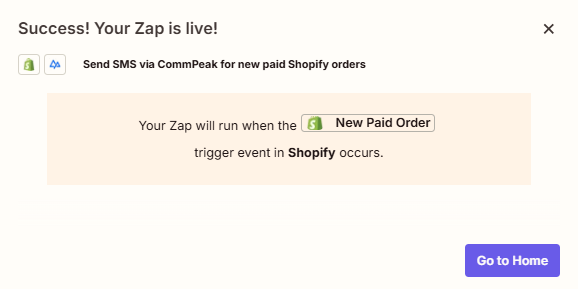
Publish success screen
3. Create Zaps from Scratch
In this section, you will learn how to create Zaps for sending messages via the TextPeak platform from scratch. In this example, we will set a workflow to send notifications when a new row is added or an existing row is edited in Google Sheets.
Step 1: Start by Opening the Editor
To start, on your Zapier home page, click + Create on the left and select Zaps from the drop-down list.
+ Create > Zaps option
Step 2: Name Your Zap
The Zapier editor opens with your draft Zap. To modify its name, click Untitled Zap in the editor header and select Rename; enter the name and confirm the action.
Naming Zap
Step 3: Set Up the Trigger
- Click the Trigger box and, in the new window, click to select Google Sheets.

Google Sheets app added
- Select an event, for example New or Updated Spreadsheet Row.
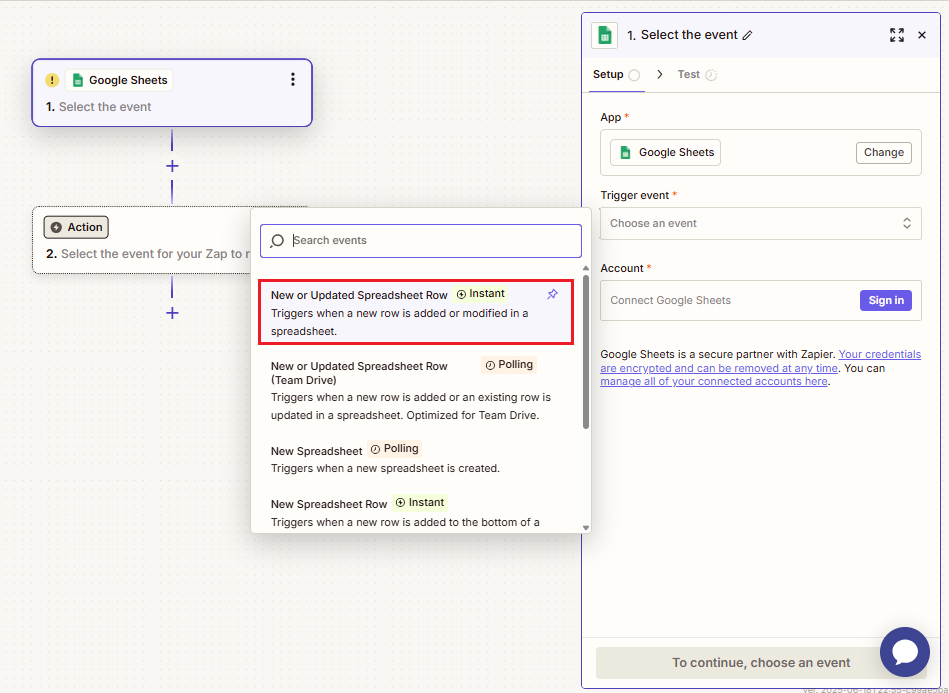
Selecting an event
- For the Account field, click Sign in, perform the required steps to sign in to your Google account, then click Continue.
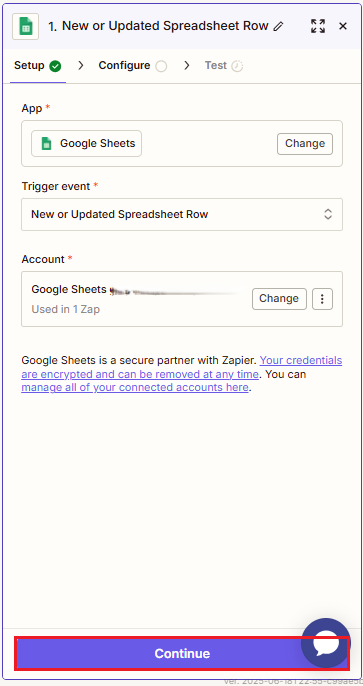
Signing into Google account
- Complete the fields on the Configure tab, then click Continue.
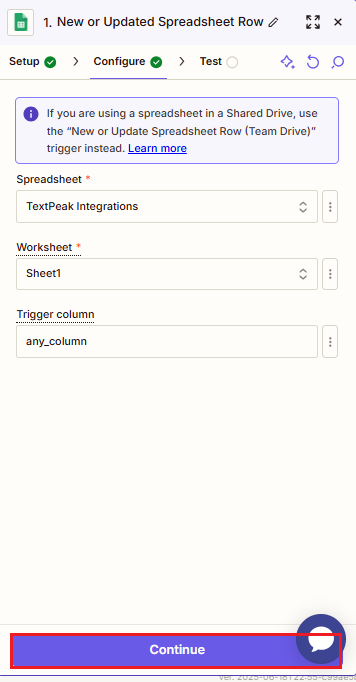
Configure tab
- The next step is testing your trigger.
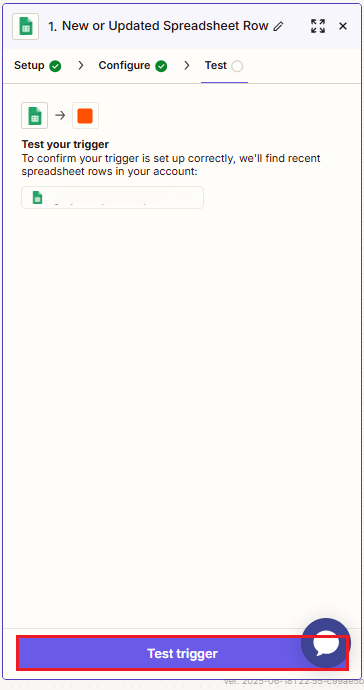
Test tab
- After testing, select the record and click to continue to the Action box.
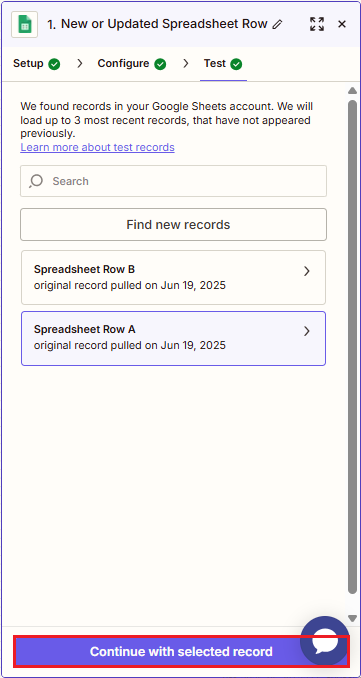
Trigger testing results
Step 4: Set up the Action
-
A pop-up window will appear where you should select the app that will perform the action. In our case, it is CommPeak.
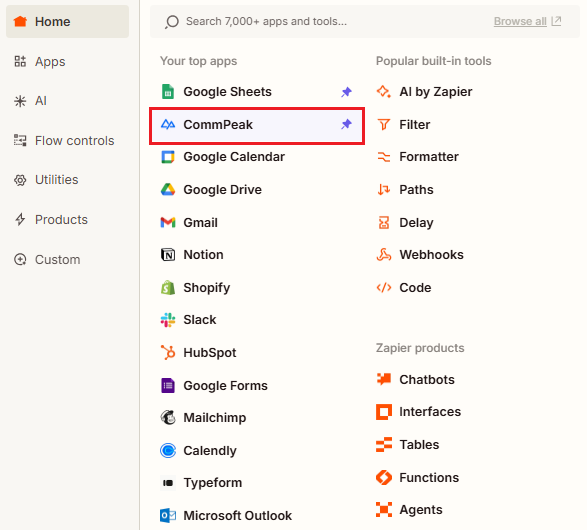
Setting up action app
-
On the editing pane on the right, review the app you will use and choose the event that will trigger your Zap, Send SMS. The Account field must be auto-filled from your chosen template. Otherwise, sign in to connect to CommPeak, then click to authorize Zapier to use your CommPeak account.
-
Click Continue.
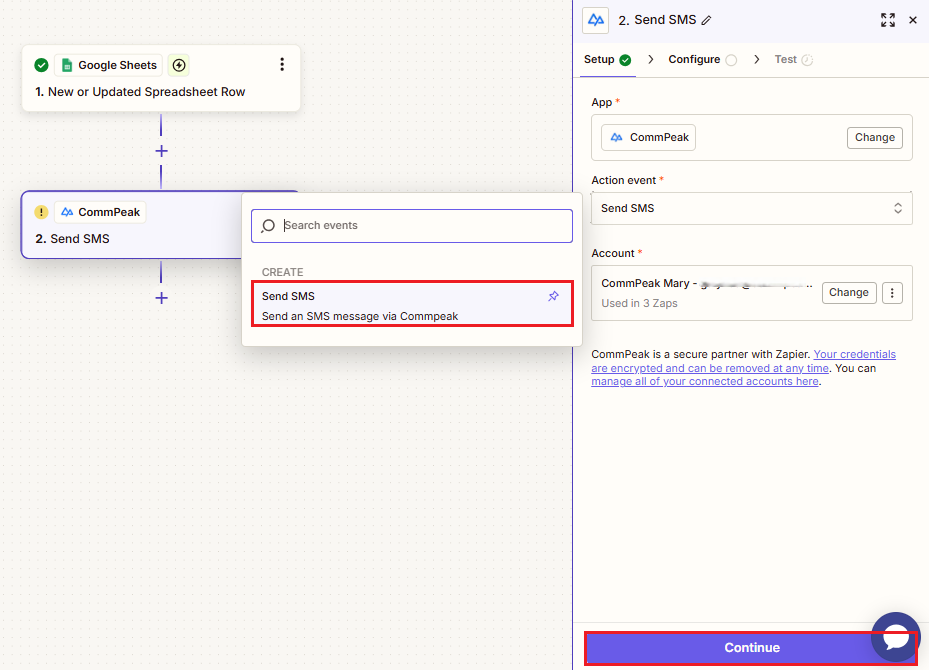
Send SMS event selection
-
On the Configure tab, complete the required fields:
- Select an approved sender ID from your CommPeak SMS platform account
- Enter a target phone number
- Set up the message. Click the plus icon to use the data insert wizard. You can modify the suggested message as needed. Then click Continue.
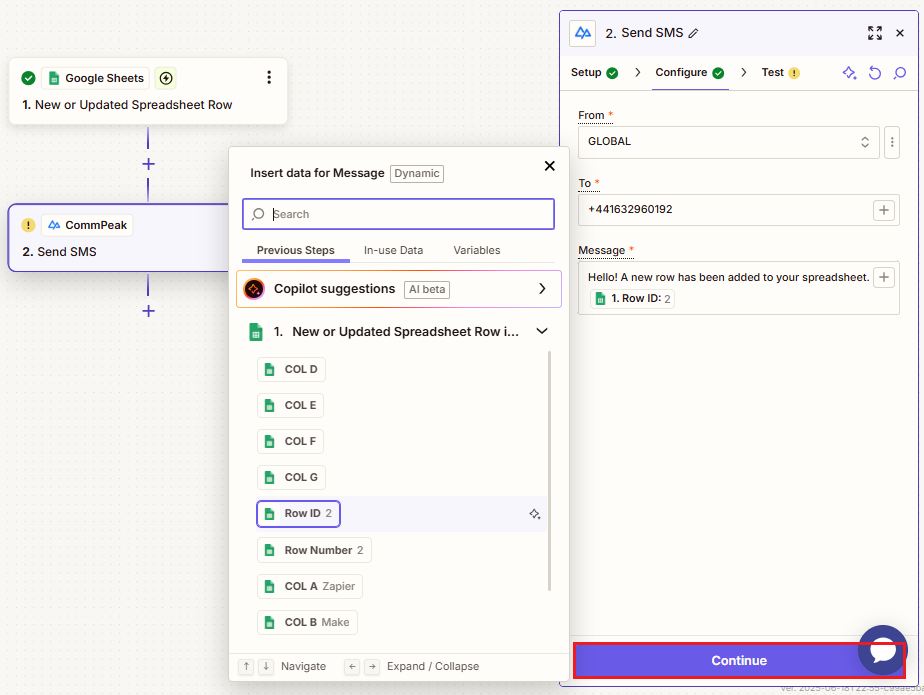
Configure tab
- On the Test tab, click Test step. You can also skip the test and perform it later.
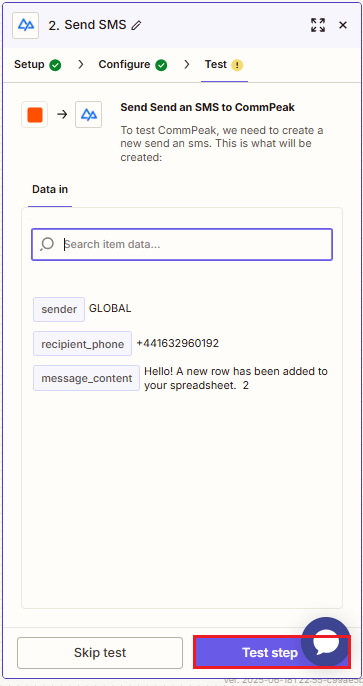
Test tab
- The system will send a test SMS message to your target phone number.
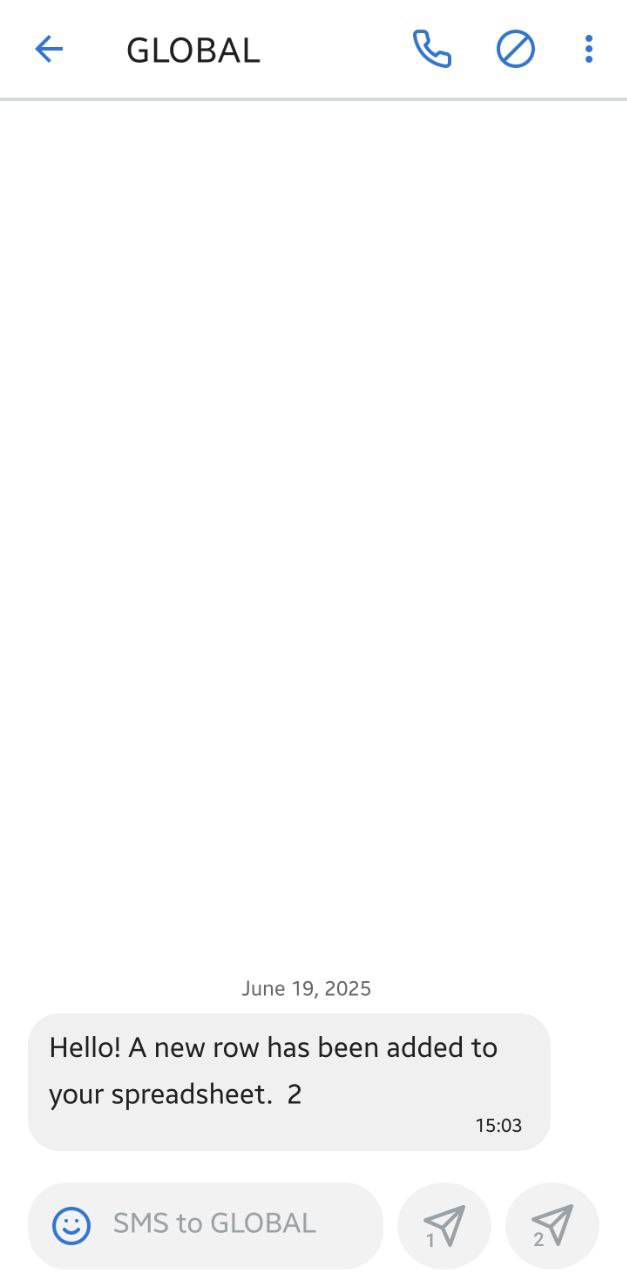
Test SMS
-
Also, in your Zap, you will see the Data out section with the SMS details.
-
Click Publish.
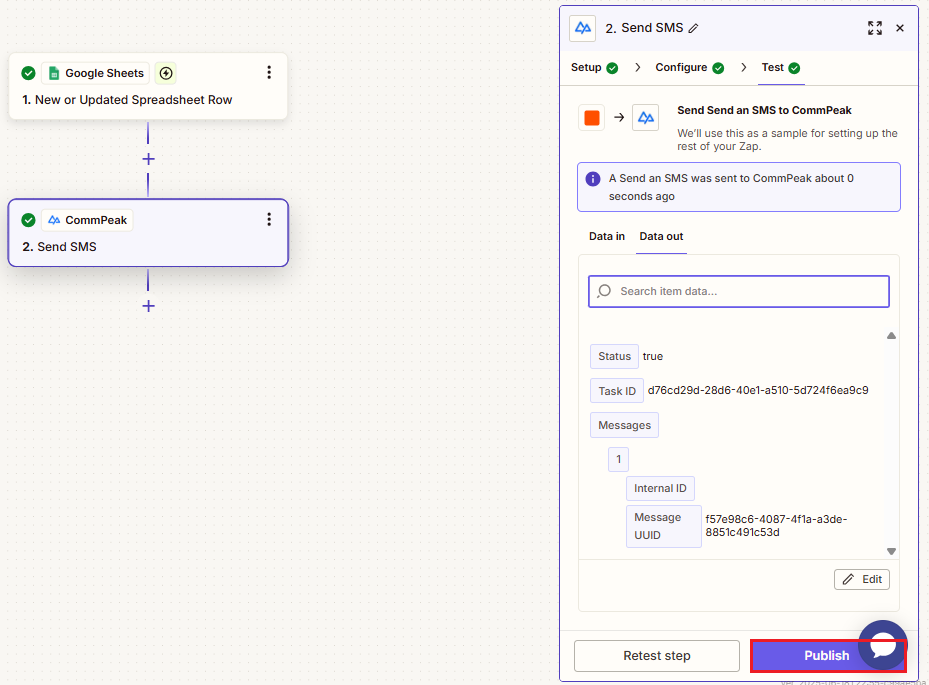
Publish option
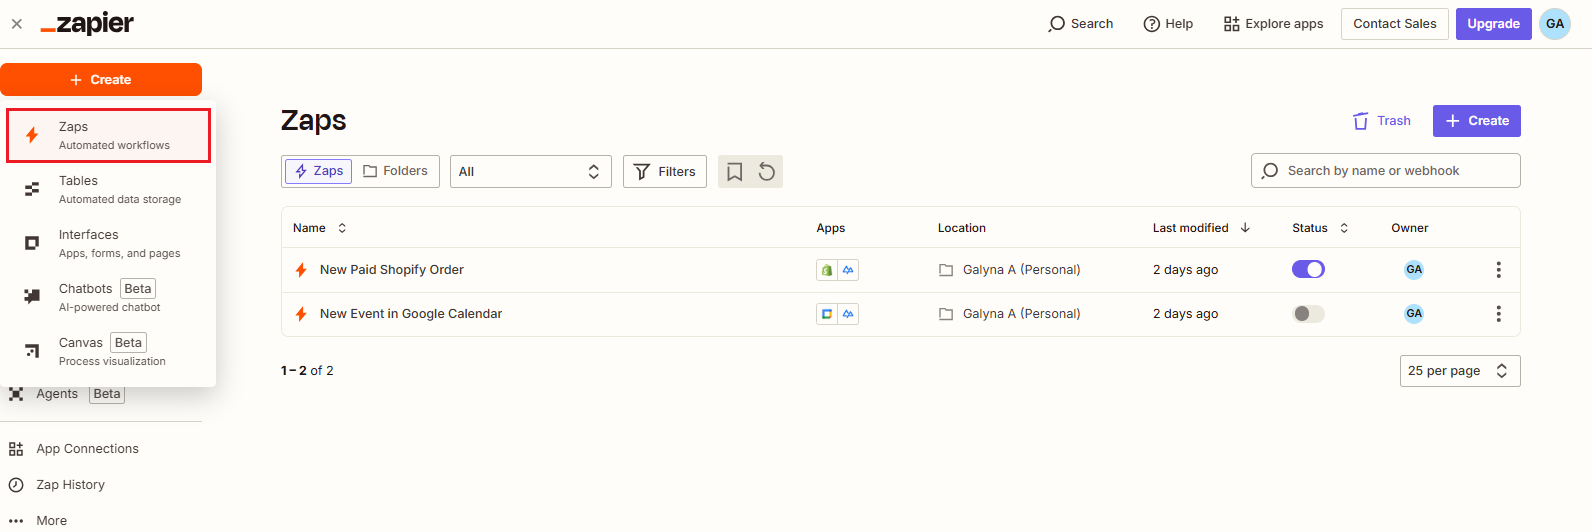
Congratulations! Your Zap is published and will be added to your Zaps list.
-
To view your Zaps, go to your Zapier homepage.
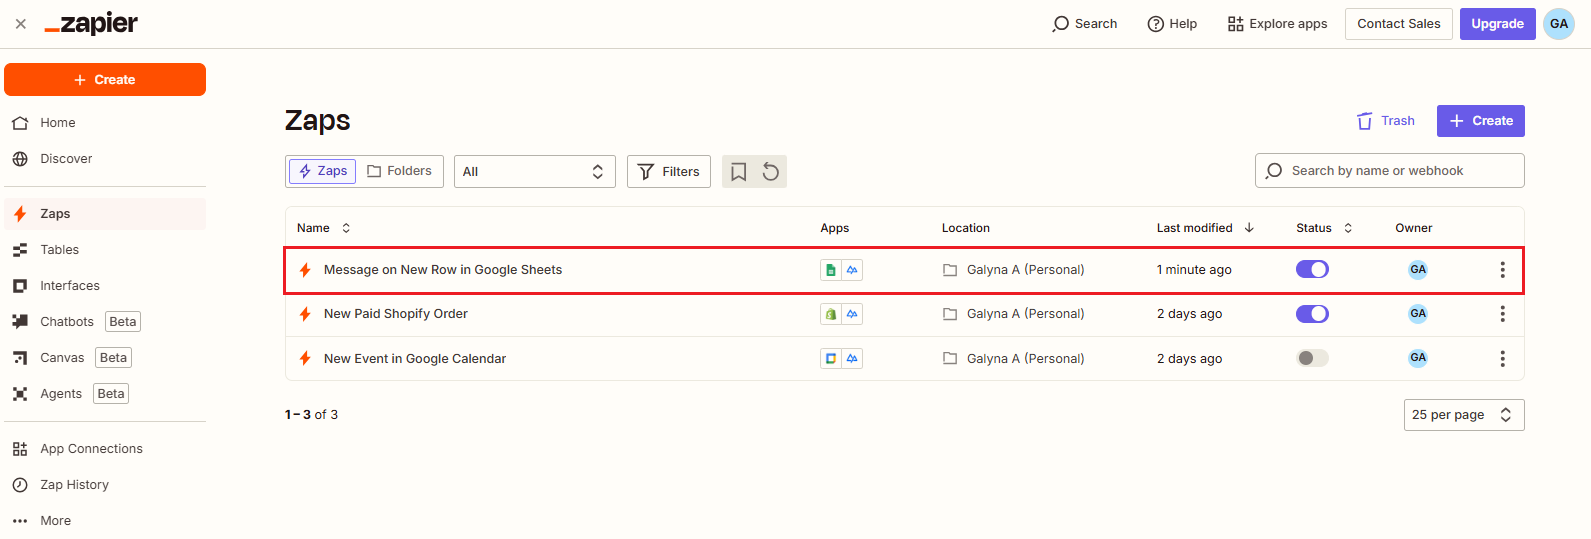
Homepage with added Zaps
Updated 8 days ago