Setting Triggers in Zapier
How to set automatic email sending in Zapier after you receive an incoming SMS via CommPeak
You can create triggers to send data to Zapier and perform further actions after customers respond to your SMS messages or click links.
Note
You can find more information about triggering Zaps in the Zapier Help Center.
To create a Zapier integration, complete several steps as follows.
Step 1: Start Creating a Zap
On your Zapier home page, click + Create in the top left of the page and select Zaps from the drop-down list.
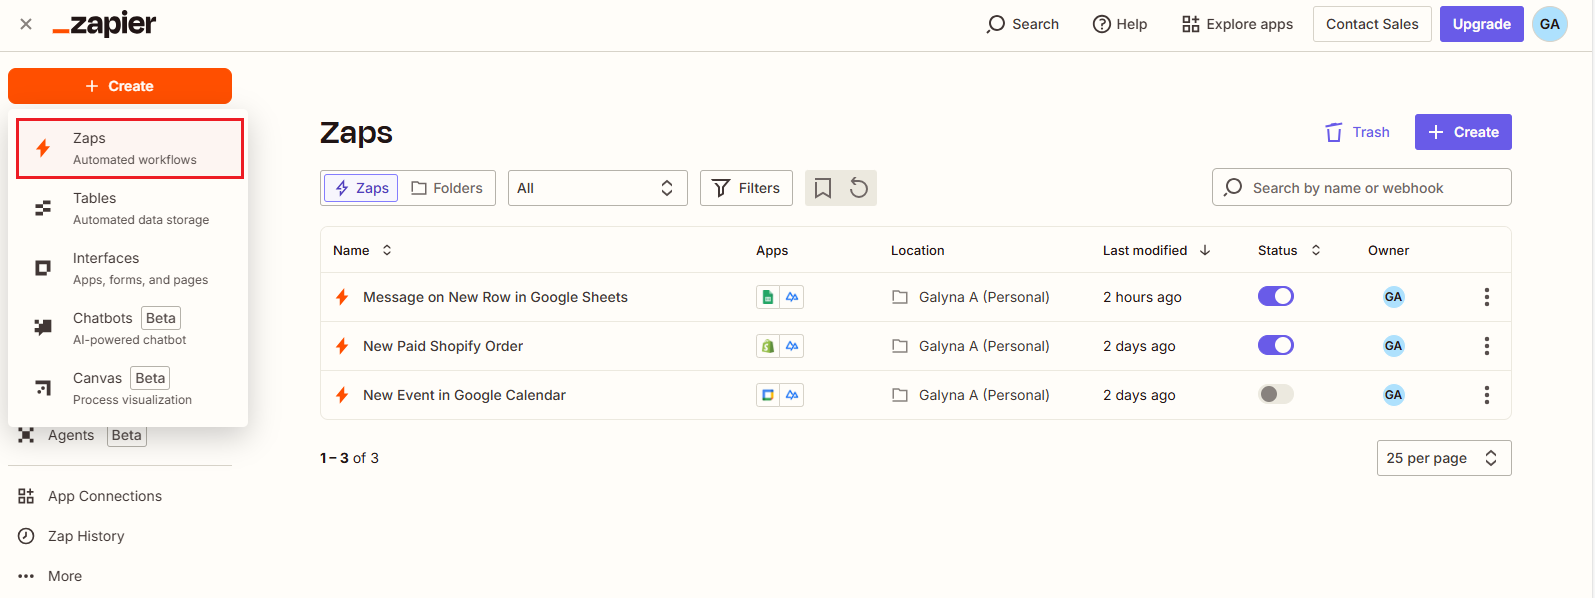
+ Create > Zaps option
Step 2: Name Your Zap
The Zapier editor opens with your draft Zap. To modify its name, click Untitled Zap in the editor header and select Rename; enter the name and confirm the action.
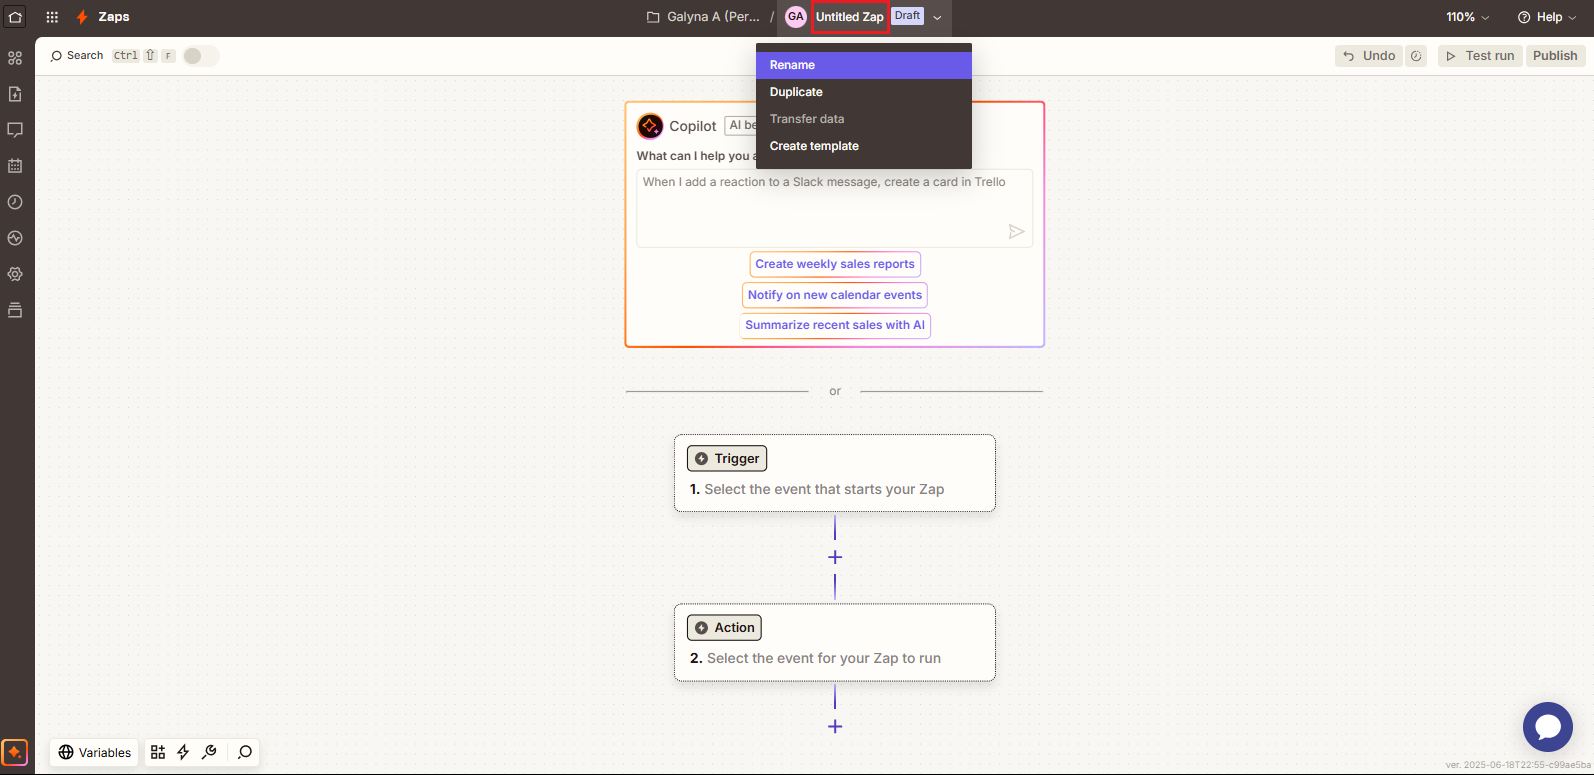
Naming Zap
Step 3: Set Up the Trigger
- In the editor, click the Trigger box and, in the new window, click to select CommPeak to start configuring the event that starts your Zap.
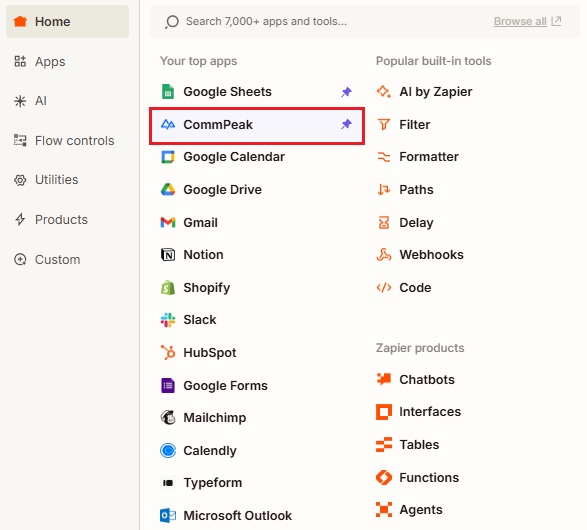
CommPeak app added
- Go to the side panel on the right and click on the Trigger Event field to select an action. For our workflow, we select the New Incoming SMS event.
NOTE
Currently, we support two types of events:
- an incoming SMS
and
- a click on Short URL.
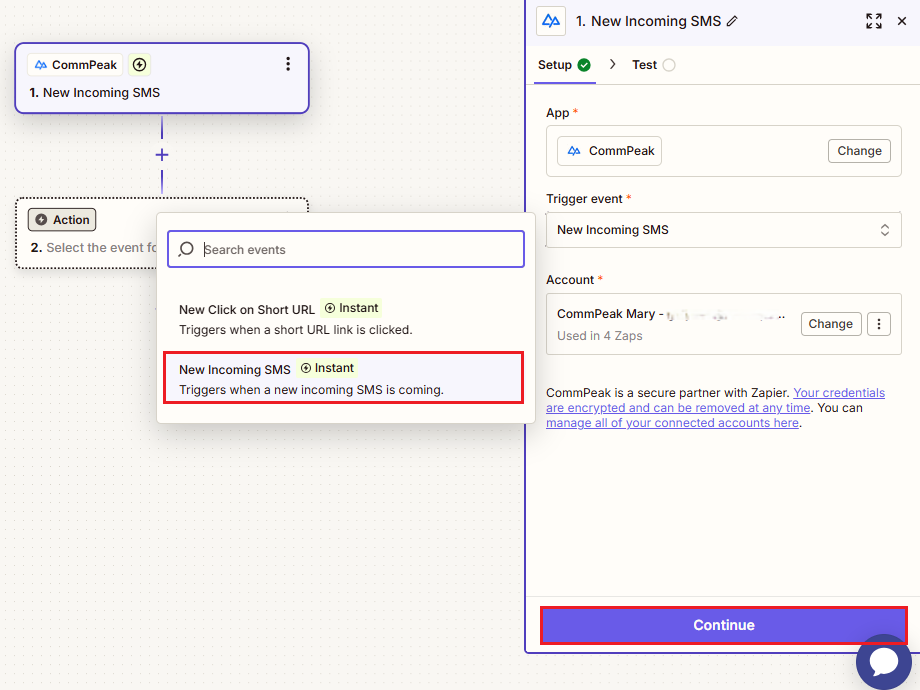
Selecting event action
- If this is your first Zap, the Account field will not be auto-filled from your chosen template. So, click Sign in, then click to authorize Zapier to use your CommPeak account and click Continue.
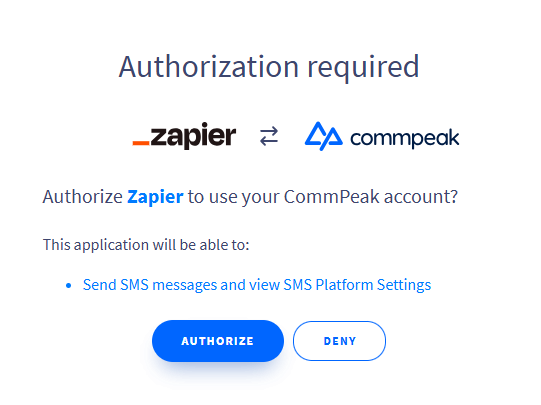
Authorization required dialog
- In the Test tab, click Test trigger.
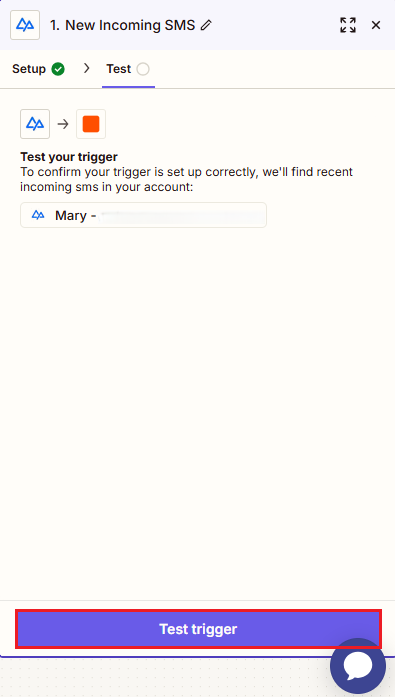
Testing trigger
- Select an incoming message record to perform the test and continue with it.
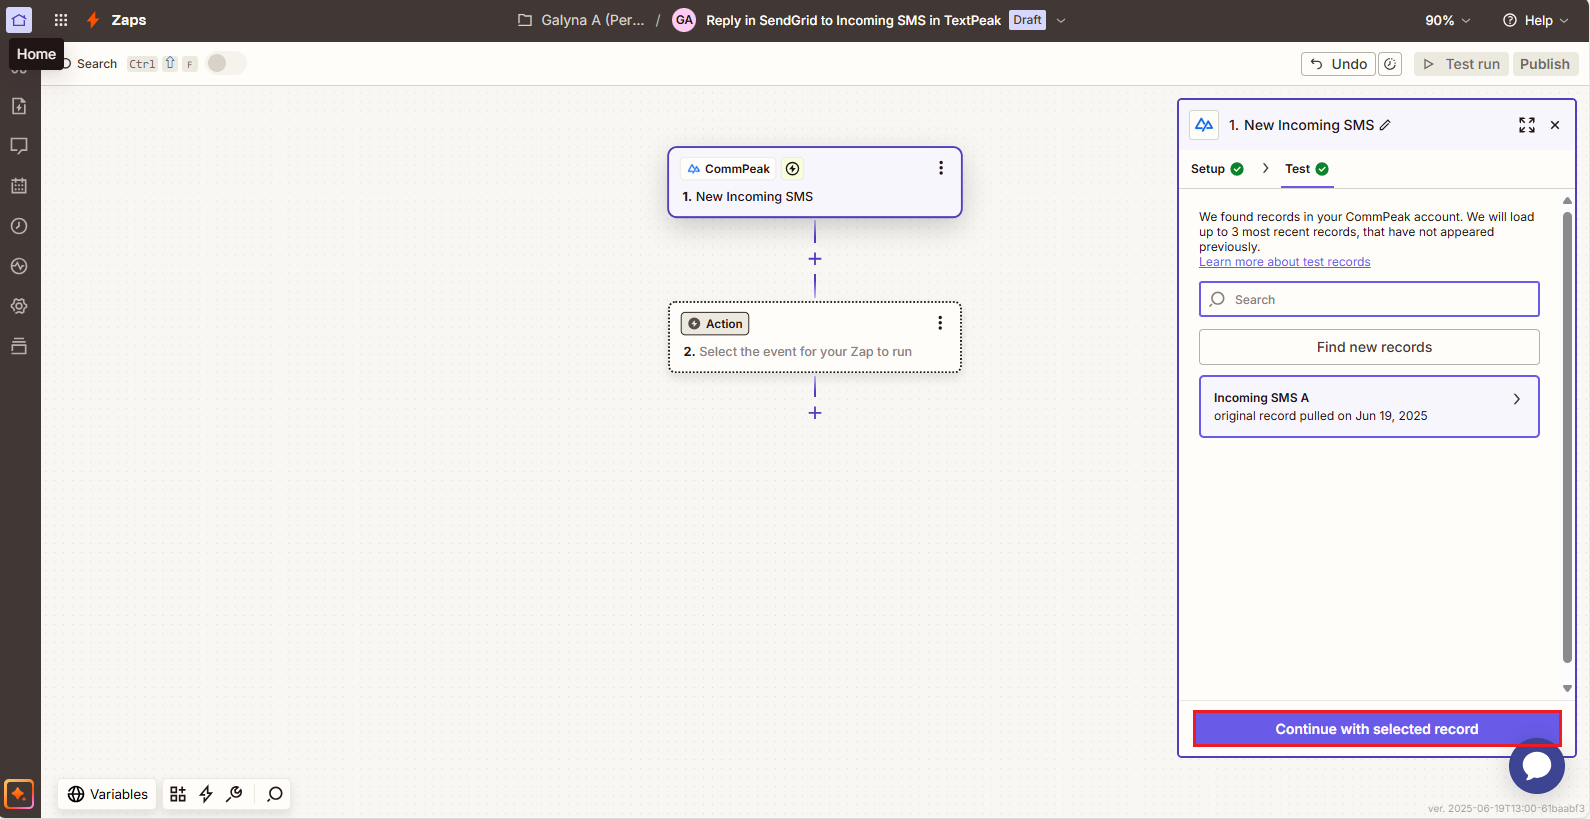
Continue with selected record option
Step 4: Set up an Action
- Now, in the Action box, we will set up the action for your Zap to run. First, click to select or search for the SendGrid app.

Setup tab
- Choose the Send Email event.
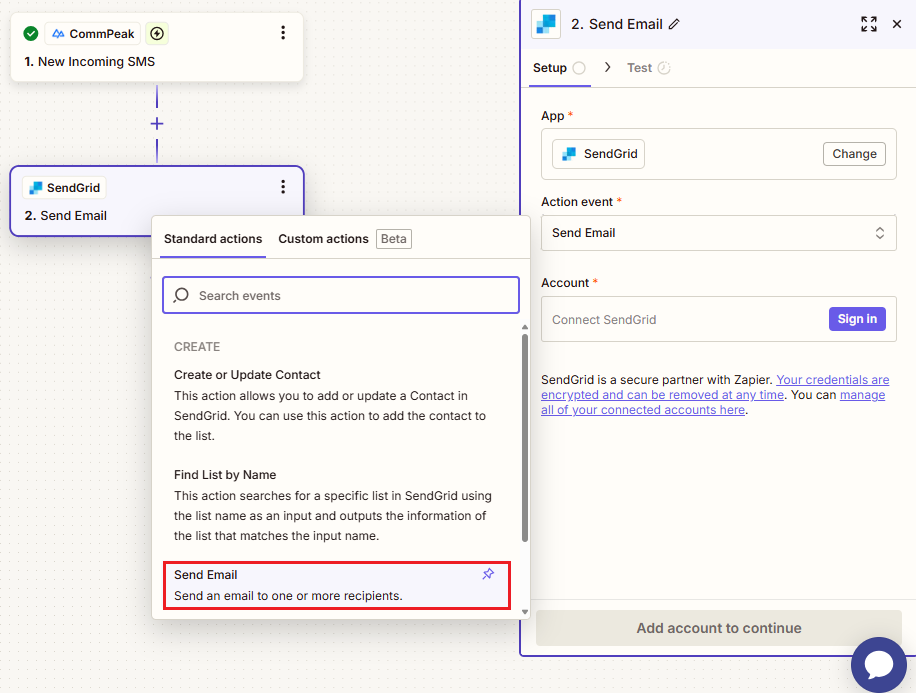
Send email event selection
- For the Account field, click Sign in.
- In a pop-up window, enter your SendGrid API Key and agree to continue to connecting your SendGrid account.
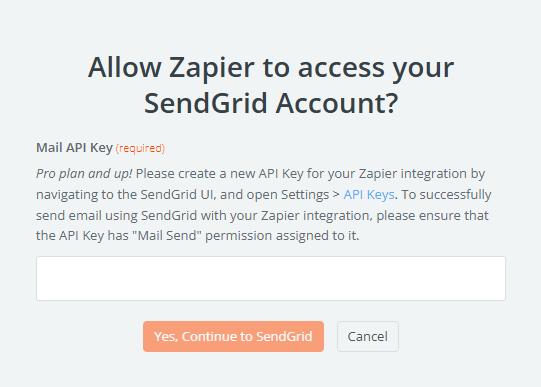
Allowing Zapier access SendGrid account
- Click Continue.
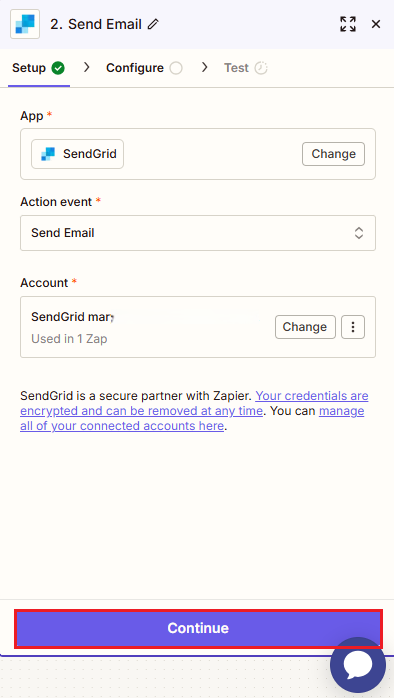
Send Email in SendGrid event dialog: Account step
- Complete the required fields on the Configure tab, then click Continue.
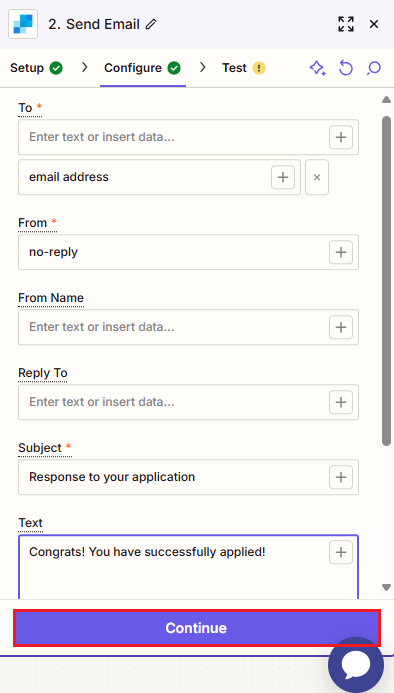
Send Email in SendGrid event dialog: Configure tab
- The next step is testing your trigger. Test the step, or skip it for now.
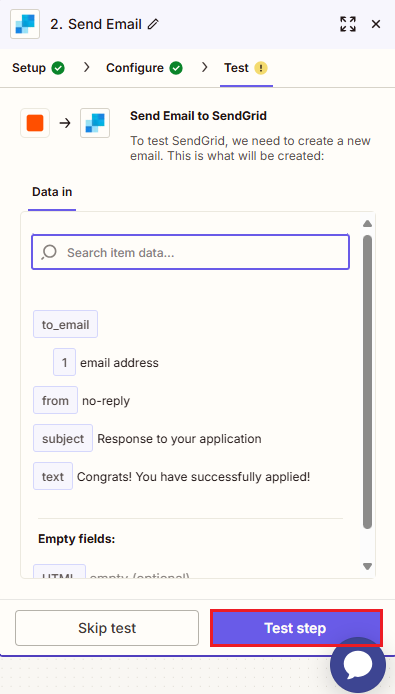
Send Email to SendGrid event testing
IMPORTANT
Make sure you provide the verified senders' email addresses when testing your SendGrid action.
Step 5: Publish Zap
Click to publish your Zap.

In a moment, you will be notified that the system published it.
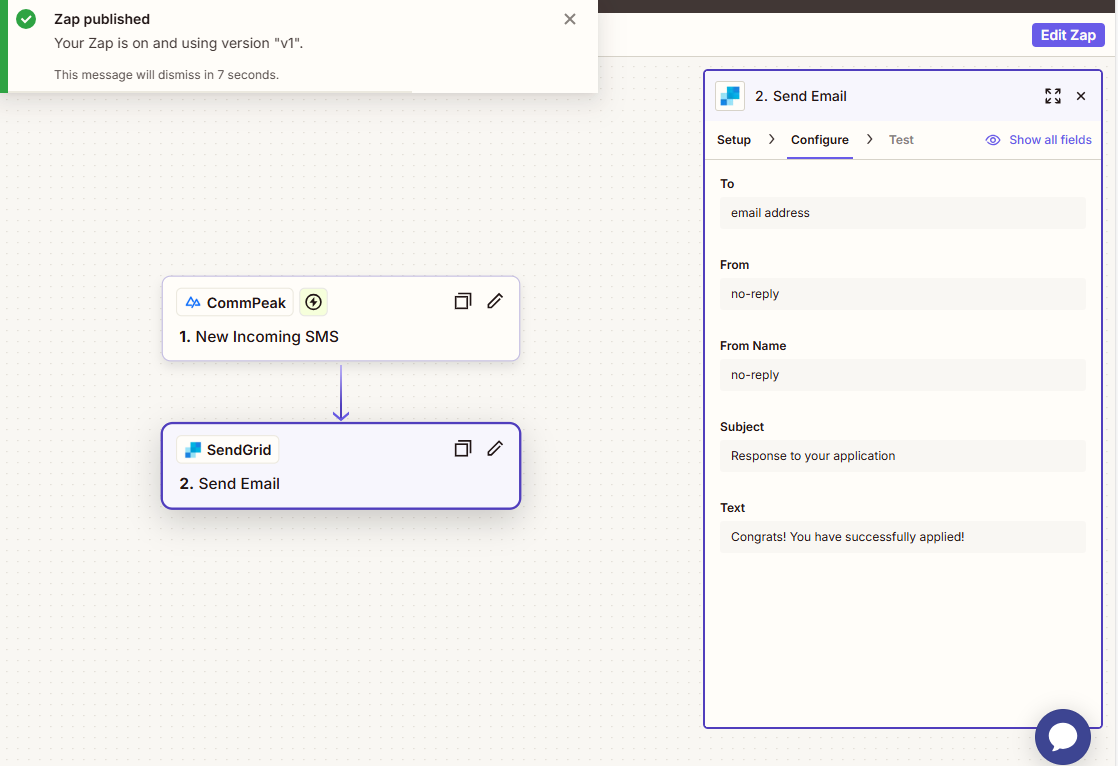
Send Email in SendGrid event dialog: Publish option
To view your new Zap added to the list, go to your Zapier homepage.

Home page with published Zaps
Updated 8 days ago