Learn how to set up and manage multiple call center regions within your account to optimize connectivity and communication. This article covers key steps, including viewing available regions, checking network metrics, adding new regions, and assigning users to the best server locations.
With the new Call Center Regions feature, you can configure and manage multiple regions within your CommPeak Dialer or Cloud PBX account. Each region corresponds to a dedicated FreeSWITCH server, allowing users to connect to a server with the best network parameters for their physical location.
This setup reduces latency, leading to faster call connections, clearer voice quality, and more stable communication. Additionally, administrators can quickly assign or reassign agents to different regions as needed, ensuring optimal call routing and performance.
If managers want to whisper to agent calls, they must be in the same region as the agents.
Available Regions
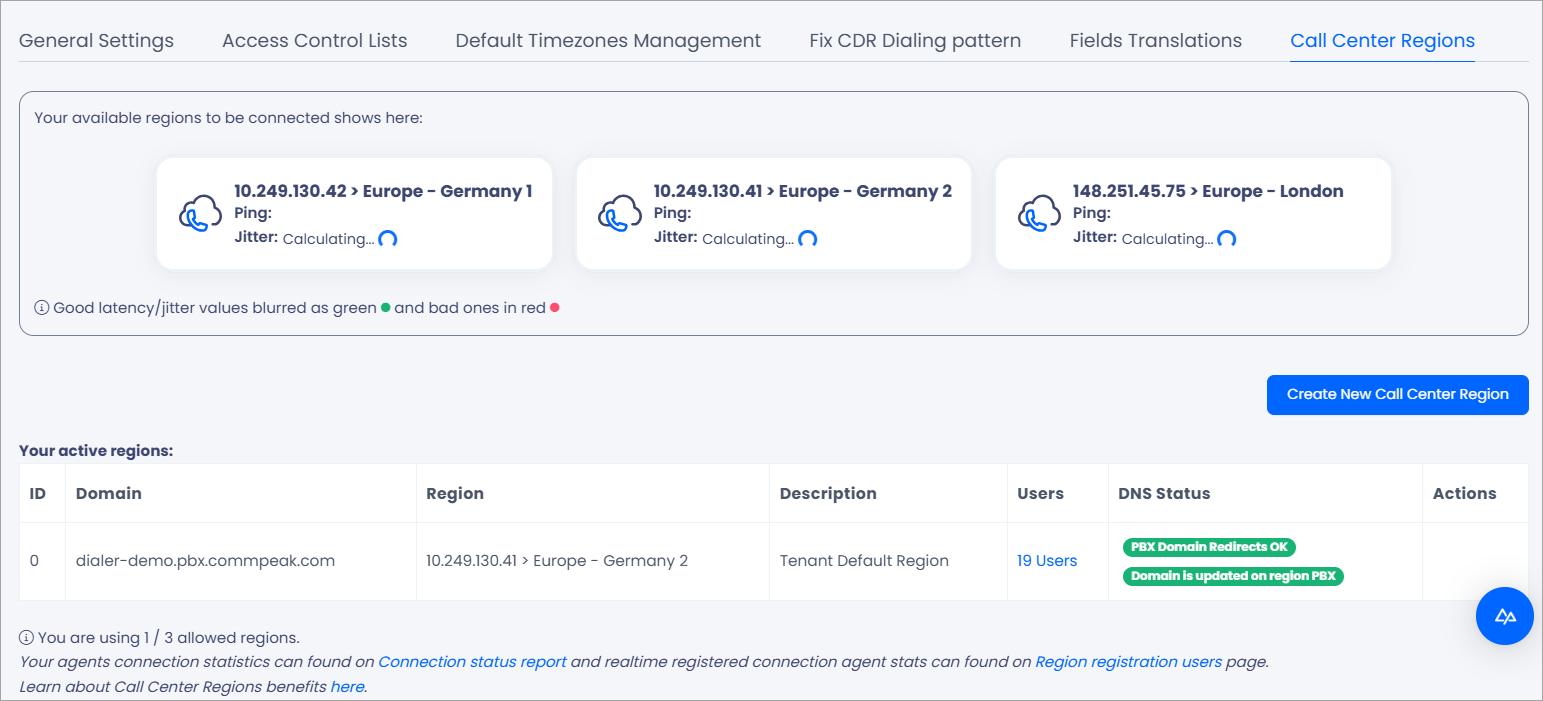
The Call Center Regions page shows three available regions. You can check connectivity and link the region to your tenant.
To view the regions available to your account:
Go to Settings > General Settings and then switch to the Call Center Regions tab.
The system will start calculating ping and jitter stats for three selected server locations closest to you.
Call Center Regions tab
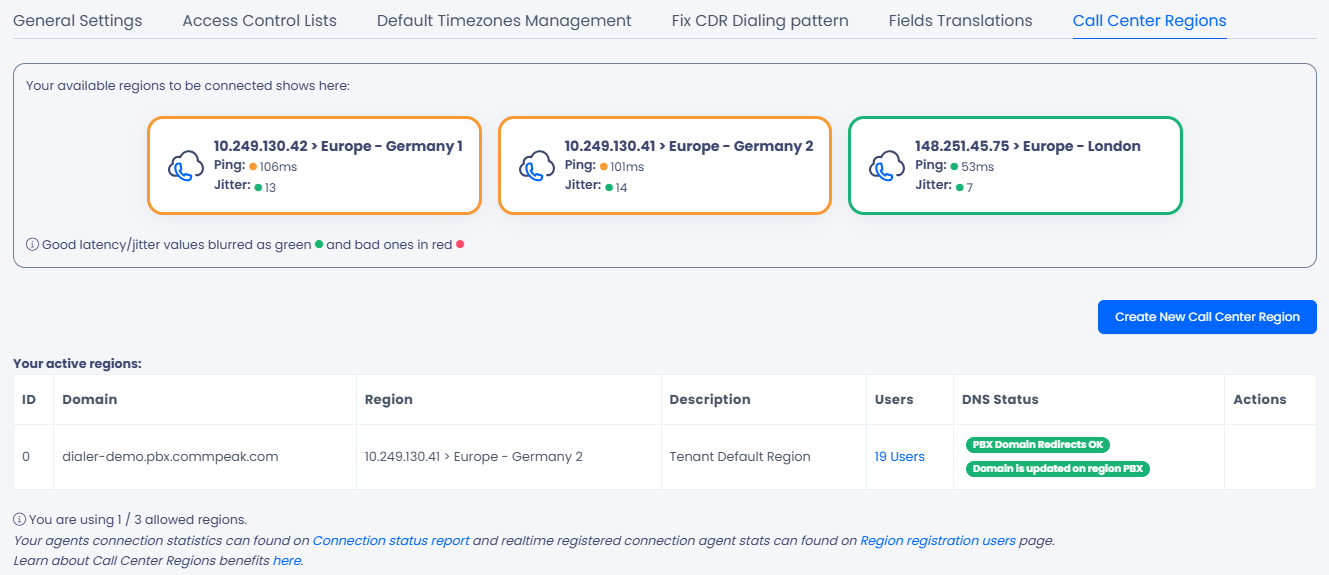
After a brief moment, the system will display the calculated ping and jitter values, highlighted in different colors. Green indicates optimal connectivity, orange means a neutral status, and red warns of bad connectivity.
Ping and jitter for regions
📘
NOTE
If your desired region is not displayed and you would like to include it, contact your Dialer or CloudPBX manager.
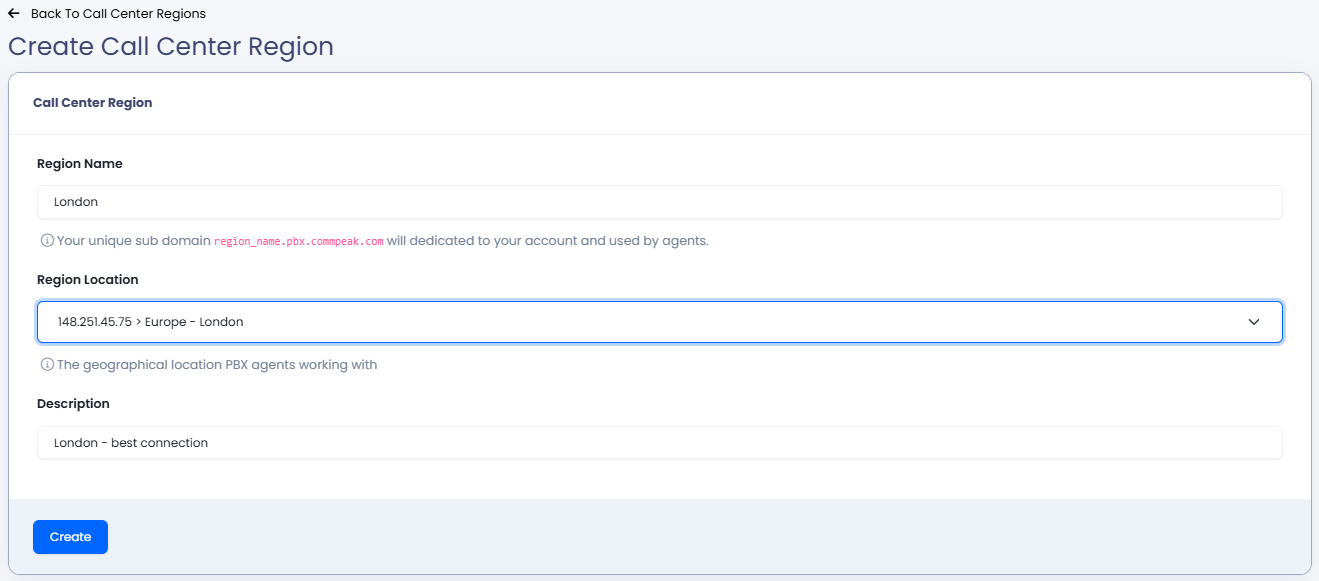
Click Create New Call Center Region in the top-right.
Complete the following details:
Enter the region name, which will be used as a name for a new subdomain.
Select a desired server location from the drop-down list.
Enter additional information in the description as needed.
Adding a call center region
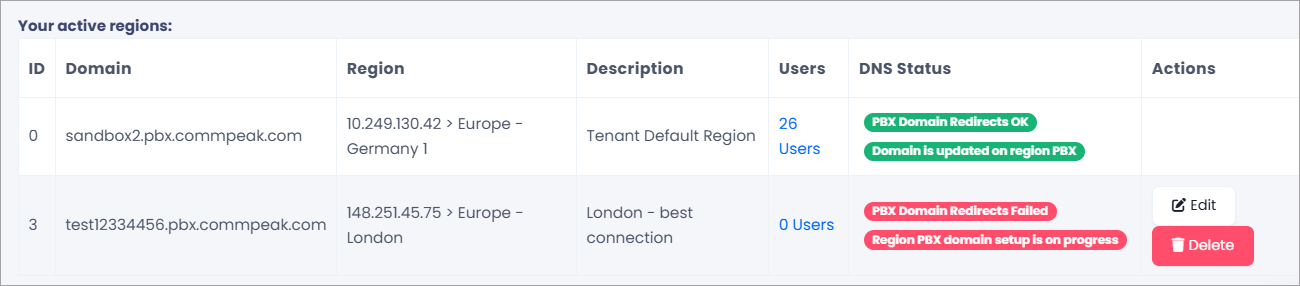
Click Create. The system will add a new subdomain for your account domain and take some time to set up the DNS. After it has been completed, you can assign users to the new region.
Active regions
Assign Users to Regions
If you use several call center regions, you can assign users to any region as you wish. You can do this by adjusting settings for an individual user or for multiple users simultaneously.
📘
NOTE
When a user’s region settings are changed, it may take up to two minutes for the update to take effect.
To assign users to regions:
On the Call Center Regions page, find the region in the list of active regions. Then click on the number of users in the Users column. This will redirect you to the User Management page.
Assigning users to regions
Alternatively, go to Users > Users Management.
Modify user settings for a single user or in bulk.
Single change:
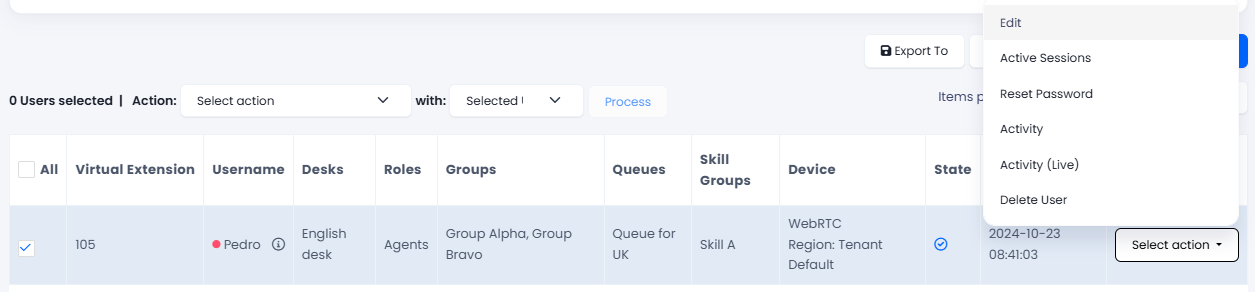
Locate the user in the list, then select Edit from the Actions column.
Modifying settings for a single user
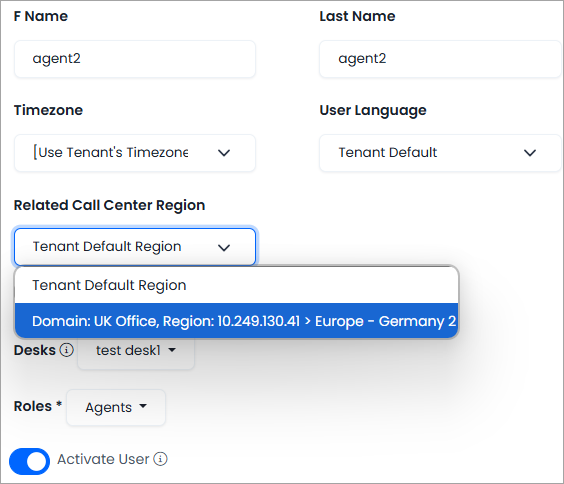
Select a new region from the Related Call Center Region drop-down list.
Selecting a region
Click Save Changes at the bottom of the page.
Multiple users:
Select multiple users, then choose the Assign Call Center Region option and the desired region above the table.
Modifying user settings in bulk
Click Process.
❗️
IMPORTANT
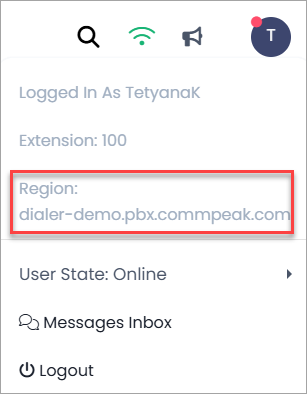
If your agents use third-party softphones, they must register again after connecting to a different region. Click the user avatar in the top-right to find out the assigned domain for registration.
Assigned user domain in the profile
Reports and Statistics
We've introduced several new reports under Reports > Network Stats to support the multi-region connections. For more details, please refer to a separate article about the Network Stats reports.