Agent's Guide
Learn the essentials of using the CommPeak Dialer, covering login setup, workspace navigation, and instructions for managing calls and contacts, along with helpful resources for further training.
Welcome to the guide on getting started with the CommPeak Dialer for agents!
Here, we will walk you through the basics of using the Dialer, from logging in to the system and resetting your password to understanding the workspace.
Launching Dialer
To access your account, log in to the system directly from your browser. Your manager will send you the login link, your username, and a temporary password.
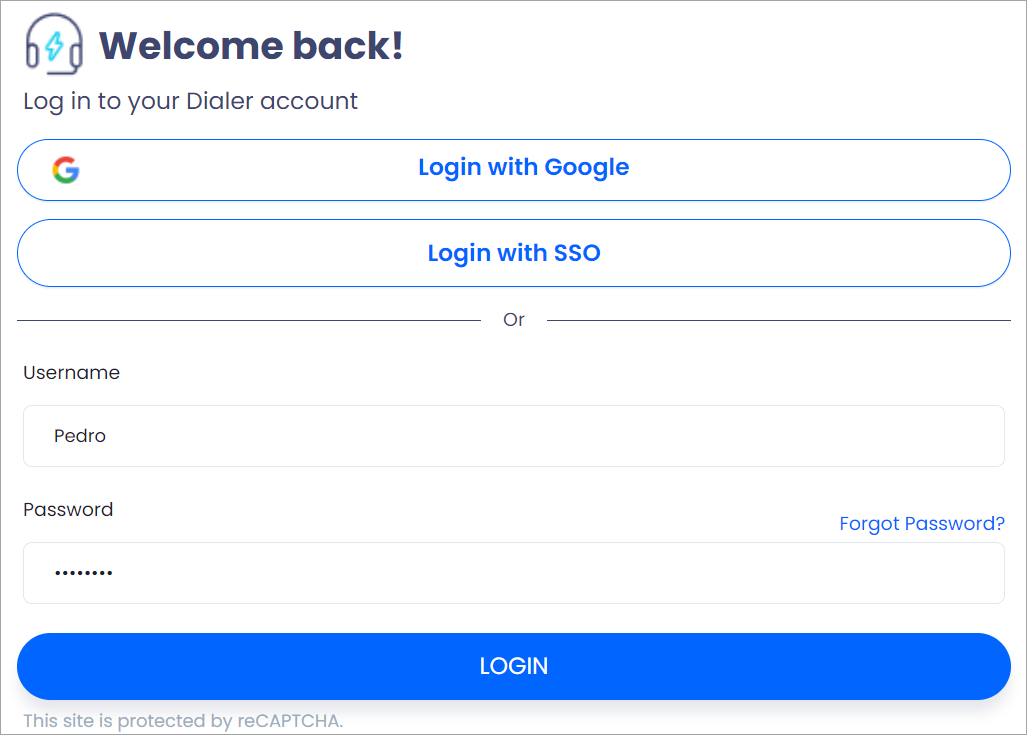
Dialer login window
The system will ask you to create a permanent password upon your first login:
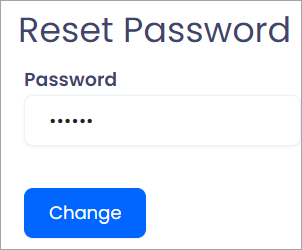
Creating a permanent password
If two-factor authentication is enabled for your account, check 2FA login steps.
NOTE
If you can't remember your password, click Forgot Password? on the login screen. Then submit your username or email to reset the password.
Agent Workspace
After logging in, you will automatically be directed to the agent's workspace.
Main Page
Your workspace is simple and easy to use. The main page consists of the following parts:
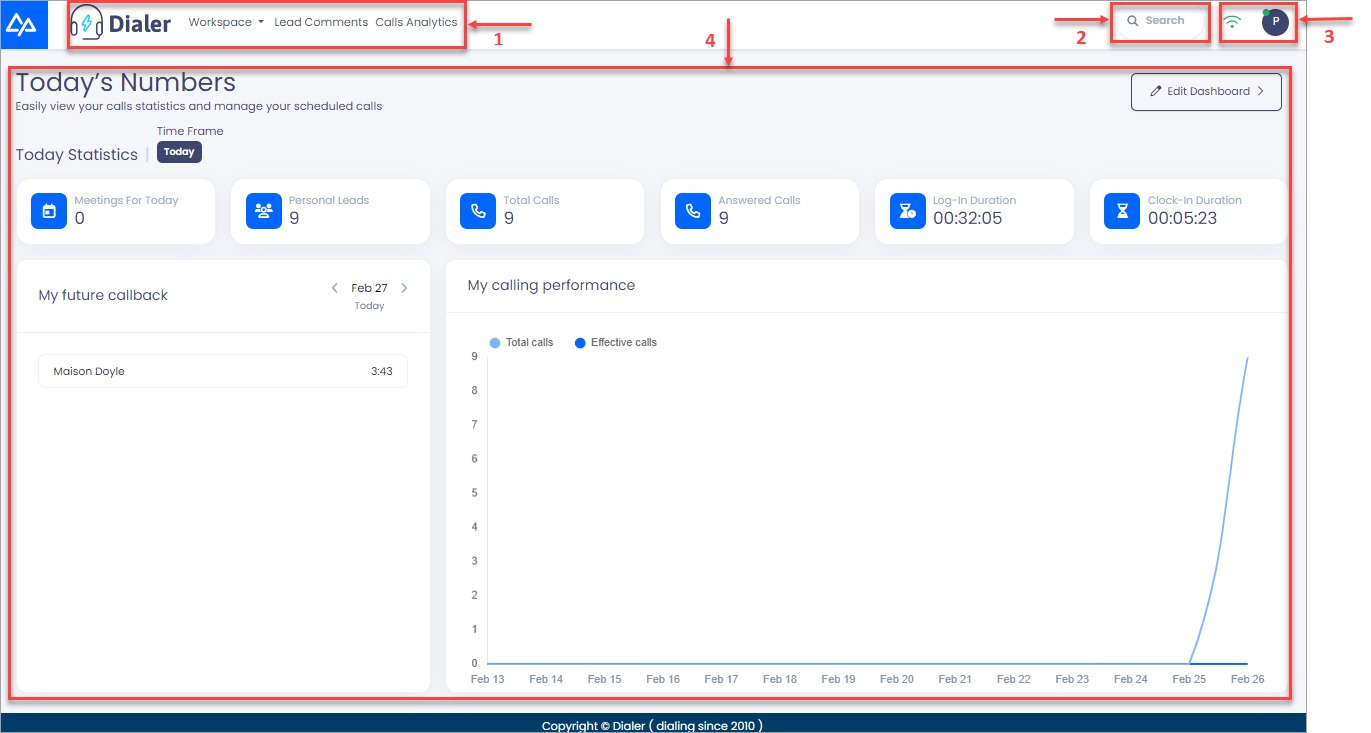
Agent workspace window
-
The Dialer icon and the menu. The Workspace menu contains all the options you need for your work. By clicking the Dialer icon on any page, you will return to the main page.
-
The navigation search bar. You can learn how to use search from this article.
-
Your state controls in the top right corner:
-
Hover over the wifi sign to check the quality of your Internet connection.
-
Hover over the profile icon to:
-
check your extension
-
clock in to receive calls in predictive mode
-
change your state
-
or log out of your account.
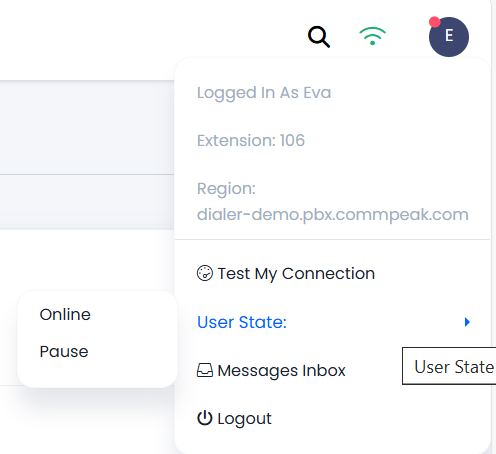
User profile controls
-
-
-
Your dashboard. Learn how you can use and customize it from this article.
Recent Calls Page
This page is made to check your last 30 calls. To go there, select Workspace > Recent Calls.
By default, all 30 calls are displayed here. However, you can apply multiple filters to see specific calls.
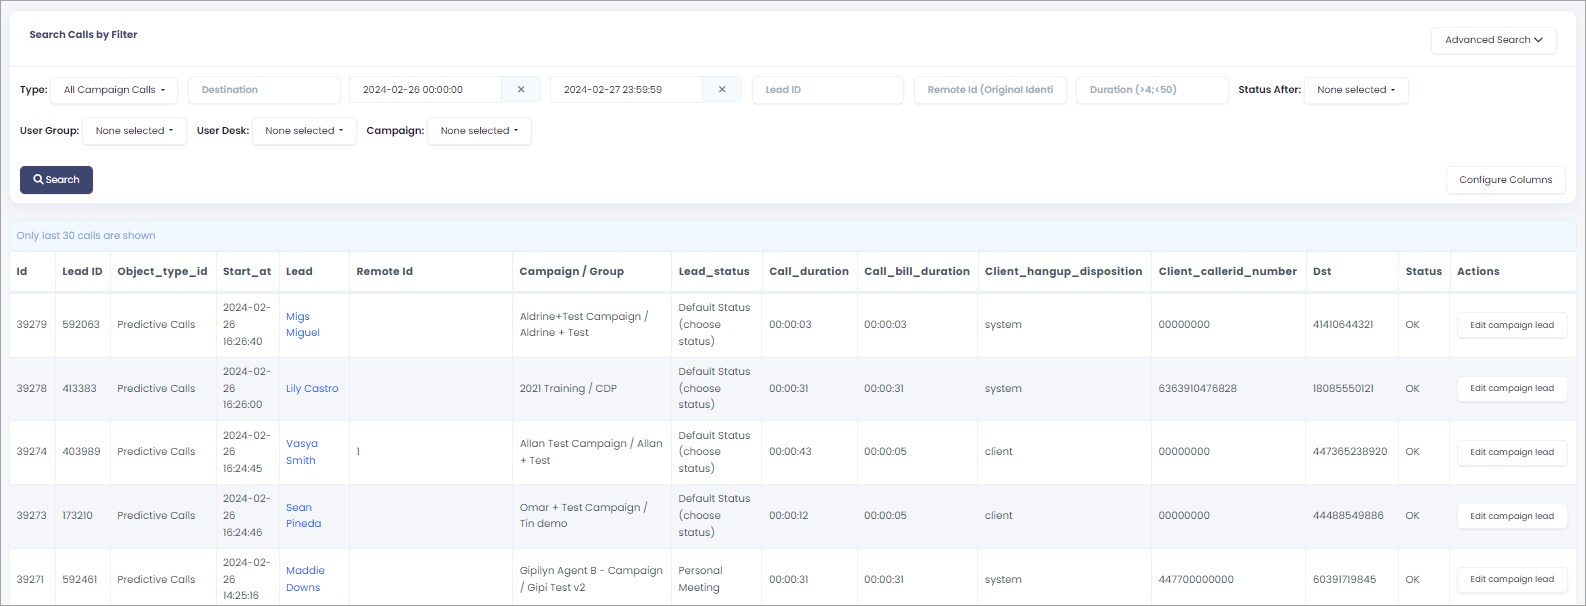
Recent Calls page
Scheduled Calls Page
The Workspace > Scheduled Calls page displays a list of your appointments with leads and allows you to view the history of meetings, add comments, or change appointment times.
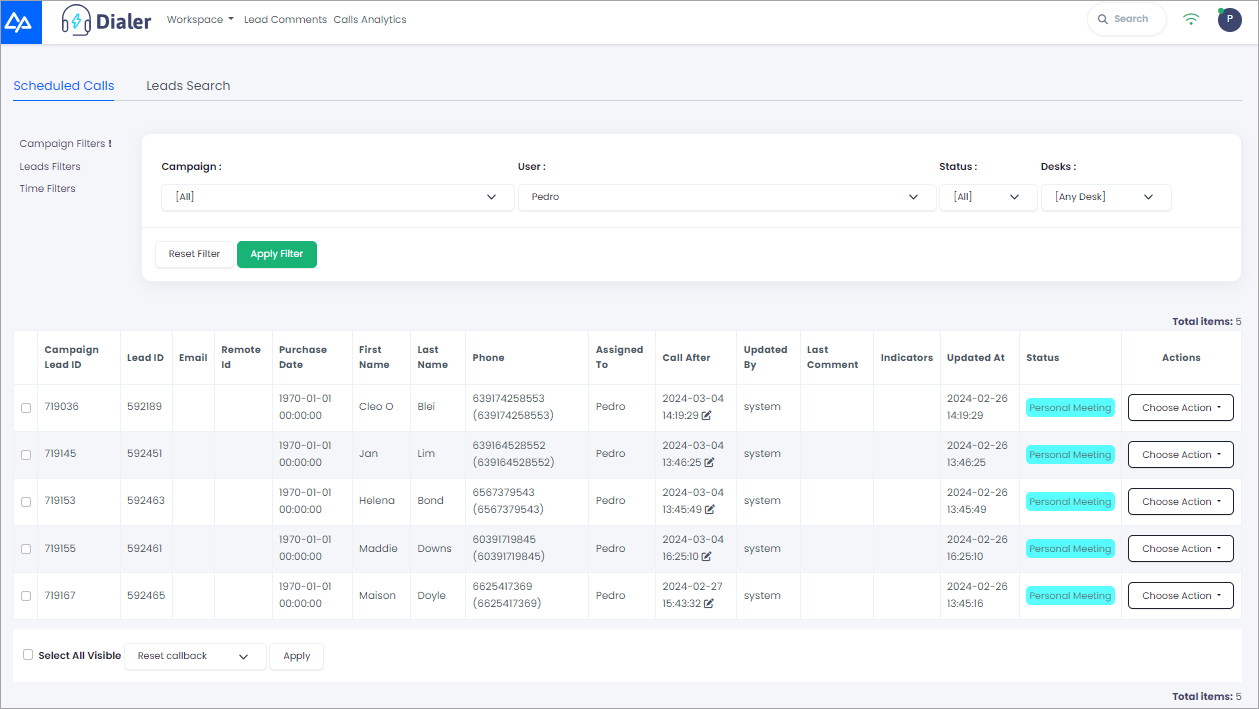
Scheduled Calls page
Please take a look at this article for more information.
Leads Search Page
On the Lead Search page, agents can apply filters to get detailed search results on leads. Simple and advanced search options are available.
To reach this page, click Workspace > Contacts and switch to the Leads Search tab.
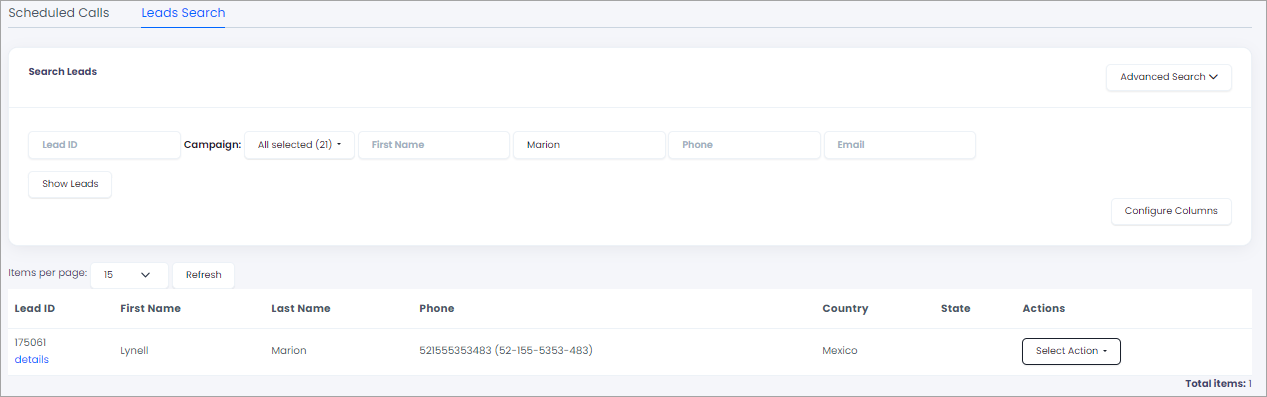
Leads Search page
NOTE
You need to specify at least two parameters to run the search.
Here, agents can also view the lists of their own calls and listen to their recordings.
To display calls and listen to them:
-
Go to Actions and select Calls.
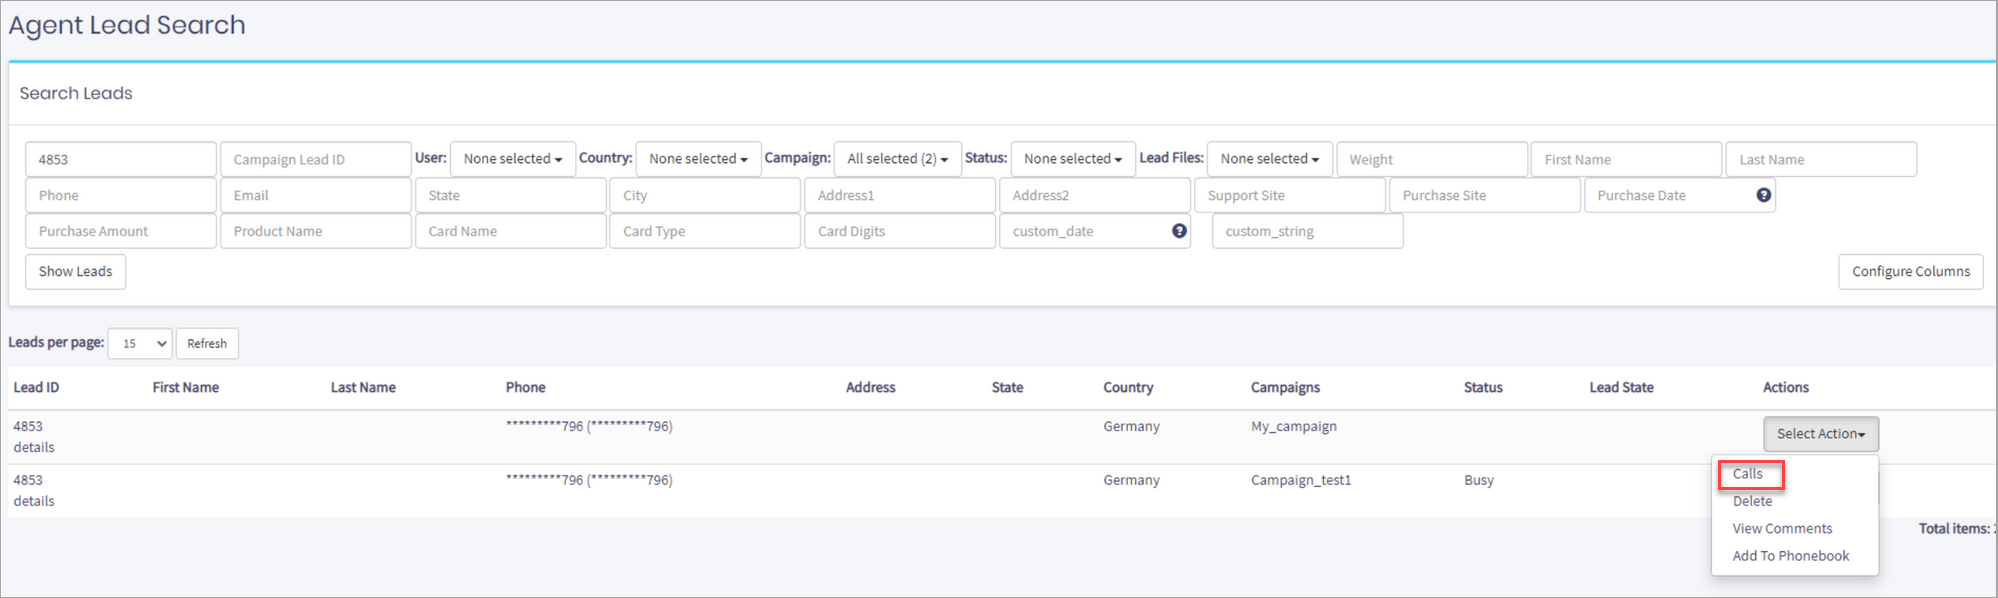
Viewing calls
-
Your recorded calls will appear on the new page. Click Play Record to listen to a recording.

Playing call records
Predictive Dialer Page
To start receiving calls, go to Workspace > Predictive Dialer. Then, expand the menu at the top right and select Clock In. After clocking in and responding to a call from your phone client, you enter the call page. Once the system connects you with the lead, more controls and actions are available.
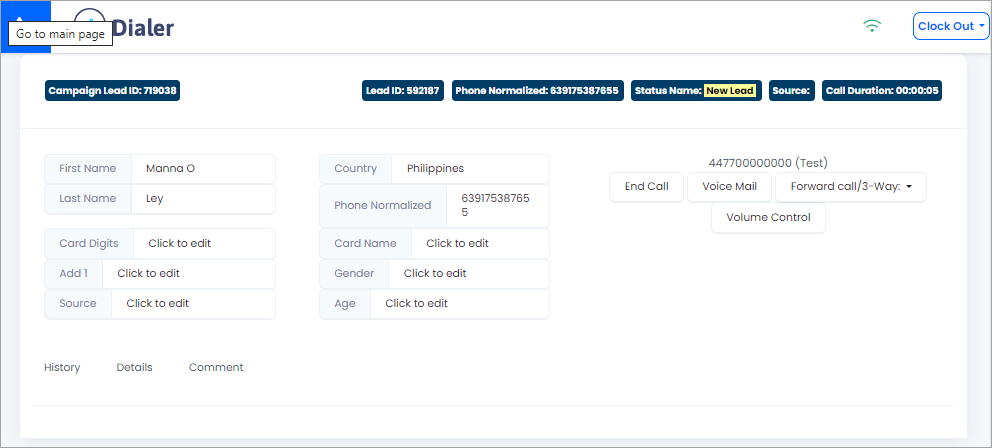
Predictive Dialer page
After the call ends, you are redirected to the feedback page.
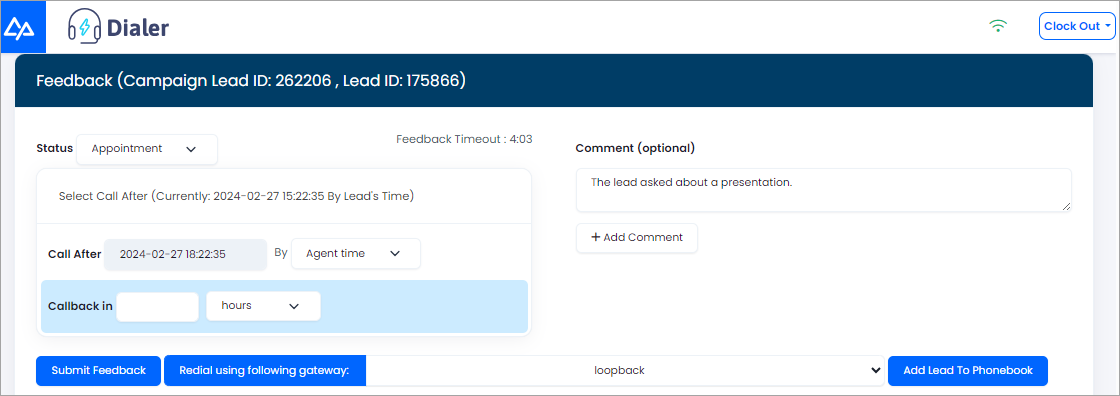
Feedback page
From this guide, you can learn in detail how to work in the predictive mode.
Knowledge Base Resources
You can use the following resources in addition to this guide:
- article about Predictive Dialing
- article about Contacts Editing
- article about Dialer Calling Options.
Getting Help
Submit a support ticket or contact your manager for more information.
Updated 17 days ago