Manual Dialing Routes
Learn how to manage manual dialing Caller IDs and routes for PBX calls.
In your Dialer or Cloud PBX, you can create routes to call from PBX. Routes allow you to specify how and for whom the calls are made.
This article explains how to add a new route to your system. First, you must add Caller IDs and then create manual routes.
Adding Manual Dialing Caller IDs
The Manual Dialing Caller IDs section allows you to add Caller IDs for calling via PBX. To access this section, select Settings > Outbound Configurations in the main menu, then switch to the Manual Dialing Caller IDs tab.
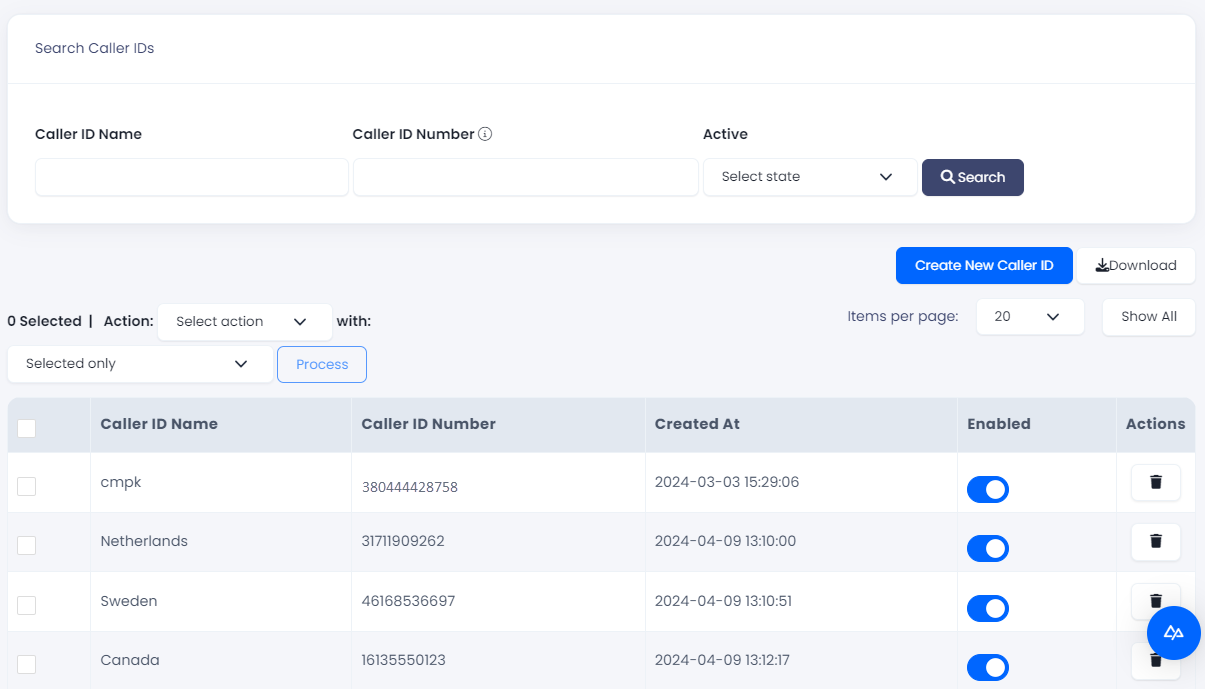
Manual DIaling Caller IDs section
IMPORTANT
Please verify the phone number in your CommPeak Portal account before using it as a Caller ID.
Click Create New Caller ID at the top right to add a new manual Caller ID. Then, enter its number and name and click Create.
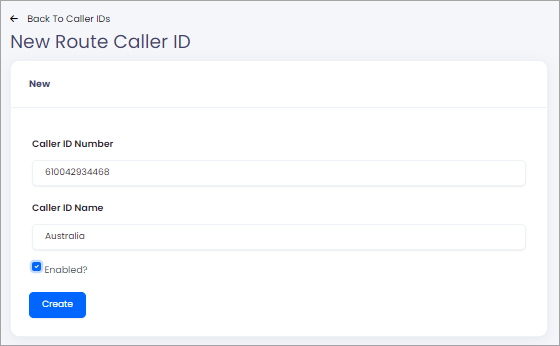
Adding a Caller ID
If you attempt to enter an unverified number, the system will display an error similar to the following:
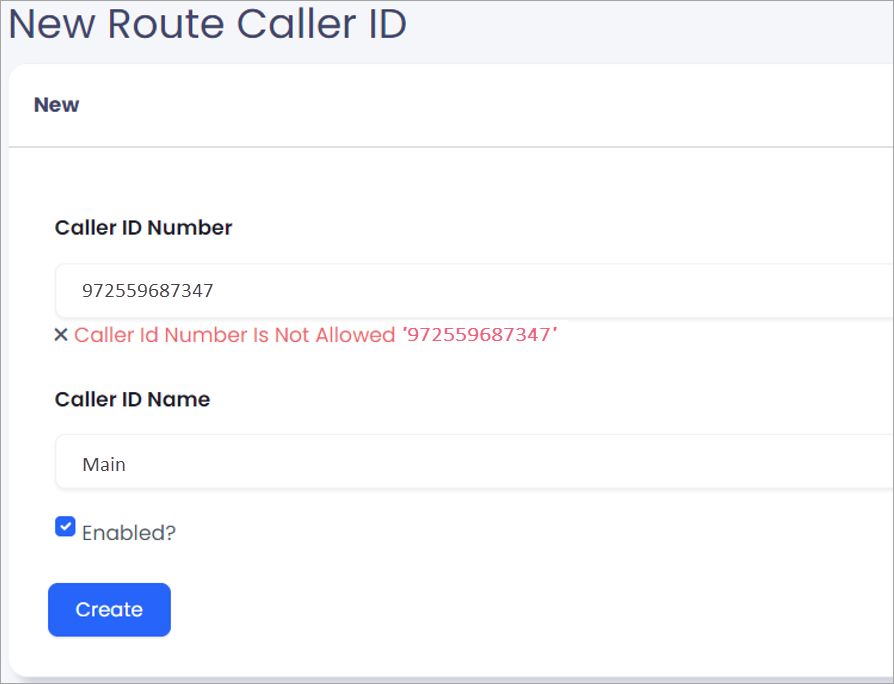
Error when adding an unverified number
You can immediately enable the Caller ID and use it in the dialing routes. To temporarily deactivate the ID, slide the toggle to the left in the Enabled column. To remove a Caller ID, use the Delete icon in the Actions column.
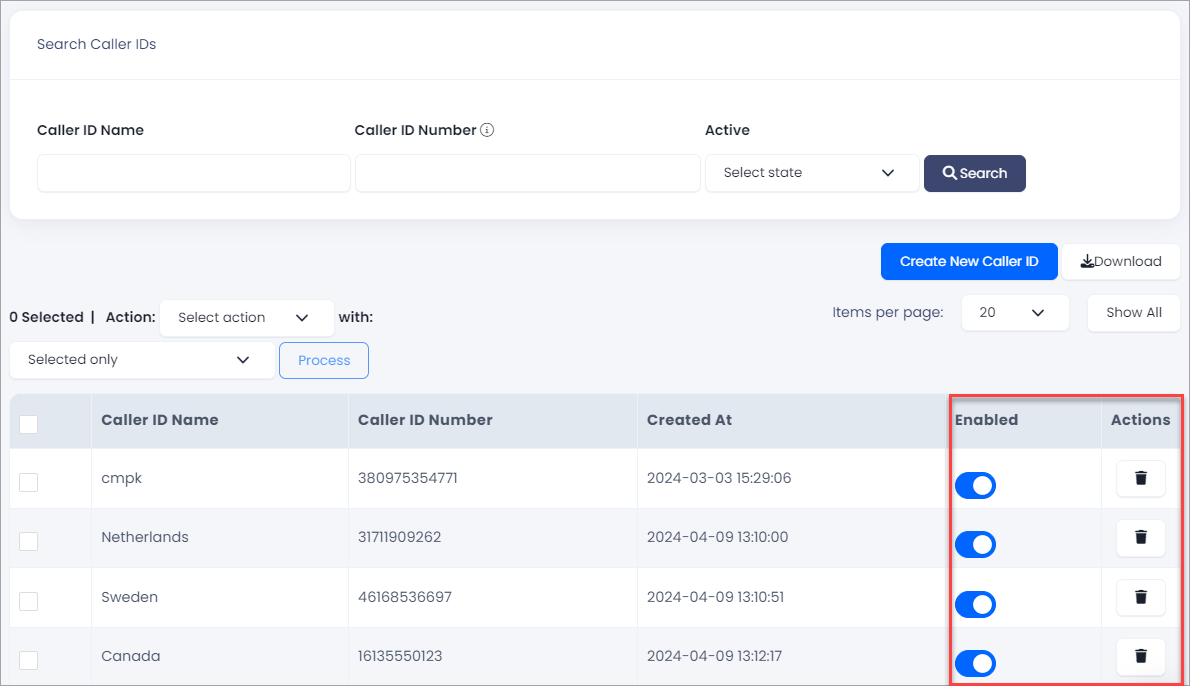
Deactivating or removing Caller IDs
Creating Manual Dialing Routes
The Manual Dialing Routes section allows you to add routes for calling via PBX. Select Settings > Outbound Configurations in the main menu, then switch to the Manual Dialing Routes tab.
You can arrange similar routes by groups. For example, a group can include routes within a country. Click Expand All to view all groups, or click + to expand a specific group.
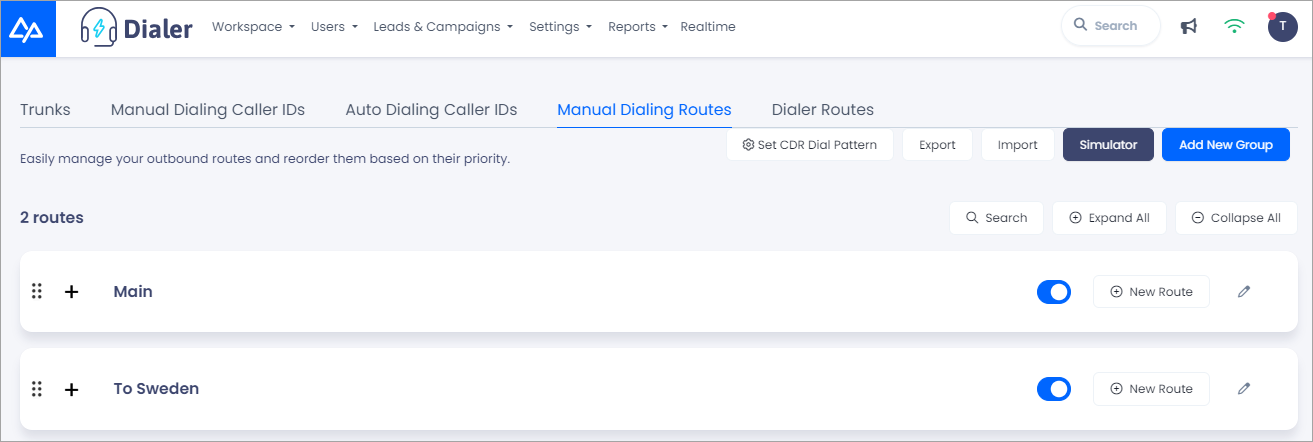
Manual Dialing Routes tab
NOTE
You need to have at least one route group already set up to add a new route.
We will show you how to create a group and then add routes within that group.
To create a manual dialing route:
-
Click Add New Group at the top right.
-
Enter a route group name.
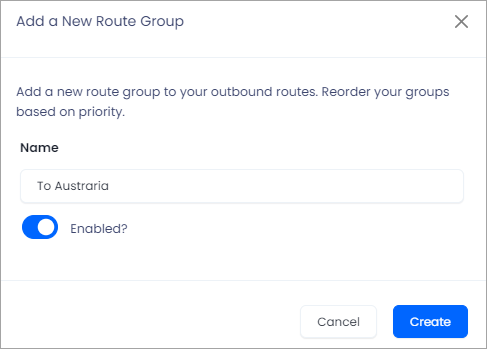
Adding a route group
-
Click Create.
-
Click + New Route in the group.
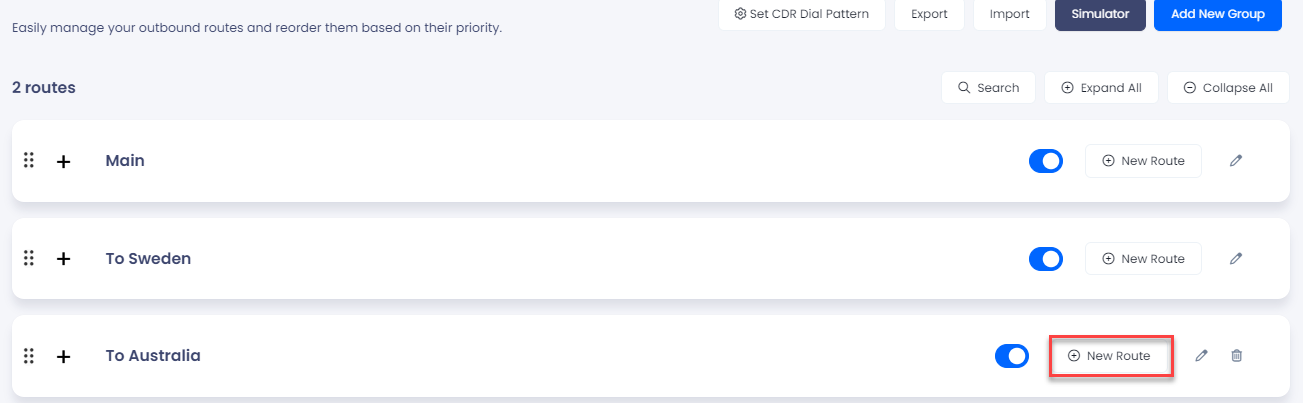
Adding a route to a group
-
Click the plus icon on the right to expand an explanation about parameters in the outbound route expressions.
Enter route name. You can just turn off the route if you'd like to use it later.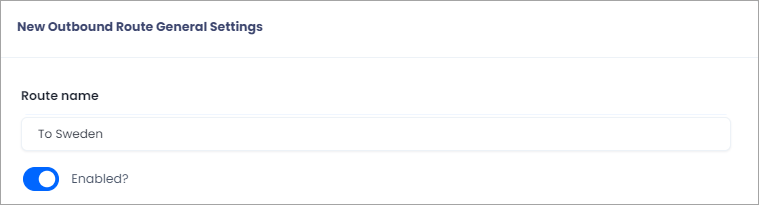
New route settings
-
Select users and/or desks from drop-down lists to assign the route to. If no selection is made, the route will be active for all users and desks.
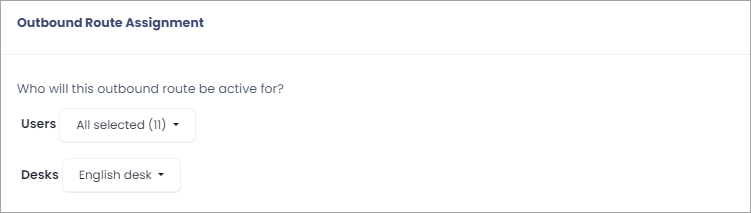
Assigning users and desks to the route
-
Select Caller IDs and trunk rules from the drop-down lists. By default, choose the main outbound route unless you have third-party trunks.
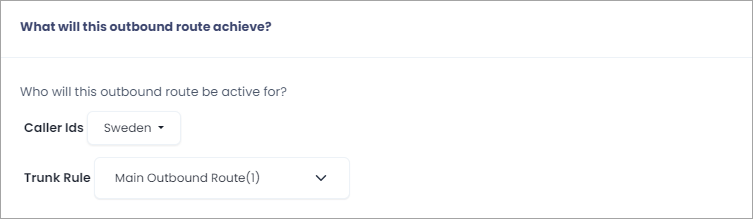
Selecting Caller IDs and trunk rules
-
Add new dialing patterns and reorder them based on priority. Click the Add New Dial Pattern button to add more patterns.
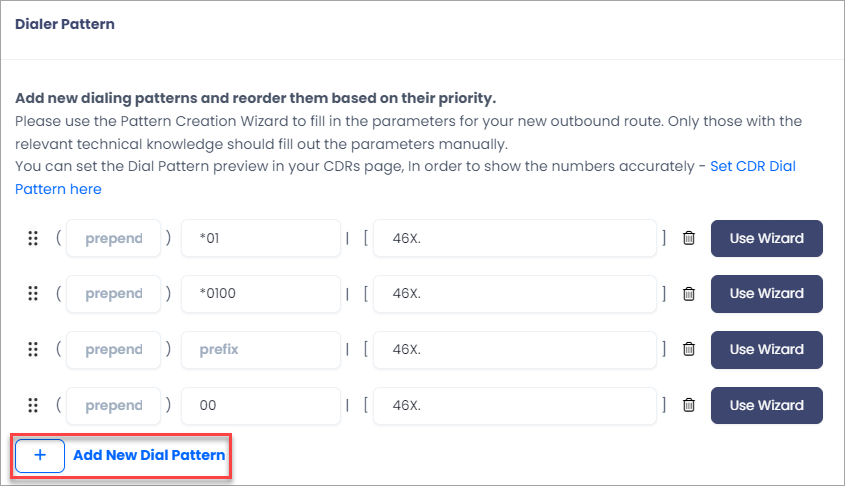
Adding dialing patterns
-
If you are unsure what information to enter in the prepend, prefix, and match pattern boxes, click Use Wizard to get a tip about the pattern parts:
-
Enter a prepend, then click Next.
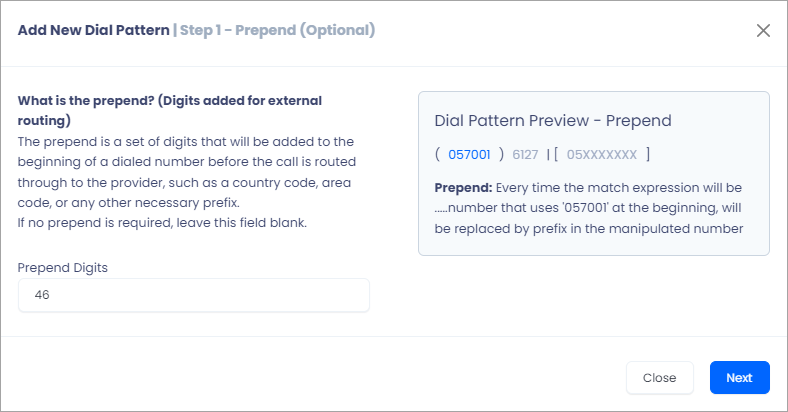
Entering a prepend
-
Select a prefix option, then click Next.
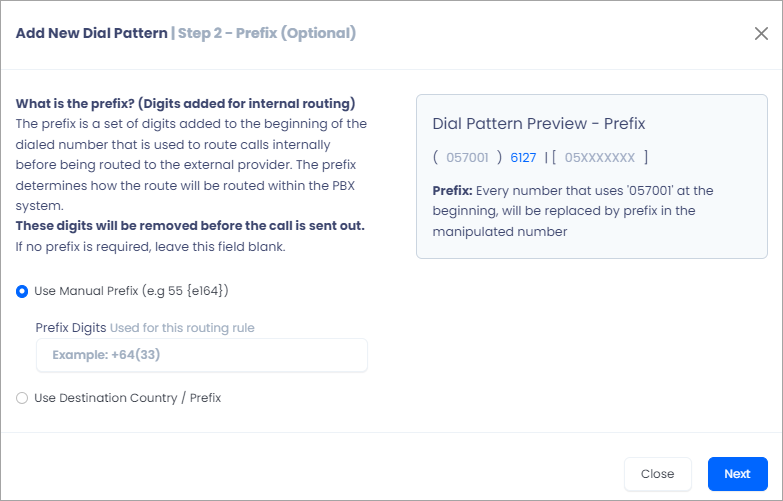
Selecting a prefix option
-
Enter a match expression, then click Finish.
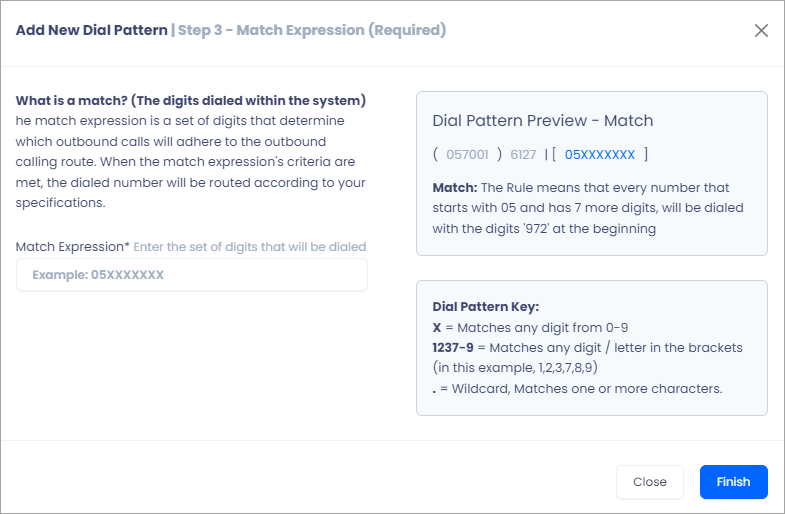
Entering a match expression
-
-
Click Add Route.
After adding a new route, you can modify, disable, or remove it if necessary. To do so, navigate to the desired route and use the available controls.
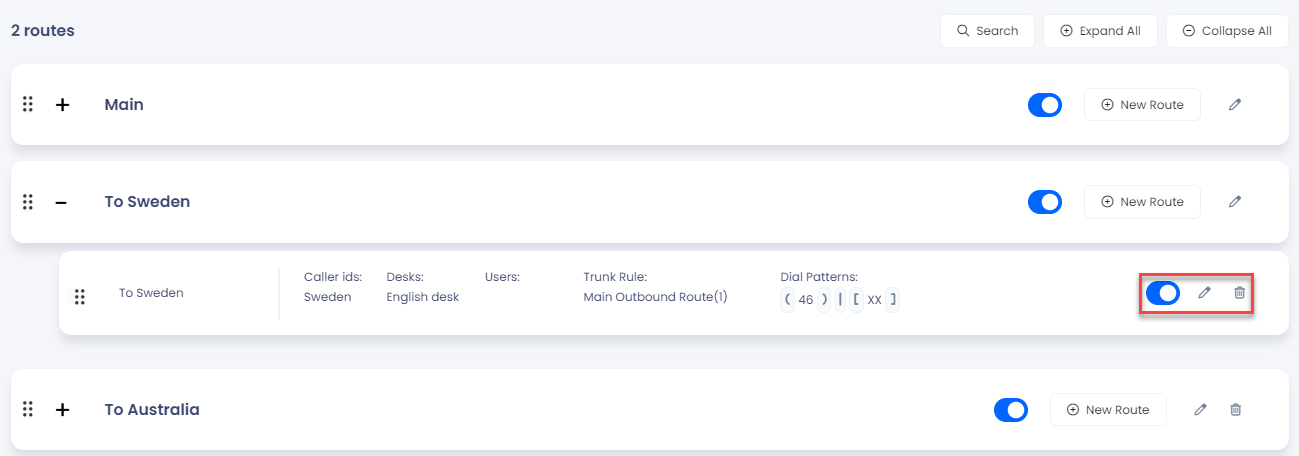
Controls for managing routes
Updated 6 days ago