Creating a Queue in PBX
Create and configure call queues in CommPeak Classic PBX, including setting up queue settings, ring strategies, and failover destinations.
Step 1: Access the Classic PBX Web Interface
-
Obtain your Cloud PBX server's domain and admin credentials from CommPeak support team.
-
Open a web browser, navigate to the domain, and log in to the server.
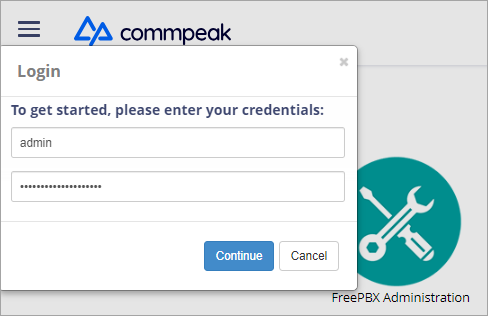
Accessing Classic PBX Web Interface
Step 2: Create a Queue
-
Go to APPLICATIONS > Queues .
-
Click + Add Queue.

+ Add Queue button
-
In General Settings, we recommend setting the following basic configurations:
Field | Value |
|---|---|
Queue Number | Manually enter the number of your queue. |
Queue Name | Manually enter the name of your queue. |
Agent Restrictions | Extensions Only |
Ring Strategy | You can define the order or pattern in which agents or devices associated with the queue are alerted when there's an incoming call (which phone or extension within the queue will ring when a call arrives). Select a value from the drop-down list depending on workload distribution, agent availability, and service level goals of your call center:
|
Autofill | No |
Skip Busy Agents | Yes + (ringinuse=no) |
Fail Over Destination | Select a failover destination to the queue, such as VM, or any other destination. |
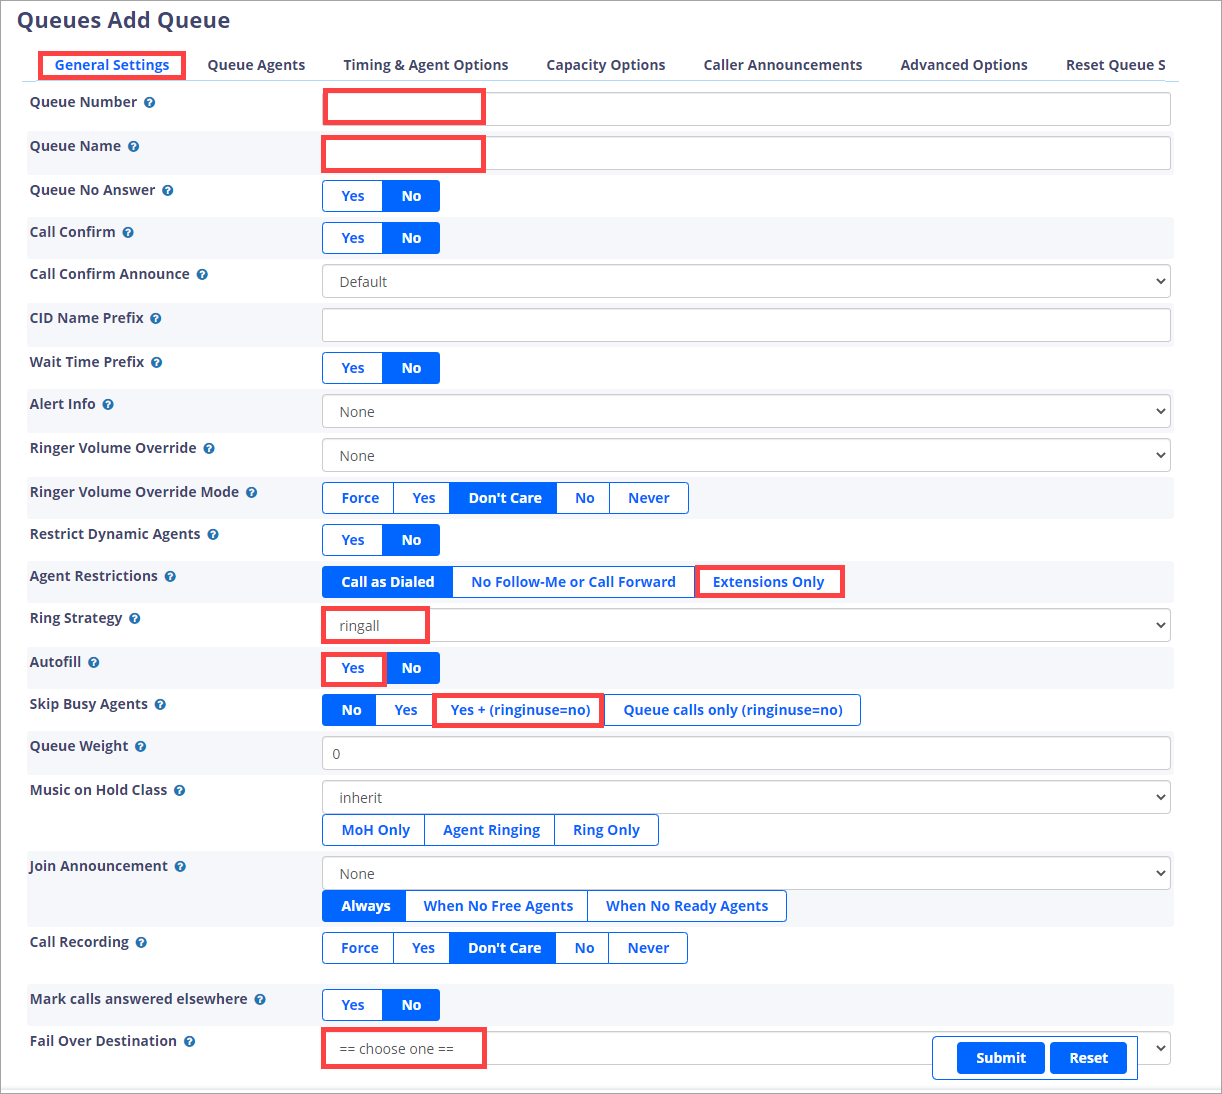
General Settings tab
-
On the Timing & Agent Options tab, please set from 2 to 5 minutes for the Max Wait Time field.
-
Click Submit.
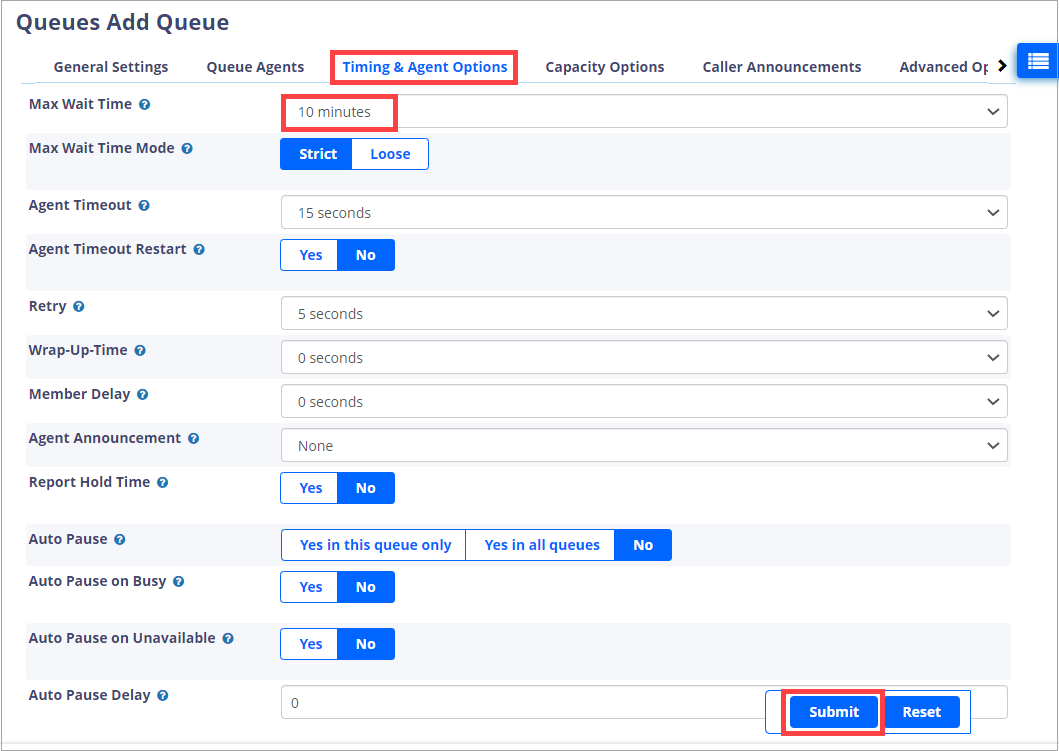
Timing & Agent Options tab
-
Click APPLY CONFIG in the top right corner.

APPLY CONFIG button
Step 3: Assign Agents to the Queue
Please look at the Queue Manager article for guidance.
Step 4: Test the Queue
- Place a test call to the designated phone number or DID routed to the queue.
- Verify that the call is placed in the queue and that agents receive the call according to the configured queue strategy.
We recommend that you contact our support team with a request to configure inbound call routes and destinations for you, and we will be happy to do it.
Updated 9 days ago