How SSO Login Works in Softphone
Discover how the Softphone app streamlines secure authentication with Single Sign-On (SSO) support for Google, Microsoft, and SAML
The CommPeak Softphone app's login system simplifies and secures the authentication process by allowing users to log in through Single Sign-On (SSO) methods such as Google, Microsoft, or SAML, using their account's domain.
With SAML OAuth support (starting from Softphone v.6.2.5), you can experience hassle-free and secure access to your Softphone app, including:
- Fast, Secure Login: Enjoy quick and secure access without the need to enter usernames and passwords manually
- No Manual Selection: The app intelligently presents only the relevant login options, eliminating the need to choose login types manually
- Tailored Login Methods: You will only see the login methods supported by your company, reducing clutter and confusion
- Secure, Popup-Based Authentication: Your credentials are securely handled through a pop-up window, enhancing data protection
- No Unnecessary Browser Redirects: Experience a smooth and integrated login flow directly within the Softphone app.
Below, is a step-by-step breakdown of how it works:
Step 1: Domain-Based Login Discovery
When you open your Softphone app, you will be prompted to enter your Dialer/Dialer-PBX domain.
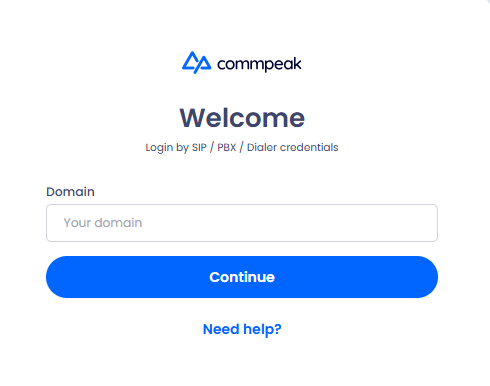
Web-based Softphone widget login window
The Softphone app then communicates with the CommPeak Dialer/Dialer-PBX to identify which login methods are supported for your domain:
- Login with your Username & Password
- Continue with Google
- Continue with Microsoft
- Single Sign-On (SSO).
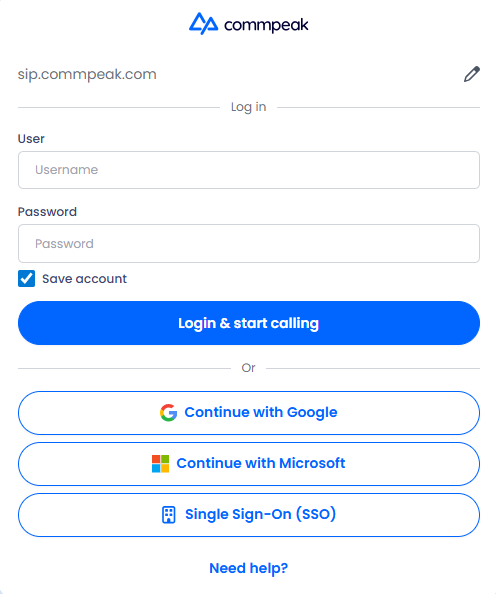
Allowed login options for web-based Softphone widget
NOTE
Based on this discovery, the app will only display the login options allowed for your account, simplifying your choice.
Step 2: Login via SSO (SAML) or OAuth (Google/Microsoft)
When you click an SSO login button (e.g., Continue with Google), Softphone initiates the authentication process by opening a secure pop-up window dedicated to handling the authentication flow with your chosen identity provider.
Step 3: Authentication Process
The pop-up window will then redirect you to the selected identity provider for authentication:
- Microsoft
- Your company’s SAML-based SSO provider.
After you successfully authenticate your credentials with the chosen provider, you will be redirected to a special callback on the dialer.
Step 4: What Happens After Login
Upon successful authentication, the dialer processes the callback. Crucially, instead of redirecting you to a browser or web dialer page:
✅ The authentication pop-up window is immediately closed.
❌ You are not redirected to the web dialer.
This design ensures that the login experience remains contained and seamless within the Softphone application.
Step 5: Finalizing Login
The Softphone app detects that the authentication pop-up window has closed, signaling that you have successfully logged in. It then sends a request to the dialer to fetch your user credentials, similar to how it would after a traditional username/password login.
✔️ Congratulations! You are now fully logged in and ready to start calling!
Updated 11 days ago